5.3 Layout Dye
D.M. Donner
The process of benchwork requires the machinist to machine to the lines established in the layout process. This is a visually demanding process where the lines guide all machining actions. Factors that aid in this process are good quality lighting that reduces shadows, sharp scribing tools that provide small, crisp lines, and a dull surface that does not reflect light. High-contrast surface layout dye was invented to provide a matte background and reduce glare.

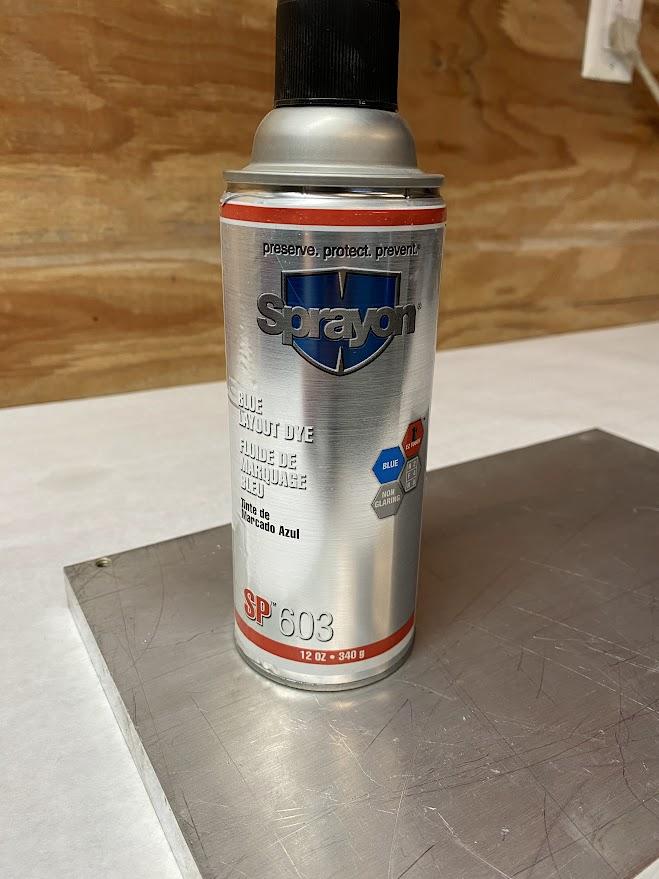
Layout dye is used to provide a solid color base layer on which layout lines are scribed. A scribe is a tool with a sharp point used to scratch lines during layout operations. Layout dye, also called layout fluid, removes glare from a work surface by providing a uniform, deep color that contrasts with scribe lines. Dye enables the machinist to see the lines more easily. Layout fluids are applied to the surface by spray, brush, or roller. The fluid is designed to dry quickly and adds no thickness to the part. Care must be used when applying layout fluid because it is difficult to remove from porous surfaces if spilled. Be sure to keep it away from inspection surfaces until the fluid has dried. Be aware of splatter and over spray during application. Always place the lid back on the bottle to prevent accidental spillage.
Before using any chemical, it is a good idea to visit the manufacturer’s website and read any technical sheets provided (here is an example for one brand of layout dye). Technical sheets provide directions, features, material compatibility, and health and safety information.
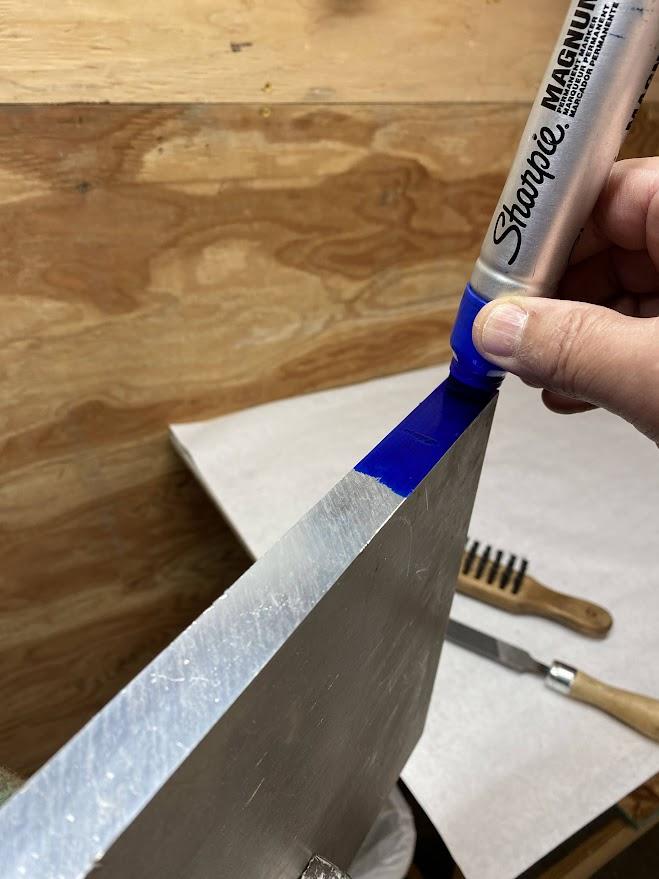
A suitable alternative to layout fluid is permanent marker. Markers come in many colors, tip shapes, and widths. The felt tip does not spill or drip and markers are easily found at most art supply stores or online. Another advantage is that they are not flammable. The major downside is that they do not cover as well as a layout fluid and you will lose some contrast, making layout lines harder to see.
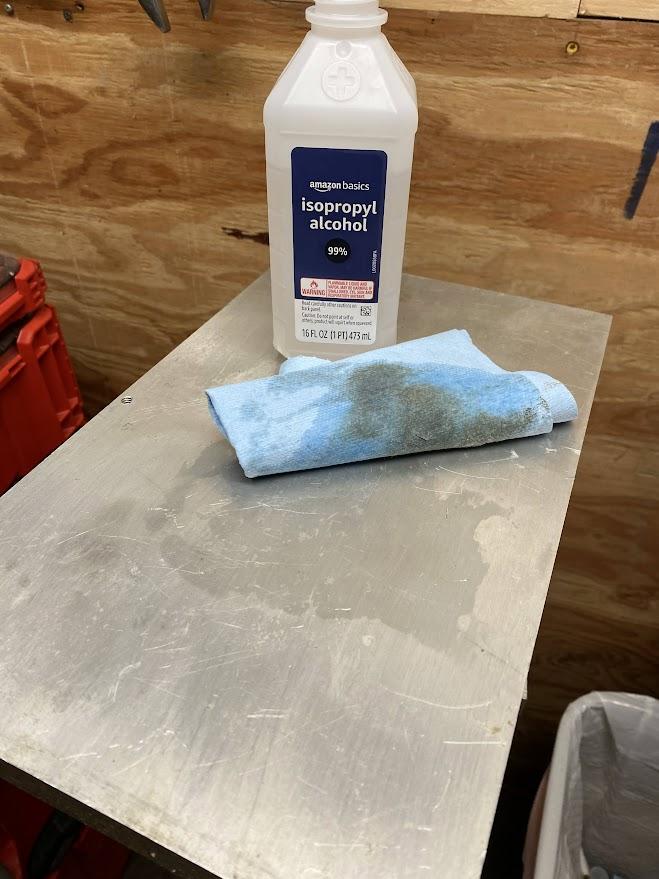
Before applying a layout fluid, you should first clean your part. The surface will need to be dry and free of grease and oil for the dye to adhere properly. Layout dye manufacturers make solvents for this purpose, but alcohol and acetone make good substitutes. Choose a well-ventilated area away from ignition sources, such as grinding or cutting stations. Wear appropriate PPE, such as eye protection and gloves, before handling.
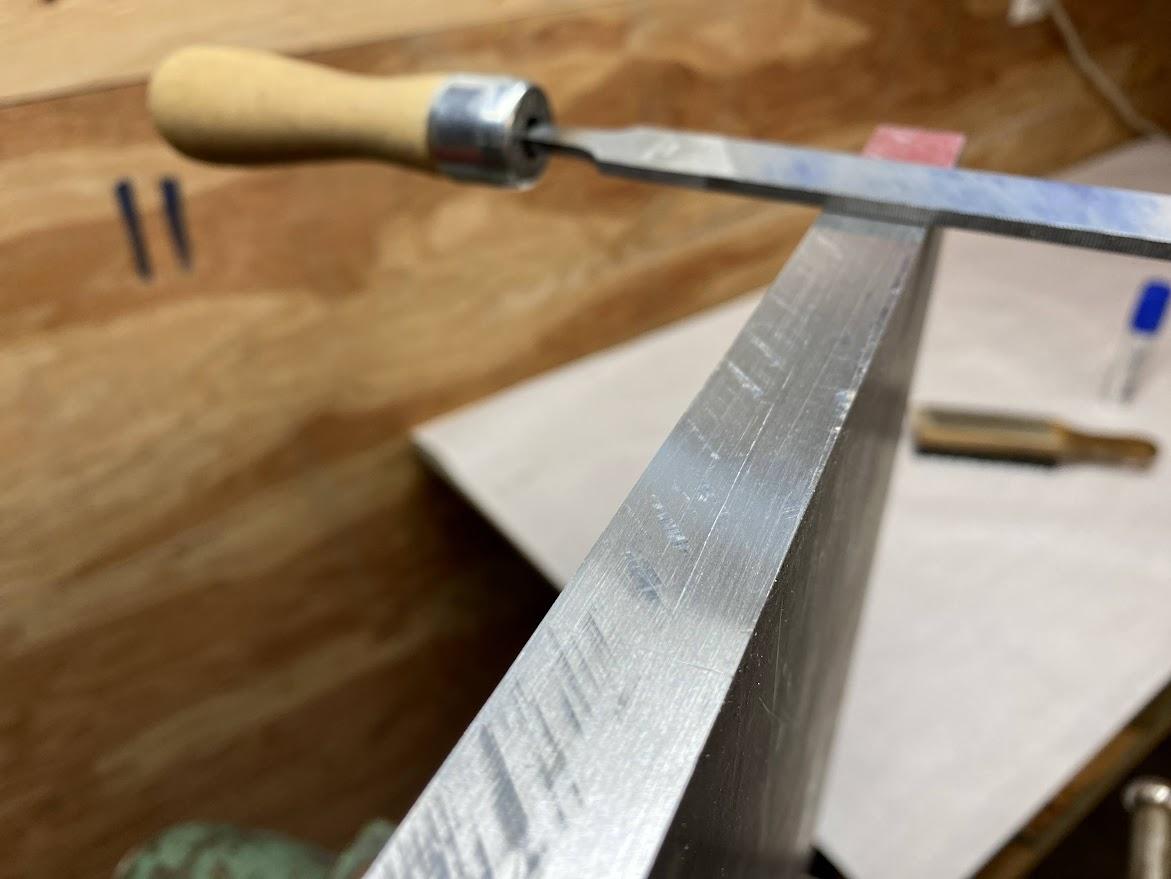
Next, you need to identify a reference edge from which layout lines will originate. Inspect the edge for burrs and straightness. If necessary, take a clean-up pass on the mill, or use a file and work the edge until it is straight and free of burrs, which will interfere with the layout tools.
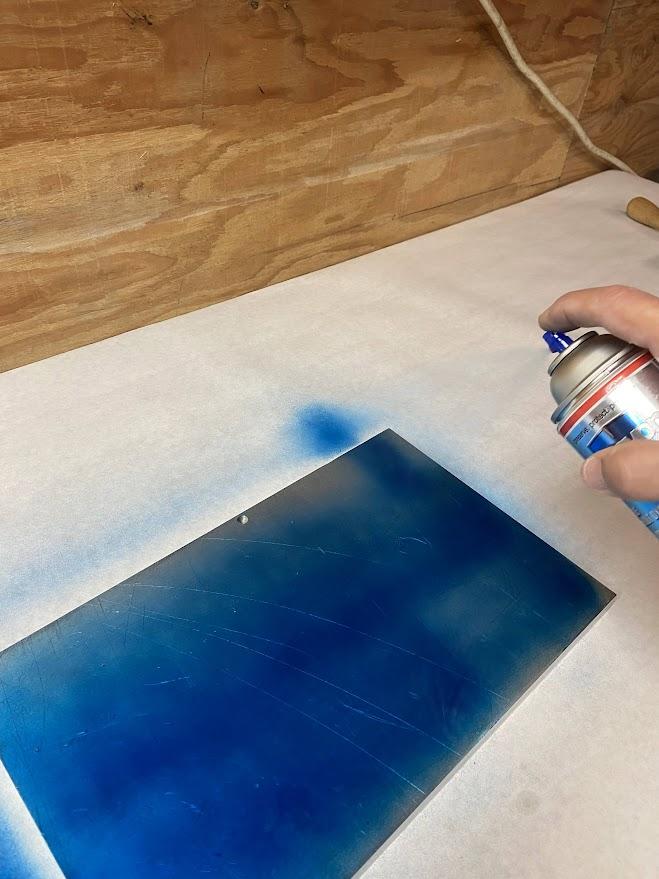
Now you are ready to apply the layout fluid. Apply the dye heavily enough to provide a solid layer of contrasting color. Ensure the entire surface is covered up to the edges. Monitor for splatters or over spray. Removing the layout fluid from porous surfaces is difficult and could result in permanent staining.
Once the surface is coated with layout dye and has time to dry, you may begin to apply layout lines on top of the dye.
Attributions
- Figure 5.13: Layout fluid for marking parts by Damon Donner, for WA Open ProfTech, © SBCTC, CC BY 4.0
- Figure 5.14: Layout dye being applied by spraying by Damon Donner, for WA Open ProfTech, © SBCTC, CC BY 4.0
- Figure 5.15: Permanent marker used for layout by Damon Donner, for WA Open ProfTech, © SBCTC, CC BY 4.0
- Figure 5.16: Clean the surface before applying layout fluid by Damon Donner, for WA Open ProfTech, © SBCTC, CC BY 4.0
- Figure 5.17: Reference datum edge cleaned by Damon Donner, for WA Open ProfTech, © SBCTC, CC BY 4.0
- Figure 5.18: Stock coated in layout dye by Damon Donner, for WA Open ProfTech, © SBCTC, CC BY 4.0
a contrasting color used to provide a solid color base layer on which layout lines are scribed
a tool with a sharp point used to scratch lines during layout operations
