8.12 Tapping
Micky R. Jennings
Tapping is a secondary machining process where threads are cut on the inside of an existing hole using a tap. Tapped holes are generally a means for screw thread fasteners to engage with machined parts creating a mechanical connection.
Prior Allowances
Before threads can be cut in a part, a hole must be drilled. The hole will be drilled to what machinists call the tap drill size (TDS). Generally speaking, TDS leaves enough material for 75% thread engagement. TDS is easy to calculate. One quick and easy way that most machinists use is to look at a decimal equivalency chart. Most charts have the common course and fine unified TDS listed, as well as metric TDS. Another method is to use a formula to calculate the TDS. The formula is:
TDS = Nominal Dia. – 1/N
In this formula the nominal diameter refers to the size of the bolt. “N” is the number of threads per inch. For example, if a TDS for a 3/8-16 bolt is required, the equation would look like this.
TDS = 3/8 – 1/16
TDS = .375 – .062
TDS = .313
Step by step process for tapping by hand:
- Drill the positions for the tapped holes using the TDS.
- With a center finder or the tap drill, align and secure the vise to the table.
- Install a spring-loaded tap guide into the chuck.
- Lube the hole and the tap.
- Place the tip of the tap into the hole, and the point of the tap guide into the center on the back of the tap. If the tap doesn’t have a center, use a tee handle tap wrench that has a center in it.
- Pull the quill down to load the tap guide.
- Gently turn the tap with a wrench or tap handle to depth.
- Examine the threaded hole.
Step 2: With a center finder, or the tap drill, align and secure the vise to the table.

Step 2: With a center finder or the tap drill, align and secure the vise to the table.

Step 2: With a center finder, or the tap drill, align and secure the vise to the table.

Step 4: Lube the hole and the tap.

Step 7: Gently turn the tap with a wrench or tap handle to depth.

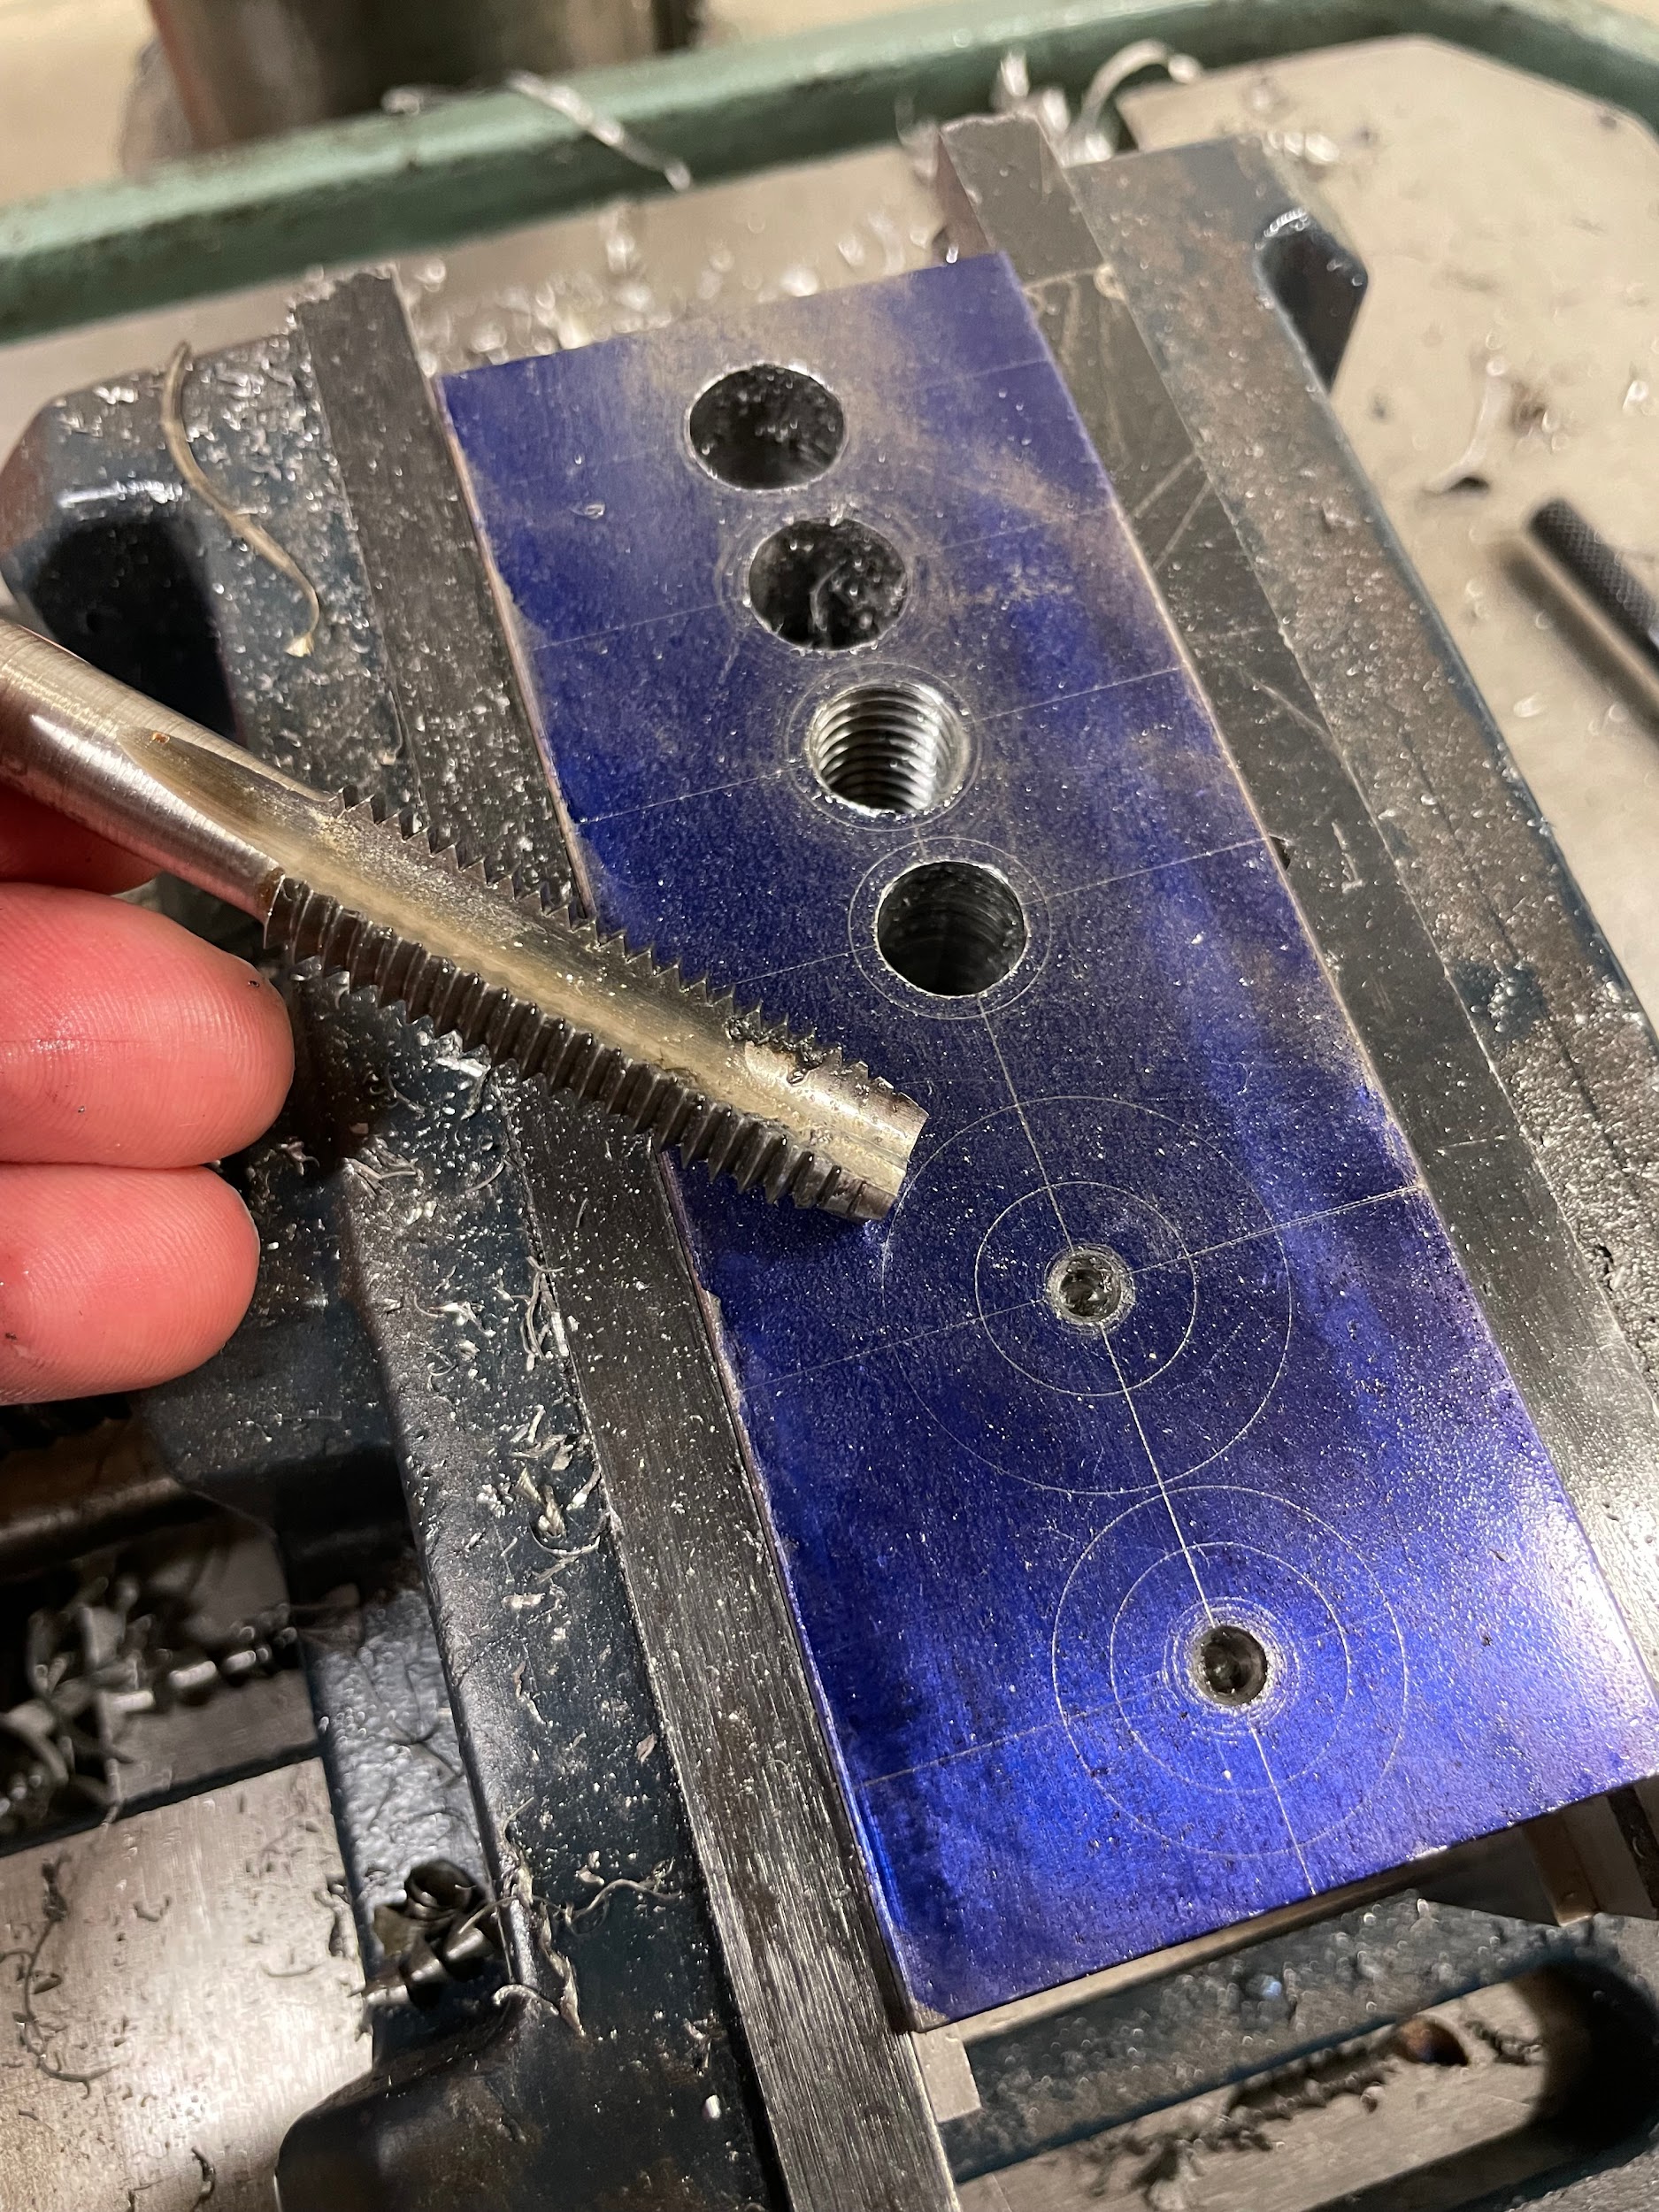
Step 8: Examine the threaded hole.
Step by step process for power tapping:
- Drill the positions for the tapped holes using the TDS.
- With a center finder, or the tap drill, align and secure the vise to the table.
- Install the tap into the drill chuck, tap holder, or tapping head.
- Lube the hole and tap with cutting oil.
- Select a slow speed, about 100-200RPM.
- Pull the tap into the hole with moderate force to get the first thread to catch, the tap will then feed itself into the hole.
- Once the tool is at depth, reverse the spindle if using a drill chuck or tap holder on a machine that allows it. If the machine doesn’t have a reverse, just shut off the spindle and back tap out by hand. Some tapping heads will have an auto reversing feature that allows the operator to simply pull up on the quill handle to change gears and reverse the motion of the spindle.
- Examine the tapped hole.
Step 2: With a center finder, or the tap drill, align and secure the vise to the table.

Step 4: Lube the hole and tap with cutting oil.

Step 6: Pull the tap into the hole with moderate force to get the first thread to catch, the tap will then feed itself into the hole.

Author’s Tip
I personally power tap anything ⅜” or larger. Let the machine do the hard work. Anything ¼” or smaller, I tap by hand. Small taps are easily broken. For 5/16″ inch taps, I could go either way, depending on how much I want to push my luck. How many parts are there? How much are the parts worth? Are there extra parts? How many taps do I have? Ask yourself these important questions before power tapping below ⅜”.
Tolerances
Depending on the class and fit requirements of the thread, the tolerance will differ. On the least precise end of the scale, parts may only require that a test bolt be able to thread into the hole to be considered good. On the other end of the scale, the machinist would be required to measure the TDS to ensure proper thread engagement, and then a go, no-go gage would be used to test both the pitch diameter and form of the thread.
Attributions
- Video 8.24: Micky R. Jennings, courtesy of Wenatchee Valley College, for WA Open ProfTech, © SBCTC, CC BY 4.0
- Figure 8.93: Securing vise by Micky R. Jennings, courtesy of Wenatchee Valley College, for WA Open ProfTech, © SBCTC, CC BY 4.0
- Video 8.25: Micky R. Jennings, courtesy of Wenatchee Valley College, for WA Open ProfTech, © SBCTC, CC BY 4.0
- Video 8.26: Micky R. Jennings, courtesy of Wenatchee Valley College, for WA Open ProfTech, © SBCTC, CC BY 4.0
- Video 8.27: Micky R. Jennings, courtesy of Wenatchee Valley College, for WA Open ProfTech, © SBCTC, CC BY 4.0
- Figure 8.94: Finished hand tapping by Micky R. Jennings, courtesy of Wenatchee Valley College, for WA Open ProfTech, © SBCTC, CC BY 4.0
- Video 8.28: Micky R. Jennings, courtesy of Wenatchee Valley College, for WA Open ProfTech, © SBCTC, CC BY 4.0
- Video 8.29: Micky R. Jennings, courtesy of Wenatchee Valley College, for WA Open ProfTech, © SBCTC, CC BY 4.0
- Video 8.30: Micky R. Jennings, courtesy of Wenatchee Valley College, for WA Open ProfTech, © SBCTC, CC BY 4.0
The process of using a tap to create threads in a hole.
