9.18 Slitting
Micky R. Jennings
Slitting is the process of using a slitting saw in order to create small slot features or to completely remove sections of a part. Saws can come in many different shapes and sizes. Sometimes smaller than 1″ in diameter and 1/32″ in thickness, to over 6″ diameter and ¼” thick. The variety of saws can help the machinist create intricate recessed cuts on parts and in positions that might not otherwise be possible with other tooling. Slots that go beyond 3x diameter in depth can be very difficult to create with end mills or other rotary tooling. Saws can be useful in these situations. Sometimes a pair of parts will be made in a single piece for ease of manufacture and then precisely cut apart with a slitting saw on the milling machine.
One precaution that should be taken when using slitting saws is that they are easily broken if they become overloaded. Generally speaking, compared to other milling tools, saws have lots of teeth. These saws need to have a relatively small chip load per tooth. If the CPT is too large, the saw gullets can become full, or the torque required to turn the saw will become too great, causing undue stress and causing the saw to break. On a manual milling machine, one particular way to accidentally increase the CPT too much is by climb milling, If climb milling is used while slitting, automatic advancement of the work can occur, and the CPT could easily triple, causing catastrophic failure of the saw. For that reason, when sawing on a manual milling machine that doesn’t have a backlash control device, it is best practice to use conventional milling strategies.
Author’s Tip
When I am setting up a slitting saw, I like to calculate an approximate feed using the same formula for feed as my other milling tools. The difference is that instead of calculating the CPT based on the tool diameter, like an end mill, I use the saw thickness. That will give a decent starting point for most saws.
As far as spindle speeds go, I run saws a bit slower than the traditional speed calculation. The reason for this is that they are generally large in diameter compared to thickness. This can be a great recipe for ringing and frequency resonance. I like to start off at ¼ to ½ speed, depending on the saw, and work my way up if things are going well.
Step by step process for sawing a centered slot:
- Load the saw with the characteristics required of the slot onto the appropriate arbor. If the arbor uses a screw on cap mechanism for holding the saw in place, make sure the saw is installed so that the cutting action will only tighten the cap and not loosen it.
- Load the arbor into the mill spindle.
- Load the part into the vise, leaving the end to be slit overhanging the side.
- Calculate and set the spindle speed.
- Lock the quill.
- Bring the knee up and touch the bottom of the saw to the top of the part.
- Zero the knee.
- Move the saw off to the side of the part.
- Raise the knee to half the thickness of the saw blade. This will put the middle of the blade even with the top of the part.
- Zero the knee.
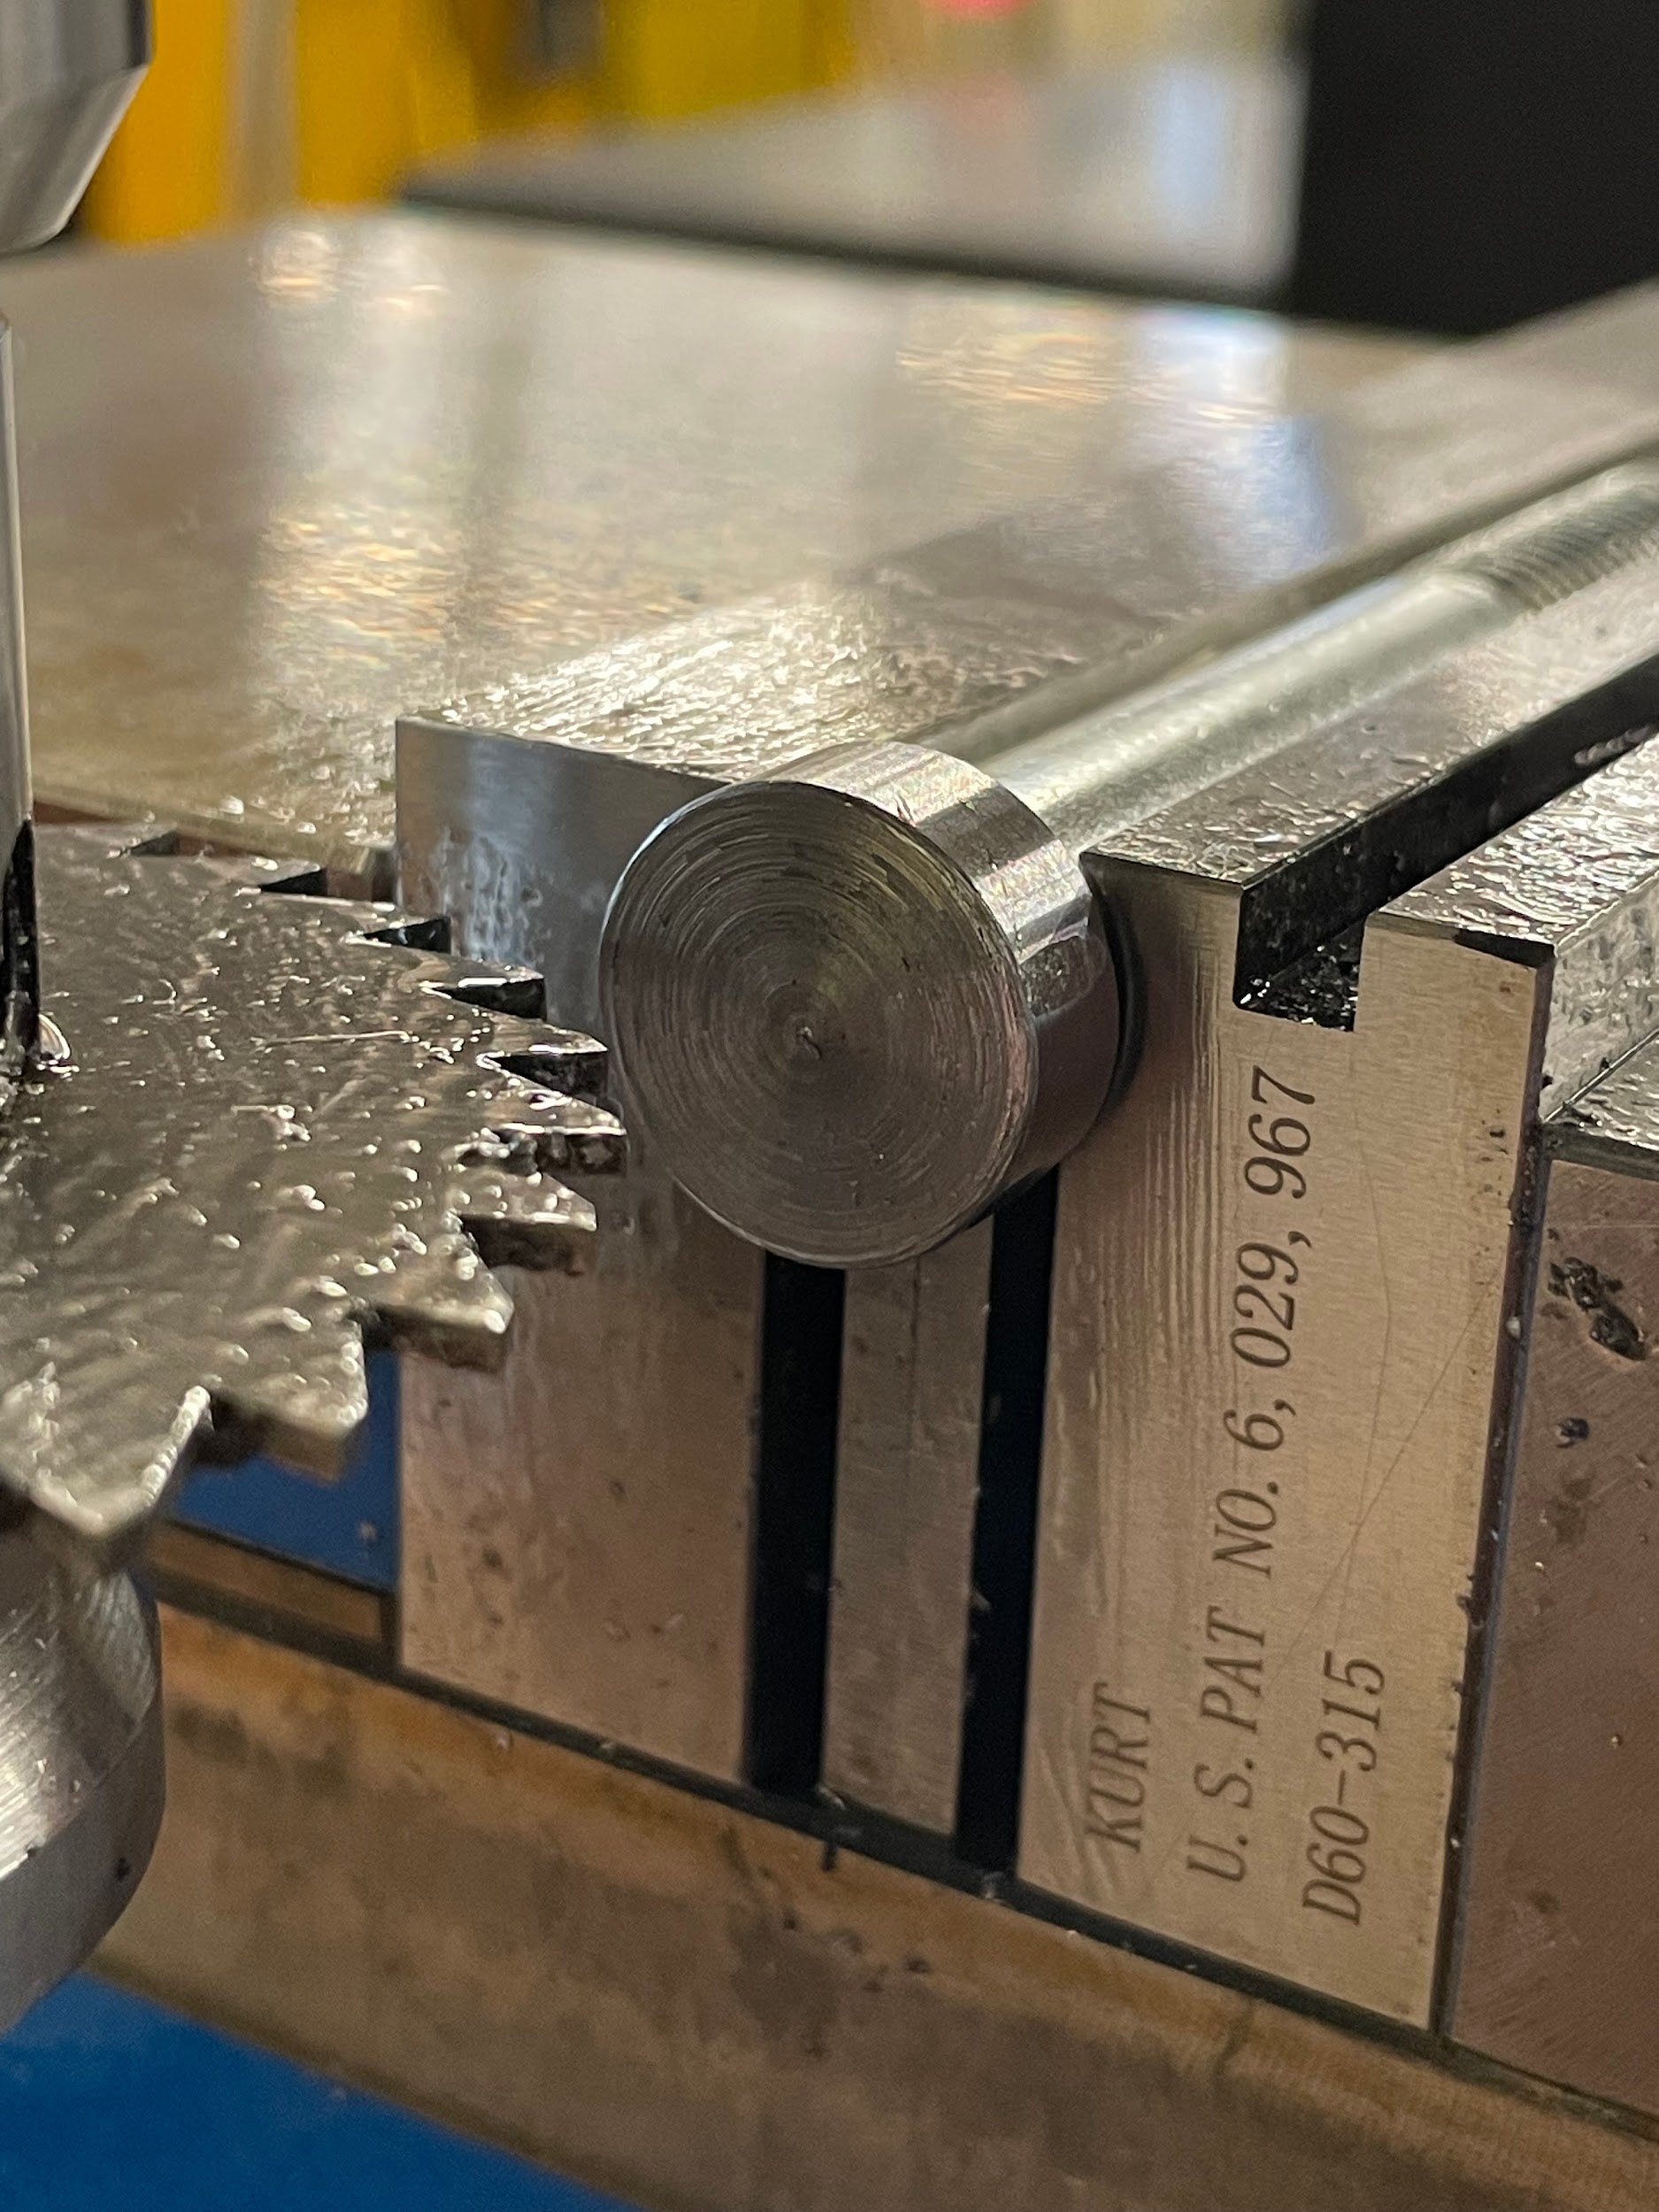
- Raise the knee to half the size of the part. This will put the middle of the saw in line with the middle of the part.
- Zero the knee.
- Start the spindle.
- Touch the tool off on the face of the part by moving the table.
- Zero the table handwheel.
- Move the saddle to the side of the part that will allow conventional milling of the slot.
- Adjust the saw to the desired depth of cut by moving the table.
- Lock the table.
- Lube the saw.
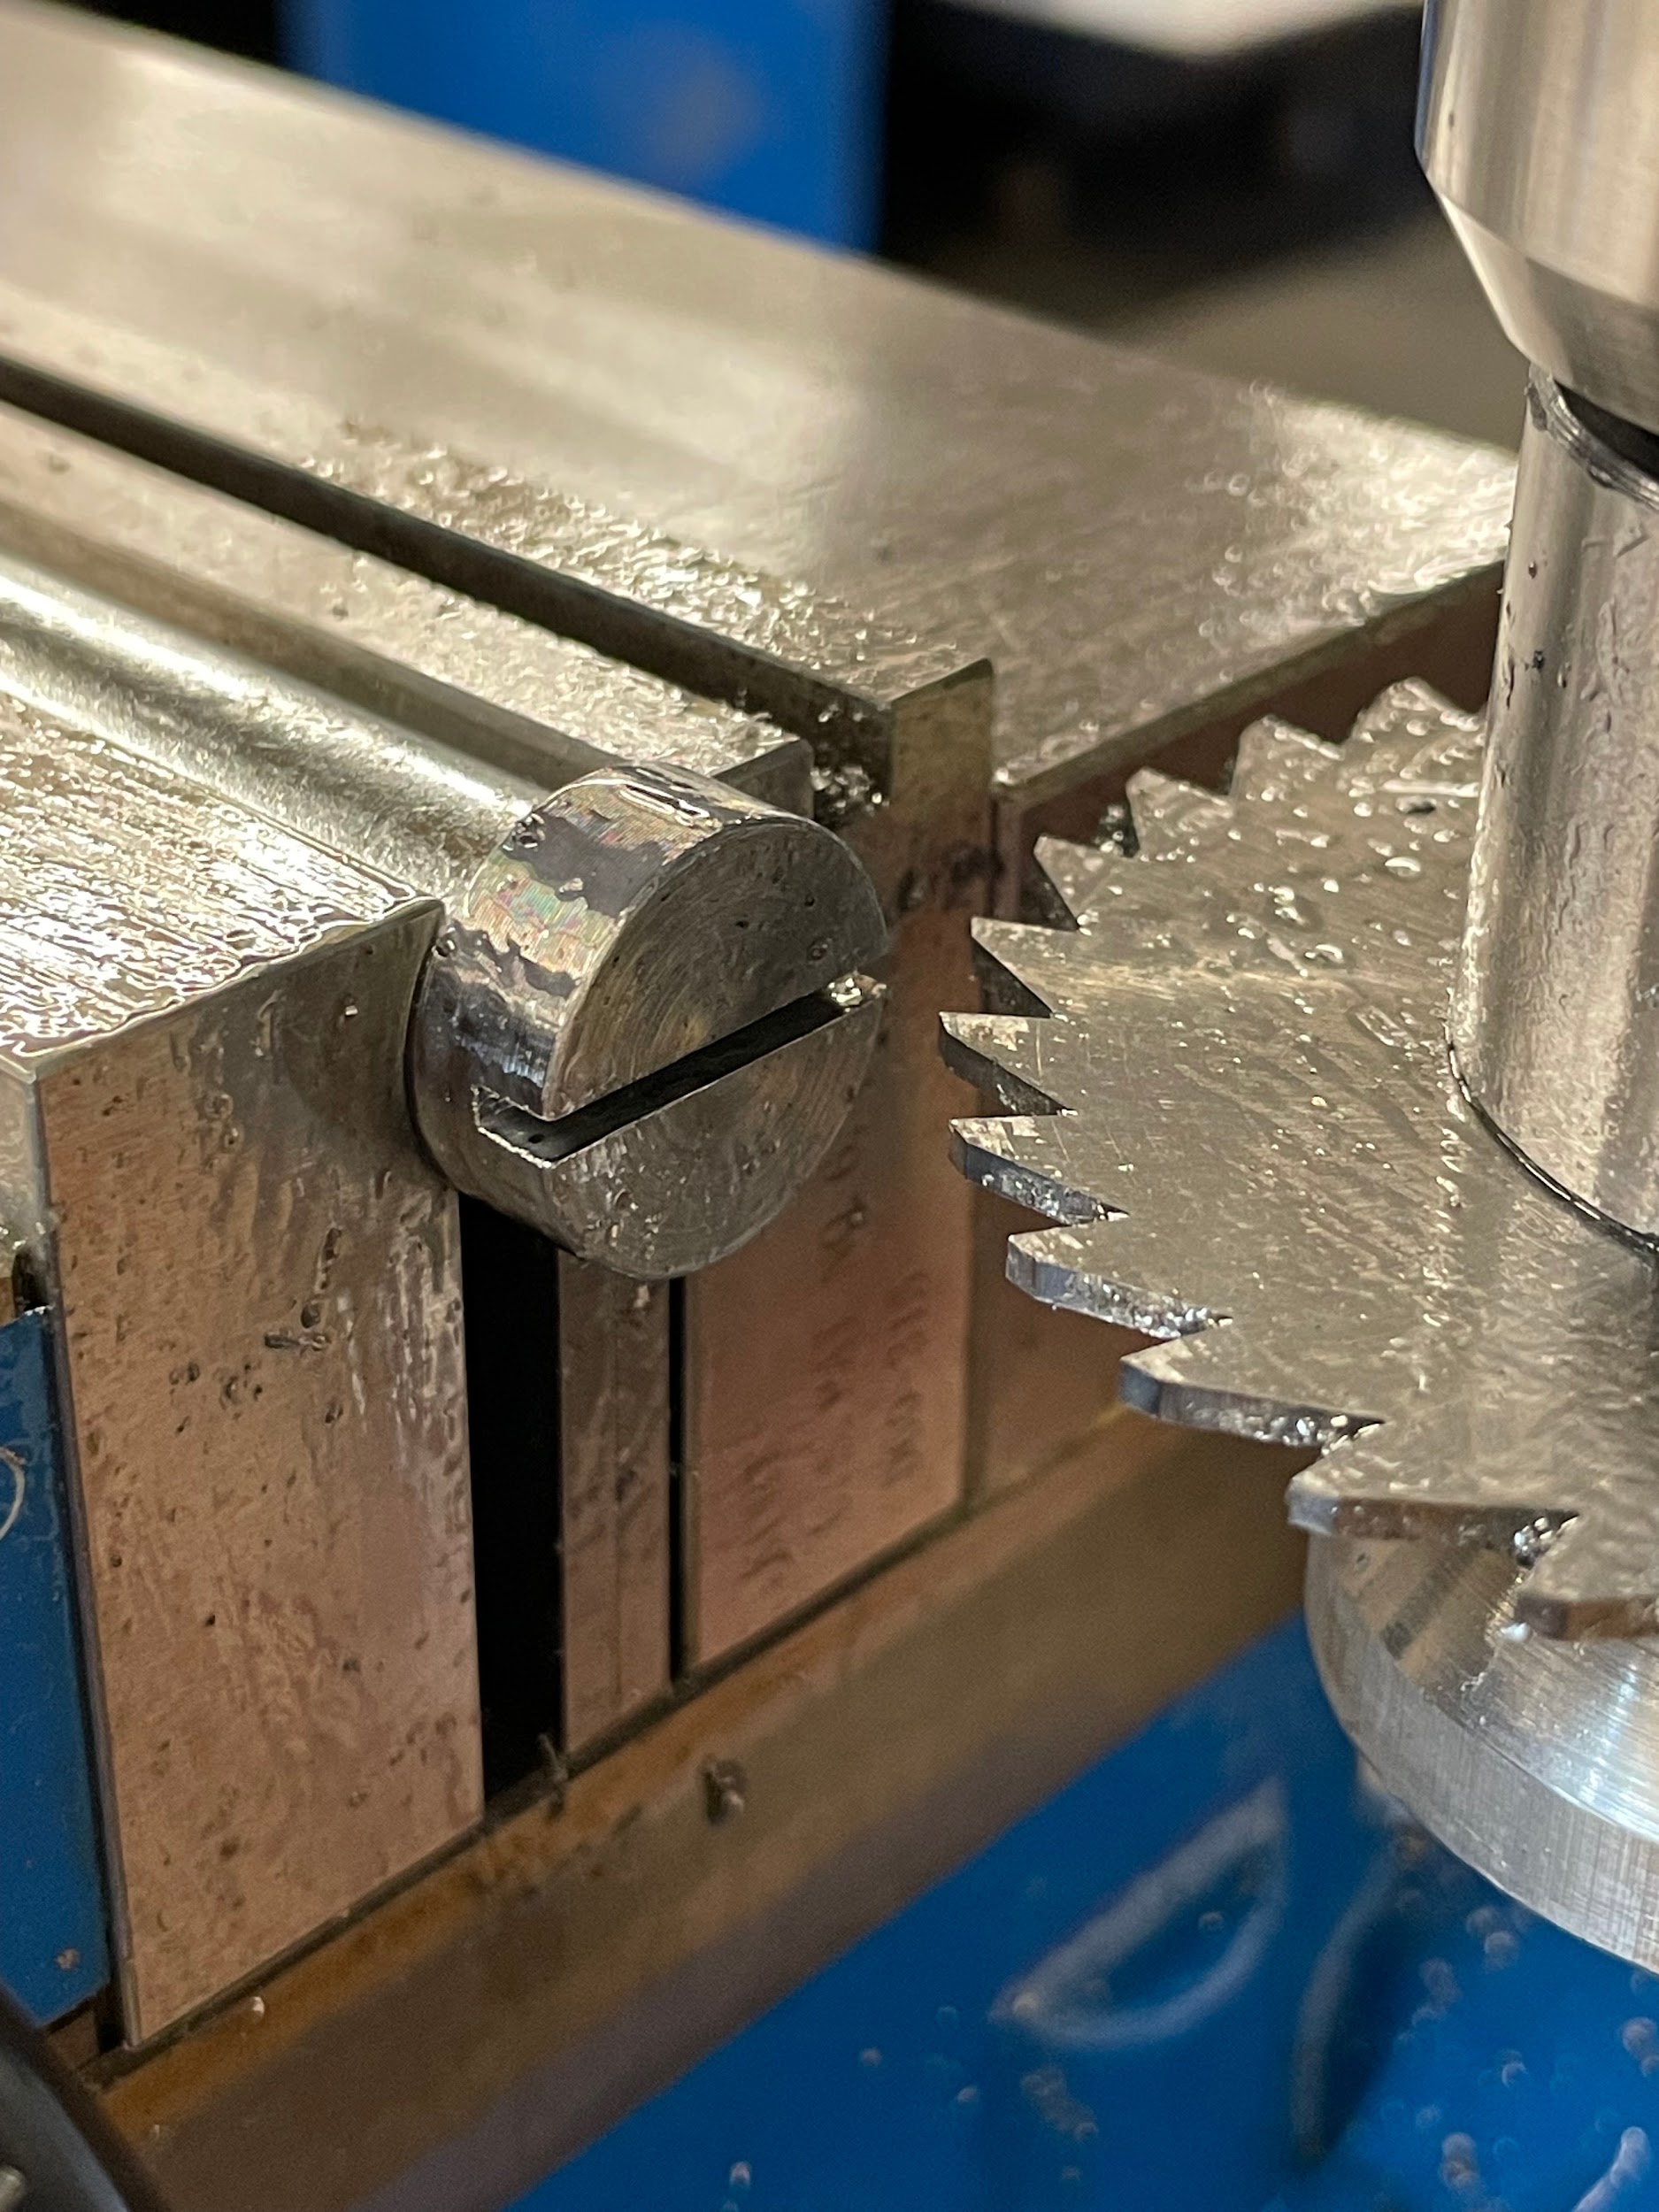
- Slowly move the saddle to cut the slot through the part.
- Apply oil as needed, either with a brush or small bottle.
Step 11: Raise the knee to half the size of the part. This will put the middle of the saw in line with the middle of the part.
Step 19: Lube the saw.

Step 20: Slowly move the saddle to cut the slot through the part.

Step 20: Slowly move the saddle to cut the slot through the part.

Step 20: Slowly move the saddle to cut the slot through the part.

Attributions
- Figure 9.232: Finished slitting cut by Micky R. Jennings, courtesy of Wenatchee Valley College, for WA Open ProfTech, © SBCTC, CC BY 4.0
- Figure 9.233: Centering the saw by Micky R. Jennings, courtesy of Wenatchee Valley College, for WA Open ProfTech, © SBCTC, CC BY 4.0
- Video 9.84: Micky R. Jennings, courtesy of Wenatchee Valley College, for WA Open ProfTech, © SBCTC, CC BY 4.0
- Video 9.85: Micky R. Jennings, courtesy of Wenatchee Valley College, for WA Open ProfTech, © SBCTC, CC BY 4.0
- Video 9.86: Micky R. Jennings, courtesy of Wenatchee Valley College, for WA Open ProfTech, © SBCTC, CC BY 4.0
- Figure 9.234: Finished slitting cut by Micky R. Jennings, courtesy of Wenatchee Valley College, for WA Open ProfTech, © SBCTC, CC BY 4.0
The process of a slitting saw to create thin narrow cut features on a workpiece.
