10.15 Chamfering
Micky R. Jennings

A chamfer is a machined feature that is angled and more uniform than a standard broken edge. Chamfers can be used to soften the sharp outside corners of parts as well as the inside corners of bores and holes. Chamfers can be any angle, but 45 degrees us a common chamfer angle on a lathe print.
Step by step process cutting 45 degree chamfers:
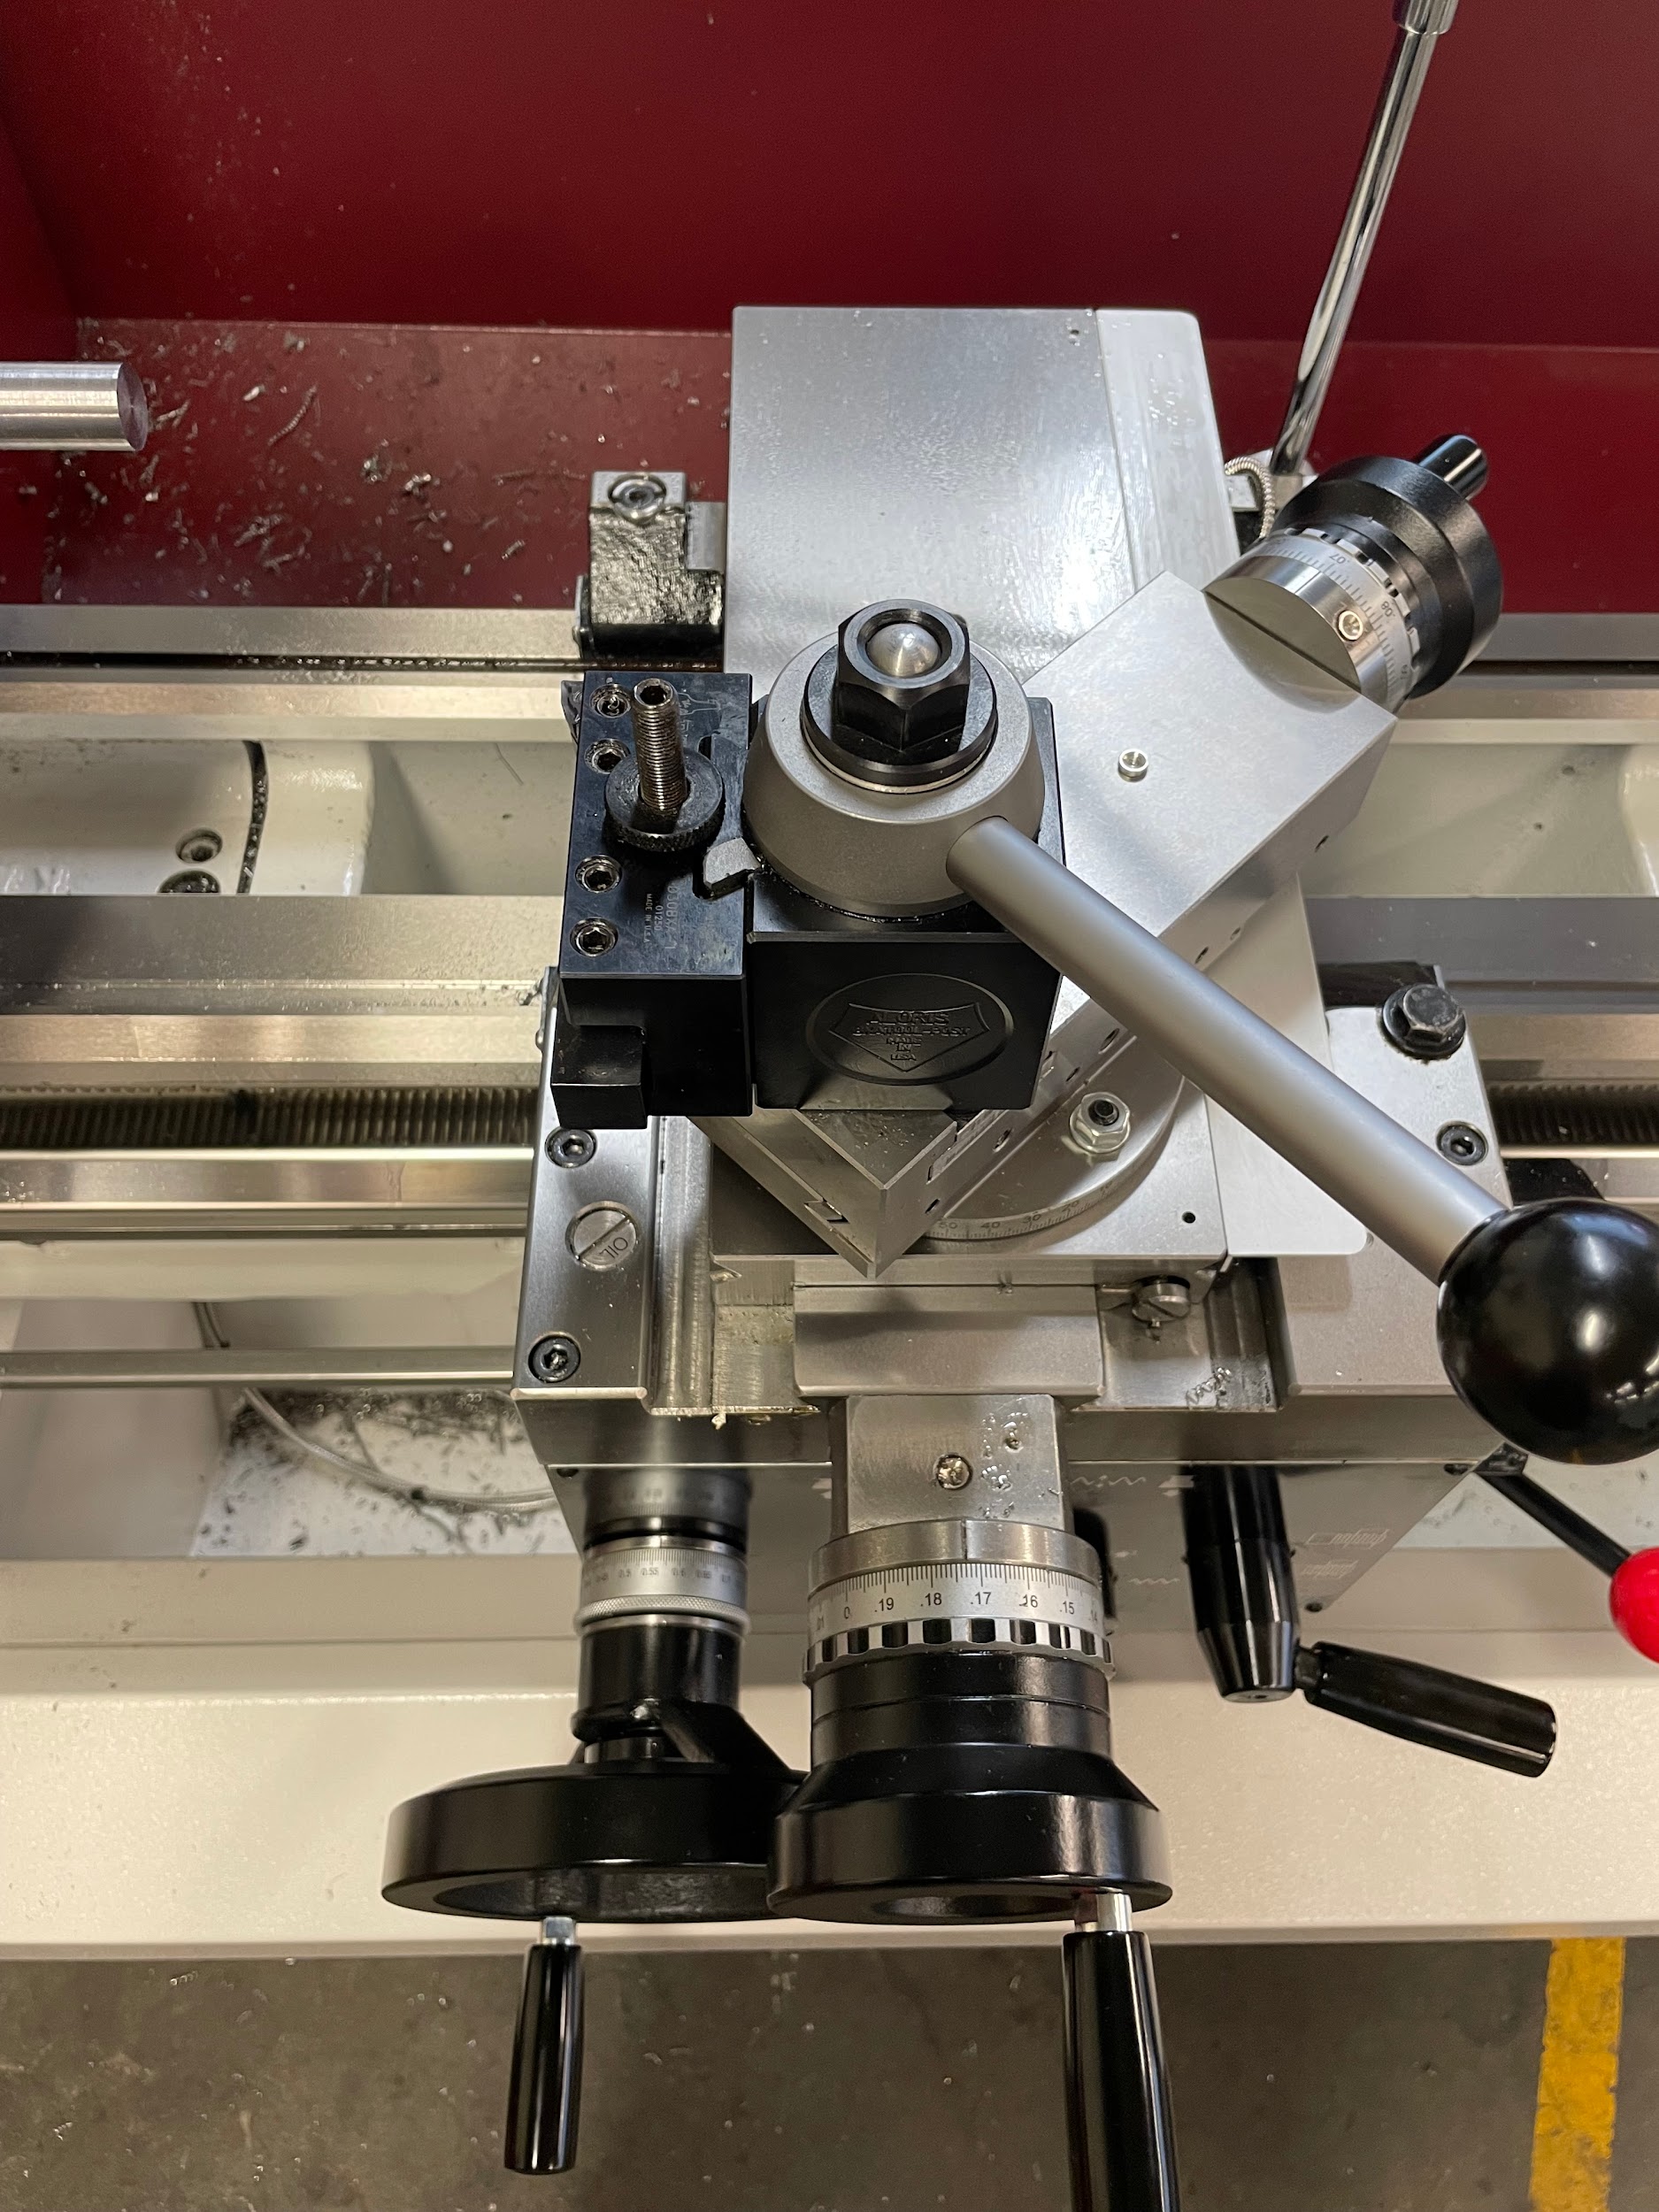
- Adjust the compound to a 45 degree angle.
- Align the tool post.
- Apply layout dye.
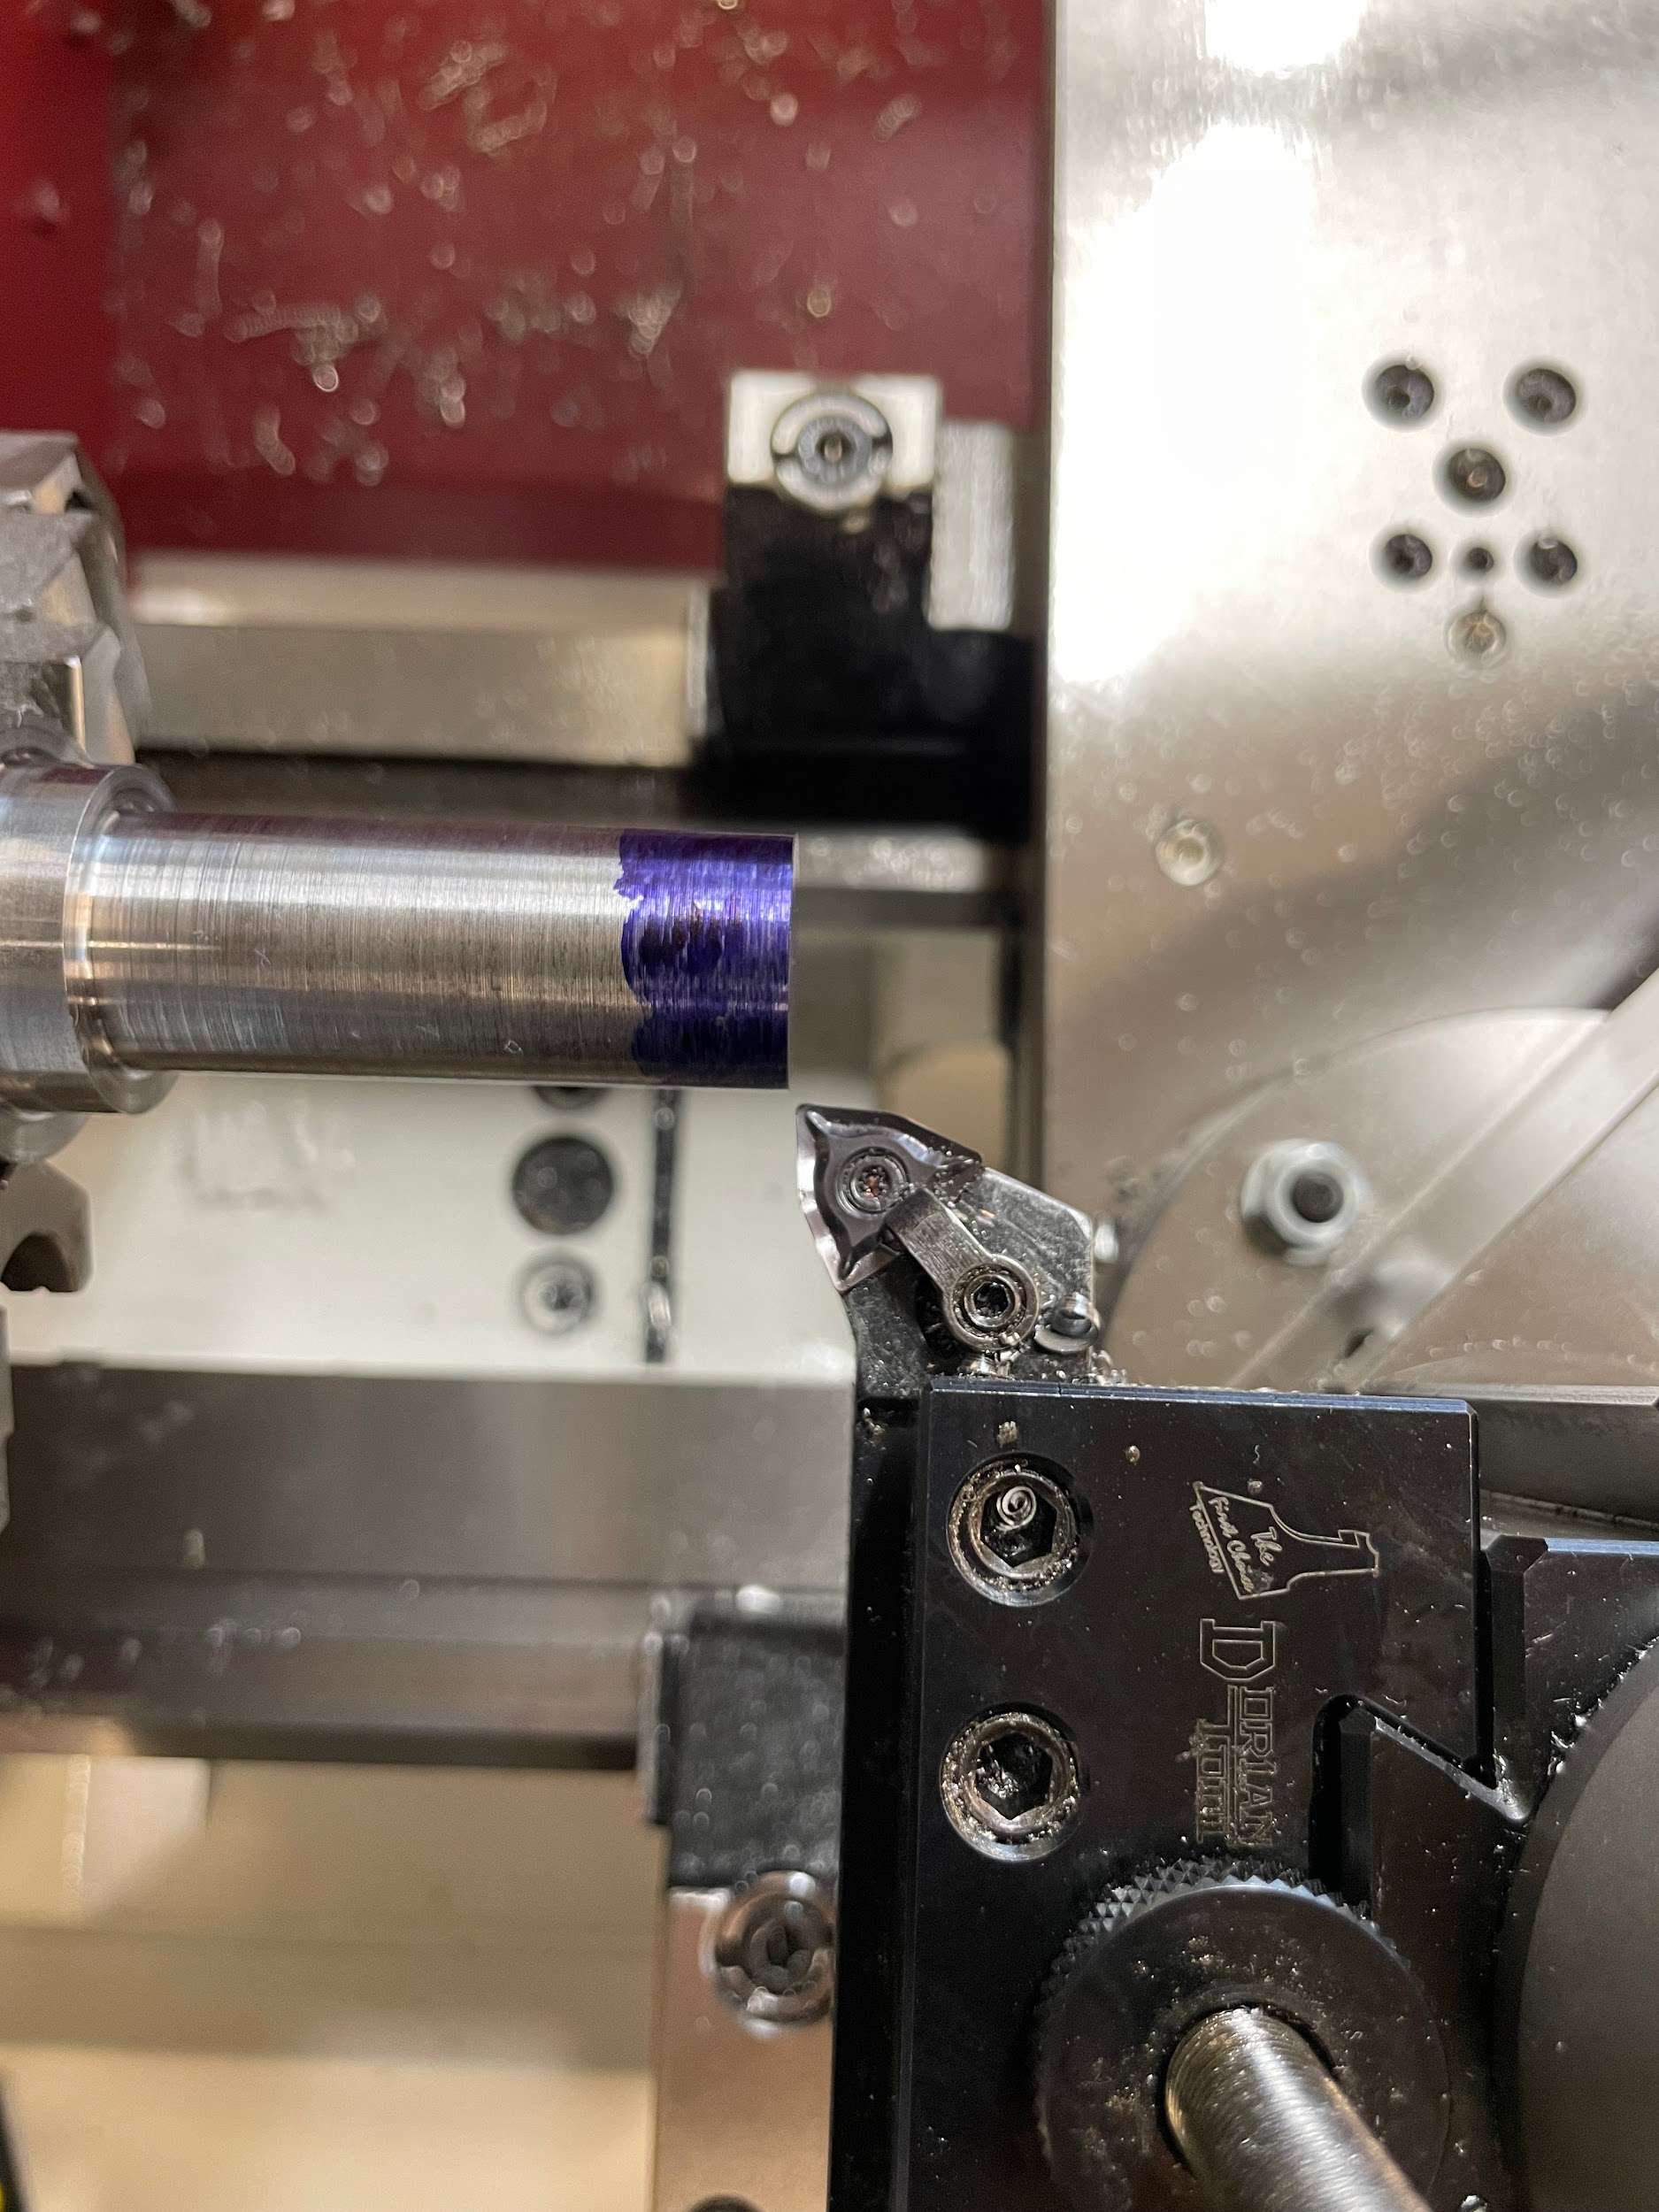
- Bring the tool up close to the corner that needs to be chamfered.
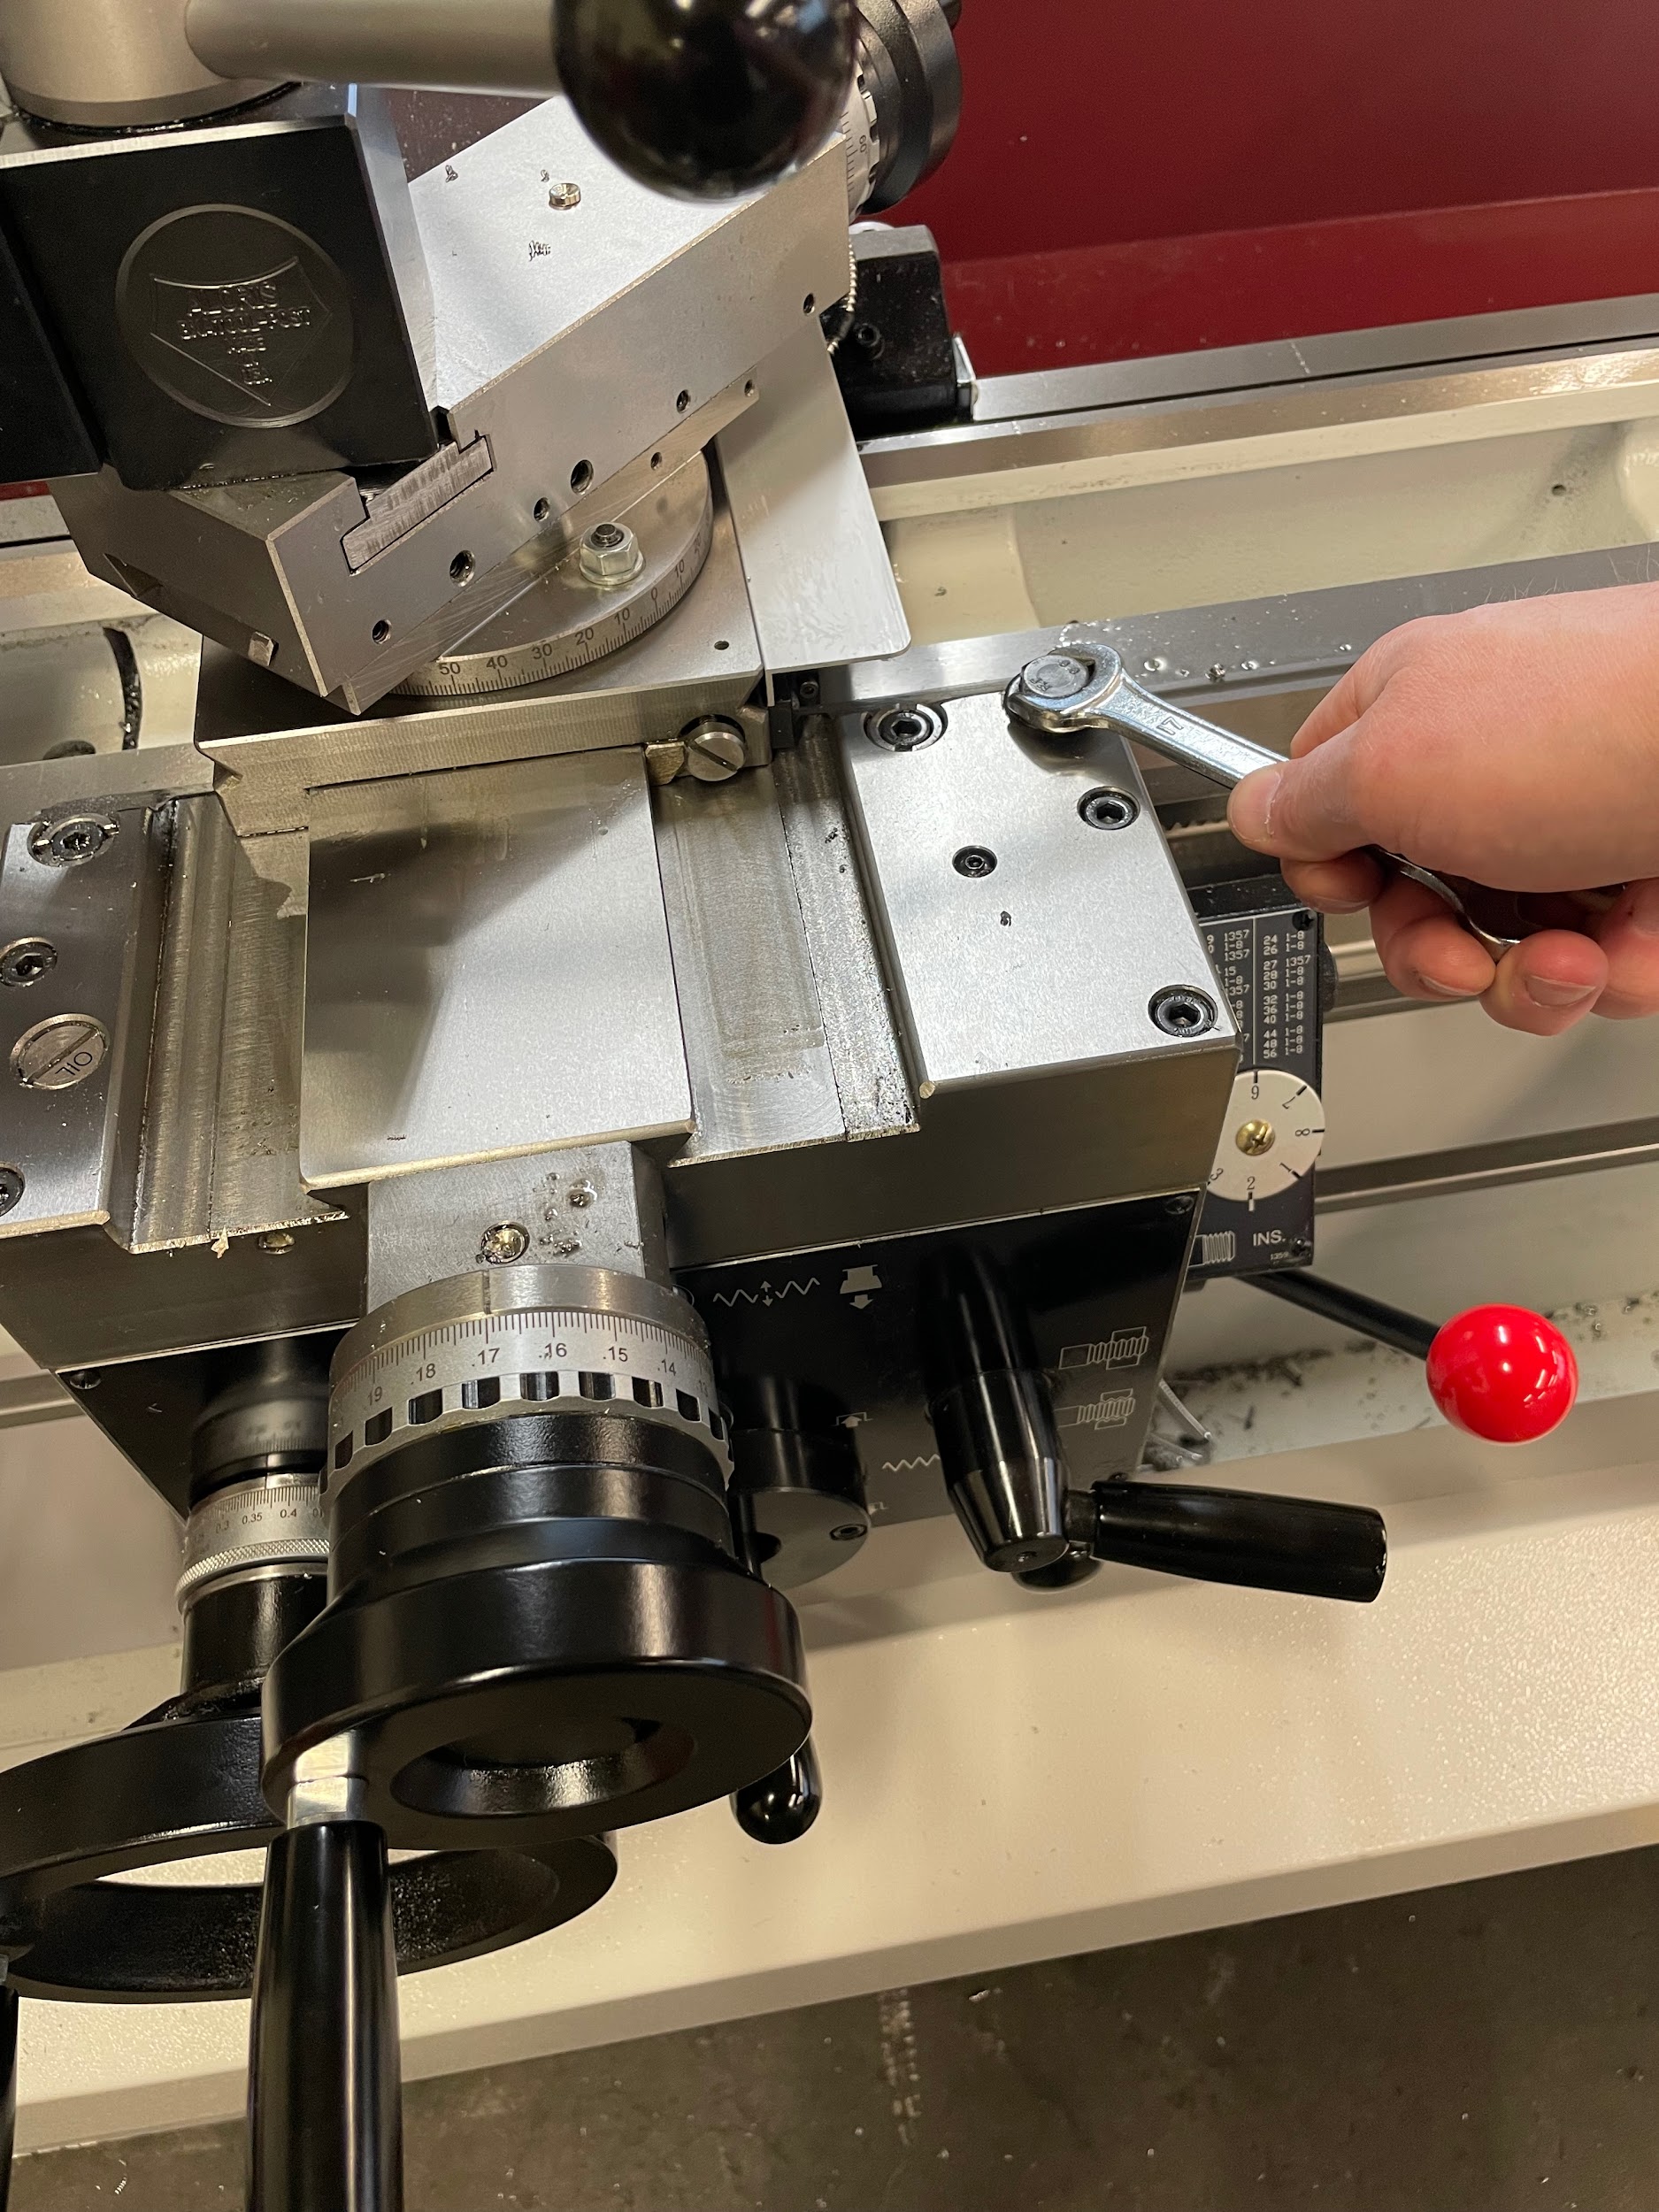
- Lock the carriage.
- Move the compound rest side to side while at the same time slowly moving in on the cross slide until the tip of the tool just touches the corner of the part.
- Zero the cross slide handle.
- Move the tool to just in front of the work with the compound.
- Make depth cuts with the cross slide and cut towards the spindle with the compound until final size is reached.
Author’s Tip
I only cut towards the spindle with the compound. It is okay to rake the tool back across the chamfer surface when roughing multiple passes, but don’t attempt to cut backwards. The reason for this is that the backlash in the compound will give inaccurate sizes when cutting both ways. This can lead to inaccurate measurements and overcutting situations. On the final cut, do not drag the tool back across the finished surface; just back out on the cross slide. This will preserve the nice finish of the forward cut.
Step 1: Adjust the compound to a 45 degree angle.
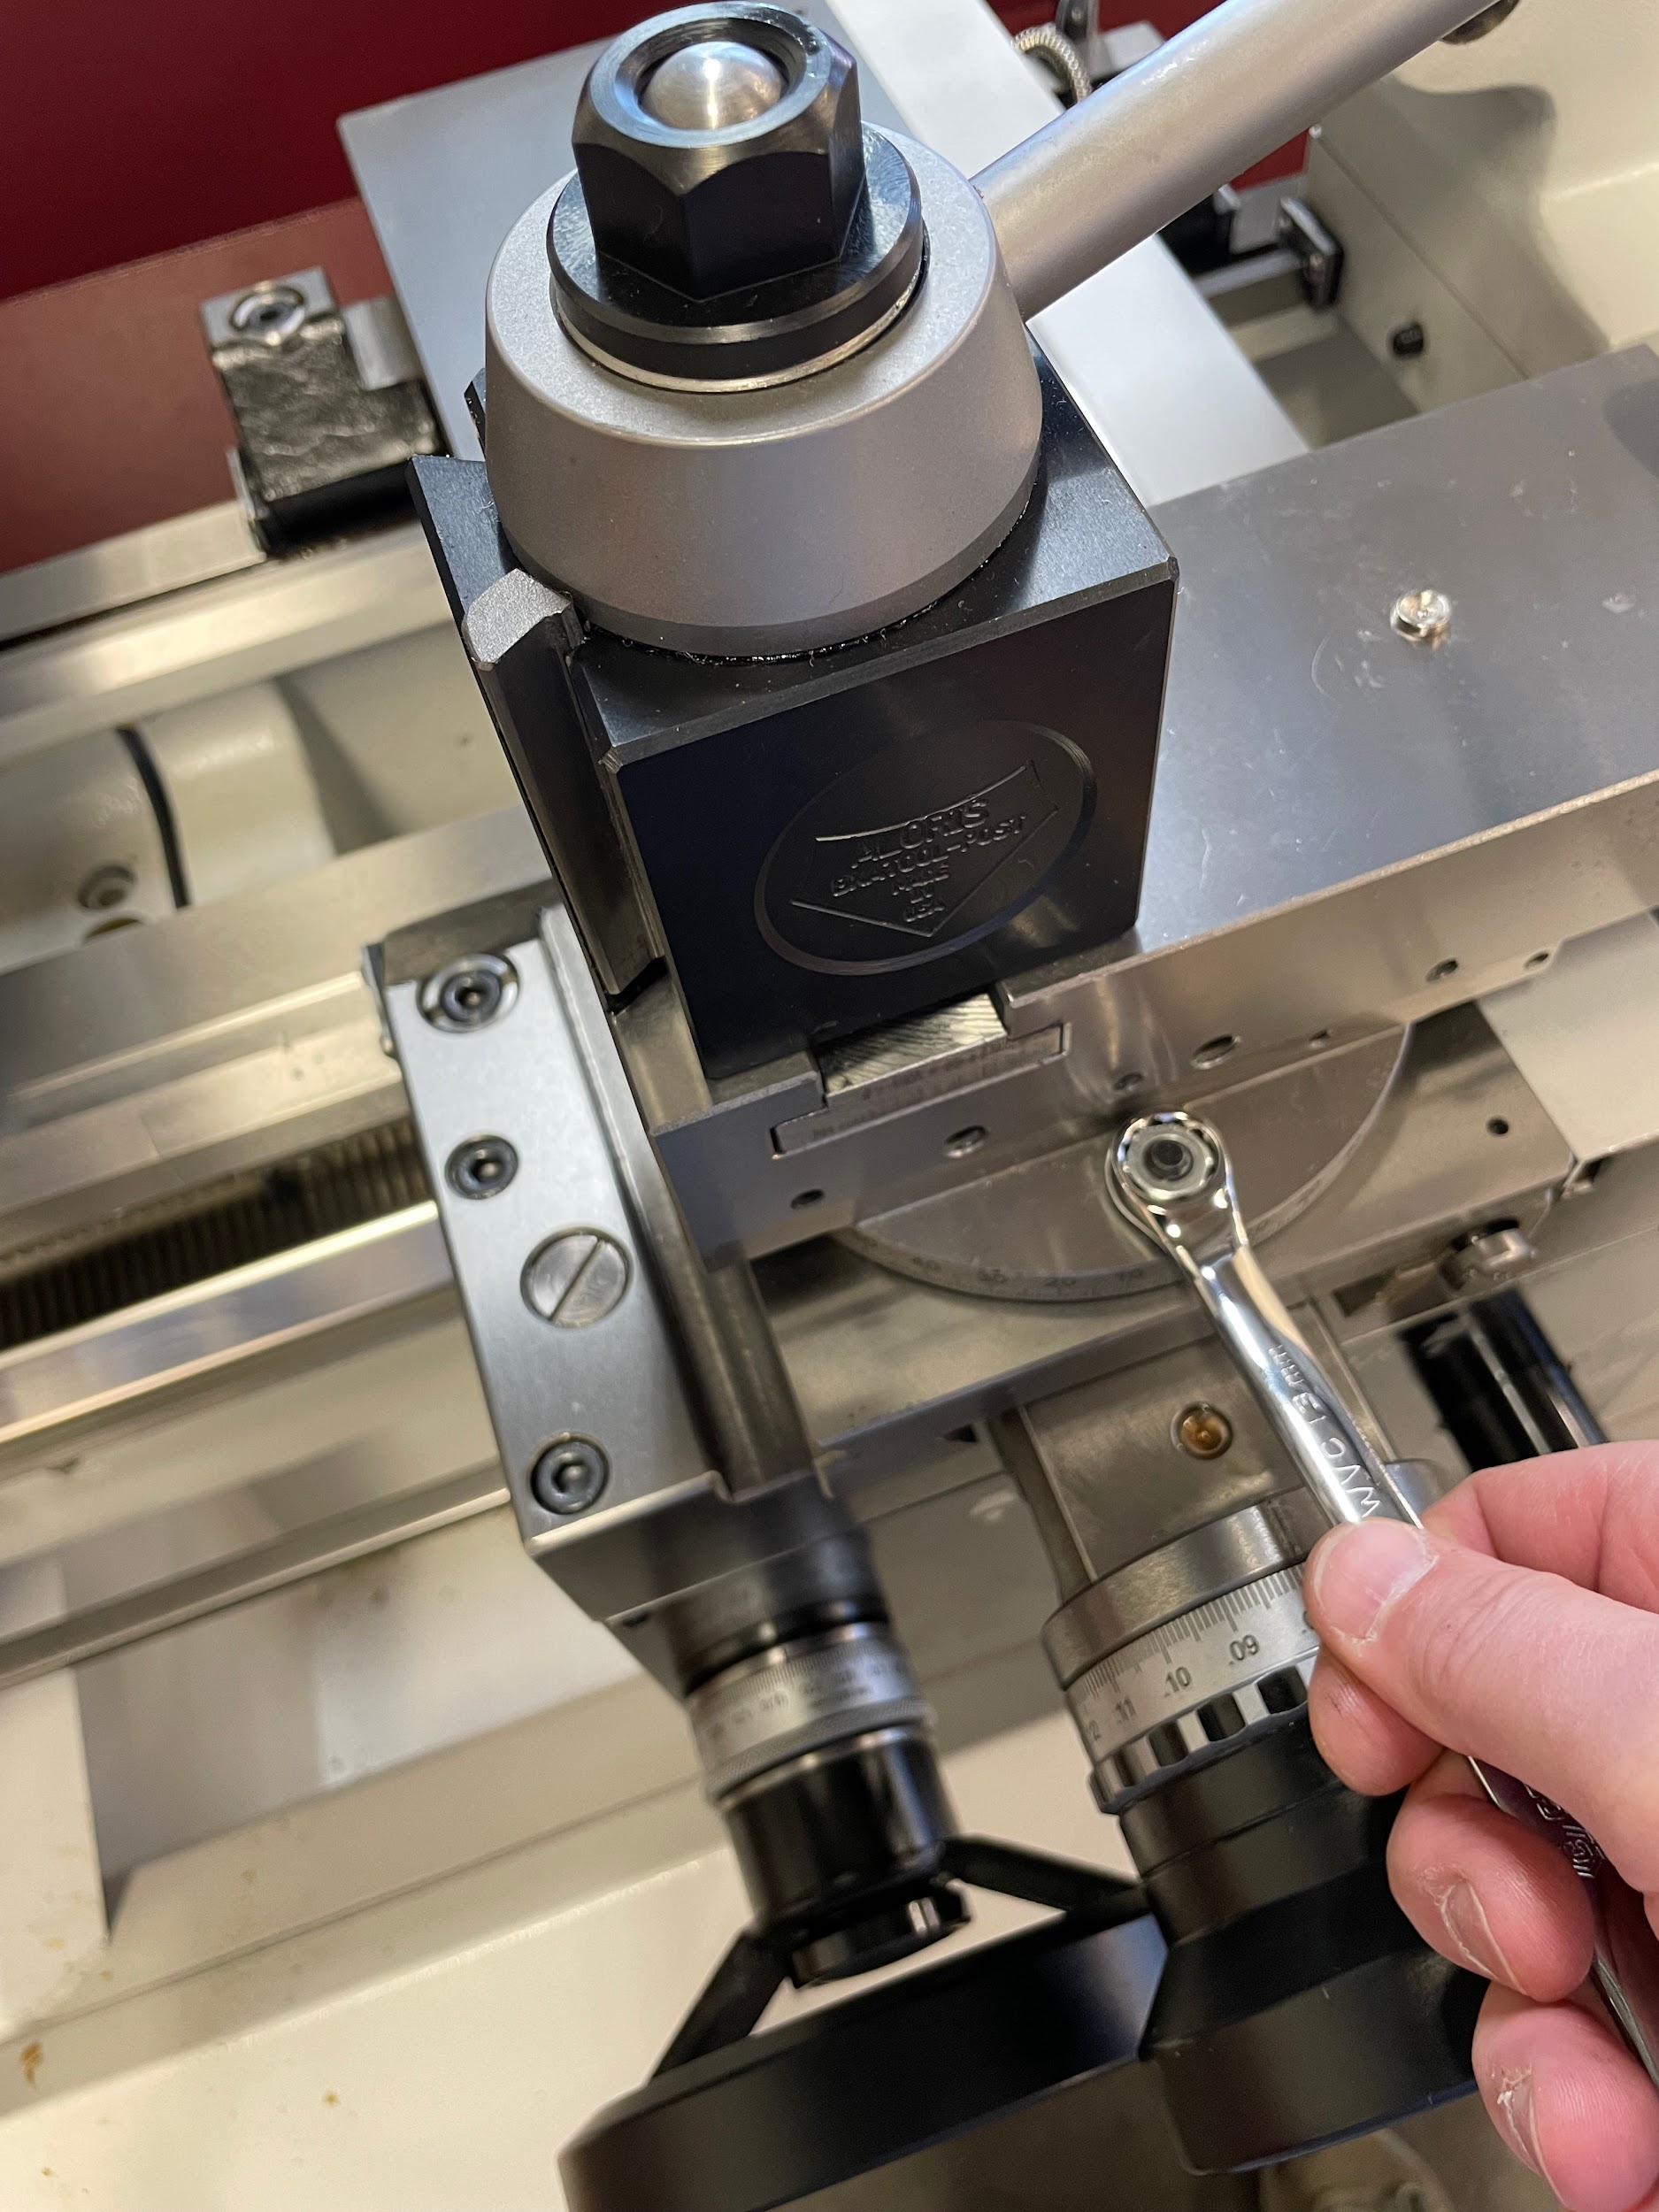
Step 1: Adjust the compound to a 45 degree angle.
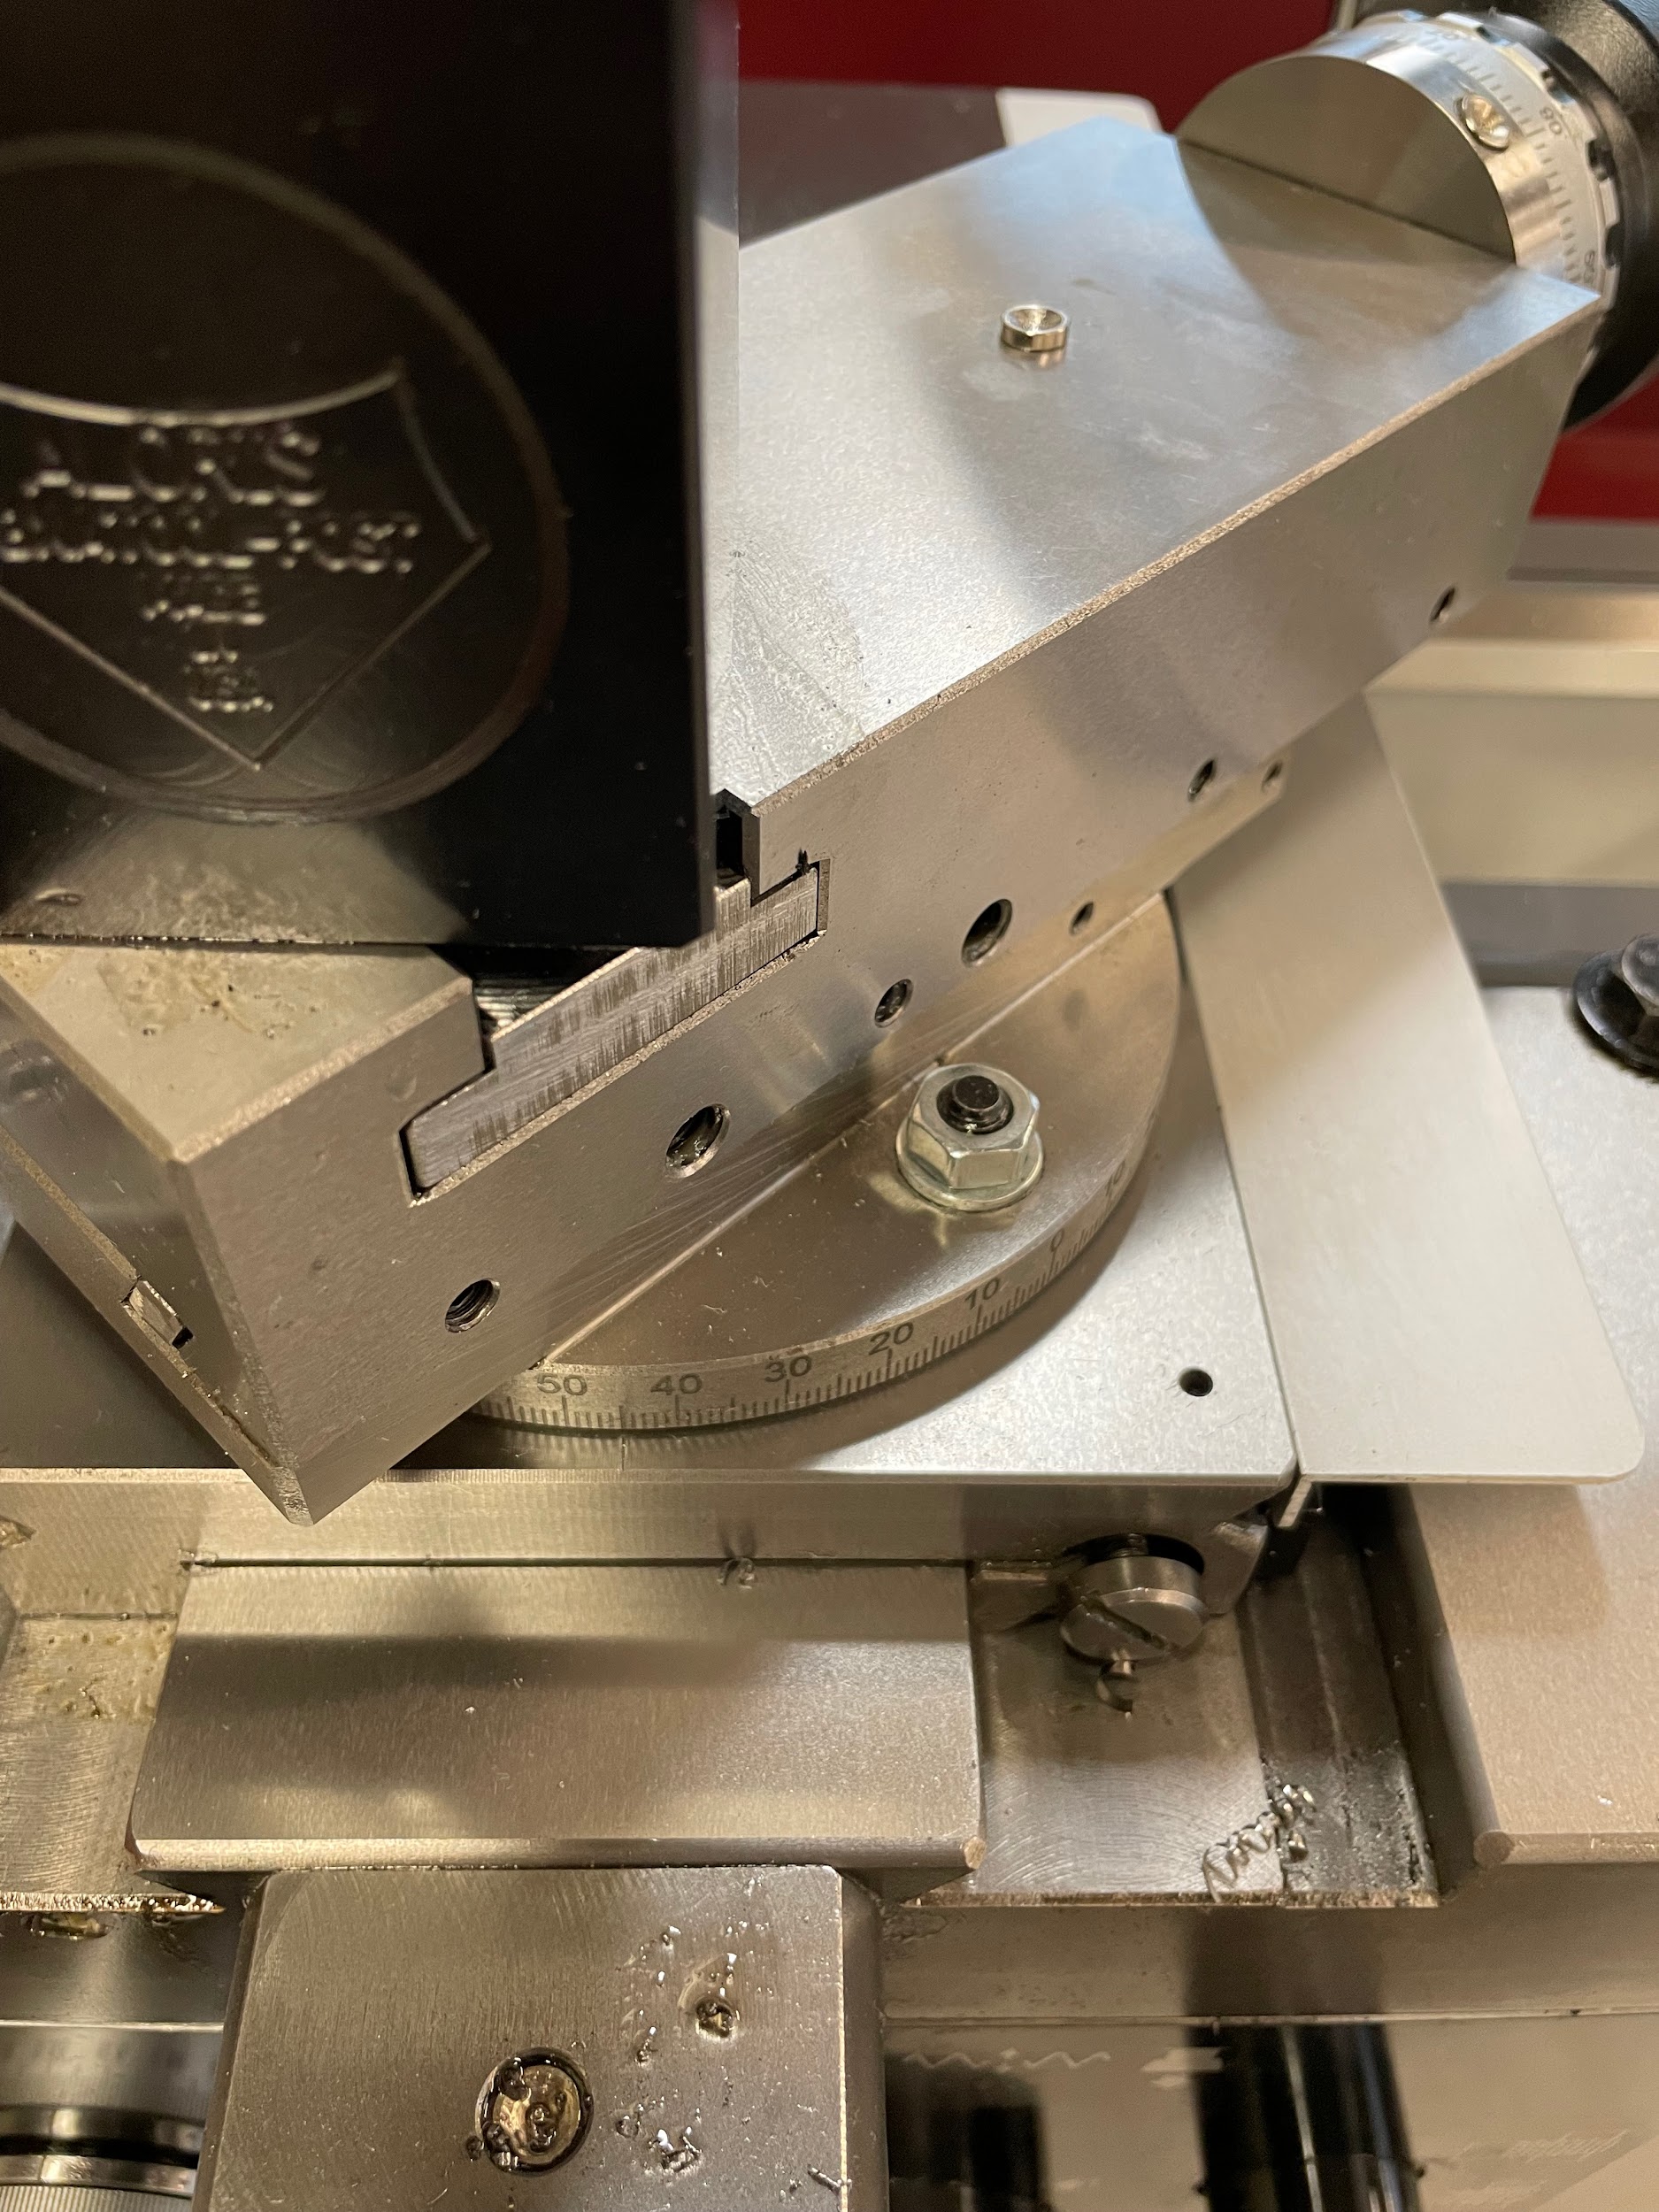
Step 1: Adjust the compound to a 45 degree angle.
Step 3: Apply layout dye.
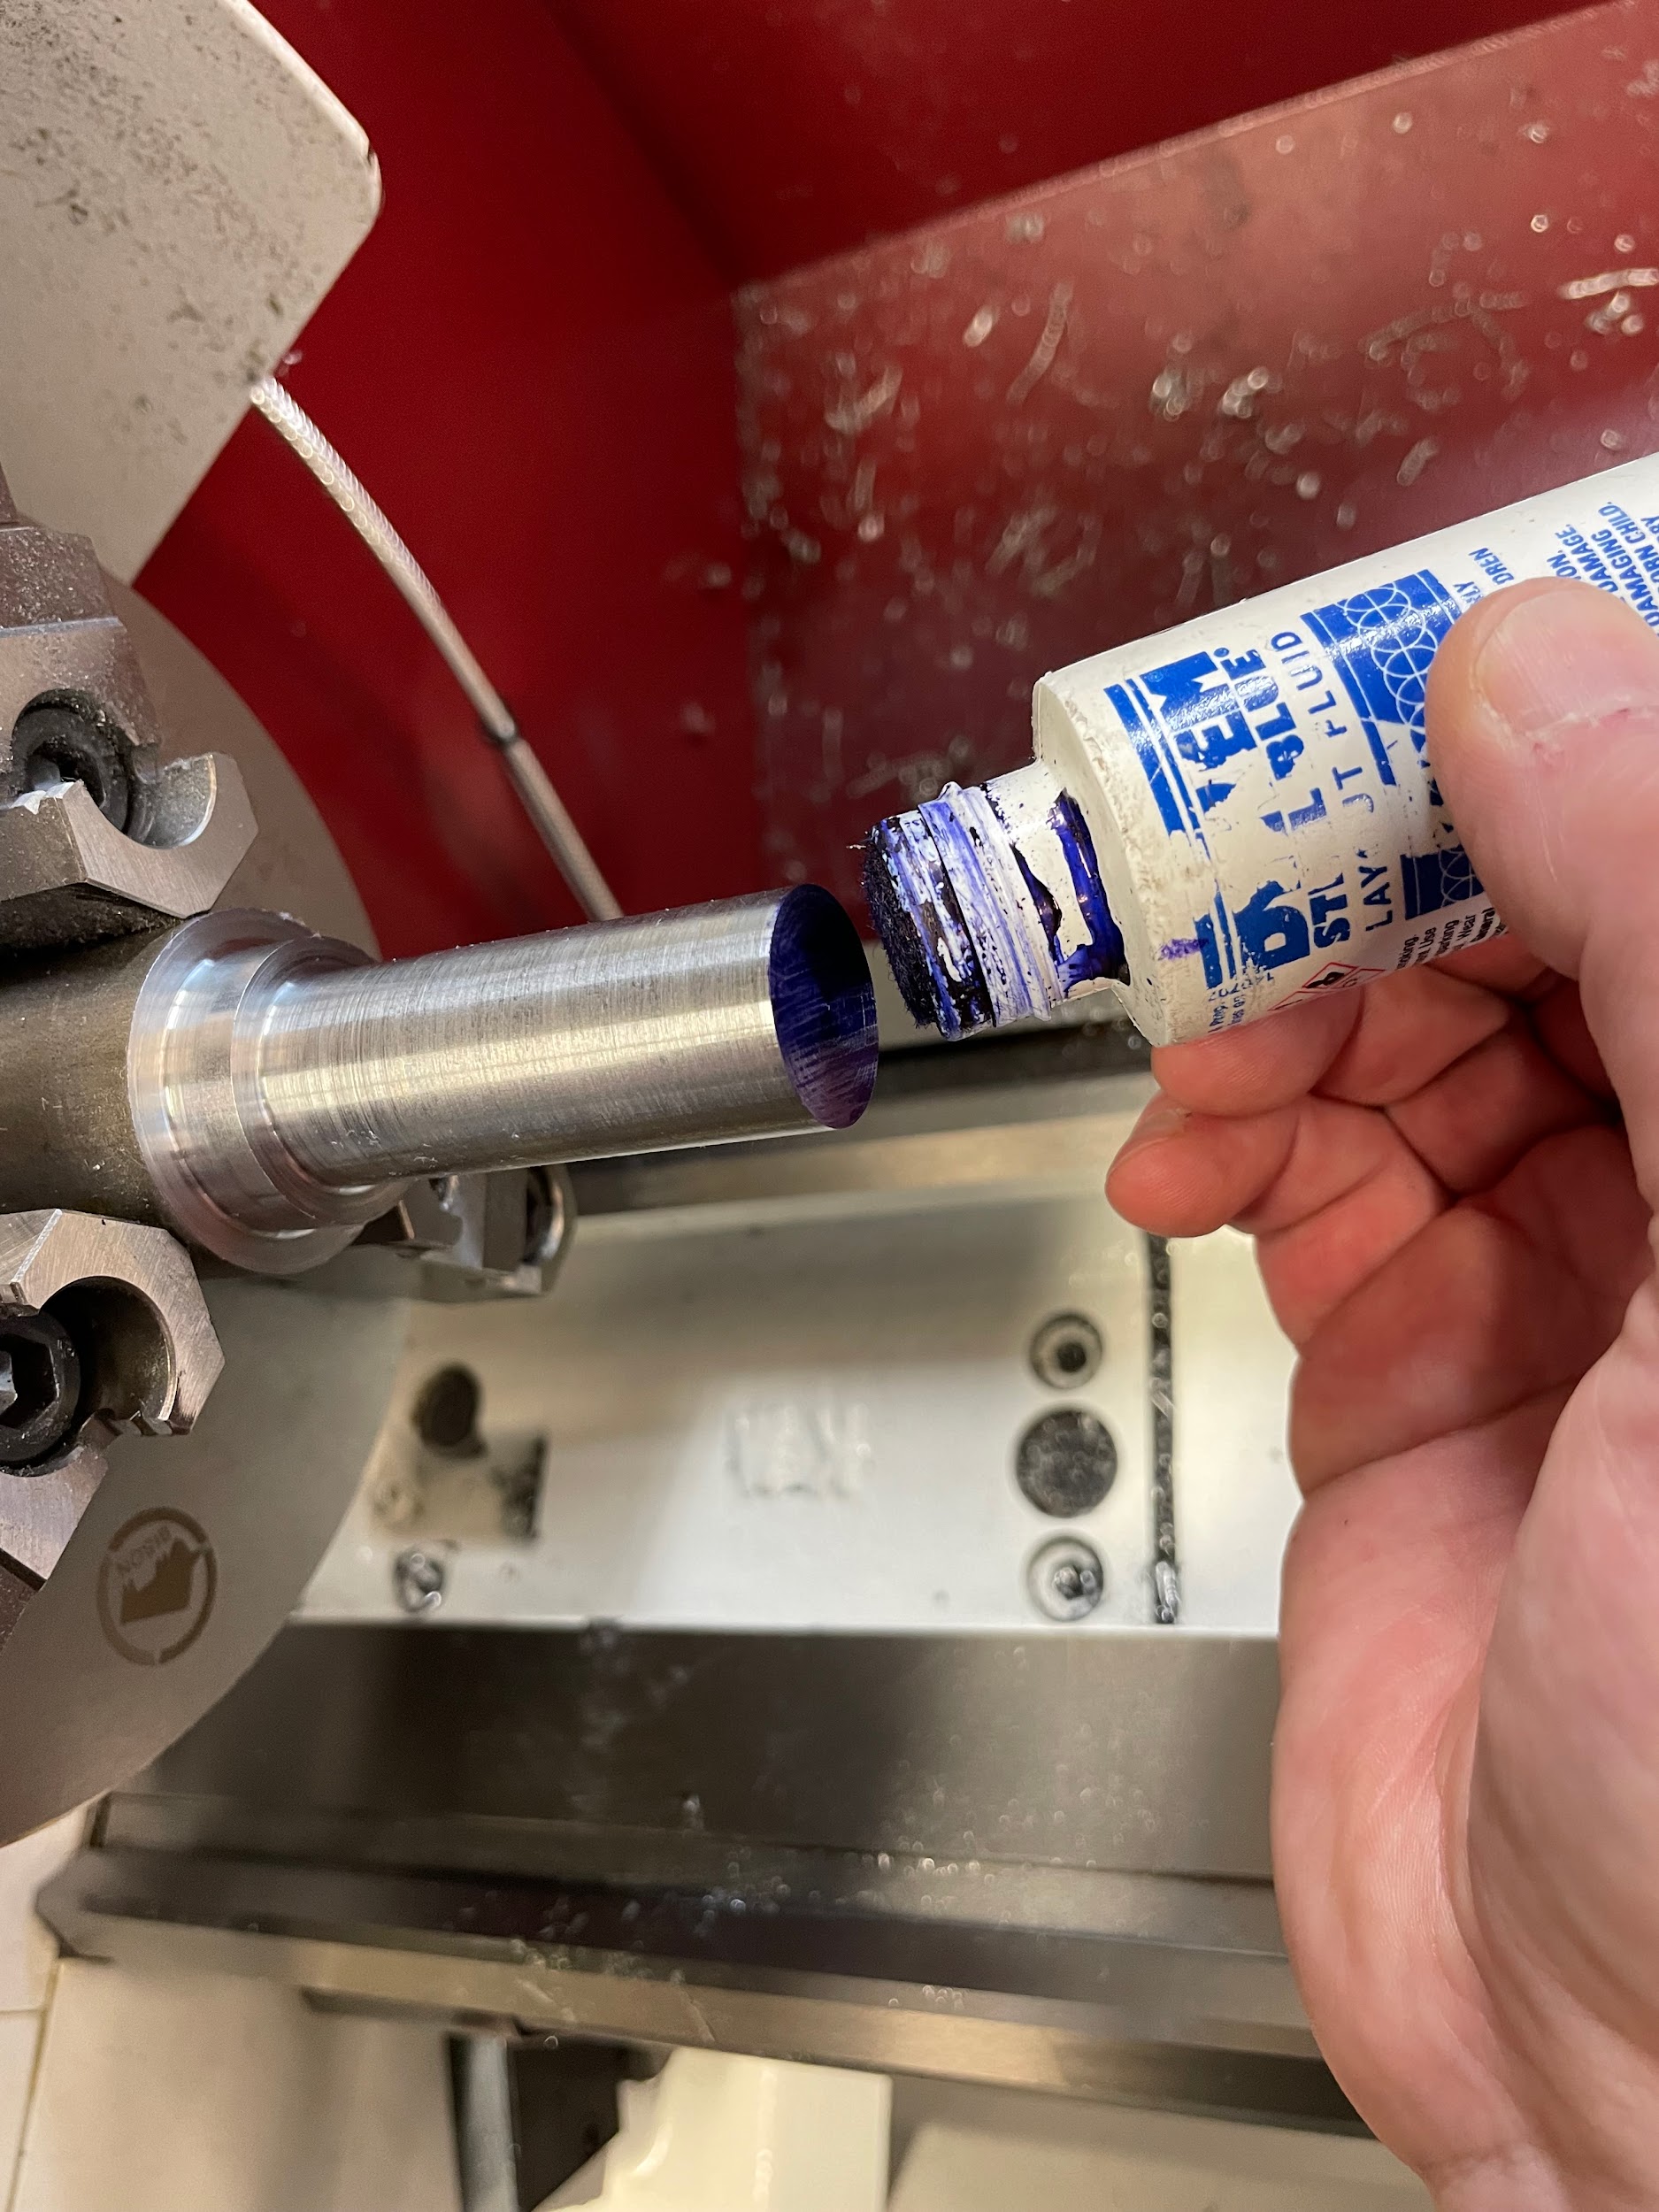
Step 3: Apply layout dye.
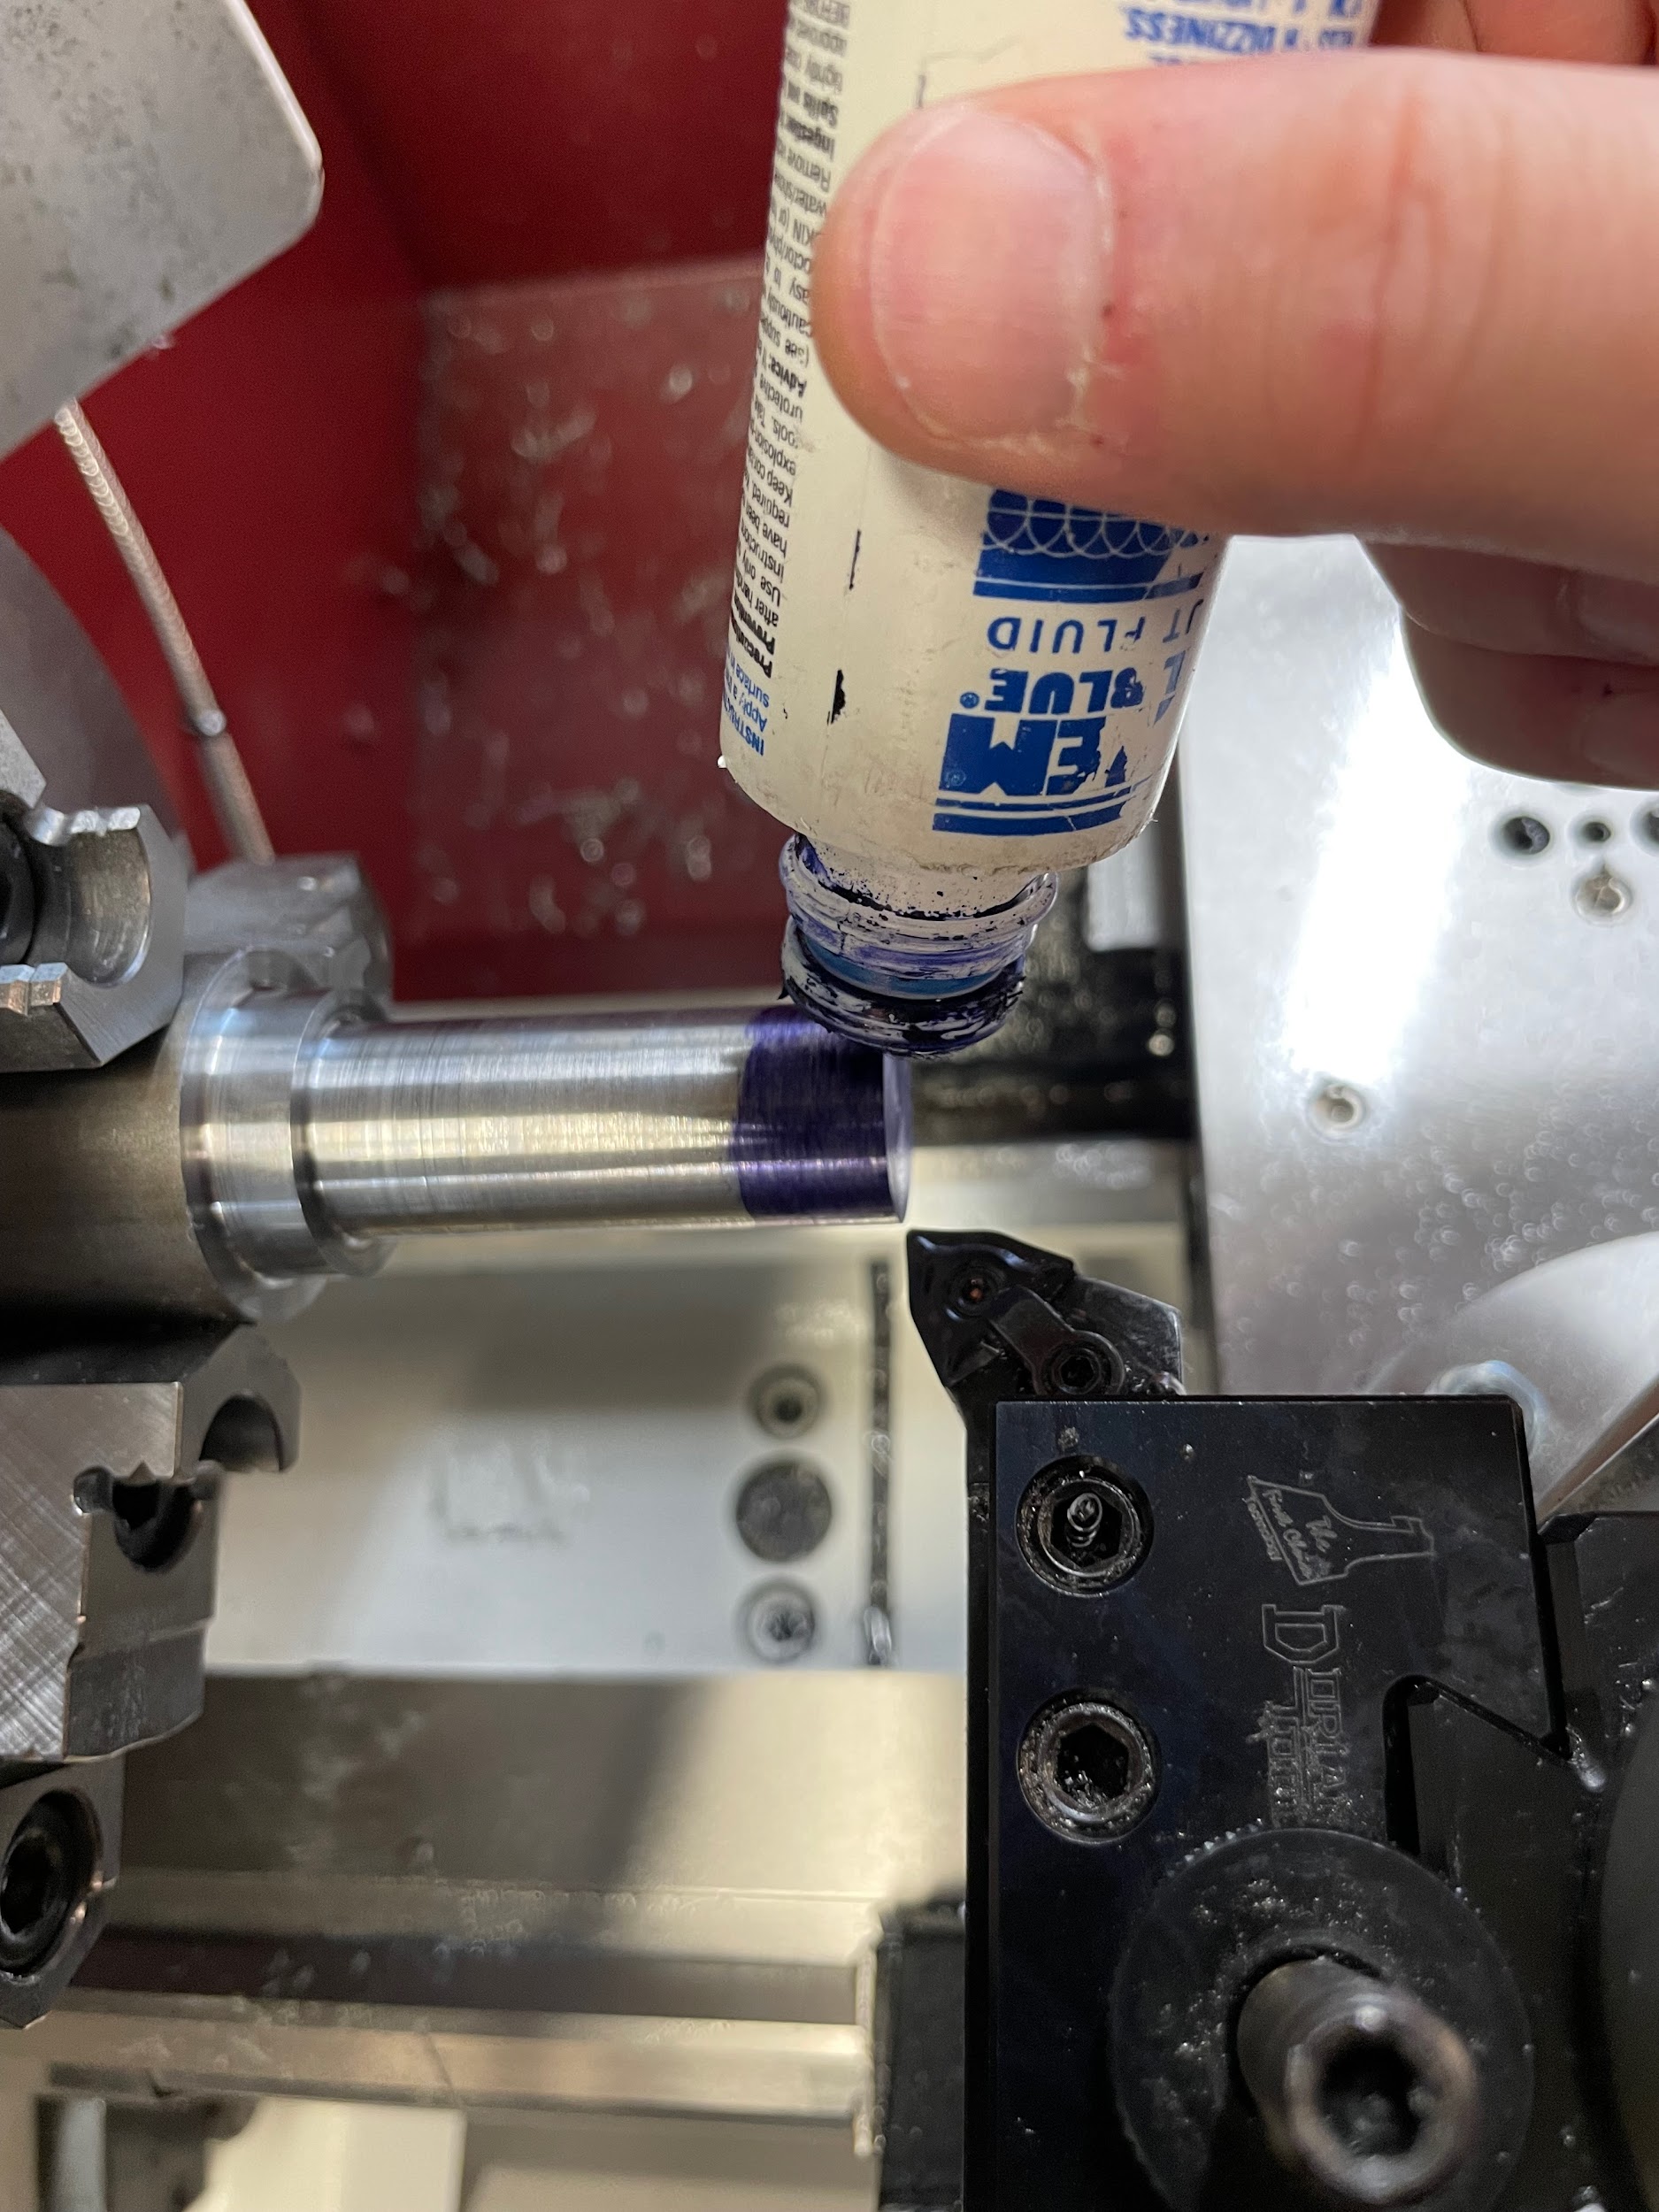
Step 3: Apply layout dye.
Step 5: Lock the carriage.
Step 6: Move the compound rest side to side while slowly moving in on the cross slide until the tip of the tool just touches the corner of the part.

Step 7: Zero the cross slide handle.
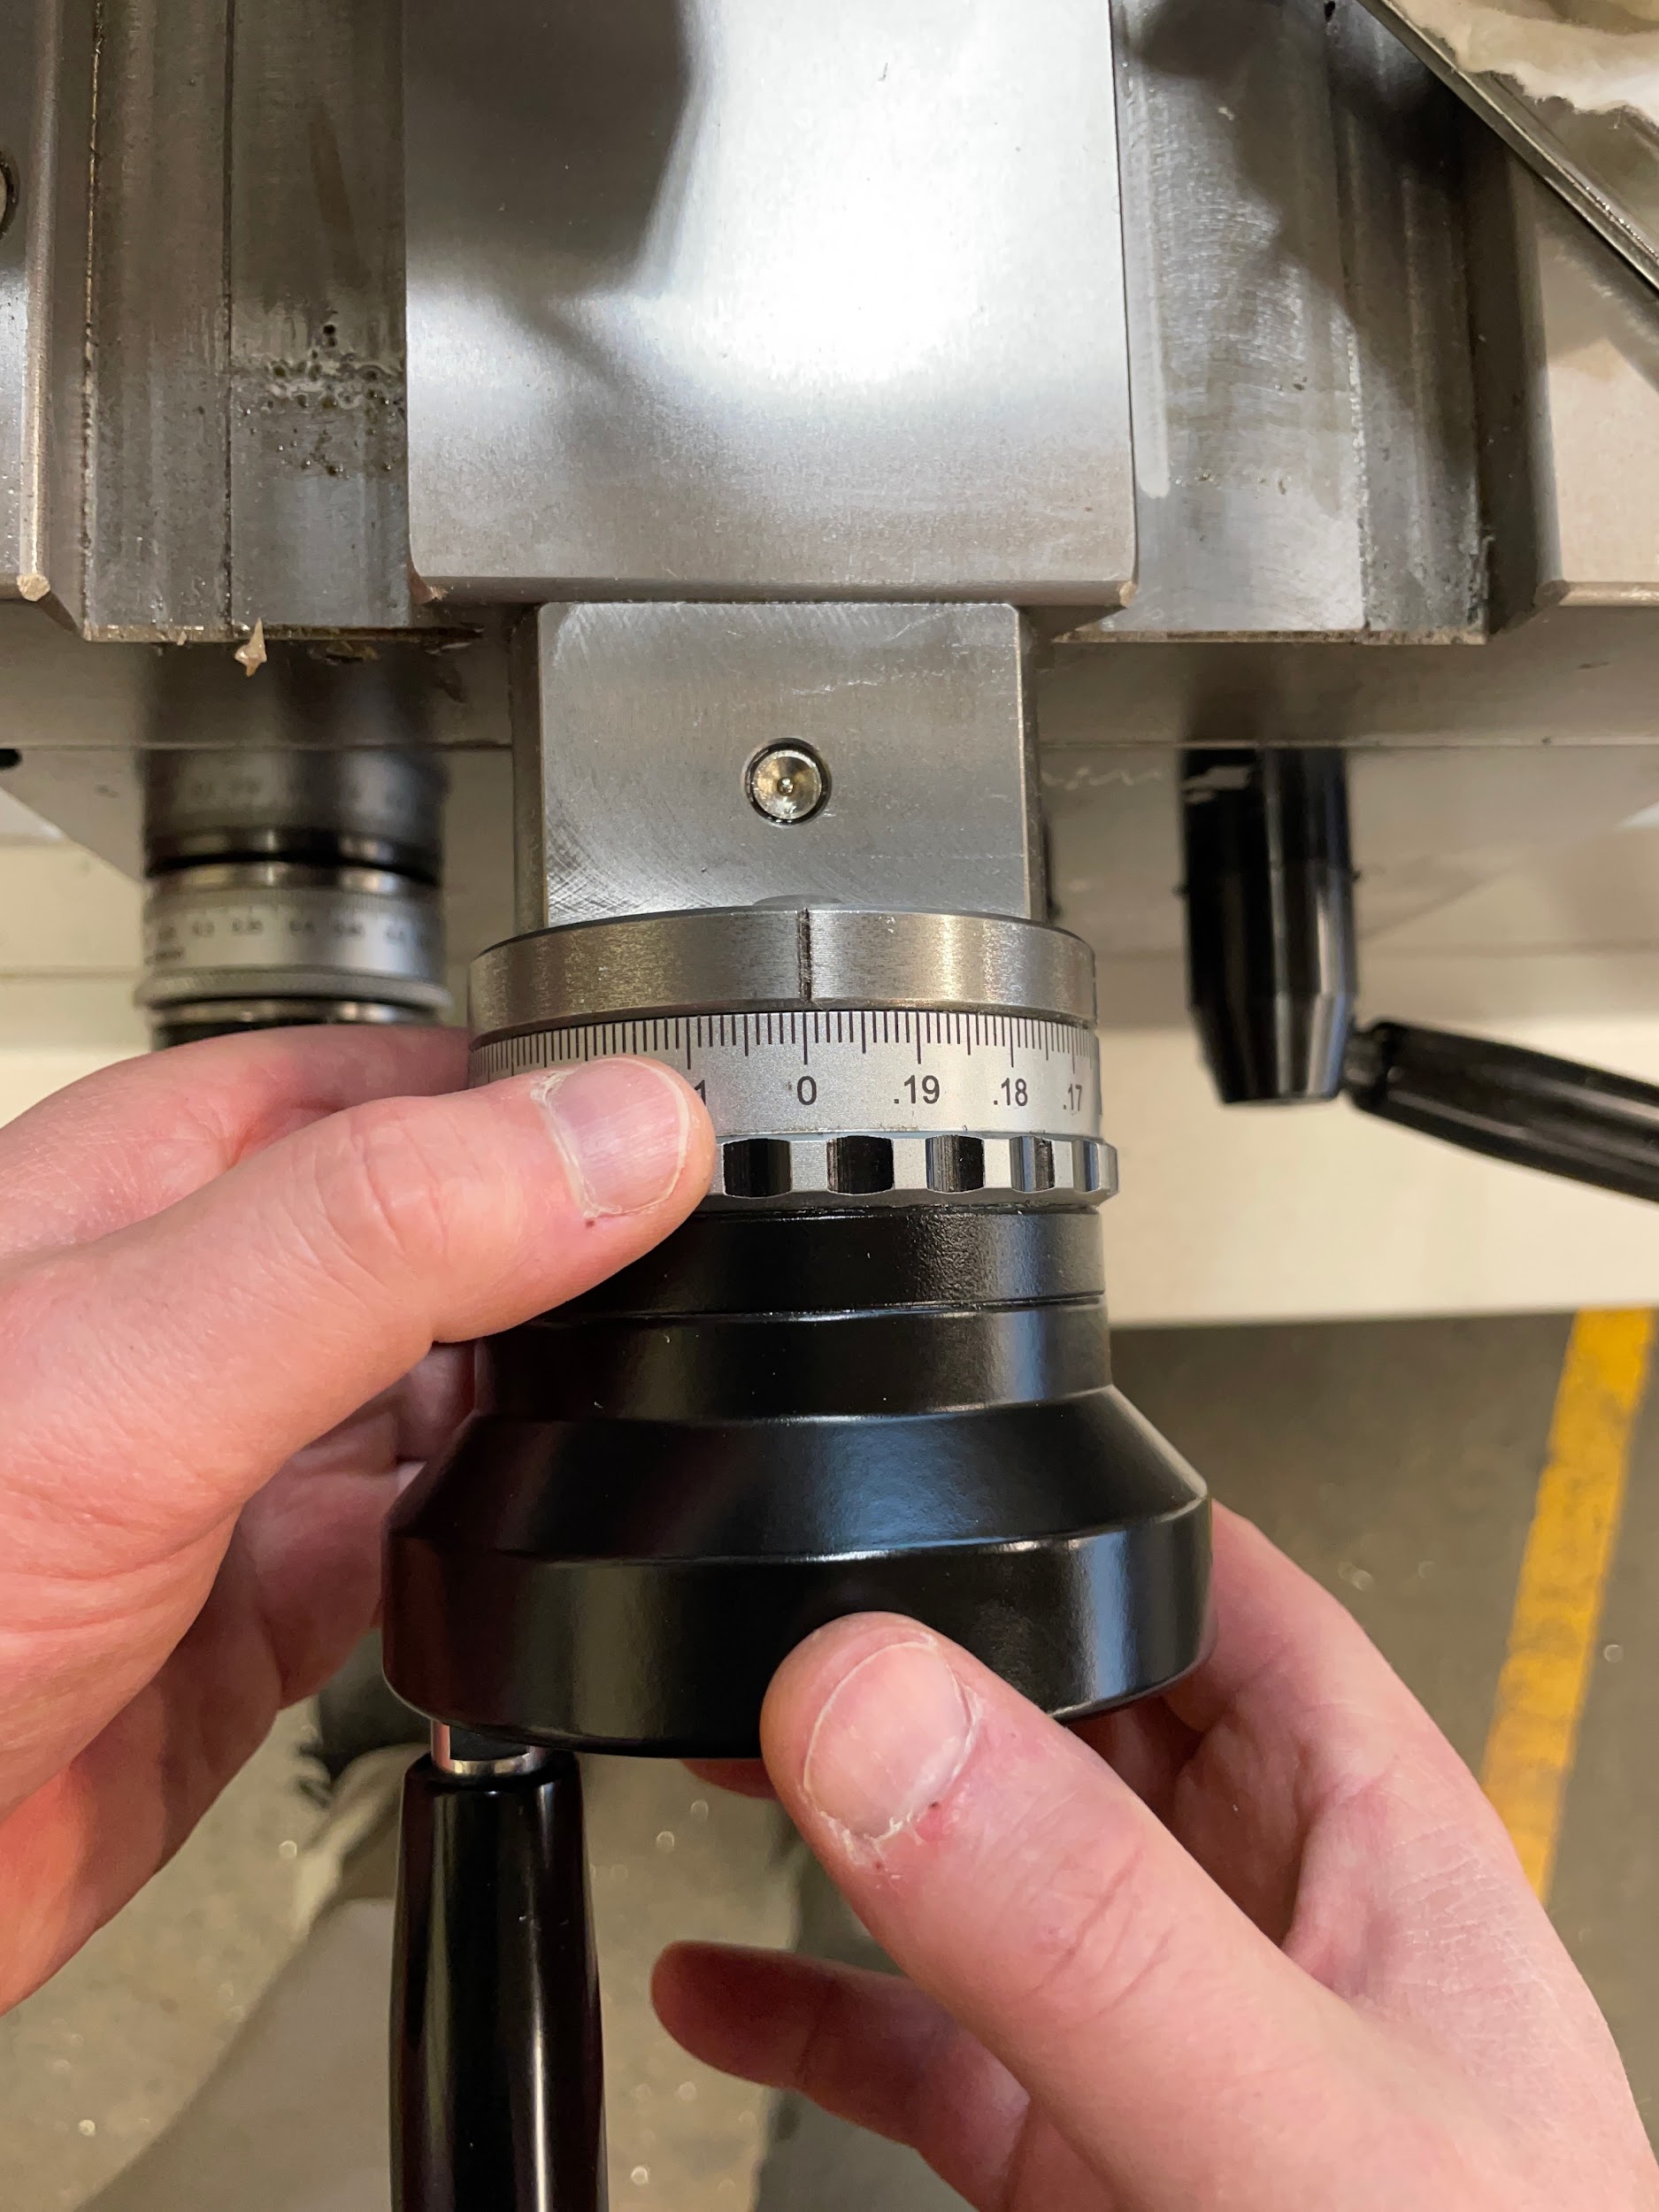
Step 7: Zero the cross slide handle.

Step 9: Make depth cuts with the cross slide and cut towards the spindle with the compound until final size is reached.

Step 9: Make depth cuts with the cross slide and cut towards the spindle with the compound until final size is reached.

Attributions
- Figure 10.148: Finished chamfer by Micky R. Jennings, courtesy of Wenatchee Valley College, for WA Open ProfTech, © SBCTC, CC BY 4.0
- Figure 10.149: Loosen the compound rest by Micky R. Jennings, courtesy of Wenatchee Valley College, for WA Open ProfTech, © SBCTC, CC BY 4.0
- Figure 10.150: Set the angle by Micky R. Jennings, courtesy of Wenatchee Valley College, for WA Open ProfTech, © SBCTC, CC BY 4.0
- Figure 10.151: Set to 45 degrees by Micky R. Jennings, courtesy of Wenatchee Valley College, for WA Open ProfTech, © SBCTC, CC BY 4.0
- Figure 10.152: Layout dye by Micky R. Jennings, courtesy of Wenatchee Valley College, for WA Open ProfTech, © SBCTC, CC BY 4.0
- Figure 10.153: Applying layout dye by Micky R. Jennings, courtesy of Wenatchee Valley College, for WA Open ProfTech, © SBCTC, CC BY 4.0
- Figure 10.154: Positioning the tool by Micky R. Jennings, courtesy of Wenatchee Valley College, for WA Open ProfTech, © SBCTC, CC BY 4.0
- Figure 10.155: Locking the carriage by Micky R. Jennings, courtesy of Wenatchee Valley College, for WA Open ProfTech, © SBCTC, CC BY 4.0
- Video 10.77: Micky R. Jennings, courtesy of Wenatchee Valley College, for WA Open ProfTech, © SBCTC, CC BY 4.0
- Figure 10.156: Zeroing the cross slide by Micky R. Jennings, courtesy of Wenatchee Valley College, for WA Open ProfTech, © SBCTC, CC BY 4.0
- Video 10.78: Micky R. Jennings, courtesy of Wenatchee Valley College, for WA Open ProfTech, © SBCTC, CC BY 4.0
- Video 10.79: Micky R. Jennings, courtesy of Wenatchee Valley College, for WA Open ProfTech, © SBCTC, CC BY 4.0
- Figure 10.157: Finished chamfer by Micky R. Jennings, courtesy of Wenatchee Valley College, for WA Open ProfTech, © SBCTC, CC BY 4.0
The process of cutting an angle on the sharp square corner of a part. The sloped or angled edge between two connecting surfaces of a part. It can be used on either an internal or external edge. The taper placed on the top, inside of a tap drilled hole that facilitates the formation of a complete thread.
