10.21 Parting
Micky R. Jennings
Parting is the process of removing a finished, or partially finished part from a length of bar stock on the lathe. Parting is very similar to grooving, but it is often much deeper and sometimes less accurate. If a part is finished after being parted off, the part will be parted off to its overall length. If the backside of the part is going to have further machining performed, the operator will part it 1/64″ to 1/32″ oversized in order to face the second side for a nice finish.
Step by step process for parting:
- Finish as many features as possible on the part so they are concentric with one another.
- Apply layout dye to the area where the parting will occur.
- Use odd leg calipers to scribe a line at the overall length of the finished part.
- Load a parting tool onto the tool post.
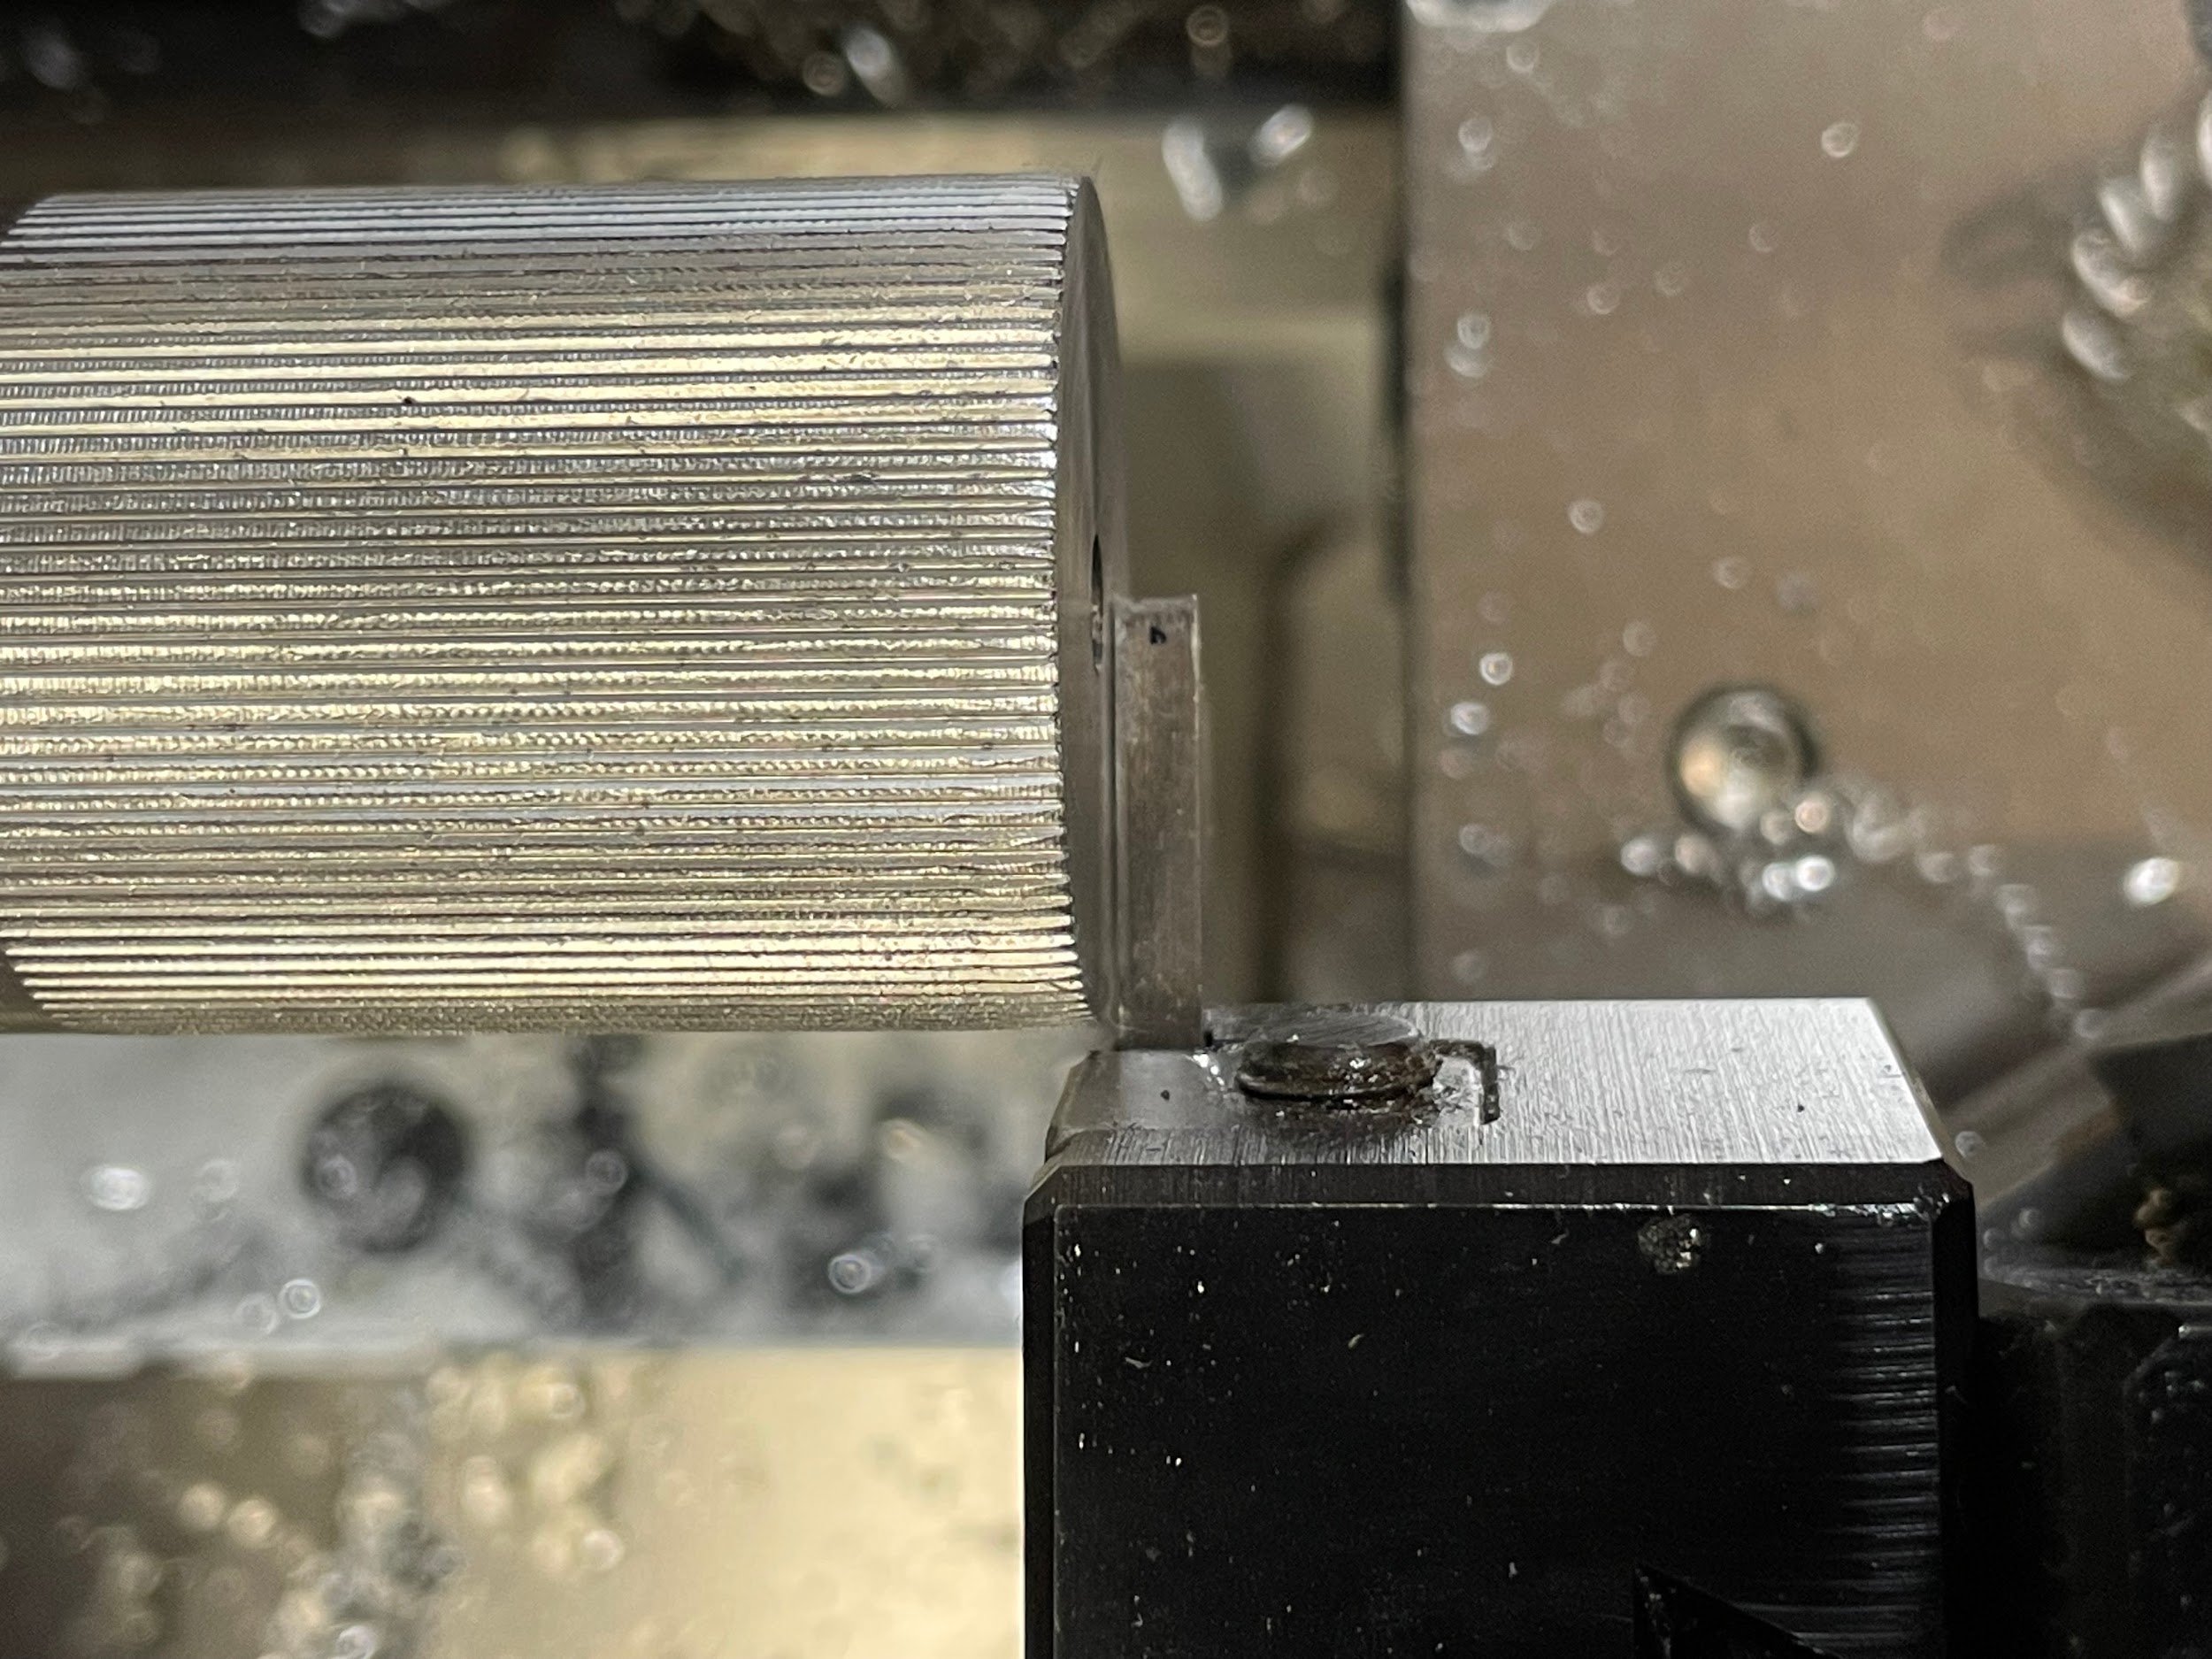
- Adjust length of tool and check height.
- Calculate the spindle speed for parting based on the outer diameter where the cutter would start. Parting is generally performed at a slower speed, about 1/4 of turning speed.
- Turn on the spindle.
- Touch the part off blade to the face of the work.
- Zero the graduated collar of the carriage handwheel.
- Move the carriage over the width of the part off blade and zero the hand wheel again.
- If there is no secondary operation being performed on the back side of the part, move the carriage over the exact distance of the overall length. If there is a secondary operation on the backside remaining, move the carriage over the overall length plus about 1/64″ to 1/32″.This will provide adequate material for facing on the second side.
- Lock the carriage.
- Bring the tool close to the outside diameter and visually check with the scribed line.
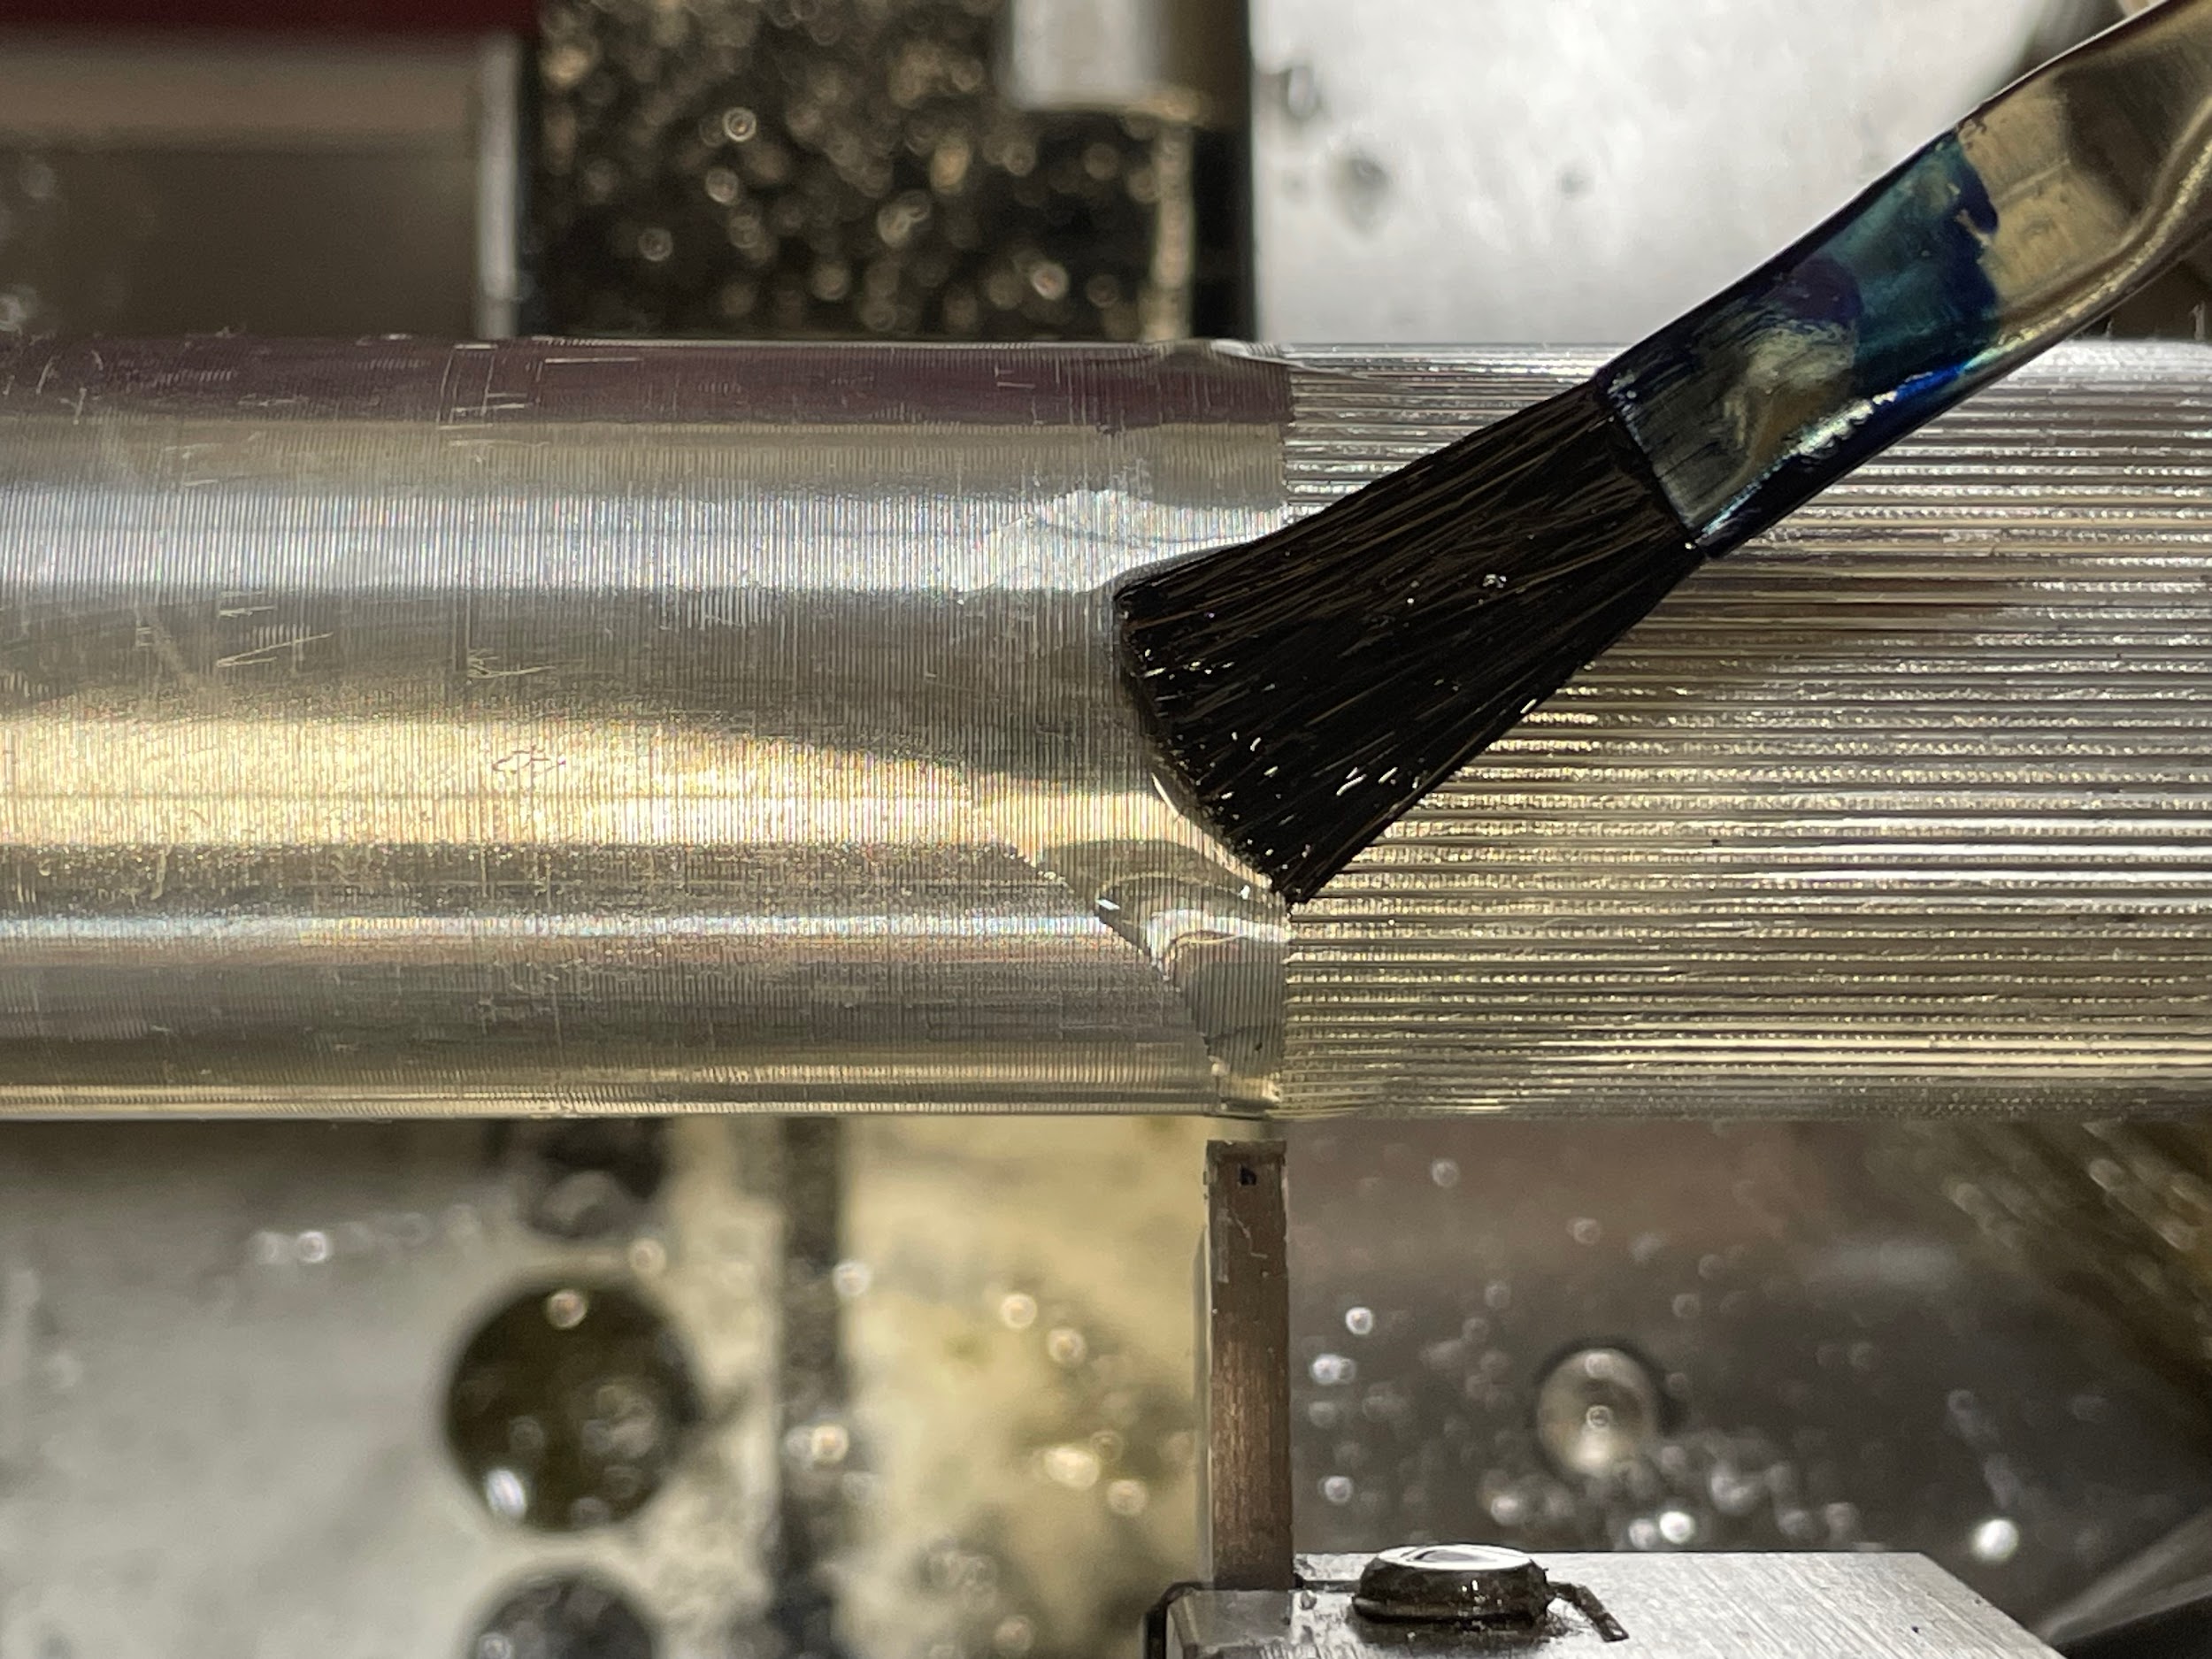
- Lube the work.
- Gently bring the tool in with the cross slide and touch off the tool on the outside diameter.
- Set the graduated collar on the cross slide to zero.
- Slowly engage the parting tool into the work. Keep an even feed and allow the chip to curl into a spiral coil shape on top of the tool while applying cutting oil. If the cut is squeaking and producing finely segmented chips, the feed is too slow.
- Continue parting until the part is removed from the stock.
Step 5: Adjust length of tool and check height.
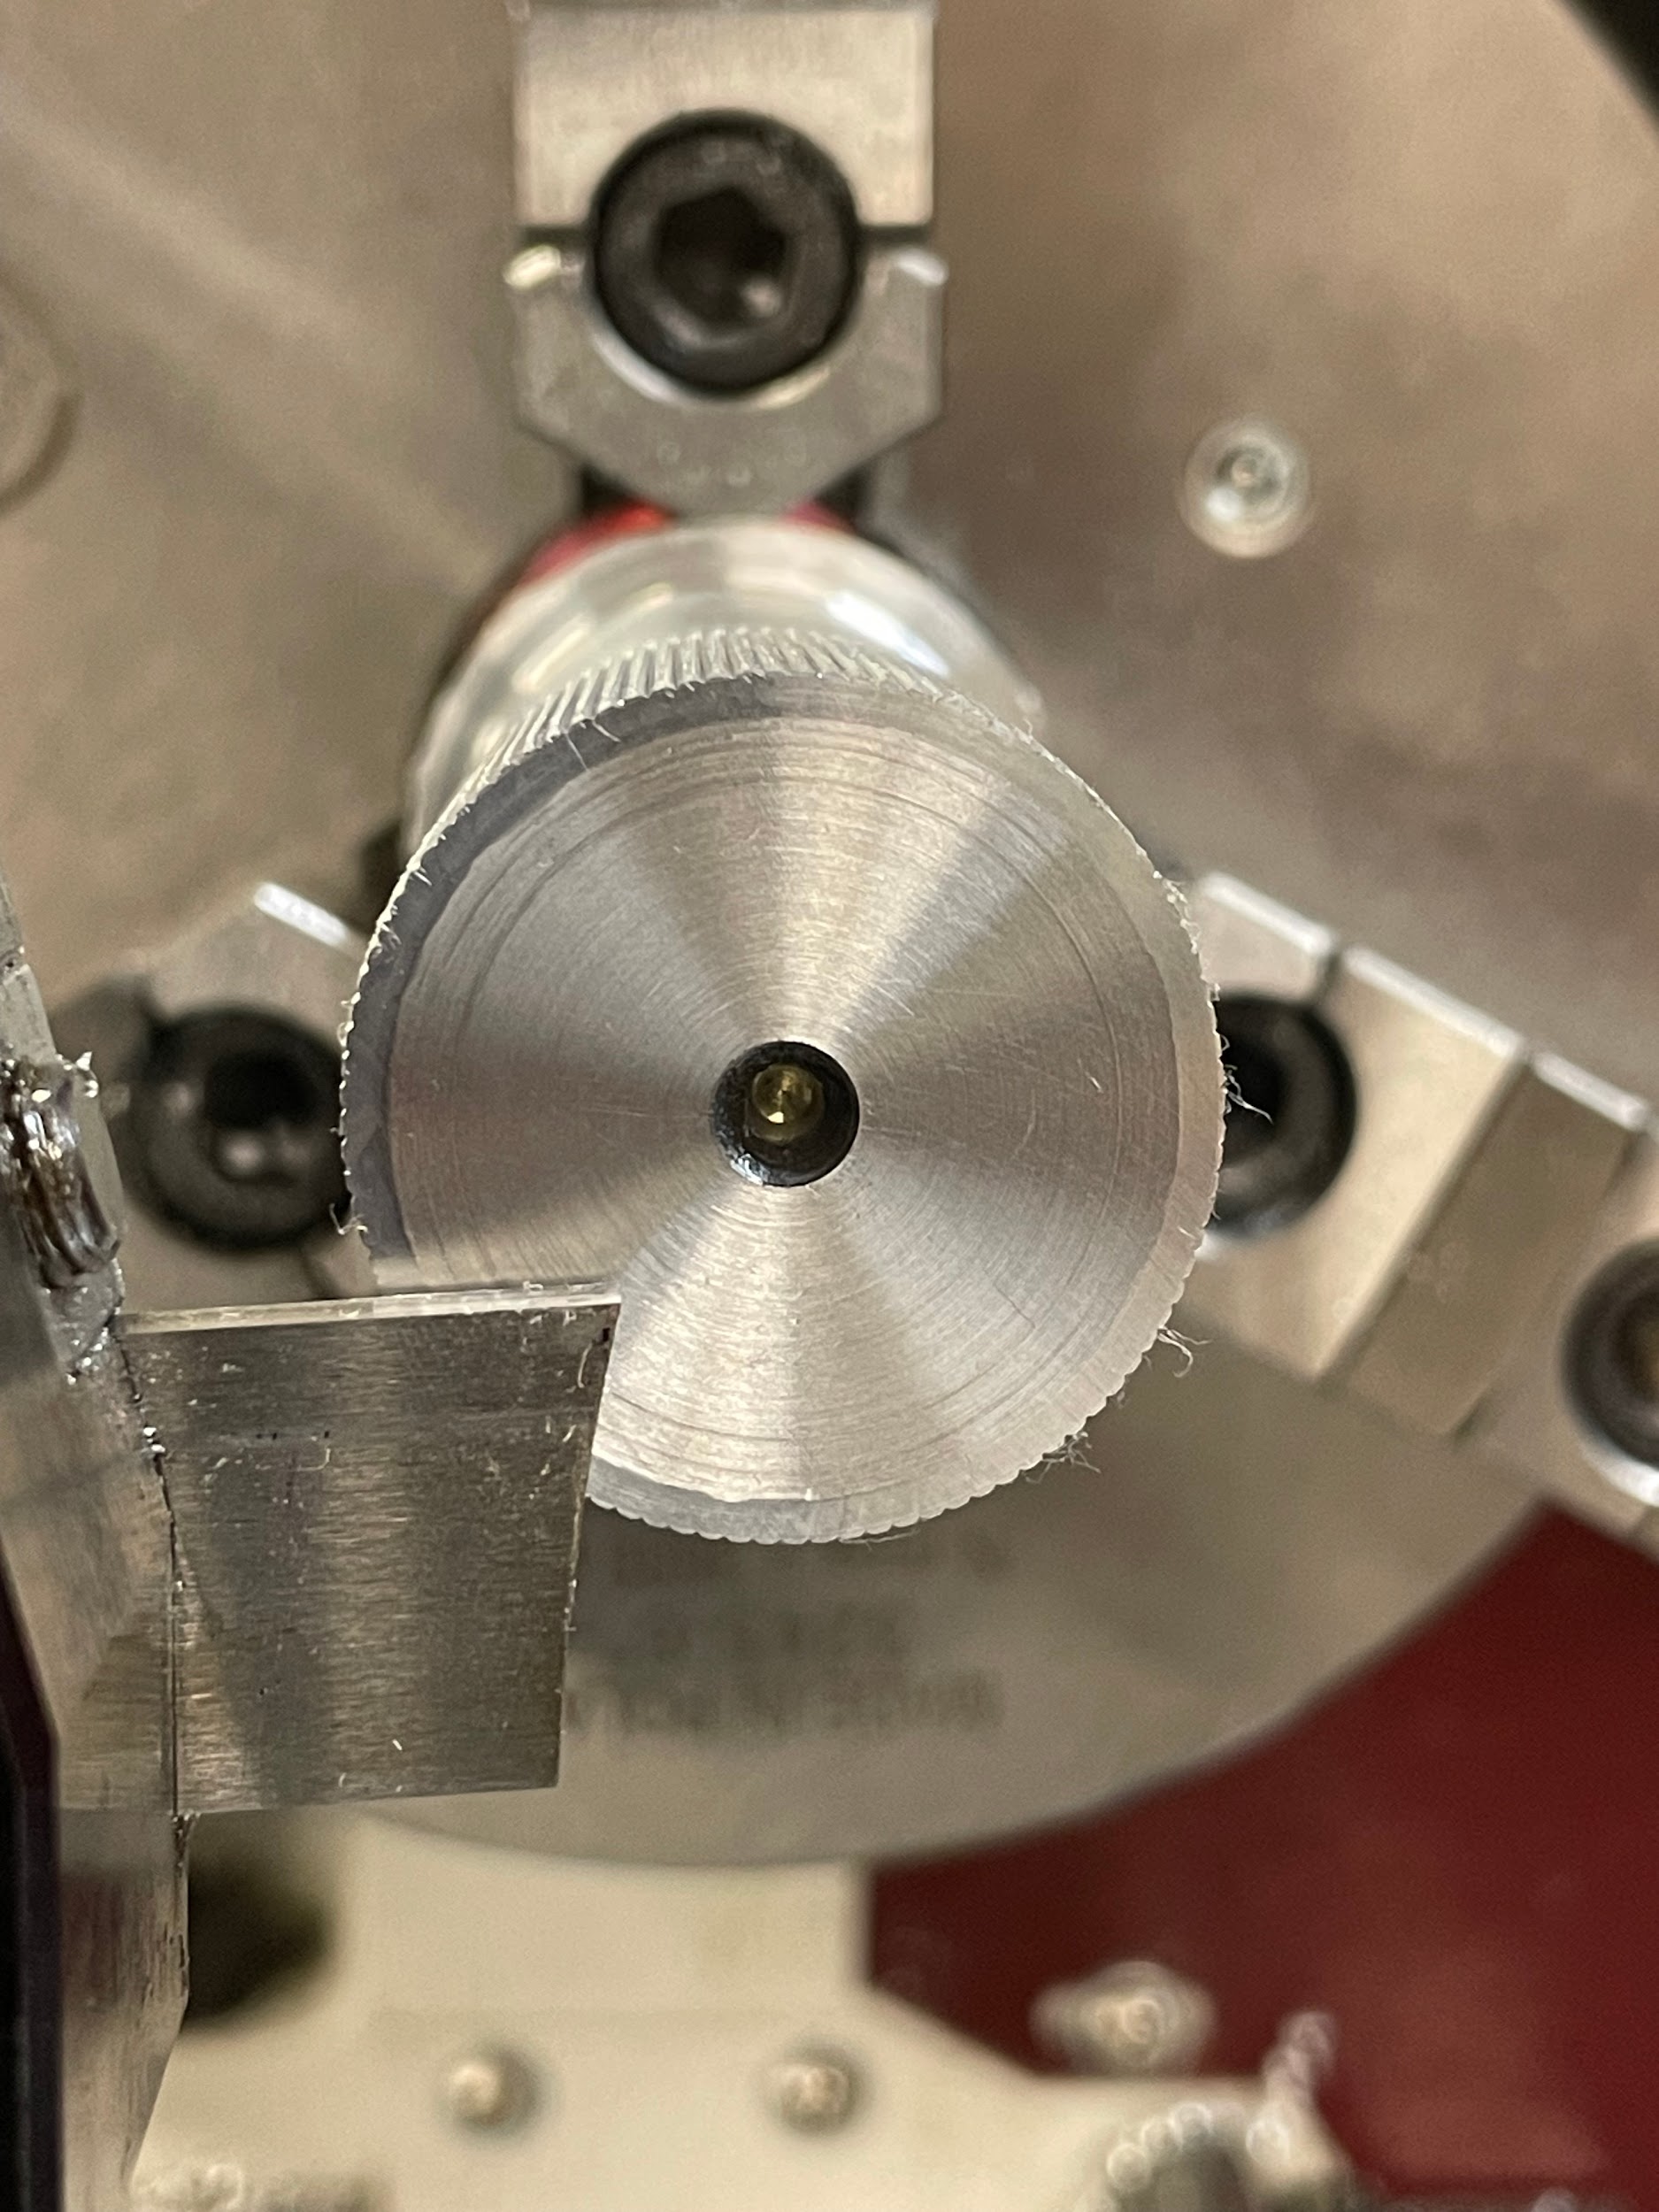
Step 5: Adjust length of tool and check height.
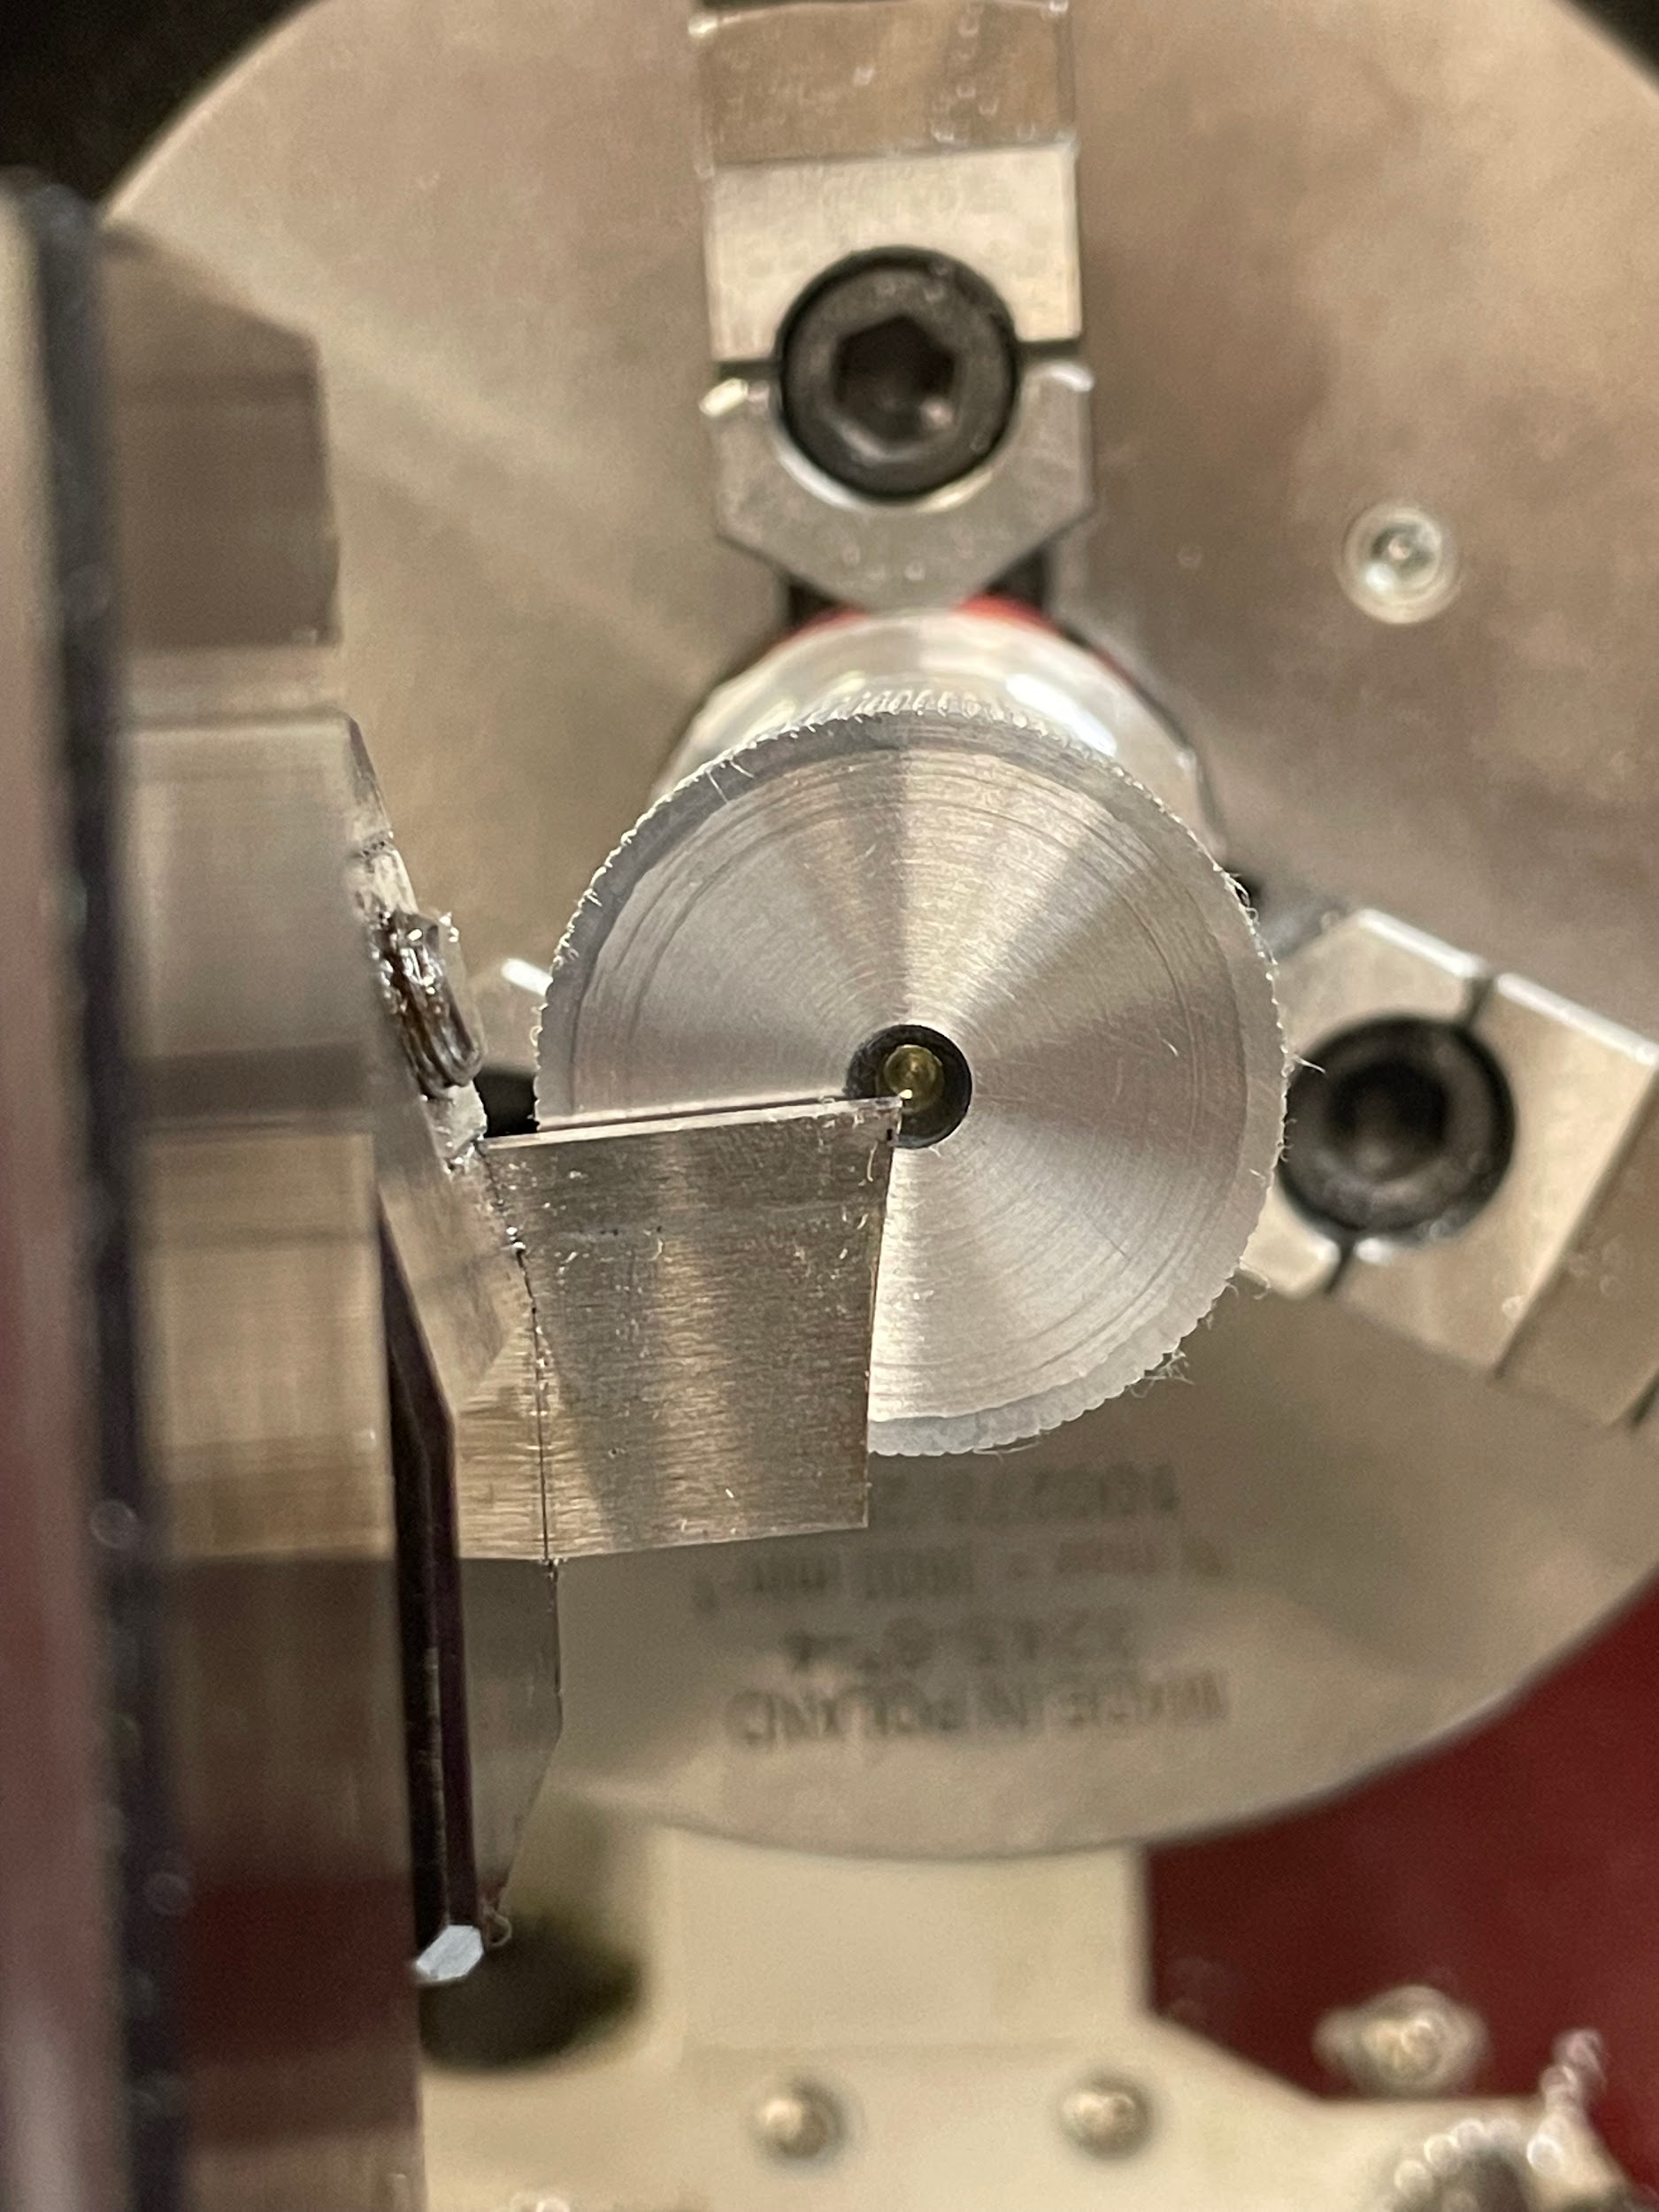
Step 8: Touch the part off blade to the face of the work.
Step 14: Lube the work.

Step 17: Slowly engage the parting tool into the work. Keep an even feed and allow the chip to curl into a spiral coil shape on top of the tool while applying cutting oil. If the cut is squeaking and producing finely segmented chips, the feed is too slow.

Step 18: Continue parting until the part is removed from the stock.
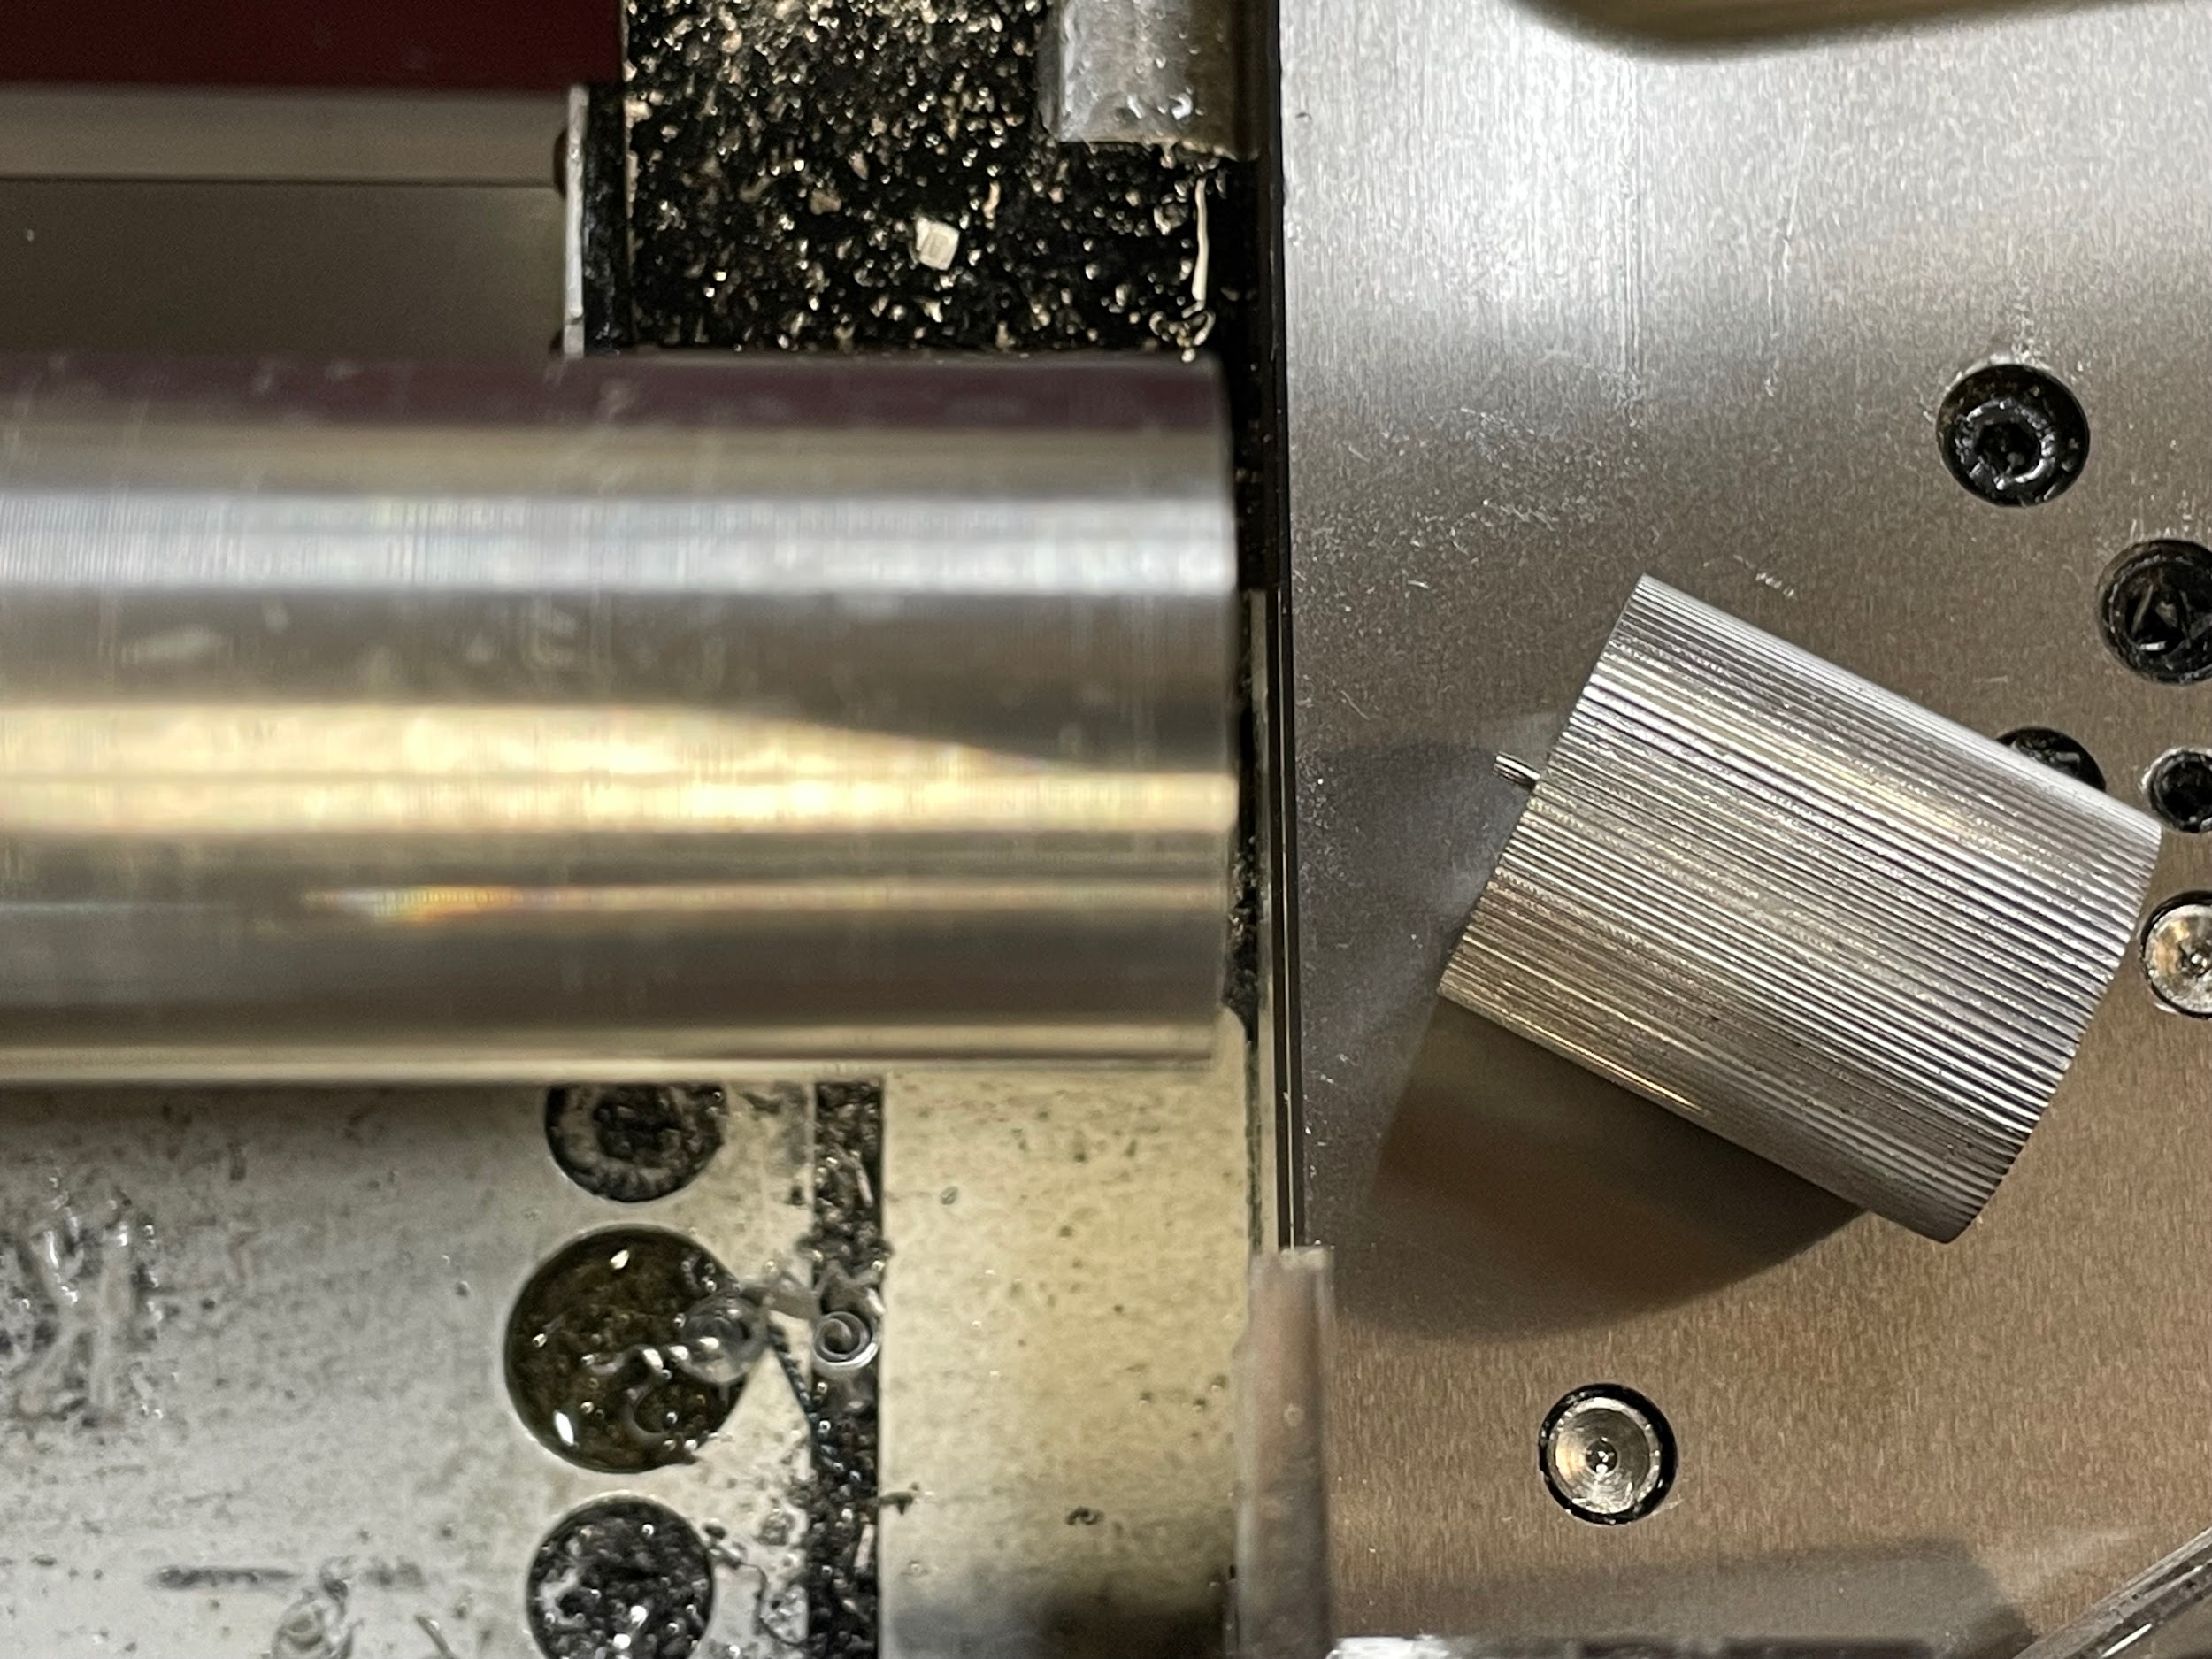
Step 18: Continue parting until the part is removed from the stock.

Author’s Tip
When starting the parting operation, apply a drop of oil to the cutter and cut into the part about 1/16″ and back out. Then grab your file, or better yet, a 90 degree chamfer tool, and deburr the back edge of the part. This step will save time and make a cleaner, more uniform chamfer on the part than attempting to debur the round part by hand.
Don’t part off completely, letting your hard work fall into the chip tray. Construct a small padded cardboard catching container to protect your finished parts as well as the machine’s ways. Better yet, get a feel for how small of a diameter you can part to in various materials without the part falling off. My go-to is somewhere between 1/8″ and .100, maybe a hair smaller in tougher steels or lighter parts. Another method of gauging the perfect parting diameter is to intently watch the part as you get smaller than ⅛”. When you see the part make a momentary wobble, stop the spindle and back out. Once you neck the material down to the perfect size, you can pick the part off like a pro!
Attributions
- Figure 10.233: Oiling a parting operation by Micky R. Jennings, courtesy of Wenatchee Valley College, for WA Open ProfTech, © SBCTC, CC BY 4.0
- Figure 10.234: Parting tool low by Micky R. Jennings, courtesy of Wenatchee Valley College, for WA Open ProfTech, © SBCTC, CC BY 4.0
- Figure 10.235: Parting tool on center by Micky R. Jennings, courtesy of Wenatchee Valley College, for WA Open ProfTech, © SBCTC, CC BY 4.0
- Figure 10.236: Squaring the part off blade by Micky R. Jennings, courtesy of Wenatchee Valley College, for WA Open ProfTech, © SBCTC, CC BY 4.0
- Figure 10.237: Oiling a parting operation by Micky R. Jennings, courtesy of Wenatchee Valley College, for WA Open ProfTech, © SBCTC, CC BY 4.0
- Video 10.112: Micky R. Jennings, courtesy of Wenatchee Valley College, for WA Open ProfTech, © SBCTC, CC BY 4.0
- Figure 10.238: Finished parting by Micky R. Jennings, courtesy of Wenatchee Valley College, for WA Open ProfTech, © SBCTC, CC BY 4.0
- Video 10.113: Micky R. Jennings, courtesy of Wenatchee Valley College, for WA Open ProfTech, © SBCTC, CC BY 4.0
The process of cutting a finished part from bar length material on a lathe.
