8.11 Reaming
Micky R. Jennings
Reaming is the secondary machining process of enlarging and smoothing a previously drilled hole with a reamer. Reaming creates a new hole with an increased surface finish that meets tighter tolerances. Reamed holes are often used for dowel pins or other mating parts that require a close fit.
Prior Allowances
Before a hole can be reamed, a smaller hole must be drilled in the same location. The difference in size between the drilled hole and the finished ream size is known as the ream allowance. The size of the initial hole is a percentage of the ream size. Smaller holes require less allowance, and larger holes require more. If proper allowance is not given, the hole may not clean up, or it may have chatter problems. If there is too much allowance, and the reamer has to perform too much work, the hole might become oversized, or the reamer could load up with material and ruin the finished hole. Knowing that the theoretical correct size can be calculated, the machinist could select that size twist drill for the initial hole, if that bit exists. Sometimes the theoretical bit size isn’t common, or doesn’t exist in a fractional inch drill index. For that reason, it is common practice to use 1/64 allowance for reams up to 1/2 inch, and 1/32 allowance over 1/2 inch.
Step by step process for reaming:
- Drill a ream allowance hole per the steps in the drilling process.
- Insert the reamer in a drill chuck.
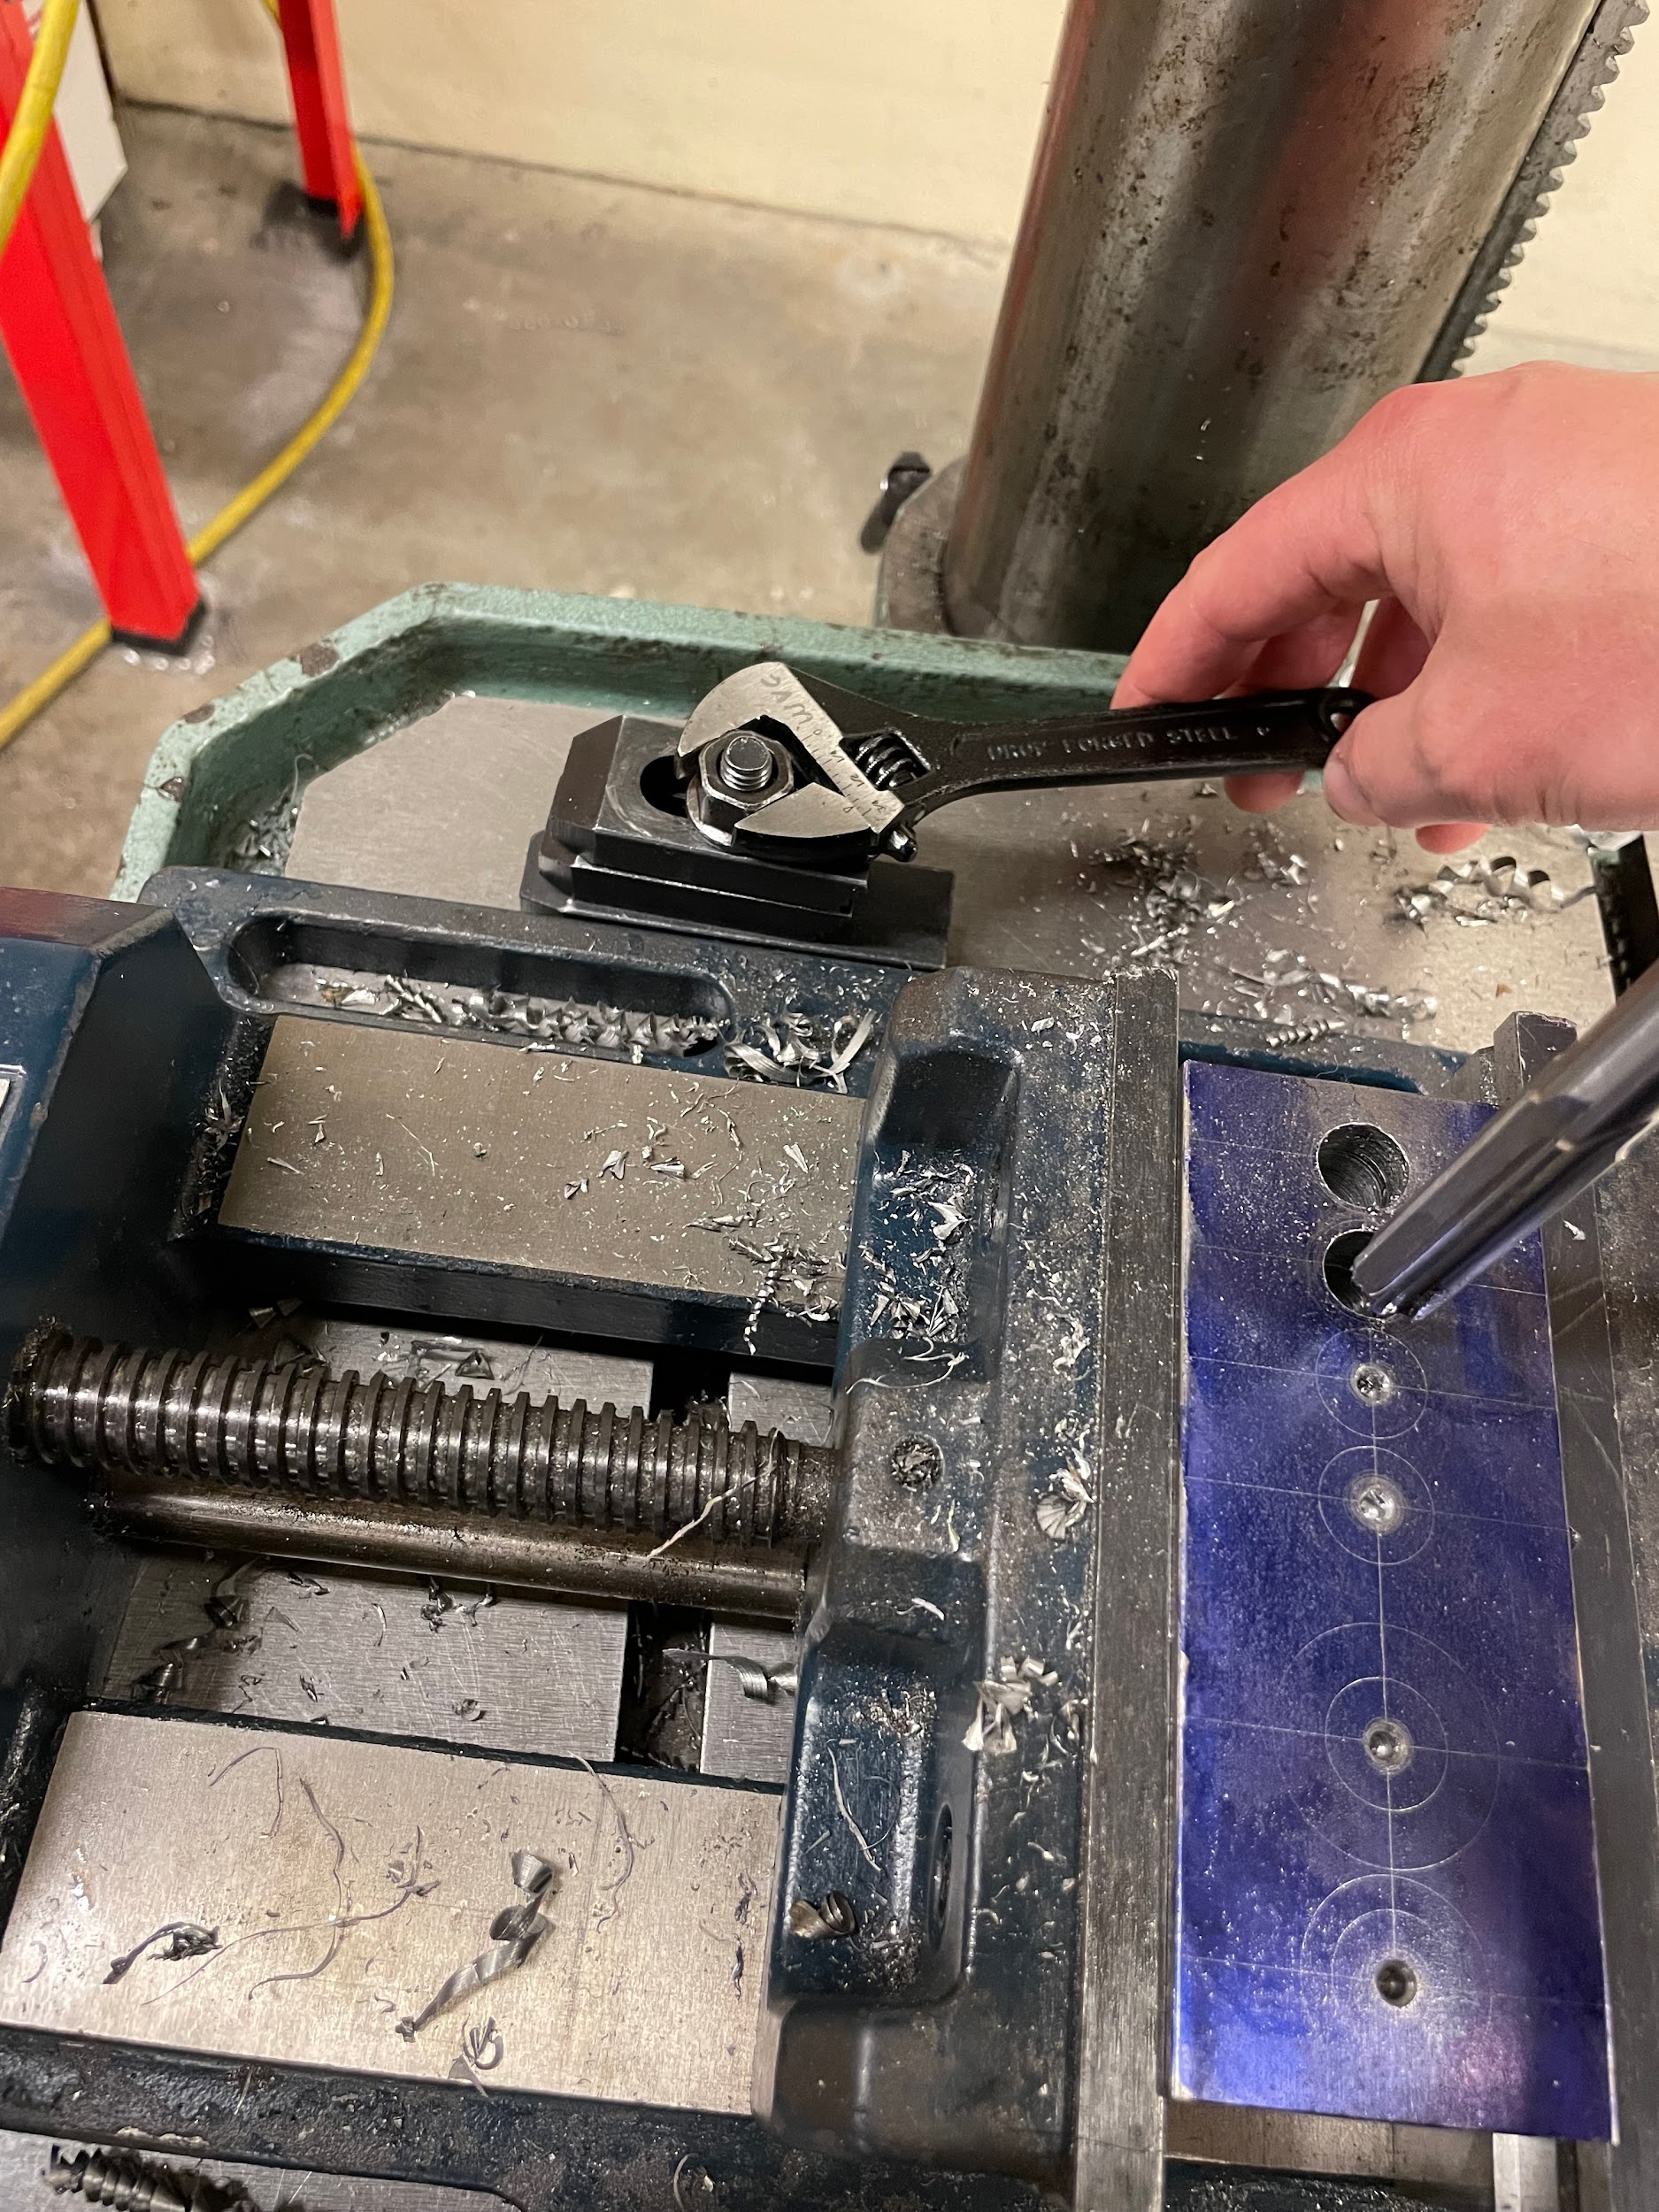
- Install a rotational restriction device if one doesn’t already exist.
- Touch the reamer off to the top of the work and set a depth stop. Generally speaking, reamed holes have a more accurate depth than drilled holes.
- Calculate the speed and approximate the feed for reaming. Keep in mind that the speed for reaming will be about half as fast as the allowance bit size.
- Lube reamer and hole with cutting oil.
- Turn the spindle on and adjust the spindle speed.
- Gently bring the quill down to about .100 off the work while lining up the hole.
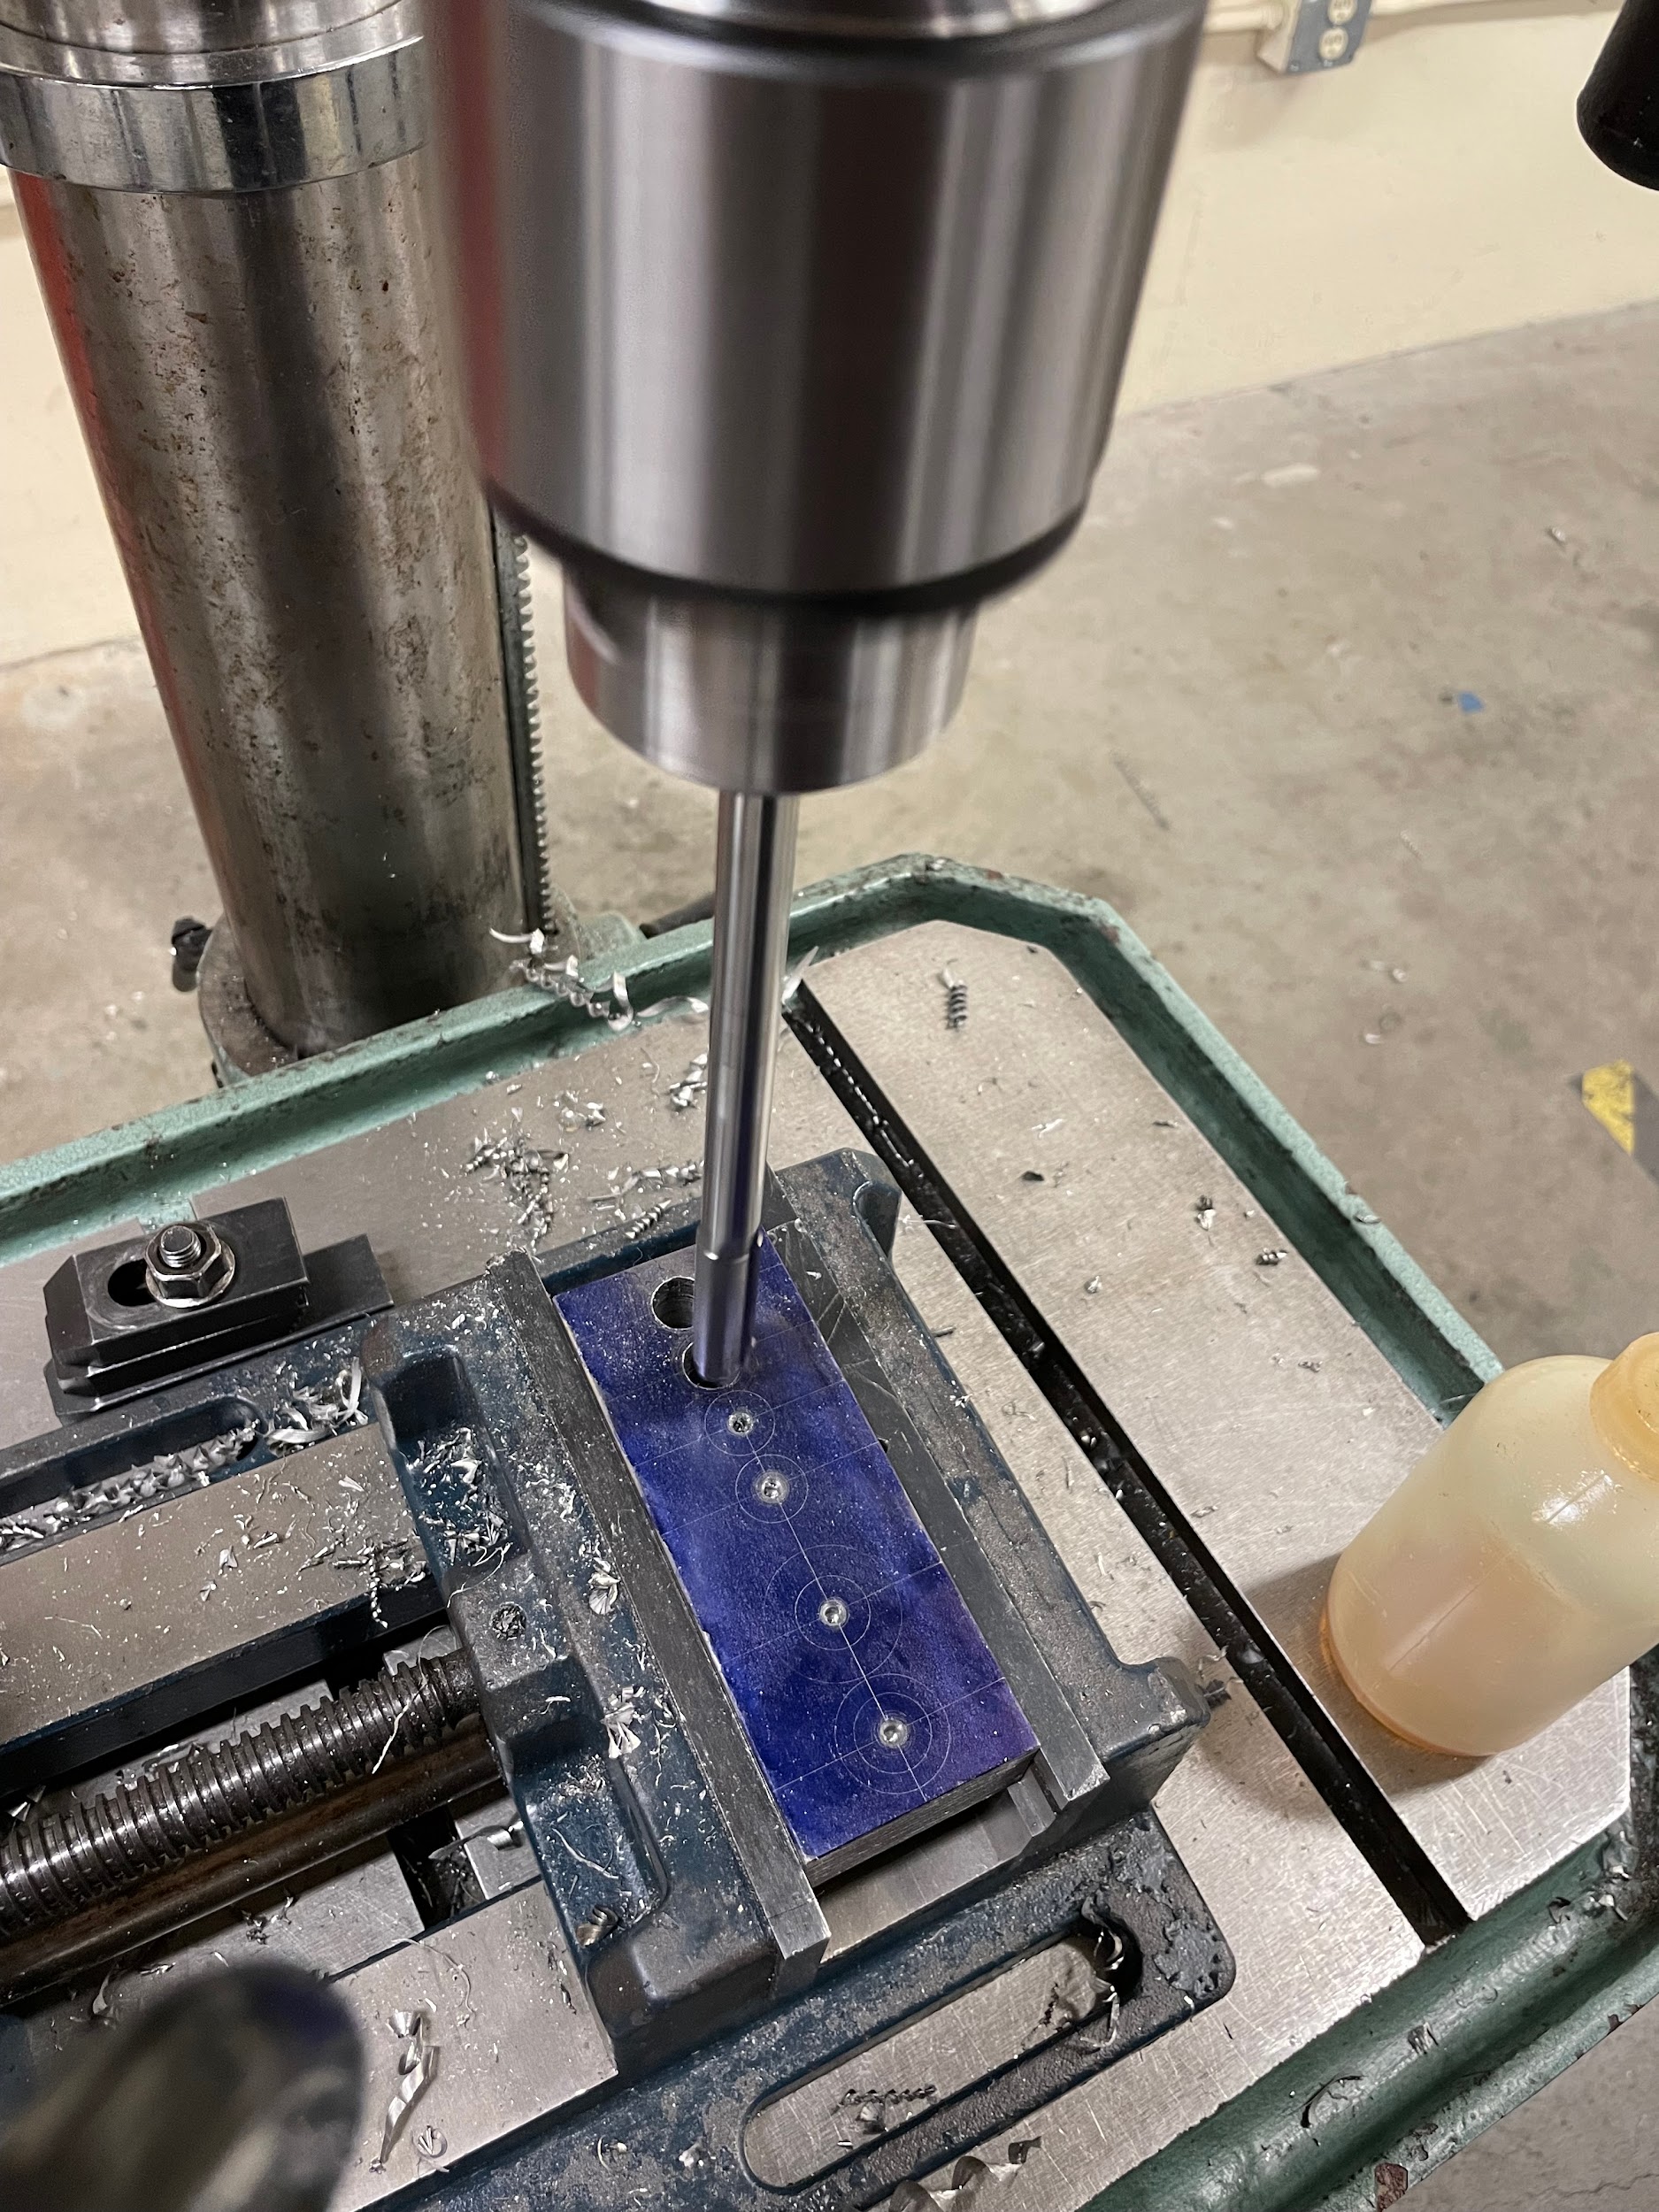
- In one smooth and faster motion, ream the hole to depth.
- Turn off the spindle.
- Pull the reamer from the hole.
- Examine the reamed hole.
Step 2: Insert the reamer in a drill chuck.

Step 3: Install a rotational restriction device if one doesn’t already exist.
Step 6: Lube reamer and hole with cutting oil.

Step 9: In one smooth and faster motion, ream the hole to depth.
Step 9: In one smooth and faster motion, ream the hole to depth.

Author’s Tip
Reaming is what I like to call a one-and-done operation. With a lot of cutting operations, we get the chance to make a trial cut, measure, adjust the machine, and make the finished cut to size. With reaming, however, you get what you get. Sometimes you hit a home run, and sometimes you strike out your first time at the plate. For that reason, I like to grab a scrap piece of material and make a couple test holes to get the process down before moving onto the real part. This gives you the opportunity to alter your approach and dial things in so you can make the first part a good part.
Tolerances
A reamed hole has a tighter tolerance and surface finish requirement than a drilled hole. Often, this heightened tolerance is called out on a print. Generally, a reamer should be capable of reaming within .001 of its advertised size.
Attributions
- Video 8.21: Micky R. Jennings, courtesy of Wenatchee Valley College, for WA Open ProfTech, © SBCTC, CC BY 4.0
- Figure 8.91: Rotational stop by Micky R. Jennings, courtesy of Wenatchee Valley College, for WA Open ProfTech, © SBCTC, CC BY 4.0
- Video 8.22: Micky R. Jennings, courtesy of Wenatchee Valley College, for WA Open ProfTech, © SBCTC, CC BY 4.0
- Figure 8.92: Reaming a hole by Micky R. Jennings, courtesy of Wenatchee Valley College, for WA Open ProfTech, © SBCTC, CC BY 4.0
- Video 8.23: Micky R. Jennings, courtesy of Wenatchee Valley College, for WA Open ProfTech, © SBCTC, CC BY 4.0
The process of using a reamer to create a precision diameter in a hole.
