8.13 Countersinking
Micky R. Jennings
Countersinking is the secondary machining process of creating a conical shape at the top of a hole using a countersink. This recess is intended to accommodate flat head machine screws below the surface, or to chamfer an existing hole.
Prior Allowances
Countersinking is a secondary hole operation that requires an initial hole that will then be countersunk. The hole size drilled before countersinking will vary by application and is generally indicated on a print. If no size is indicated, a good machining reference book (such as Machinery’s Handbook) can be used to select the hole size for the application.
Step by step process for countersinking:
- Drill all hole locations with the appropriate sized twist drill.
- Select a countersink tool large enough to fully create the counterbore. If the large diameter of the counterbore needs to be 1/2″, a 5/8 or larger countersink should be used.
- Calculate the spindle speed of the countersink by using the largest diameter the tool will need to touch the material. If the operator is unsure of this size, they may look up the diameter in a reference book. Alternatively, the top of a fastener can be measured for spindle speed reference. Calculate the speed based on a twist drill of that large diameter, and then use the countersinking speed reduction, 1/4 of the speed for countersinking, to set the final speed.
- Calculate the depth of the countersink. The angle of the countersink, the diameter of the through hole, and the diameter of the top of the hole can be used to estimate the depth.
- Bring the quill down, slowly positioning the countersink to touch fully at the top of the hole.
- Set the depth stop of the drill press quill movement.
- Raise the quill.
- Apply a couple drops of oil to the top of the material, allowing them to slide down the sides of the hole.
- Start the spindle.
- Hold the drill vise firmly and pull the quill handle to enter the hole and cut the countersink. This can generally be done in one pull without pecking.
- Examine the countersunk hole.
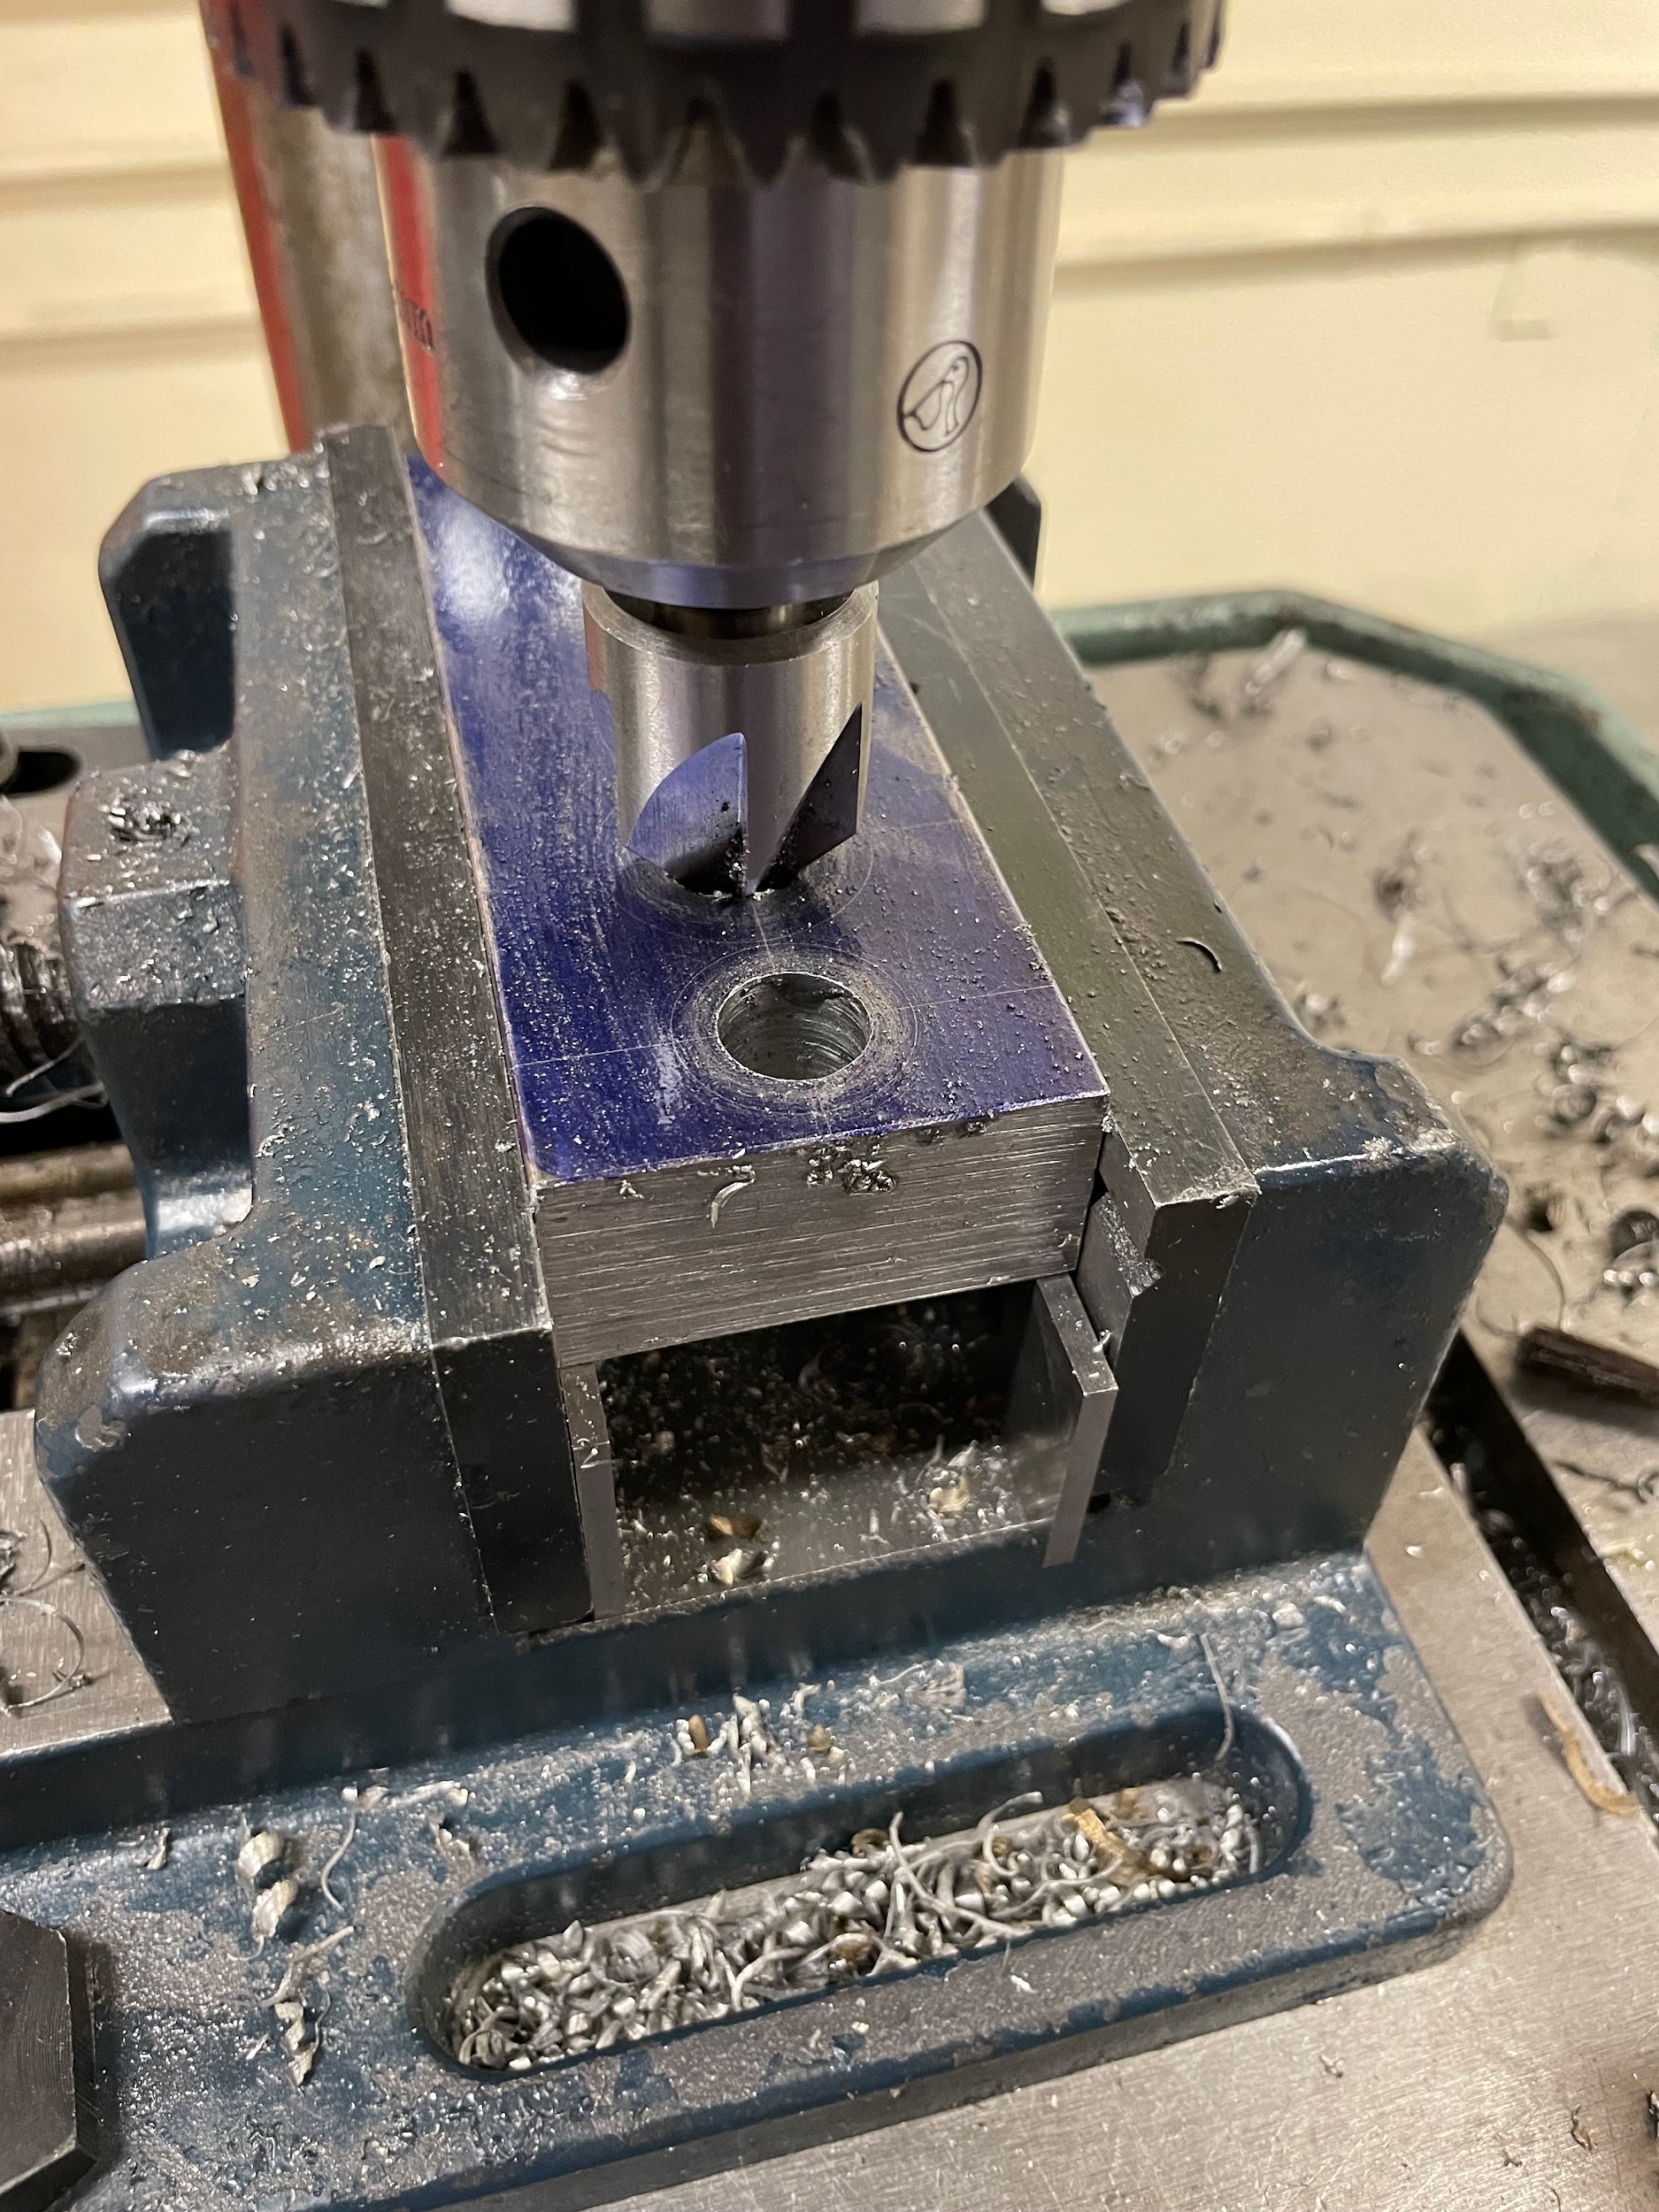
Step 5: Bring the quill down, slowly positioning the countersink to touch fully at the top of the hole.
Step 10: Hold the drill vise firmly and pull the quill handle to enter the hole and cut the countersink. This can generally be done in one pull without pecking.

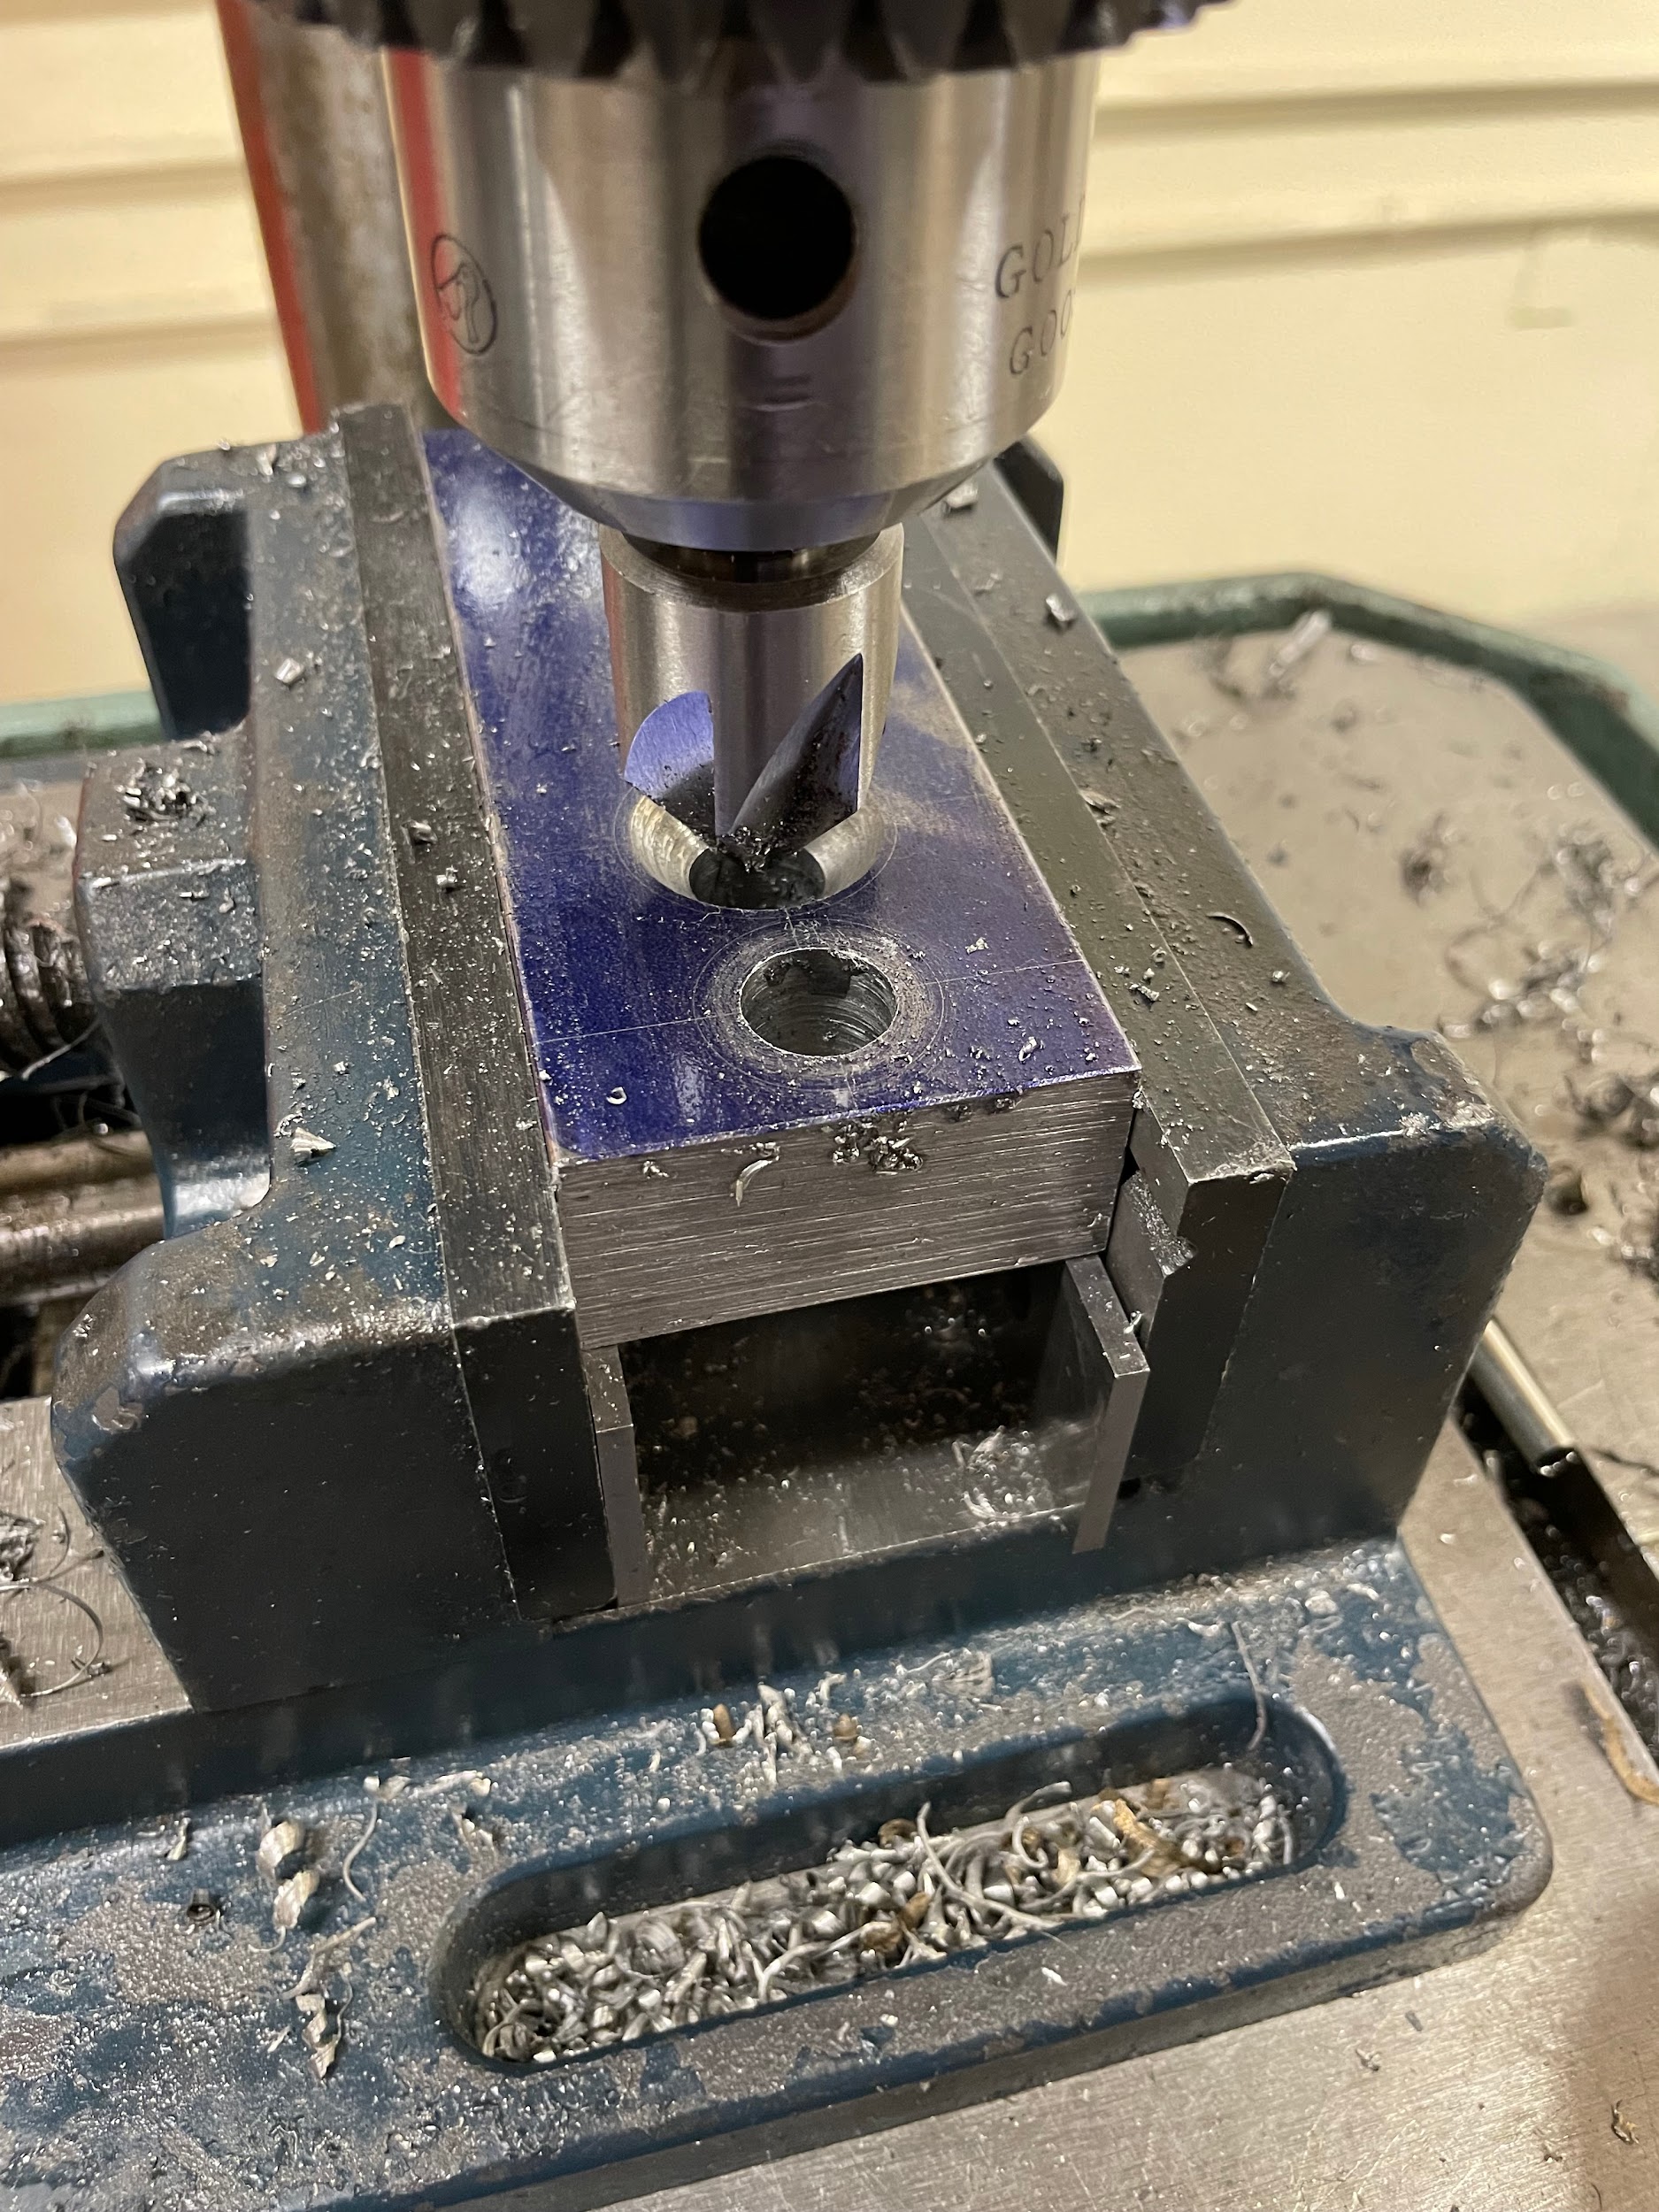
Step 11: Examine the countersunk hole.
Step 11: Examine the countersunk hole.

Author’s Tip
- On occasion, a countersinking operation can chatter and may require slower spindle speeds than calculated, faster feed rates, alignment and clamping of the vise, or all of the above. I try to assess the quality of the countersink early and make appropriate adjustments before coming to full depth.
- Calculating the depth of a countersink can be tricky. Even with the correct math and accurate measurements, it is hard to hit depth on the first try. Sometimes you end up shallow, other times too deep and scrap the part. For that reason, I always aim for 1/32 to 1/16 of an inch shallower than calculation. That gives me an opportunity to measure my depth and then adjust the quill stop of the machine in order to hit tolerance.
Tolerances
Countersink tolerances may vary by application. Use of a reference manual will help determine the correct tolerance for the application.
Attributions
- Figure 8.95: Countersinking touch off by Micky R. Jennings, courtesy of Wenatchee Valley College, for WA Open ProfTech, © SBCTC, CC BY 4.0
- Video 8.31: Micky R. Jennings, courtesy of Wenatchee Valley College, for WA Open ProfTech, © SBCTC, CC BY 4.0
- Figure 8.96: Finished countersinking by Micky R. Jennings, courtesy of Wenatchee Valley College, for WA Open ProfTech, © SBCTC, CC BY 4.0
- Video 8.32: Micky R. Jennings, courtesy of Wenatchee Valley College, for WA Open ProfTech, © SBCTC, CC BY 4.0
The process of using a countersink to create a conical recess at the top of a hole.
