31 Tensile Testing
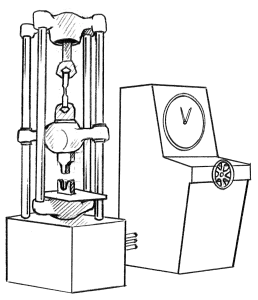
A tensile test is a destructive test that measures the effects of a tensile force, or pulling force, on a material. Tensile testing involves the placement of a weld specimen in a universal testing machine and stretching the piece until it breaks. Tensile force occurs when a mechanical load is applied axially, or parallel to the axis, to stretch a test specimen.
Specimens
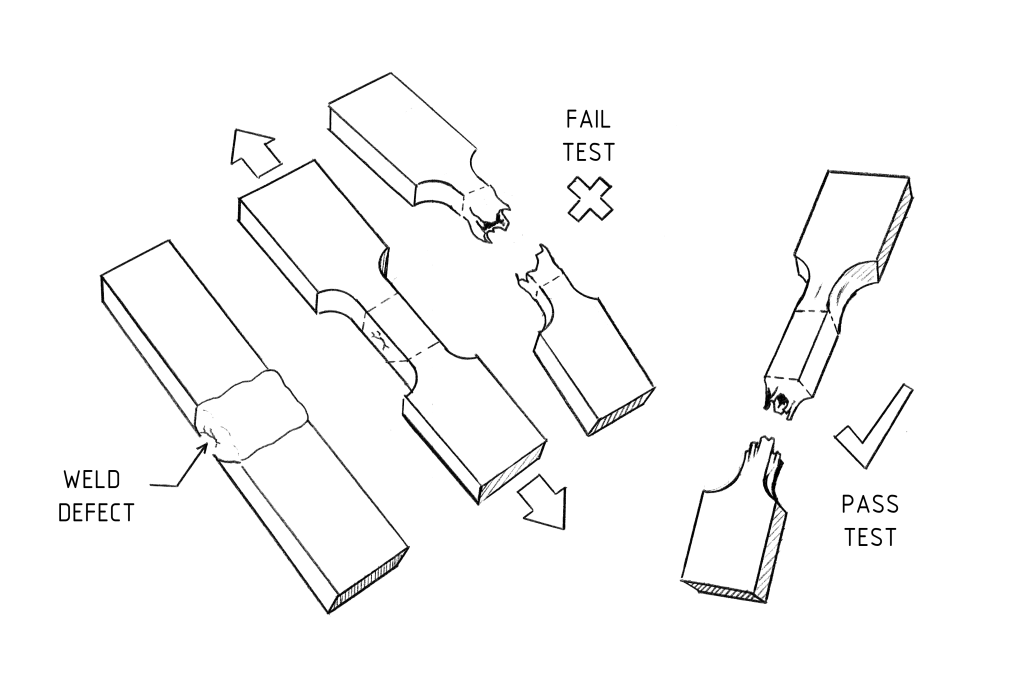
The specimen is cut either from an all-weld area or from a welded butt joint for plate and pipe.
The specimen for an all-weld metal area should conform to specific dimensions, and it should be cut from the welded section so its reduced area contains only weld metal.
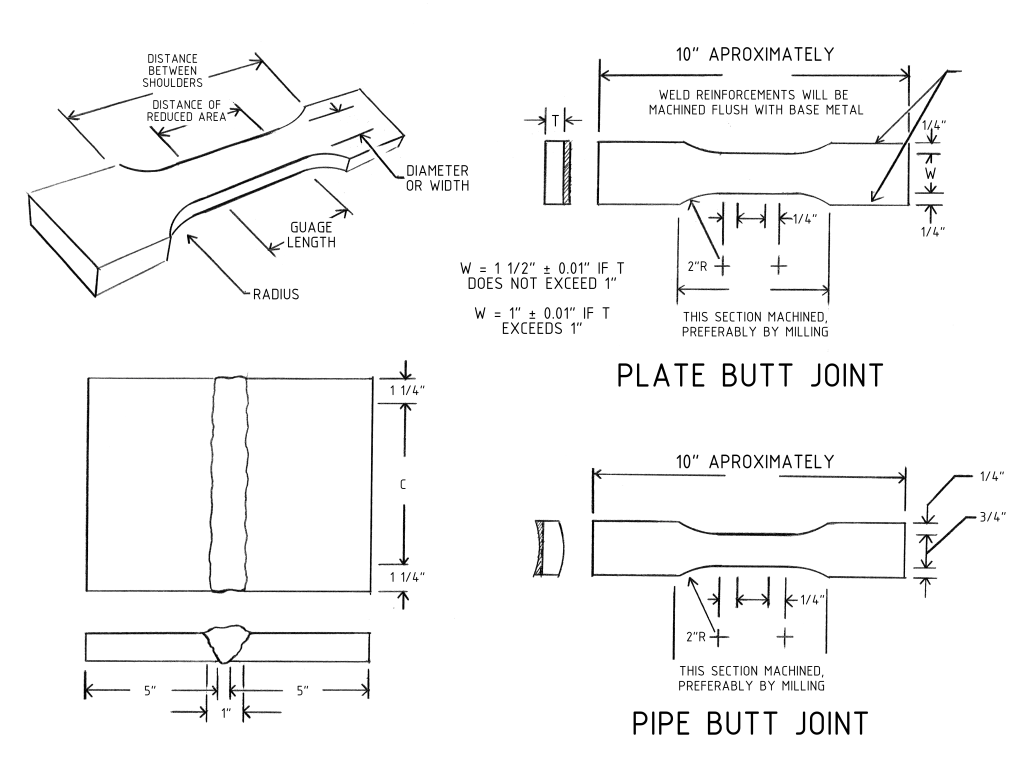
In general, tensile specimens obtained from welded joints are rectangular, unless taken from locations where it is not possible to obtain a specimen with a rectangular cross section, such as when testing filler metals.
The end shapes of tensile test specimens are matched to the gripping device of the tensile testing machine to ensure a secure and uniform grip.
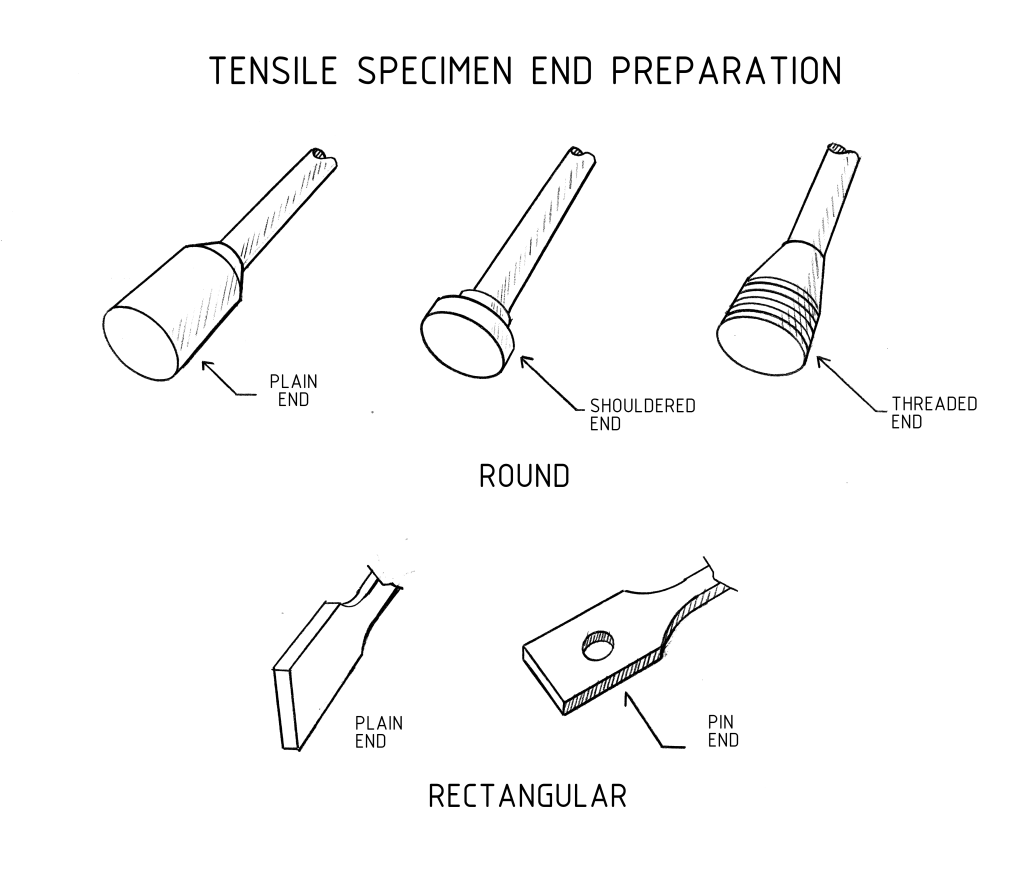
Rectangular specimens are generally made with plain ends, but occasionally pin ends are used. A pin end is a rectangular specimen that contains a hole for gripping.
Procedure
The tensile test procedure begins with fixing the specimen firmly in the grips of the testing machine. An extensometer, a device used for measuring the extension or elongation of the test specimen, is fitted to the specimen across its gauge length. The specimen is then stretched at a steady rate until it fails. The extensometer is removed before the specimen breaks.
Load-Extensive Curve
As the test specimen is stretched, a load-extension curve, or stress-strain curve, is plotted on a graph.
- Point A is the proportional limit: the maximum stress at which stress is directly proportional to strain. Beyond Point A, strain is permanent.
- Point B is the yield point: the location on the stress-strain curve where an increase in strain occurs without an increase in stress.
- Between points B and C the curve falls, indicating a plastic strain. Point C is considered the lower yield point.
- Point E is ultimate tensile strength: a measure of the maximum stress or load that a metal can withstand.
- Point F is the point of failure or the point at which fracture occurs.
Reduction
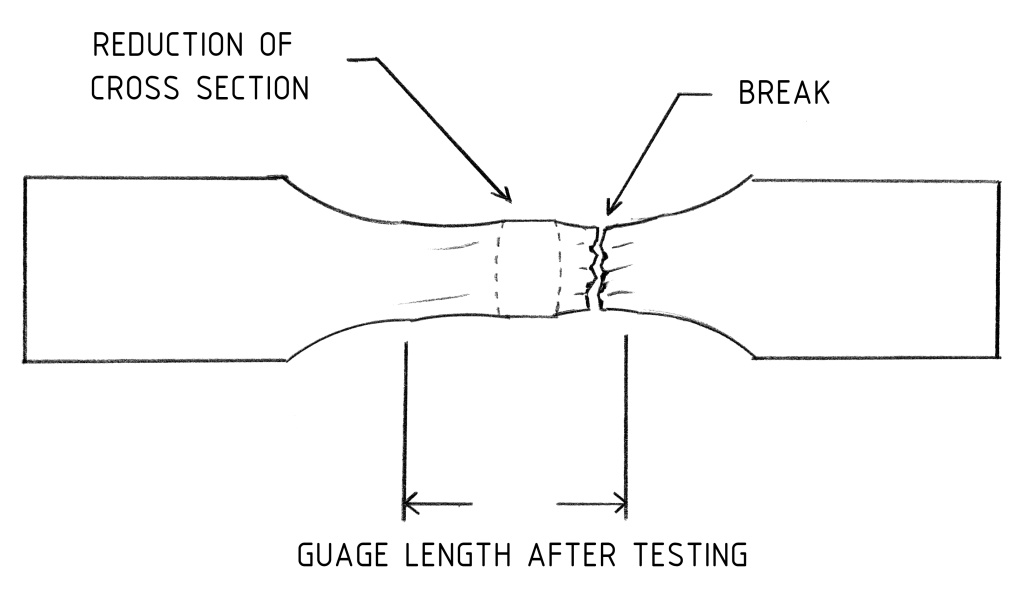
When the tensile test is completed, the broken specimen is removed from the testing machine. The percent of elongation can be found by fitting the broken ends of the two pieces together and measuring the new gauge length. The new, increased gauge length and the reduced diameter at the narrowest point are measured. Measurement can be made on either side of the break.
