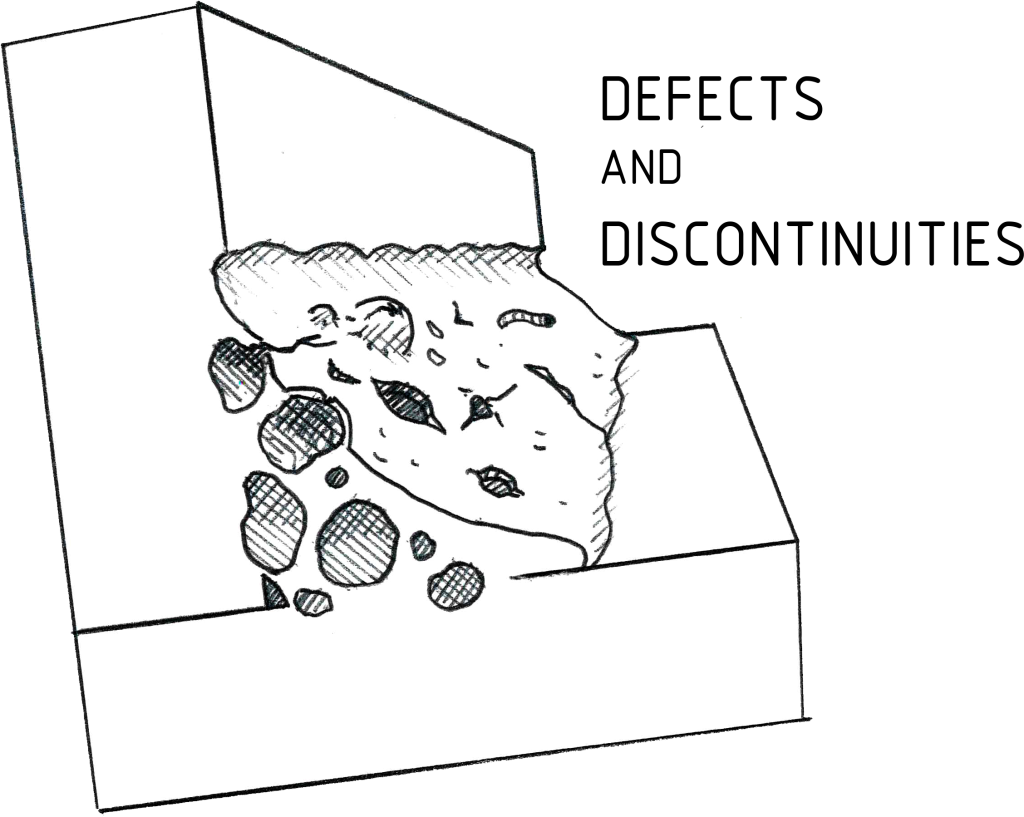
40 Weld Discontinuities & Defects
A weld discontinuity is an interruption in the typical structure of a weld. Weld discontinuities can occur as mechanical, metallurgical, or physical flaws in the weld metal, the heat-affected zone (HAZ), or the base metal. Their location varies depending upon the type of weld.
Weld discontinuity types include cracks, inclusions, cavities, incorrect shapes, incomplete fusion and incomplete penetration, lamination and delamination, and miscellaneous discontinuities (weld discontinuities that do not fit into other categories).
Cracks, inclusions, cavities, and incorrect shapes have been placed in their own sections in this book, due to the large number of sub-types each of these weld discontinuity types has.
Weld Defects
A weld discontinuity is not always considered a defect. Weld defects are weld discontinuities that by their shape or their accumulated effect are unable to meet the minimum acceptable requirements of the applicable fabrication standard or code.
The transition point between a discontinuity and a defect depends upon the fabrication standard or code that controls the welded joint design and quality. An unacceptable discontinuity under certain service conditions may be acceptable in a less demanding service or in another application. Refer to the requirements of the fabrication code or standard that governs the quality of the welded joint under consideration. A weld defect requires rejection of the part.
Detection
Discontinuities are detected by nondestructive examination (NDE). The most applicable (NDE) technique or techniques are selected to locate and measure the size and orientation of the discontinuity. The discontinuity size and orientation are then compared with what is allowable in the applicable fabrication standard or code to decide whether the discontinuity is a defect and whether the weld should be accepted or rejected.


