Chapter 10 Part 5: Manual Lathes
TAPER TURNING
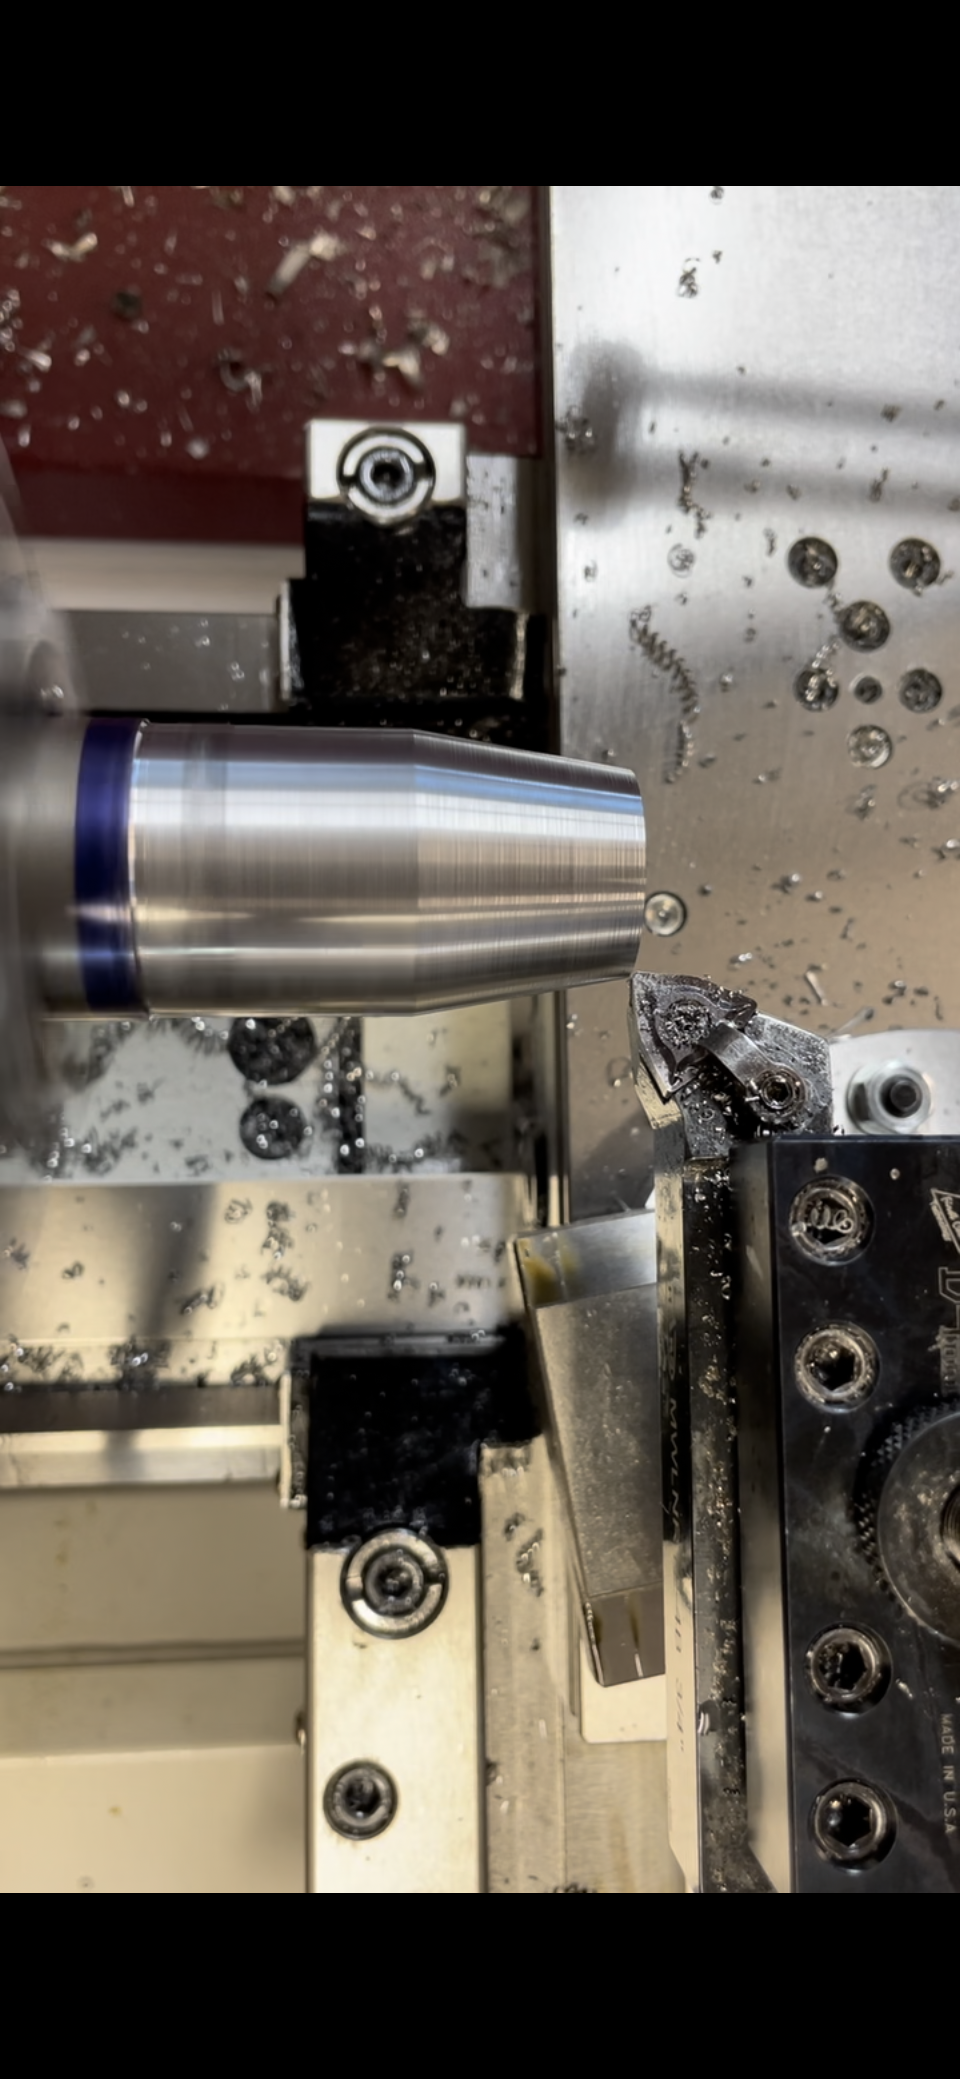
What is it?
Taper turning is the process of producing a taper on the workpiece. Tapers can come in many forms and can be cut with multiple different methods. Short tapers can be cut using the compound rest, where long, shallow tapers will need to be made with the tailstock offset method or the use of a taper attachment. Taper turning is generally performed with multiple roughing cuts and at least one finishing cut.
Tailstock offset method
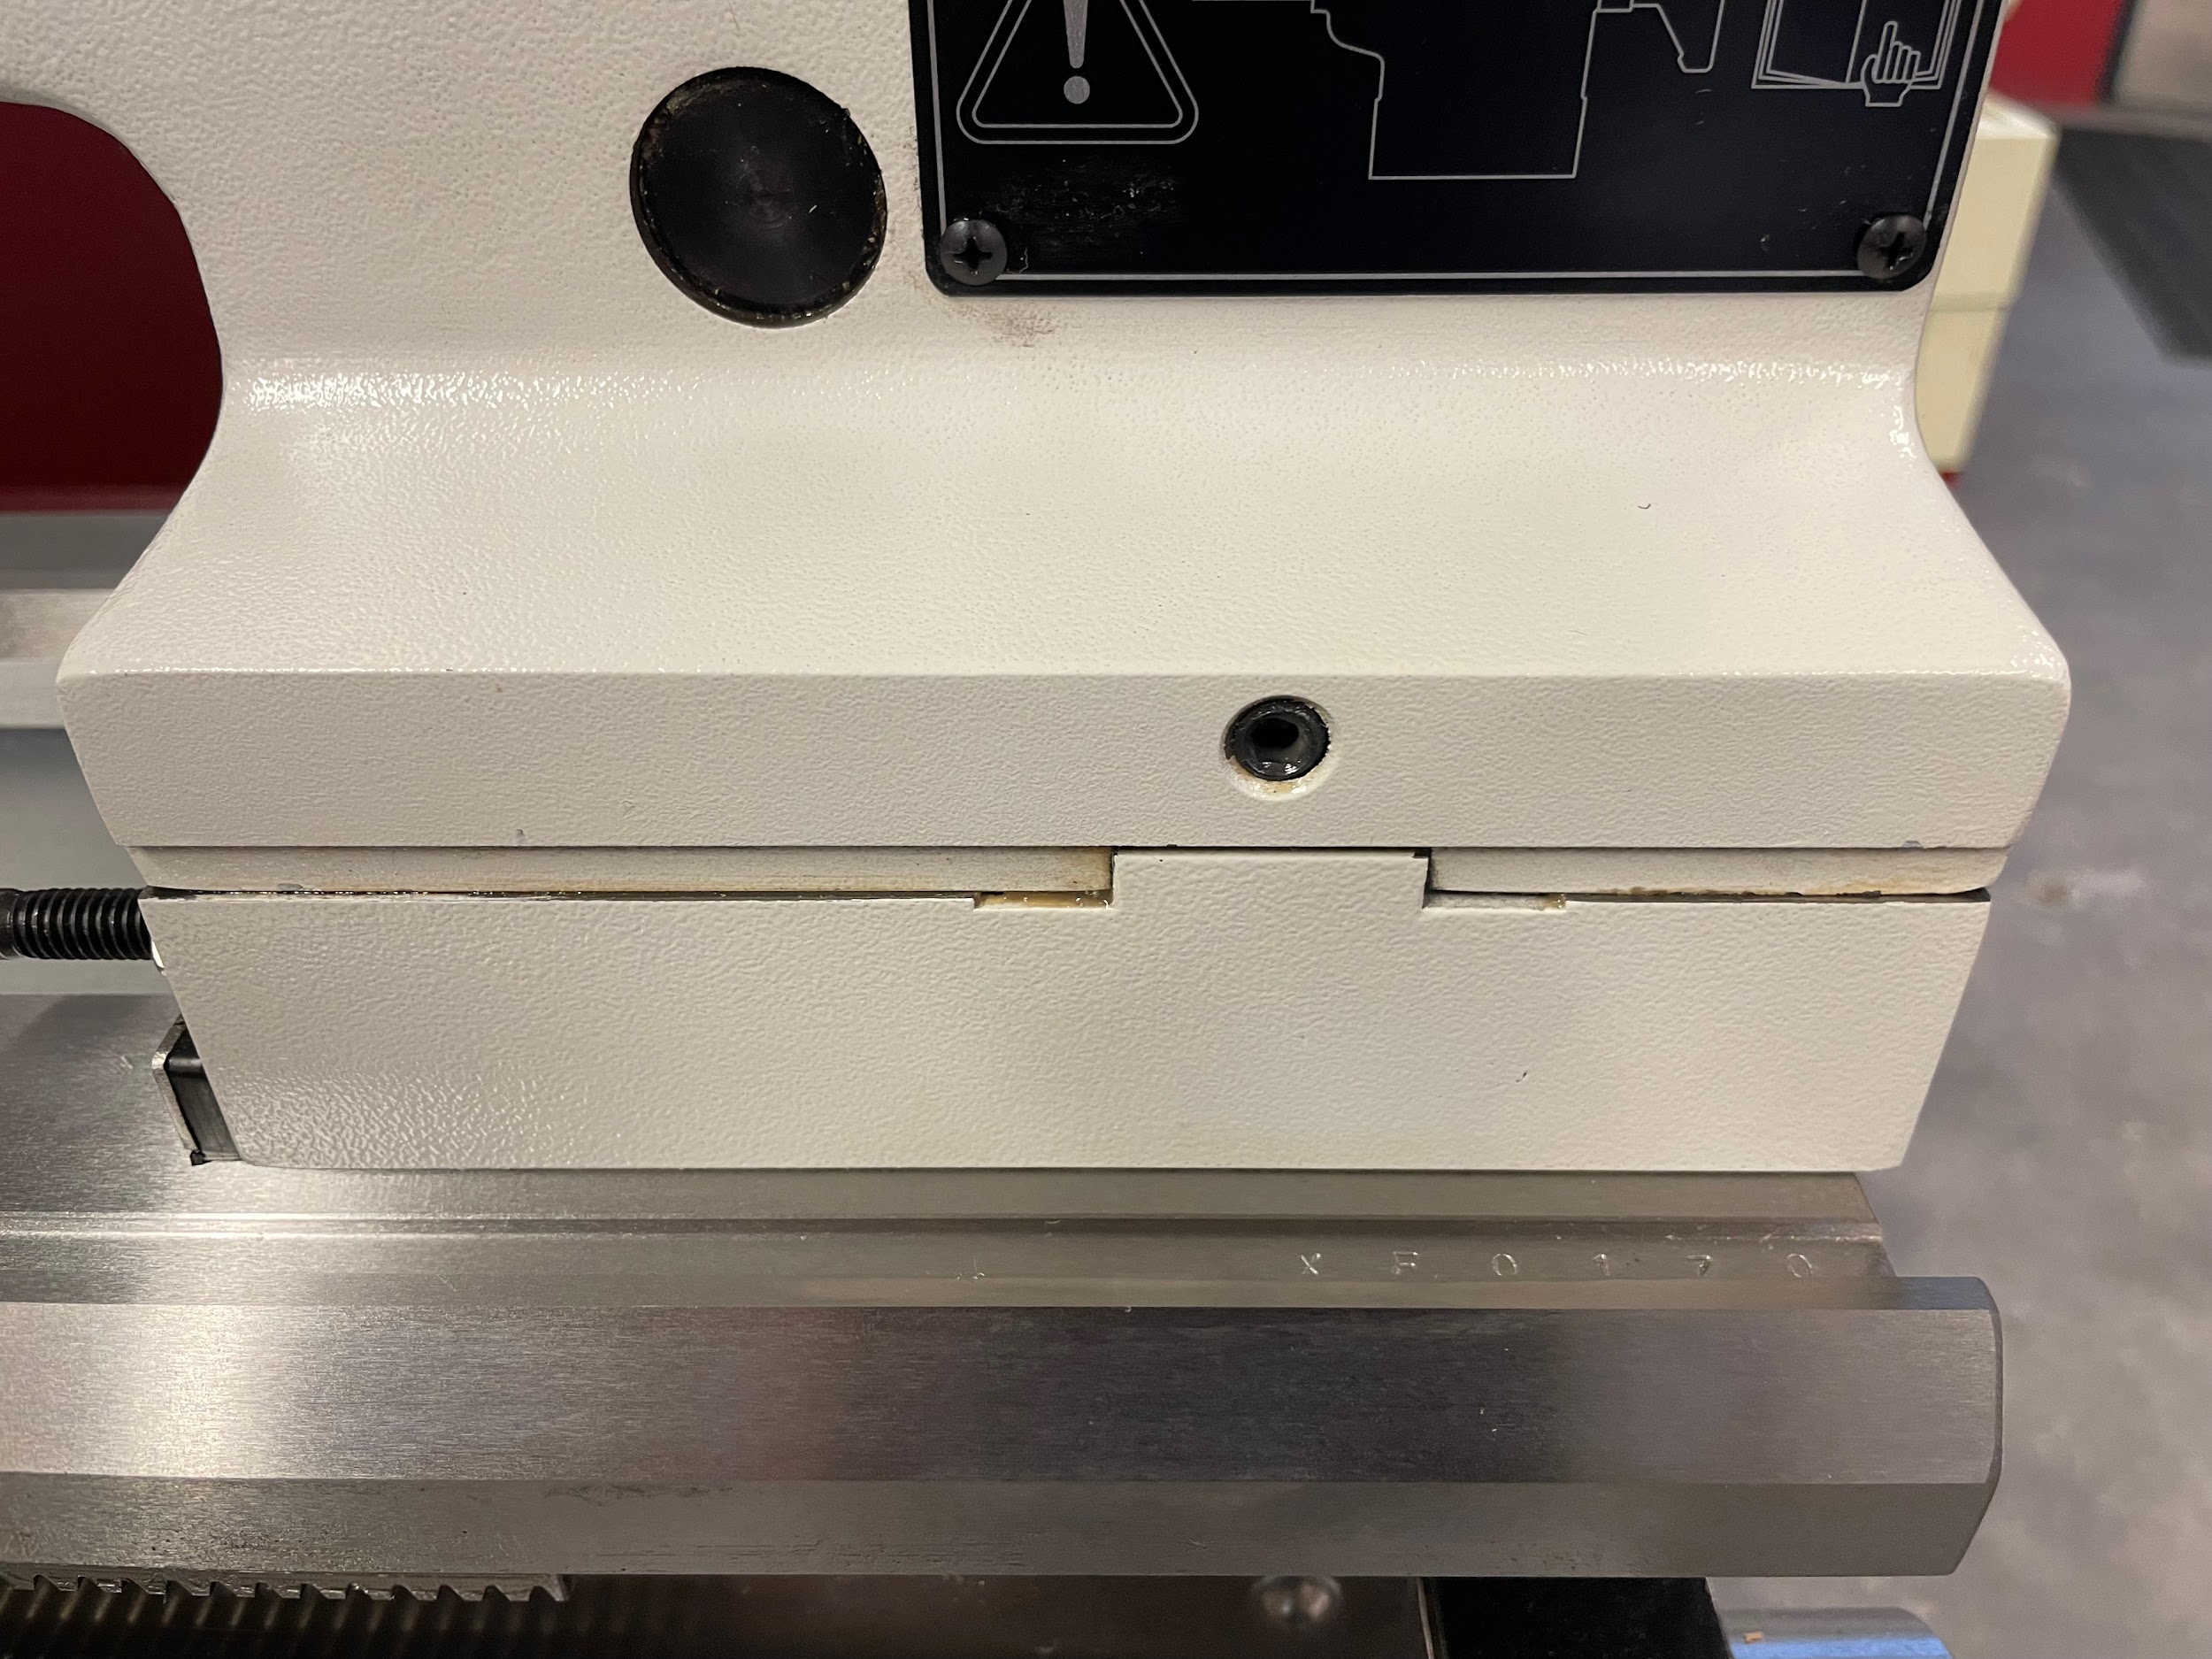
The tailstock offset method is a way of moving the upper portion of the tailstock out of line with the center rotation of the lathe spindle. The body of the tailstock can be moved in and out independent of the base by loosening and tightening bolts on the front and back of the tailstock.
Step by step process for creating a taper using the tailstock offset method:
- Hold a part between centers. It helps if the center drills used are of the bell type. This is because the part will need to pivot slightly on the centers as it revolves. This is easier on the rounded portion of the bell center drill mark.
- Calculate the taper per inch of the feature to be machined.
- Apply that taper per inch to the entire length of the part. Half of this amount is approximately how much the tailstock should be offset.
- Use a magnetic base to apply a drop indicator to the side of the tailstock and adjust it by the amount calculated.
- Mount the work between centers.
- With the spindle static, run a drop indicator along a measured length and observe the taper per inch. This is only half the amount of taper that will exist when the part is cut because, when machining on a lathe, the material removed on one side of the part is also removed from the other side.
- Readjust and recheck until the taper per inch is correct.
- Now the part can be machined with a standard carriage turning operation, and because the part is held crooked to the centerline of the spindle, a taper will be created.
Taper attachment method
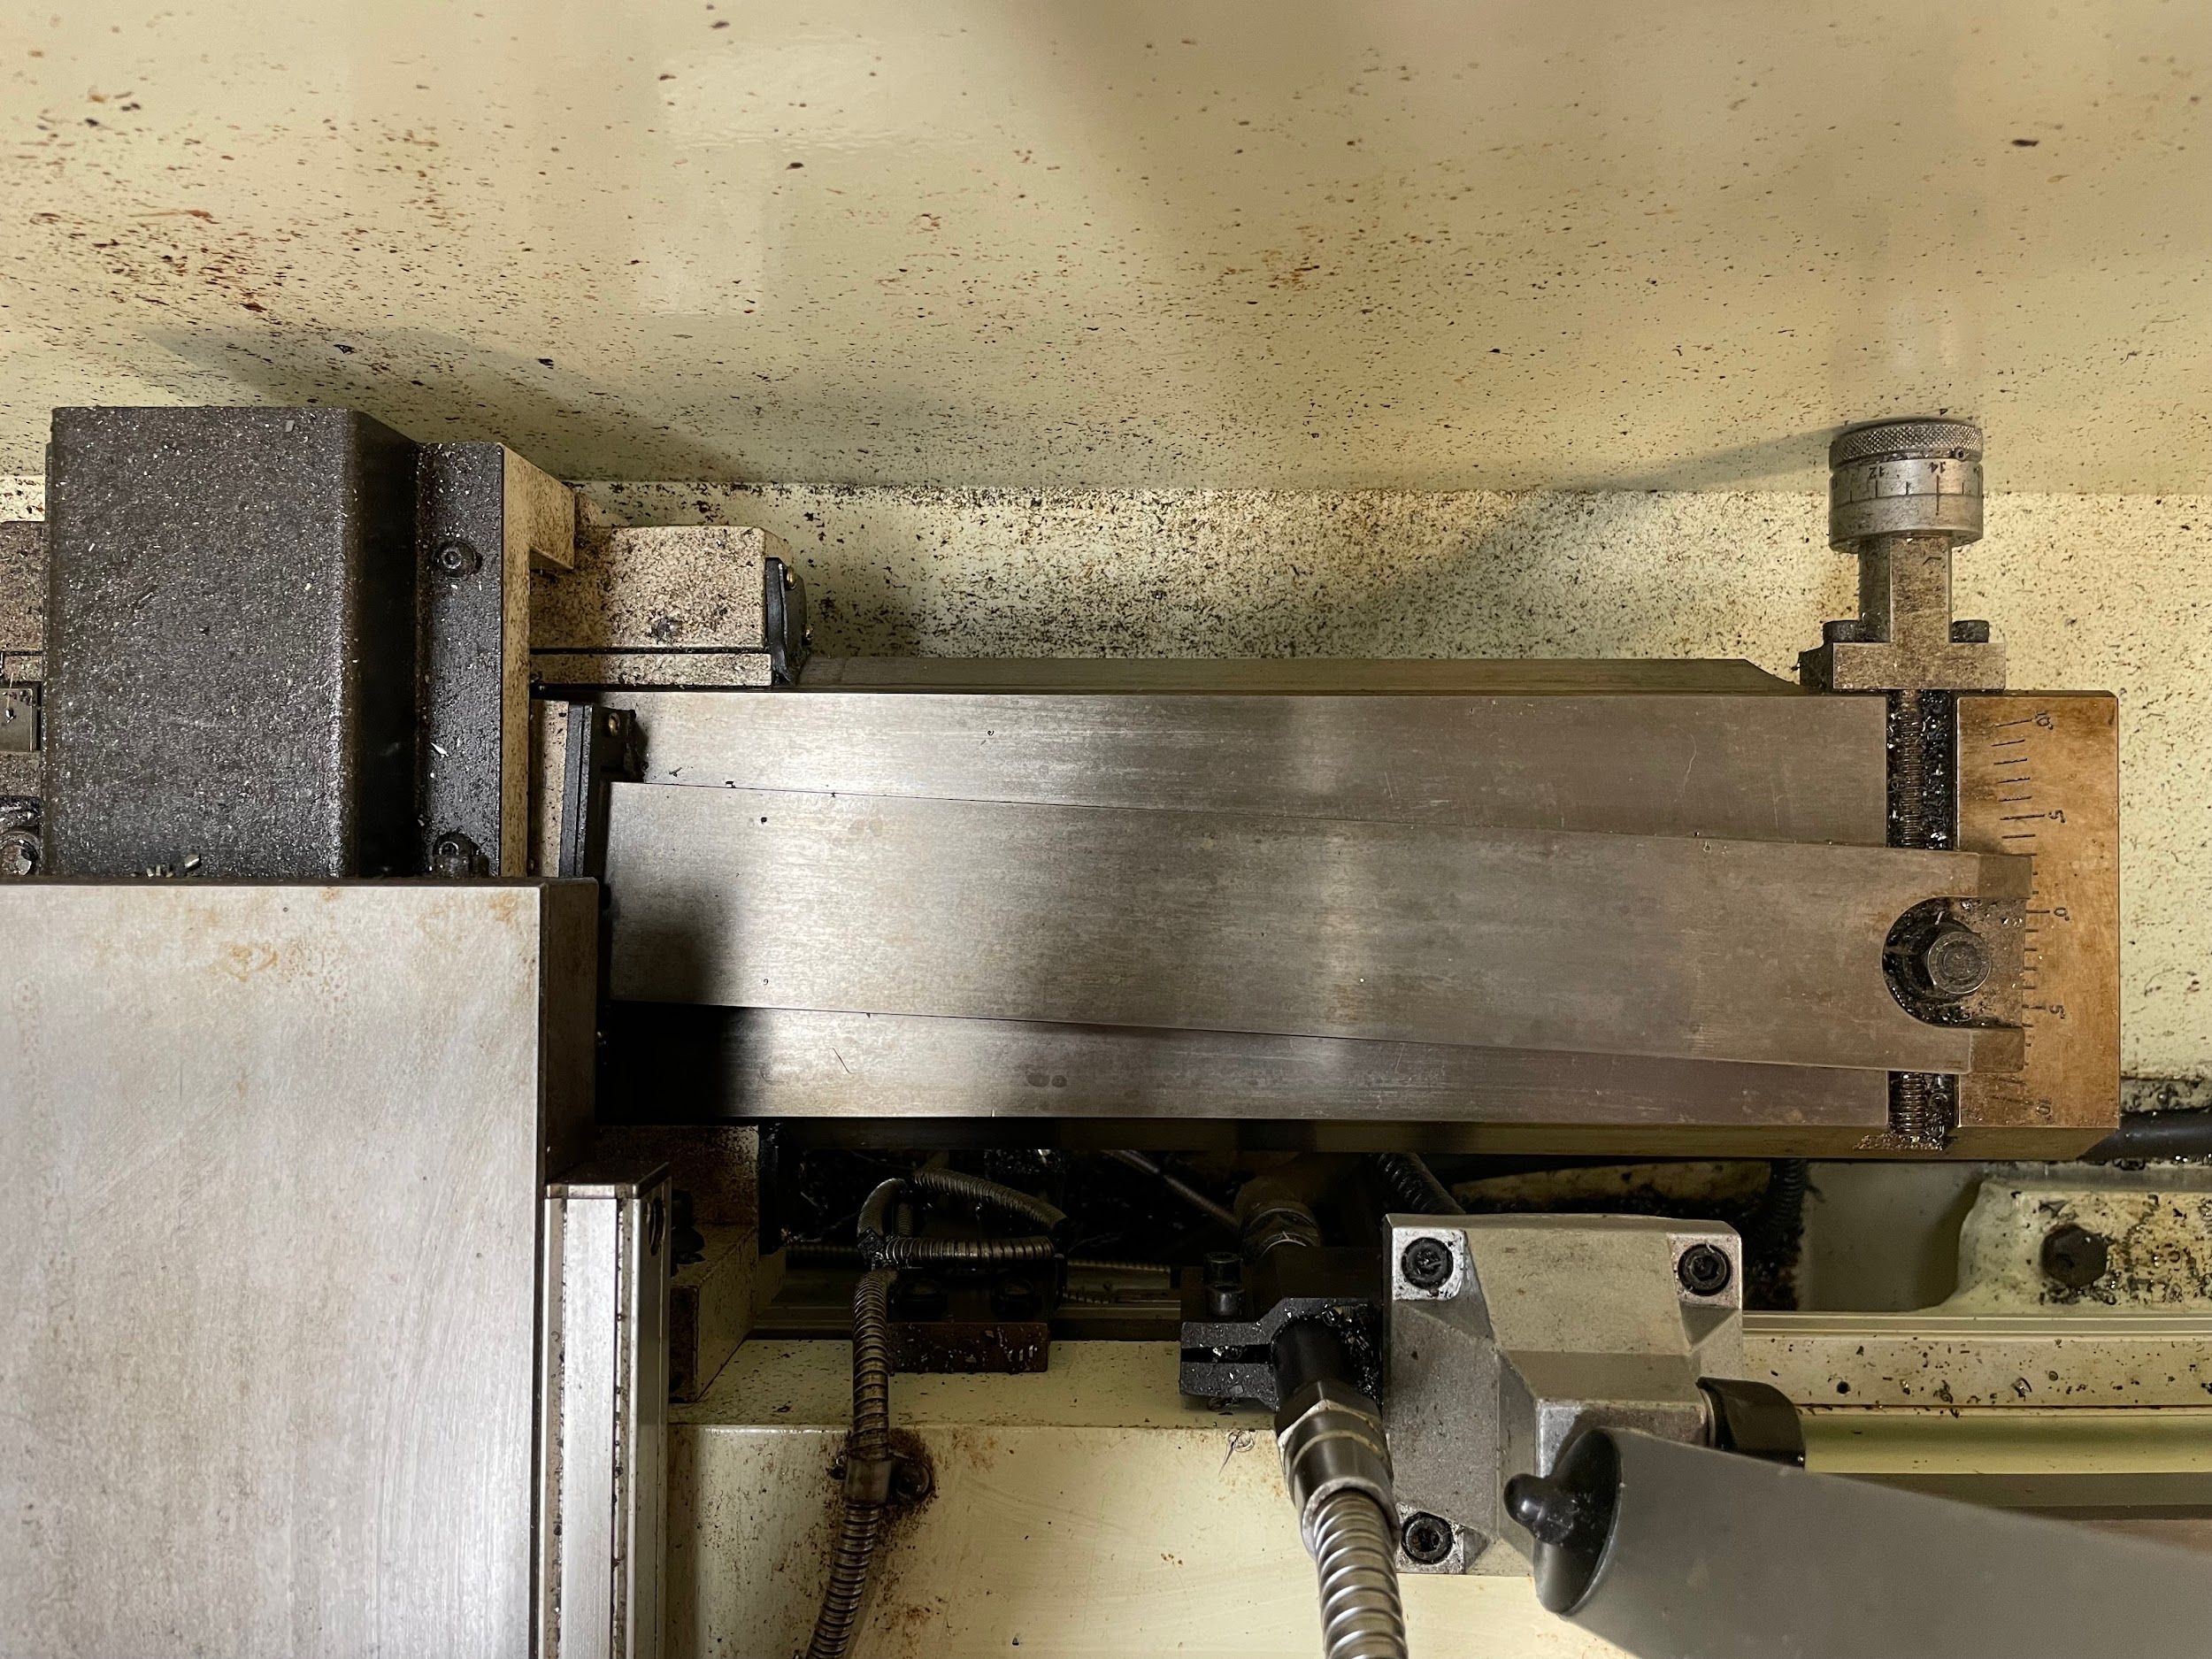
A taper attachment is a device that attaches to the back of a lathe and aids in making shallow tapers by automatically moving the cross slide while the carriage is feeding axially. It does this by disconnecting the nut that normally creates the movement for the cross slide and replaces it with a shoe that rides on a bar that is adjusted to a precise angle or taper per inch. Taper attachment types and the mounting method vary with each machine, for this reason, it is preferred to refer to the operator’s manual for proper setup and use.
Compound rest method
The compound rest method is the simplest and most versatile way to create a taper. An angle anywhere between 0 and 90 degrees can be created. A couple of the downsides of the compound method are that the length of taper is limited by the movement length of the compound rest, and there is no power feed option.
Step by step process for creating a taper using the compound rest:
- Chuck up the part that needs to have a taper.
- Calculate the taper in degrees if it isn’t already called out on the print.
- Loosen the bolts holding the compound rest and adjust the compound as close as possible to the needed degree using the graduated markings.
- Tighten the bolts.
- Align the toolpost.
- Set up a drop indicator on a mag base so that the indicator plunger is perpendicular to the workpiece.
- Press the plunger against the work a few hundred thousandths.
- Remove backlash in compound movement.
- Zero drop indicator.
- Move the compound rest by a known distance.
- Read the movement on the indicator.
- Now that those two measurements are documented, use right angle trigonometry to calculate the precise angle the compound is set at. Let the known distance be the hypotenuse and the indicator reading be one of the legs.
- Compare this calculated angle to the one from the print. If it isn’t within tolerance, decide which way the compound needs to move, and repeat the steps of moving and checking the angle of the compound.
- Load a turning tool on the tool post.
- Position the tool off the end of the work by about 1/8”. Make sure the compound will have enough travel to cut the entire taper.
- Lock the carriage.
- Oil the part if necessary.
- Use the cross slide to set the initial depth of cut.
- Use the compound to make the tapered cut in one smooth motion.
- Continue making successive cuts until there is a sufficient amount of taper to measure the angle.
- Unlock the carriage.
- Mount the indicator on the machine again and load it on the end of the part.
- Remove the backlash in the carriage.
- This time, the carriage will be moved by a known amount.
- Read the movement on the indicator.
- Use right angle trigonometry to calculate the precise angle of the part. Let the known distance be one leg and the indicator reading be the other leg.
- Compare this calculation to the print and adjust if necessary.
- Continue making successive cuts until the taper is cut to size.
“Step 3: Loosen the bolts holding the compound rest and adjust the compound as close as possible to the needed degree using the graduated markings.“
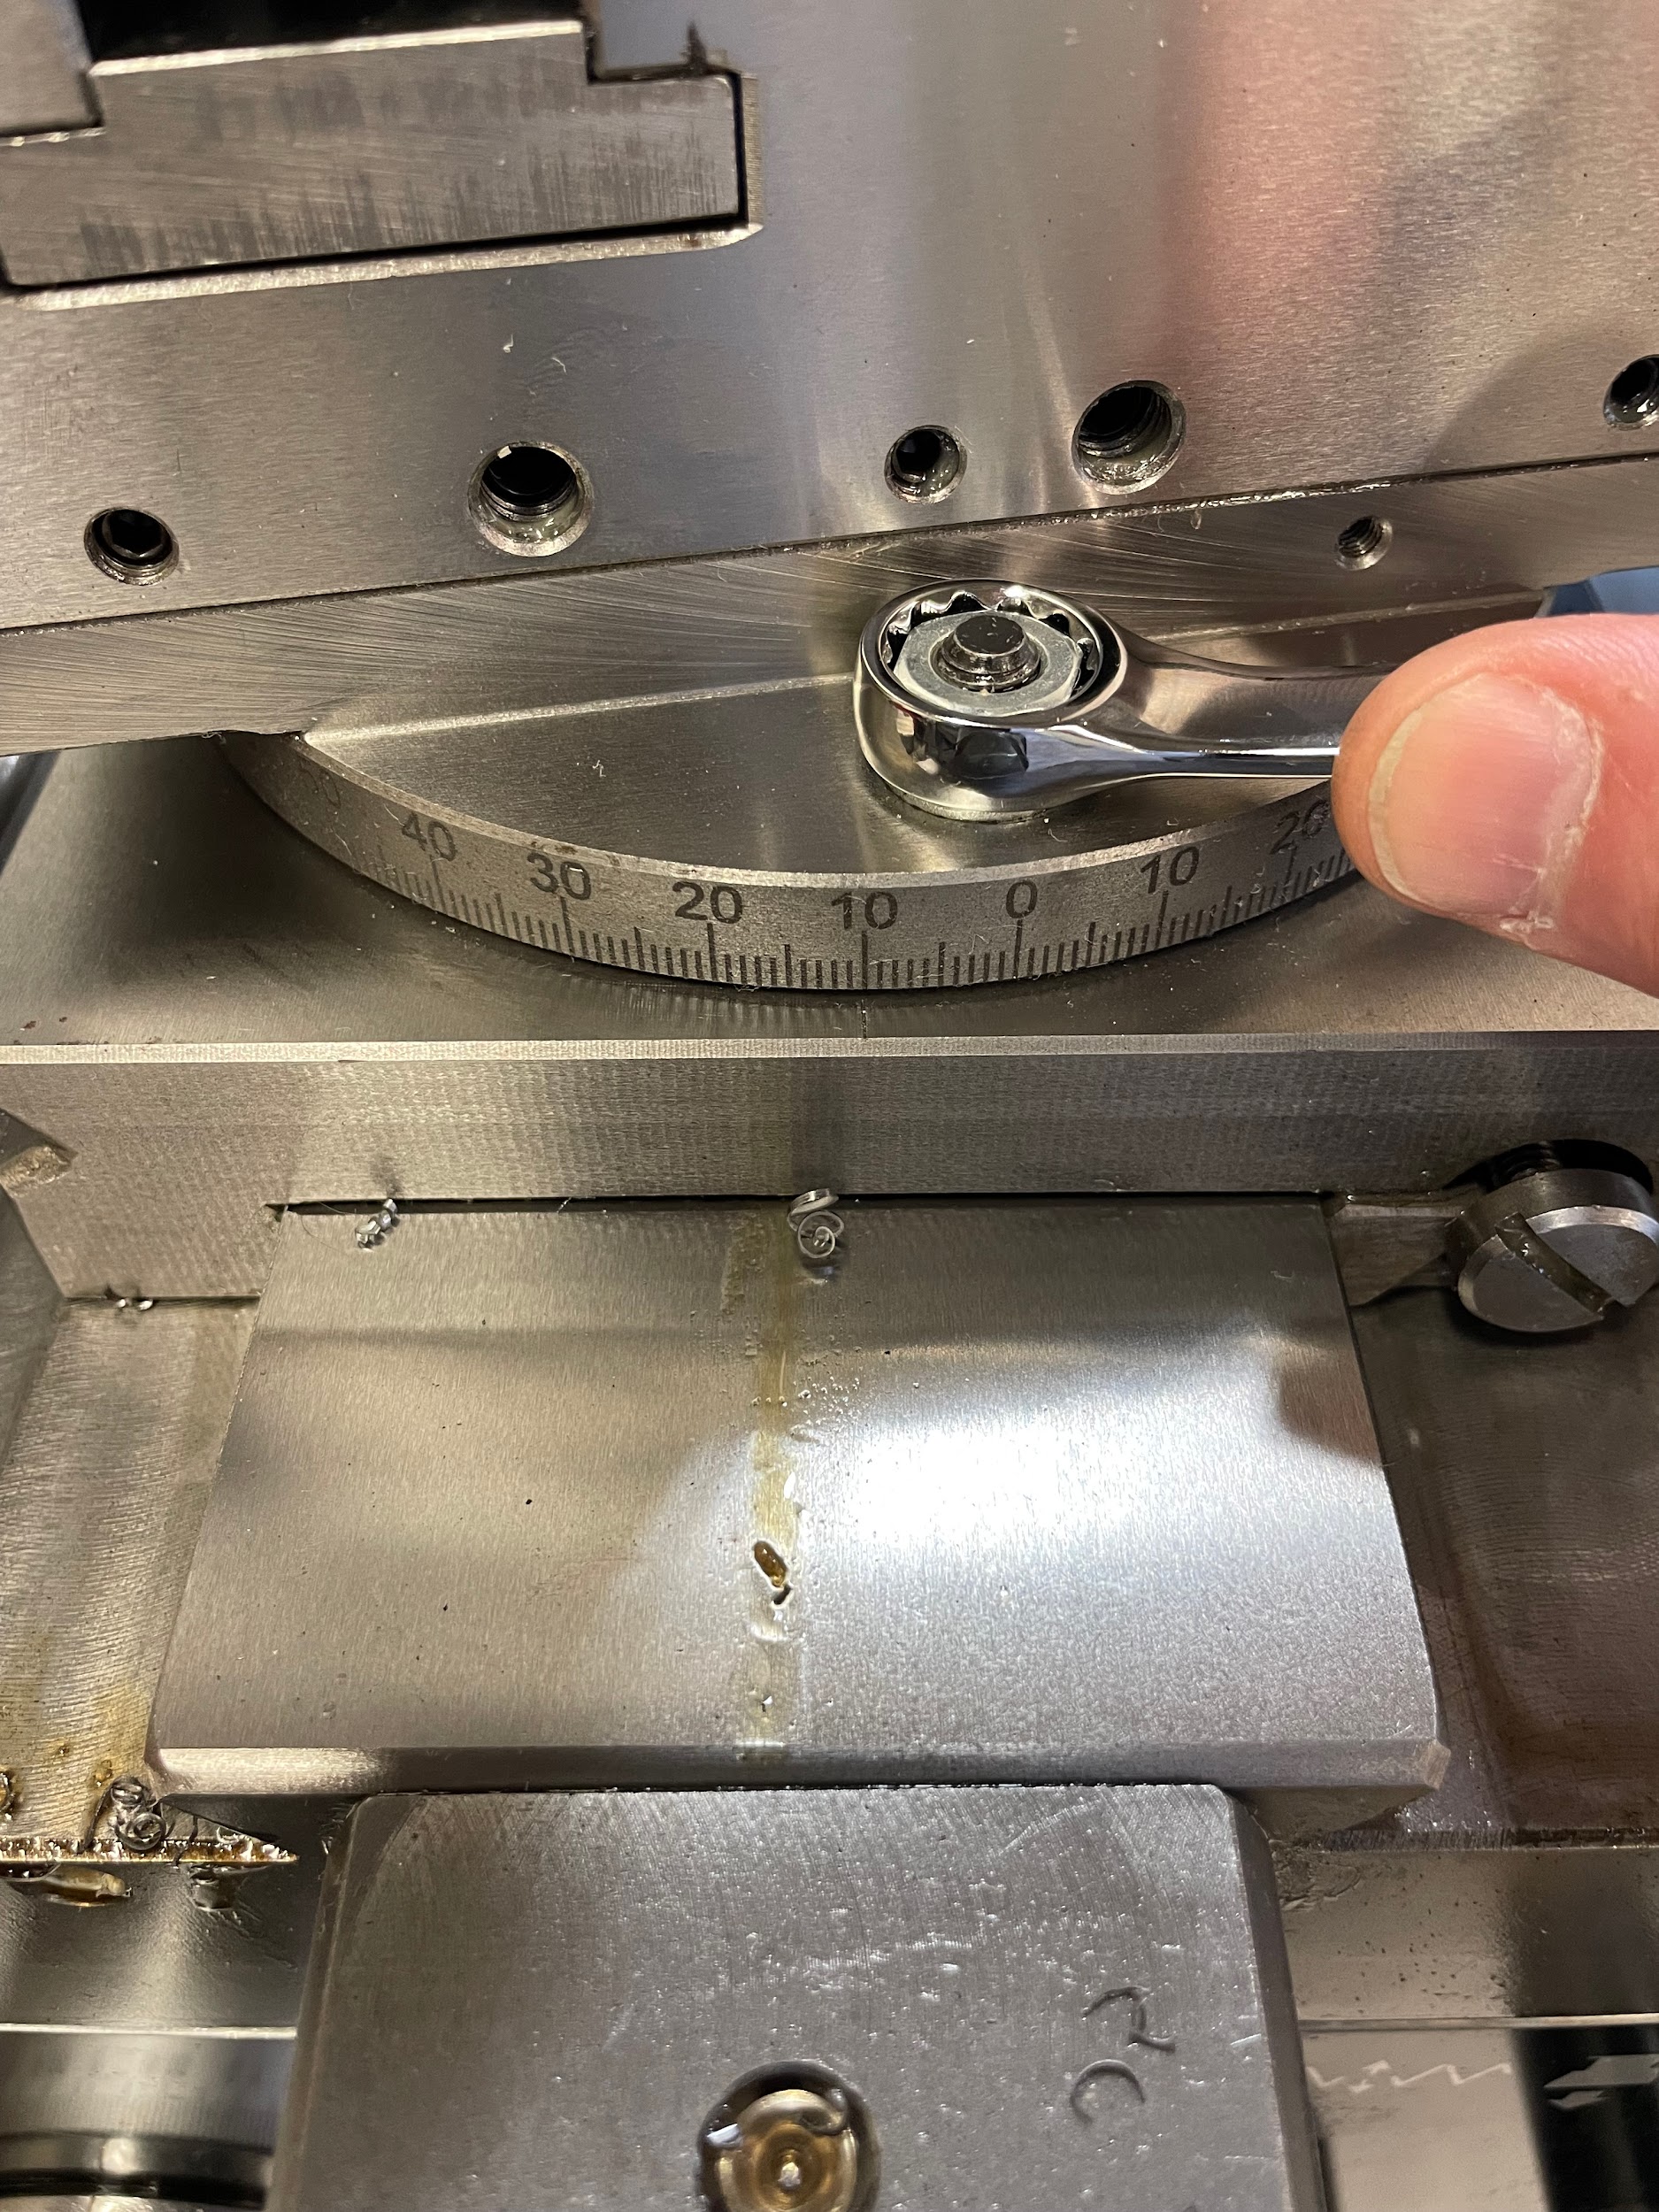
“Step 5: Align the toolpost.“
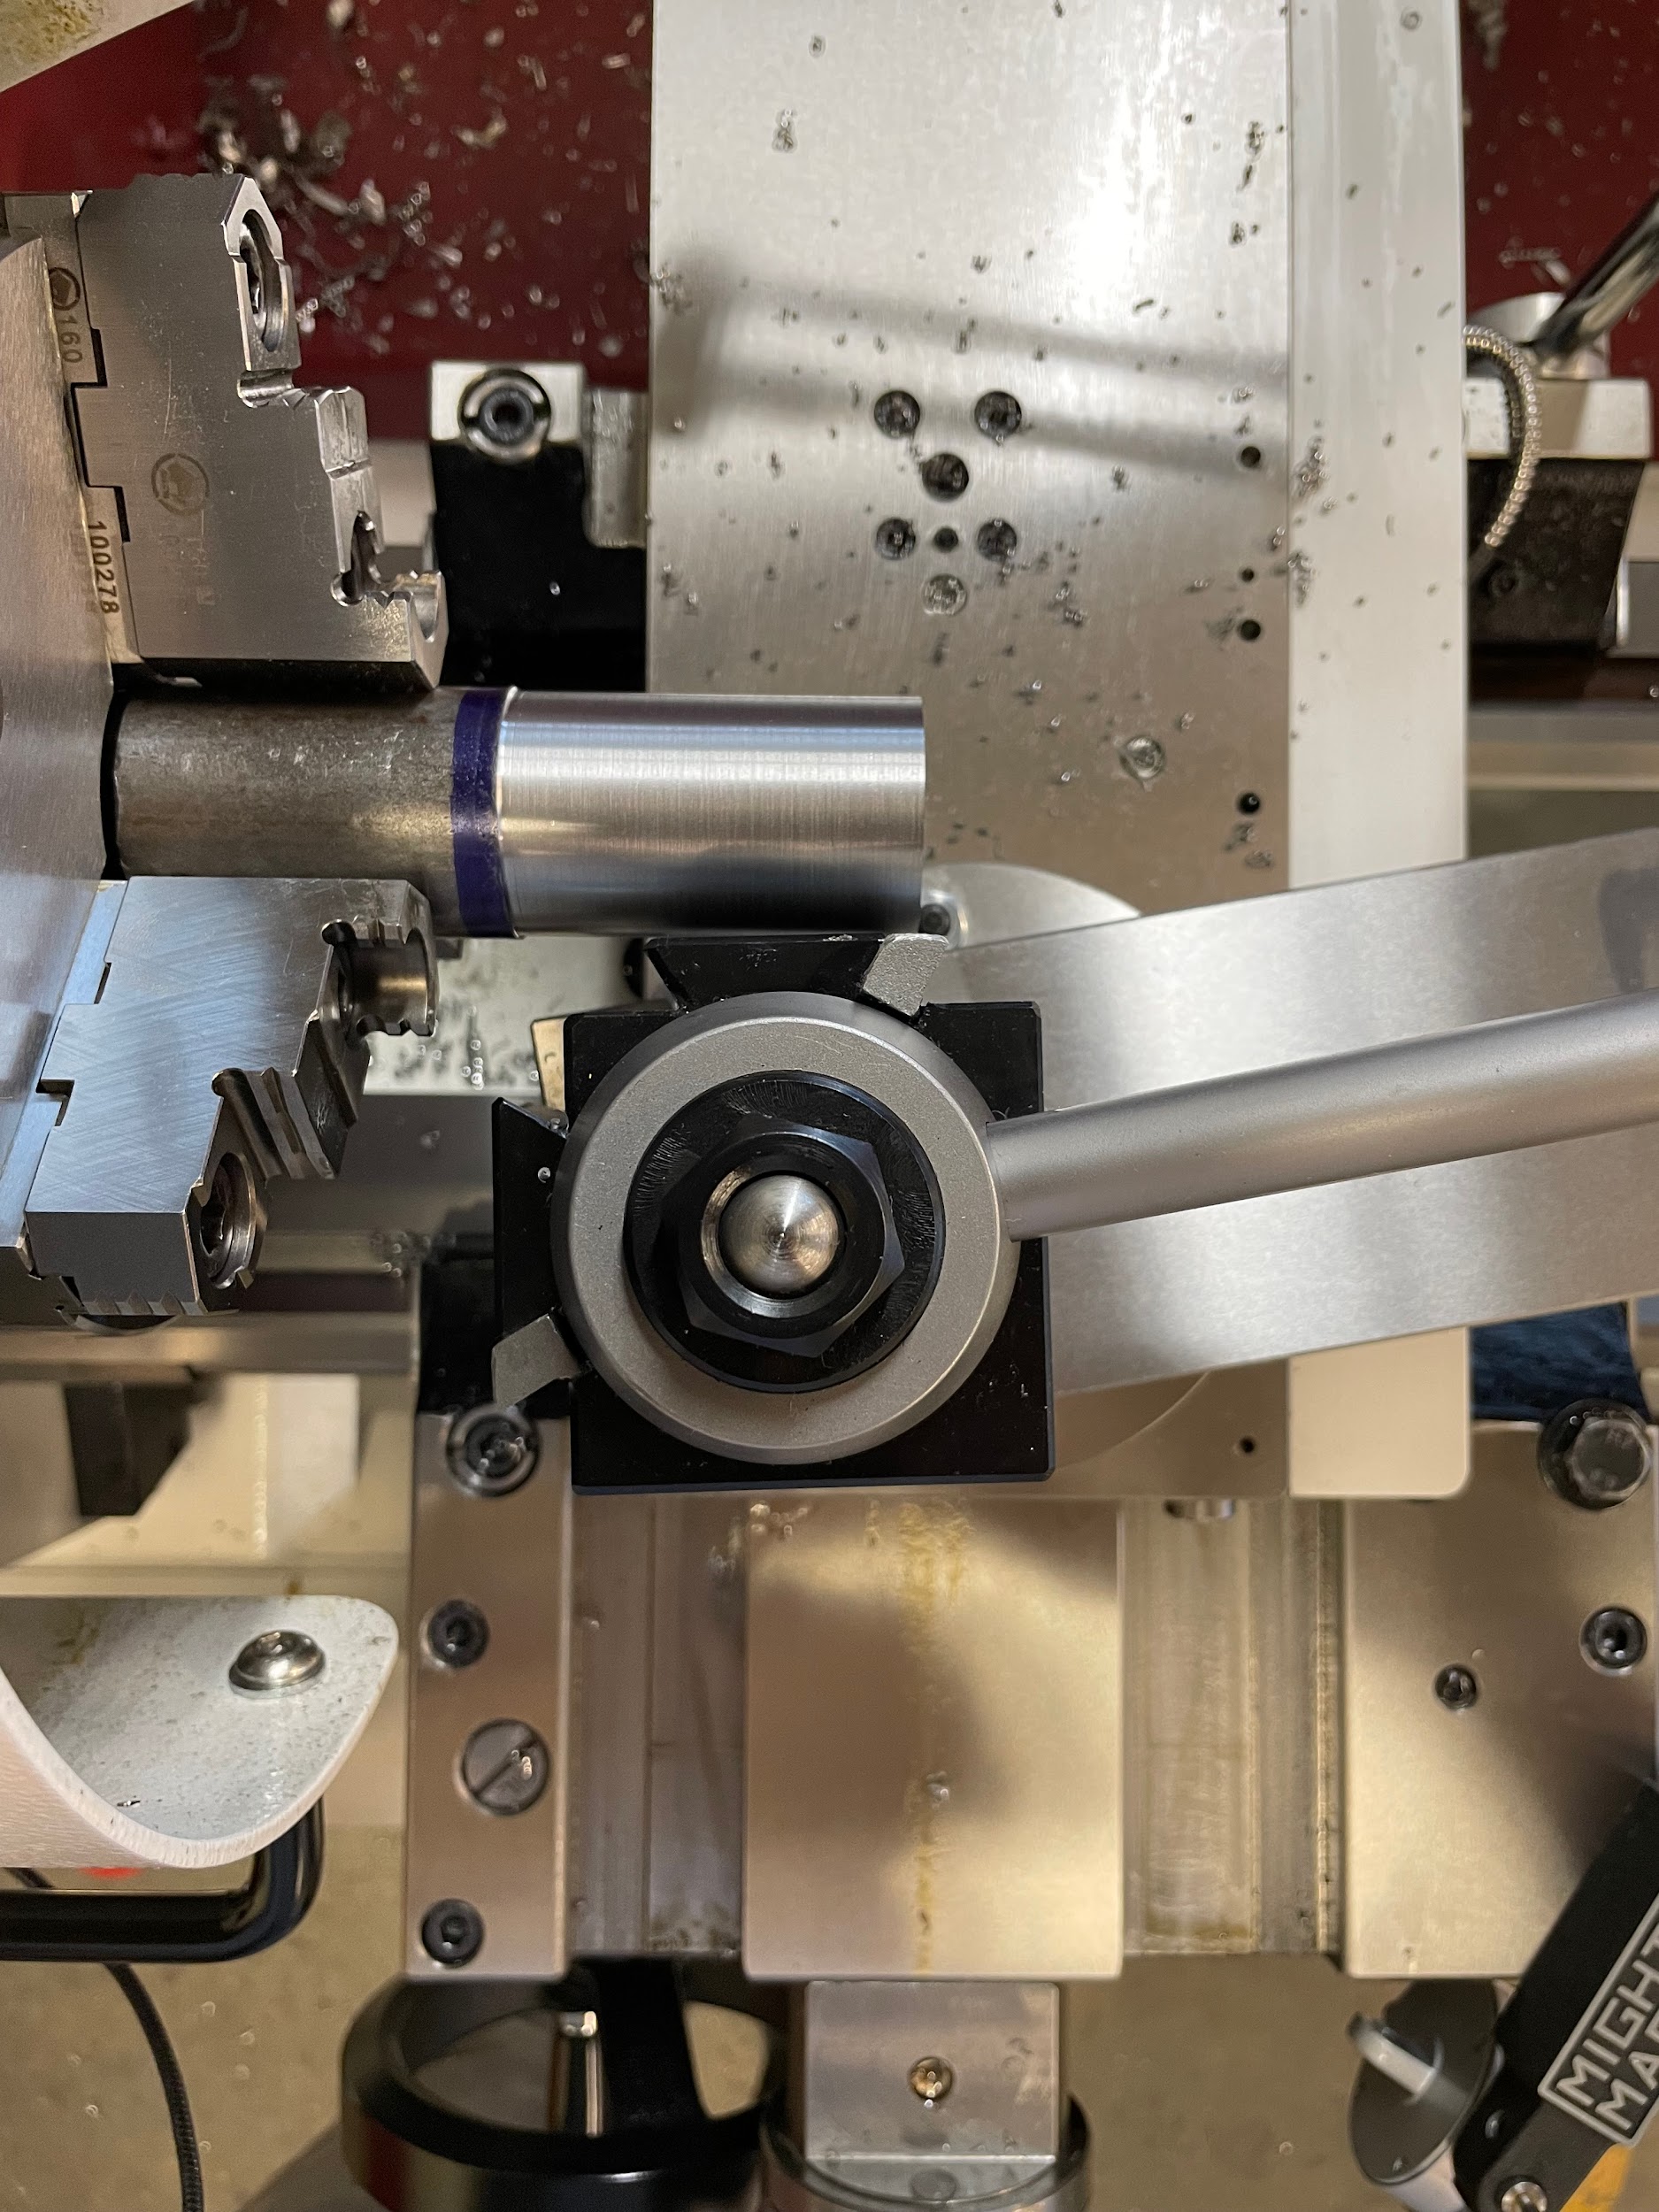
“Step 16: Lock the carriage.“
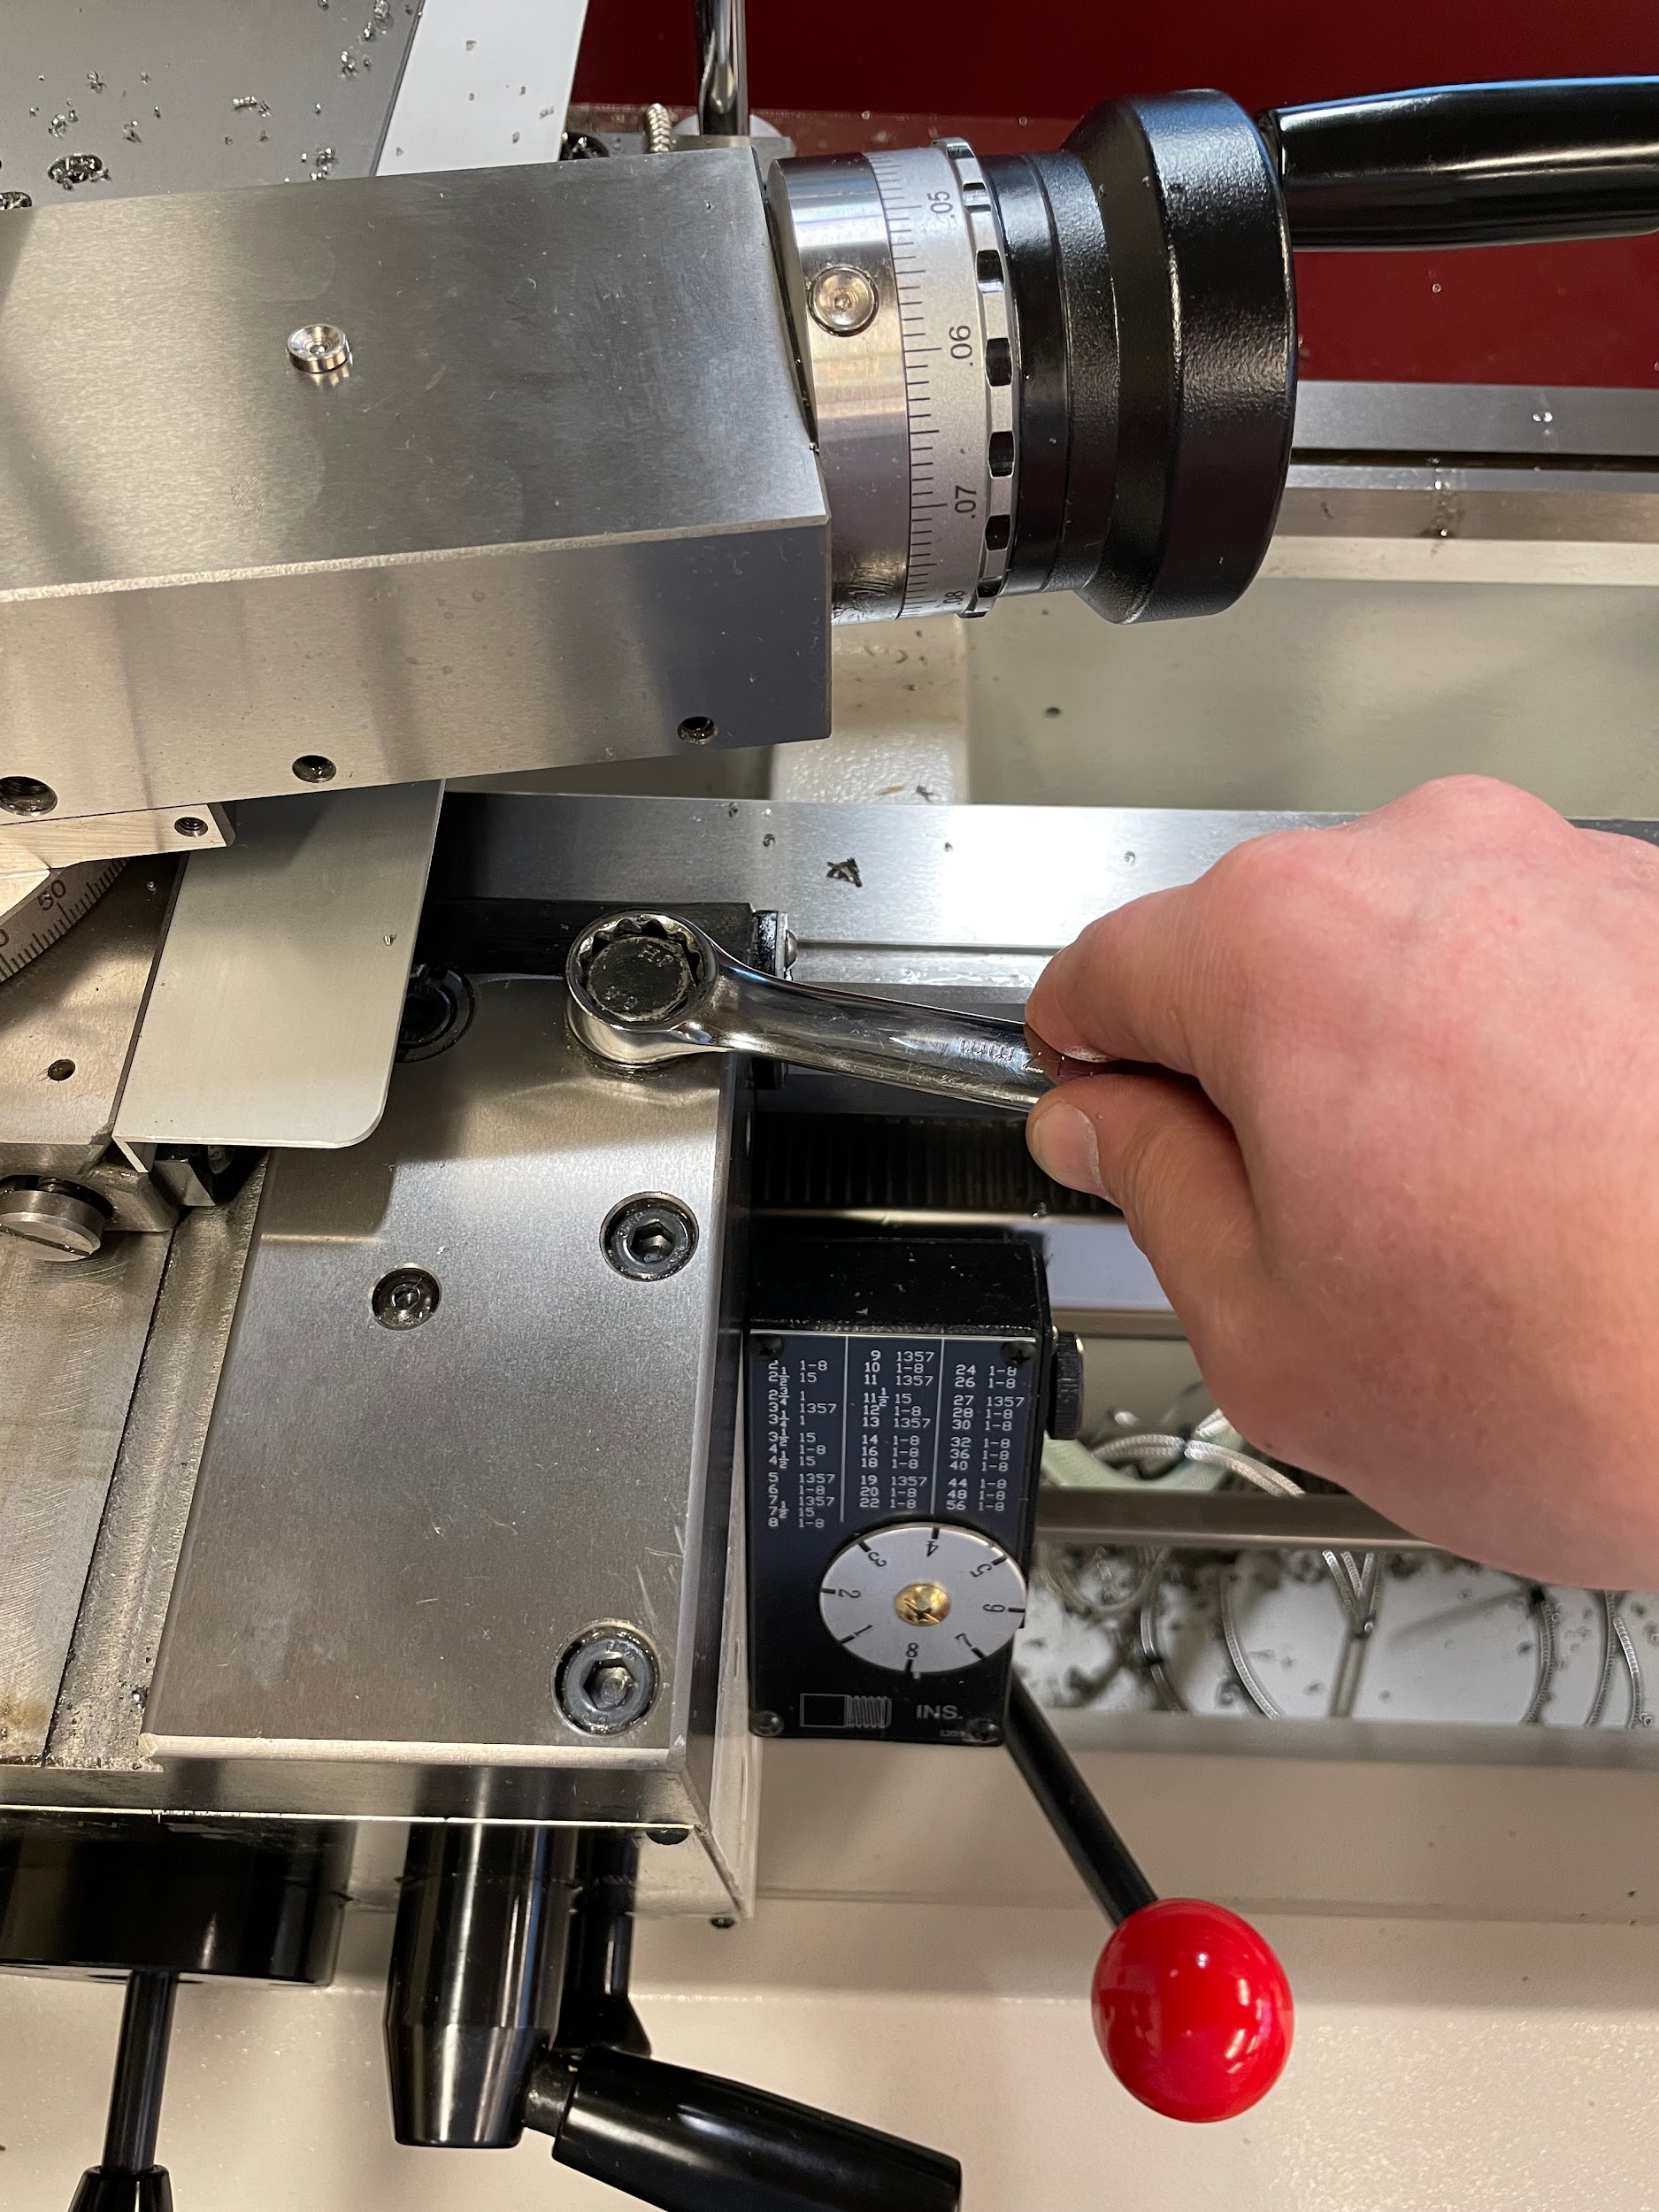
“Step 17: Oil the part if necessary.“
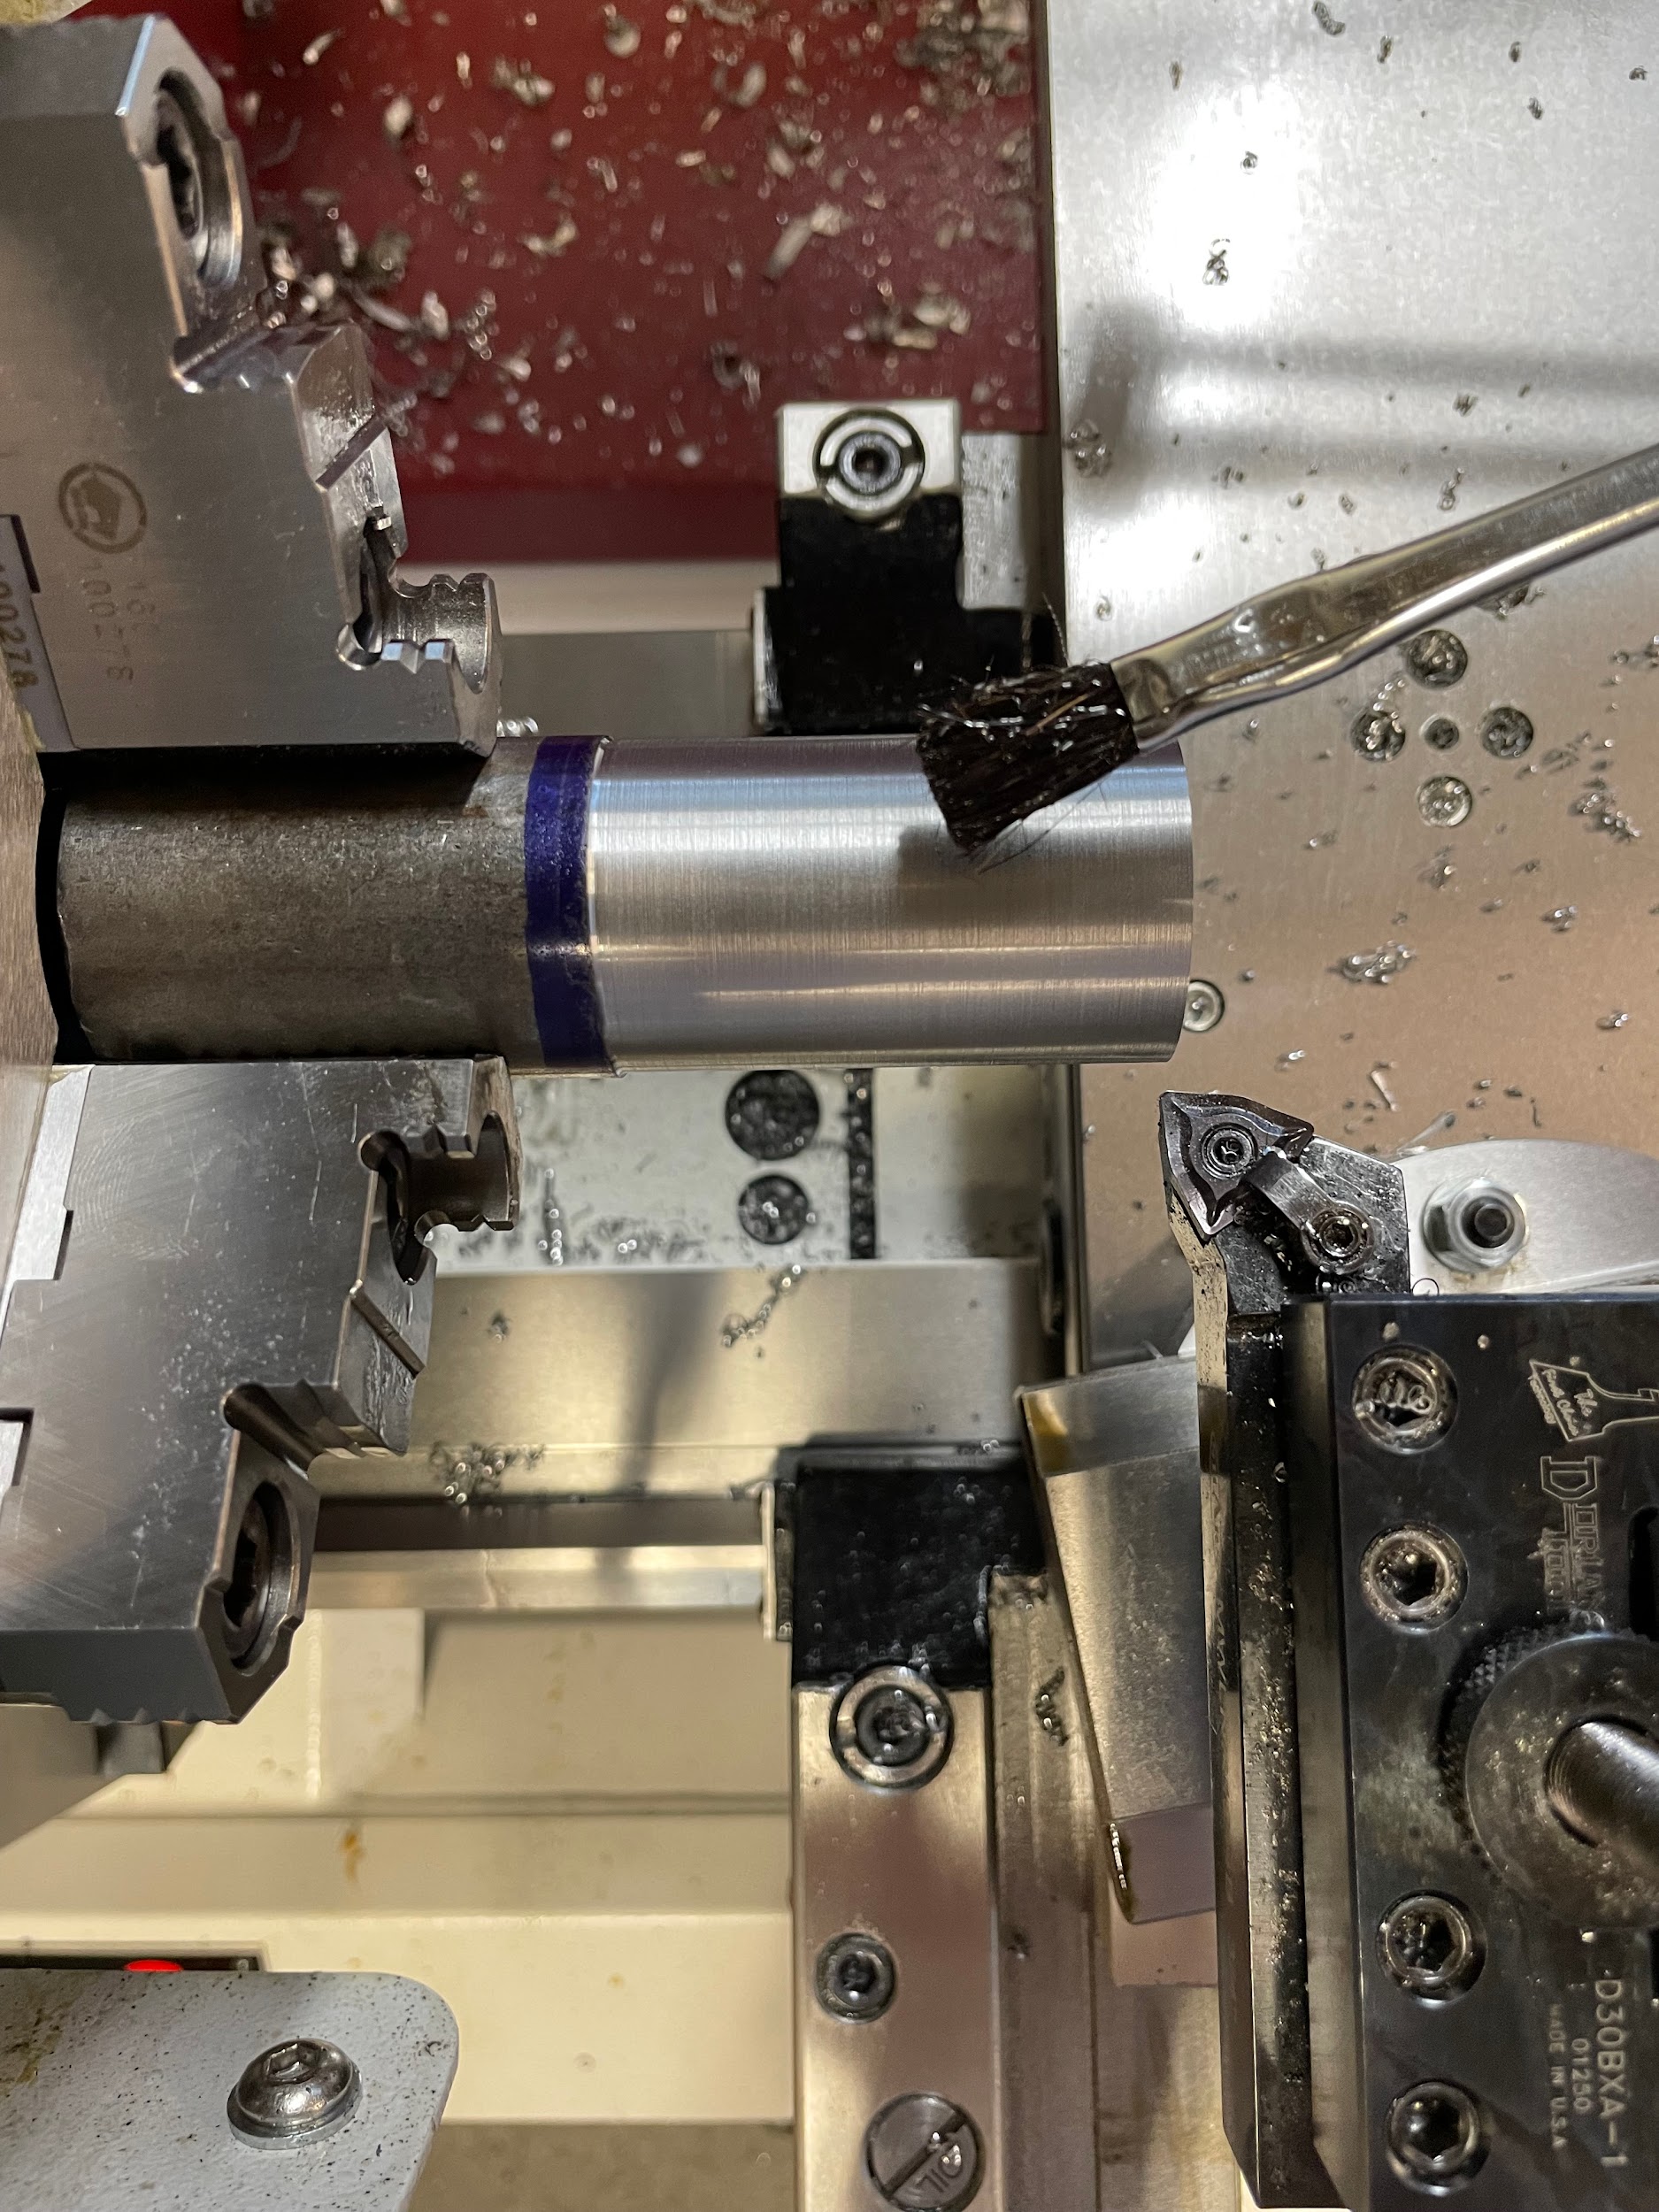
Taper measurement
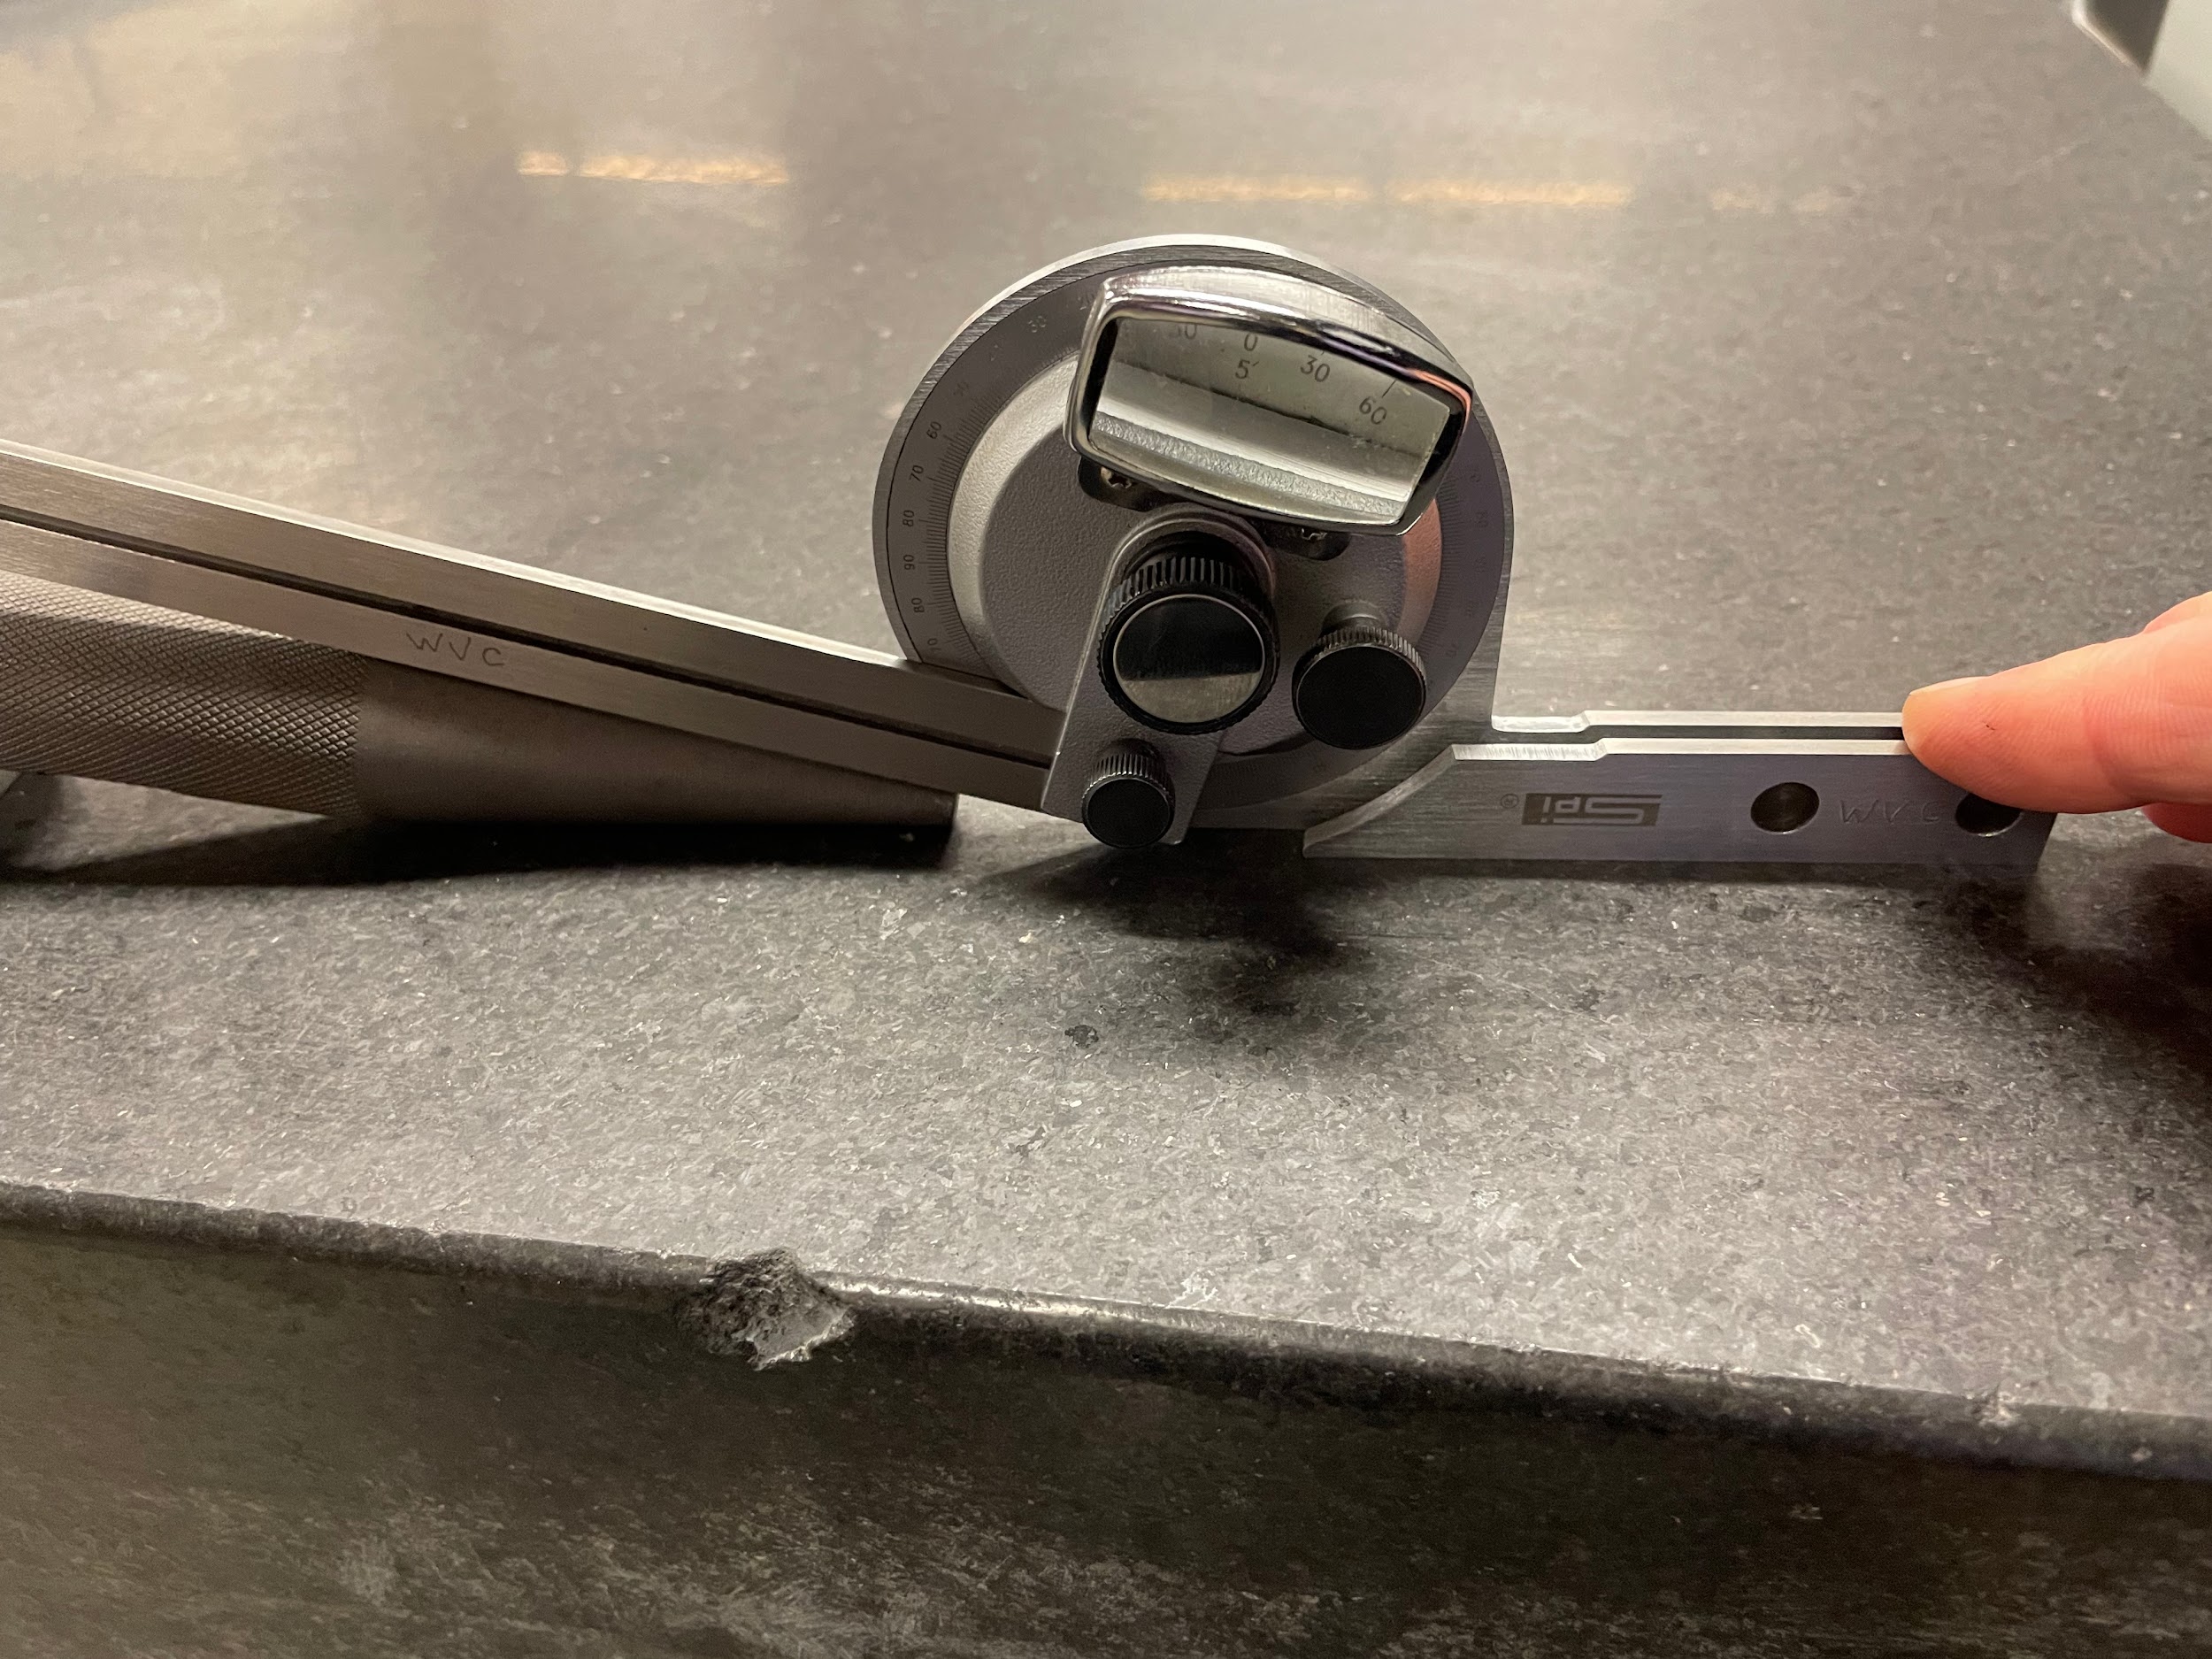
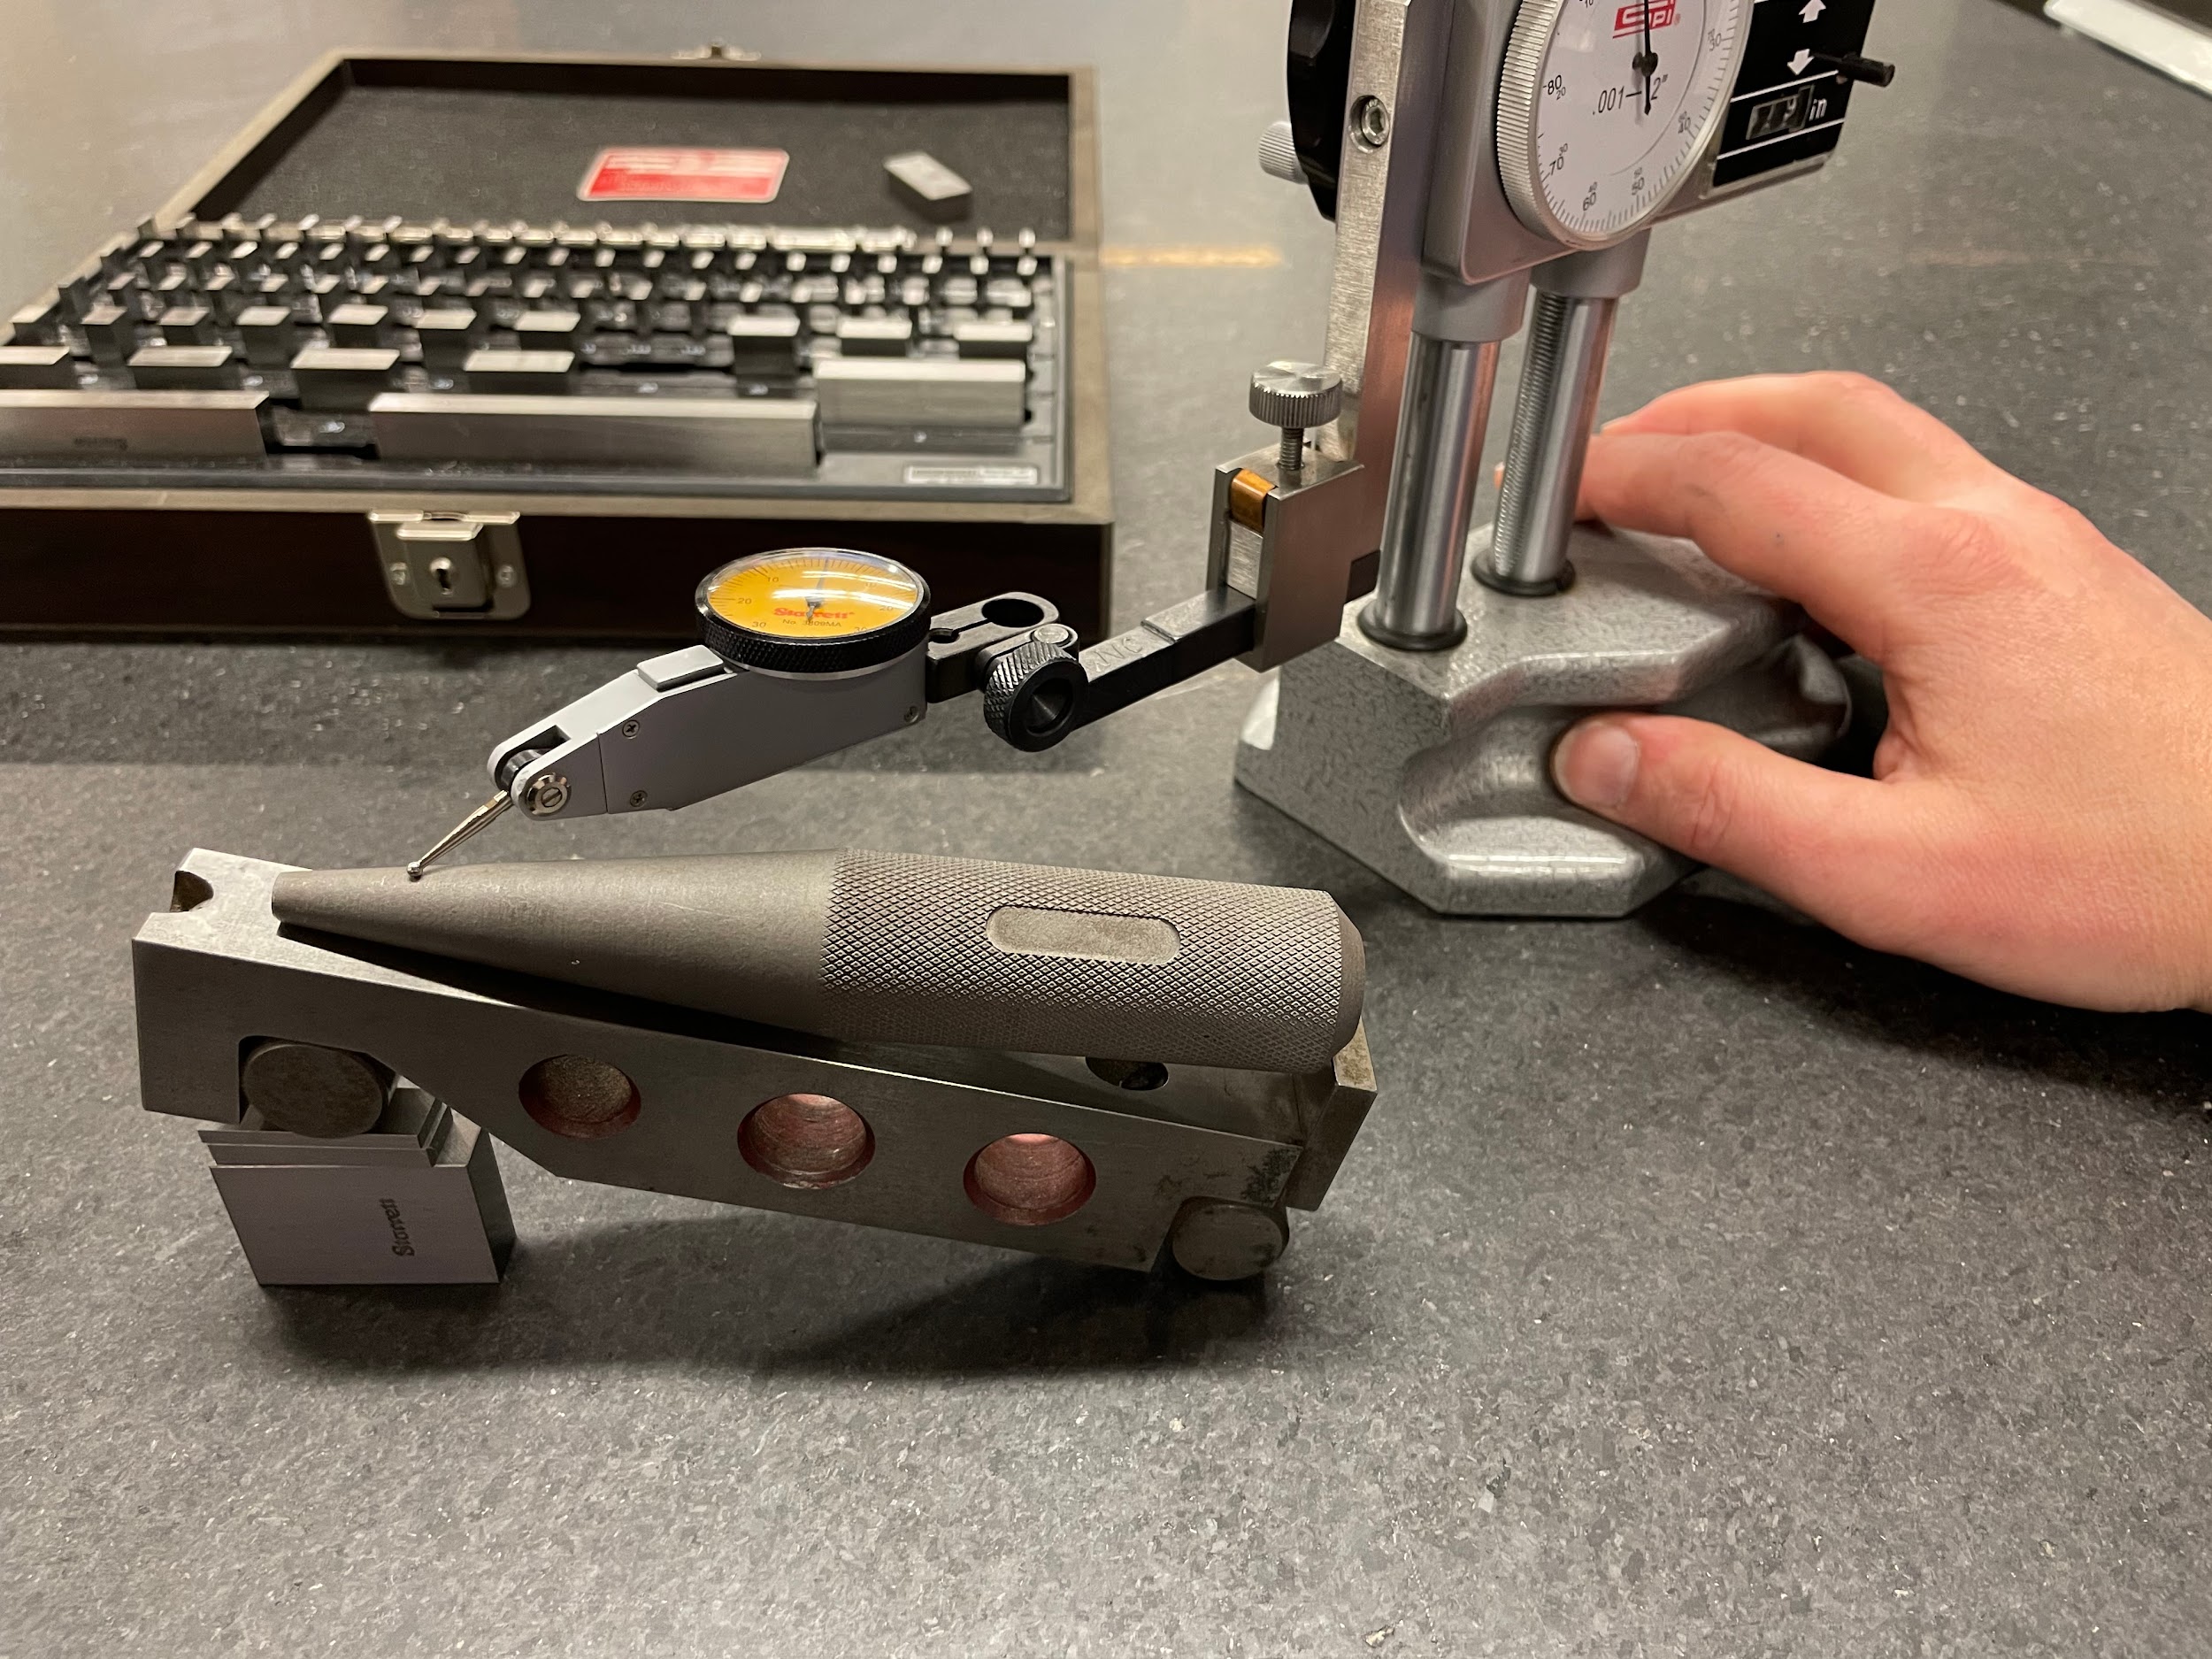
Measuring the angle of taper can be conducted on a lathe as described above. This method offers a fairly high degree of accuracy and has the advantage of measuring while the part is still on the machine. Other methods would be using a bevel protractor or a sine bar. A bevel protractor gives a measurement much more accurate than the protractor head of a combination square, but the bevel protractor’s resolution is limited to 5 minutes If accuracy greater than that is required, use of a sine bar and gage blocks is needed. These methods only measure angle, and not really size. It is difficult to measure the positional size of a taper without tapered ring gages. Tapered ring gages are sometimes standardized, but often custom, gages that are placed over the end of the taper and a measurement from the part to the gage is taken to see if the taper is the correct diameter.

RADIUS CUTTING
What is it?
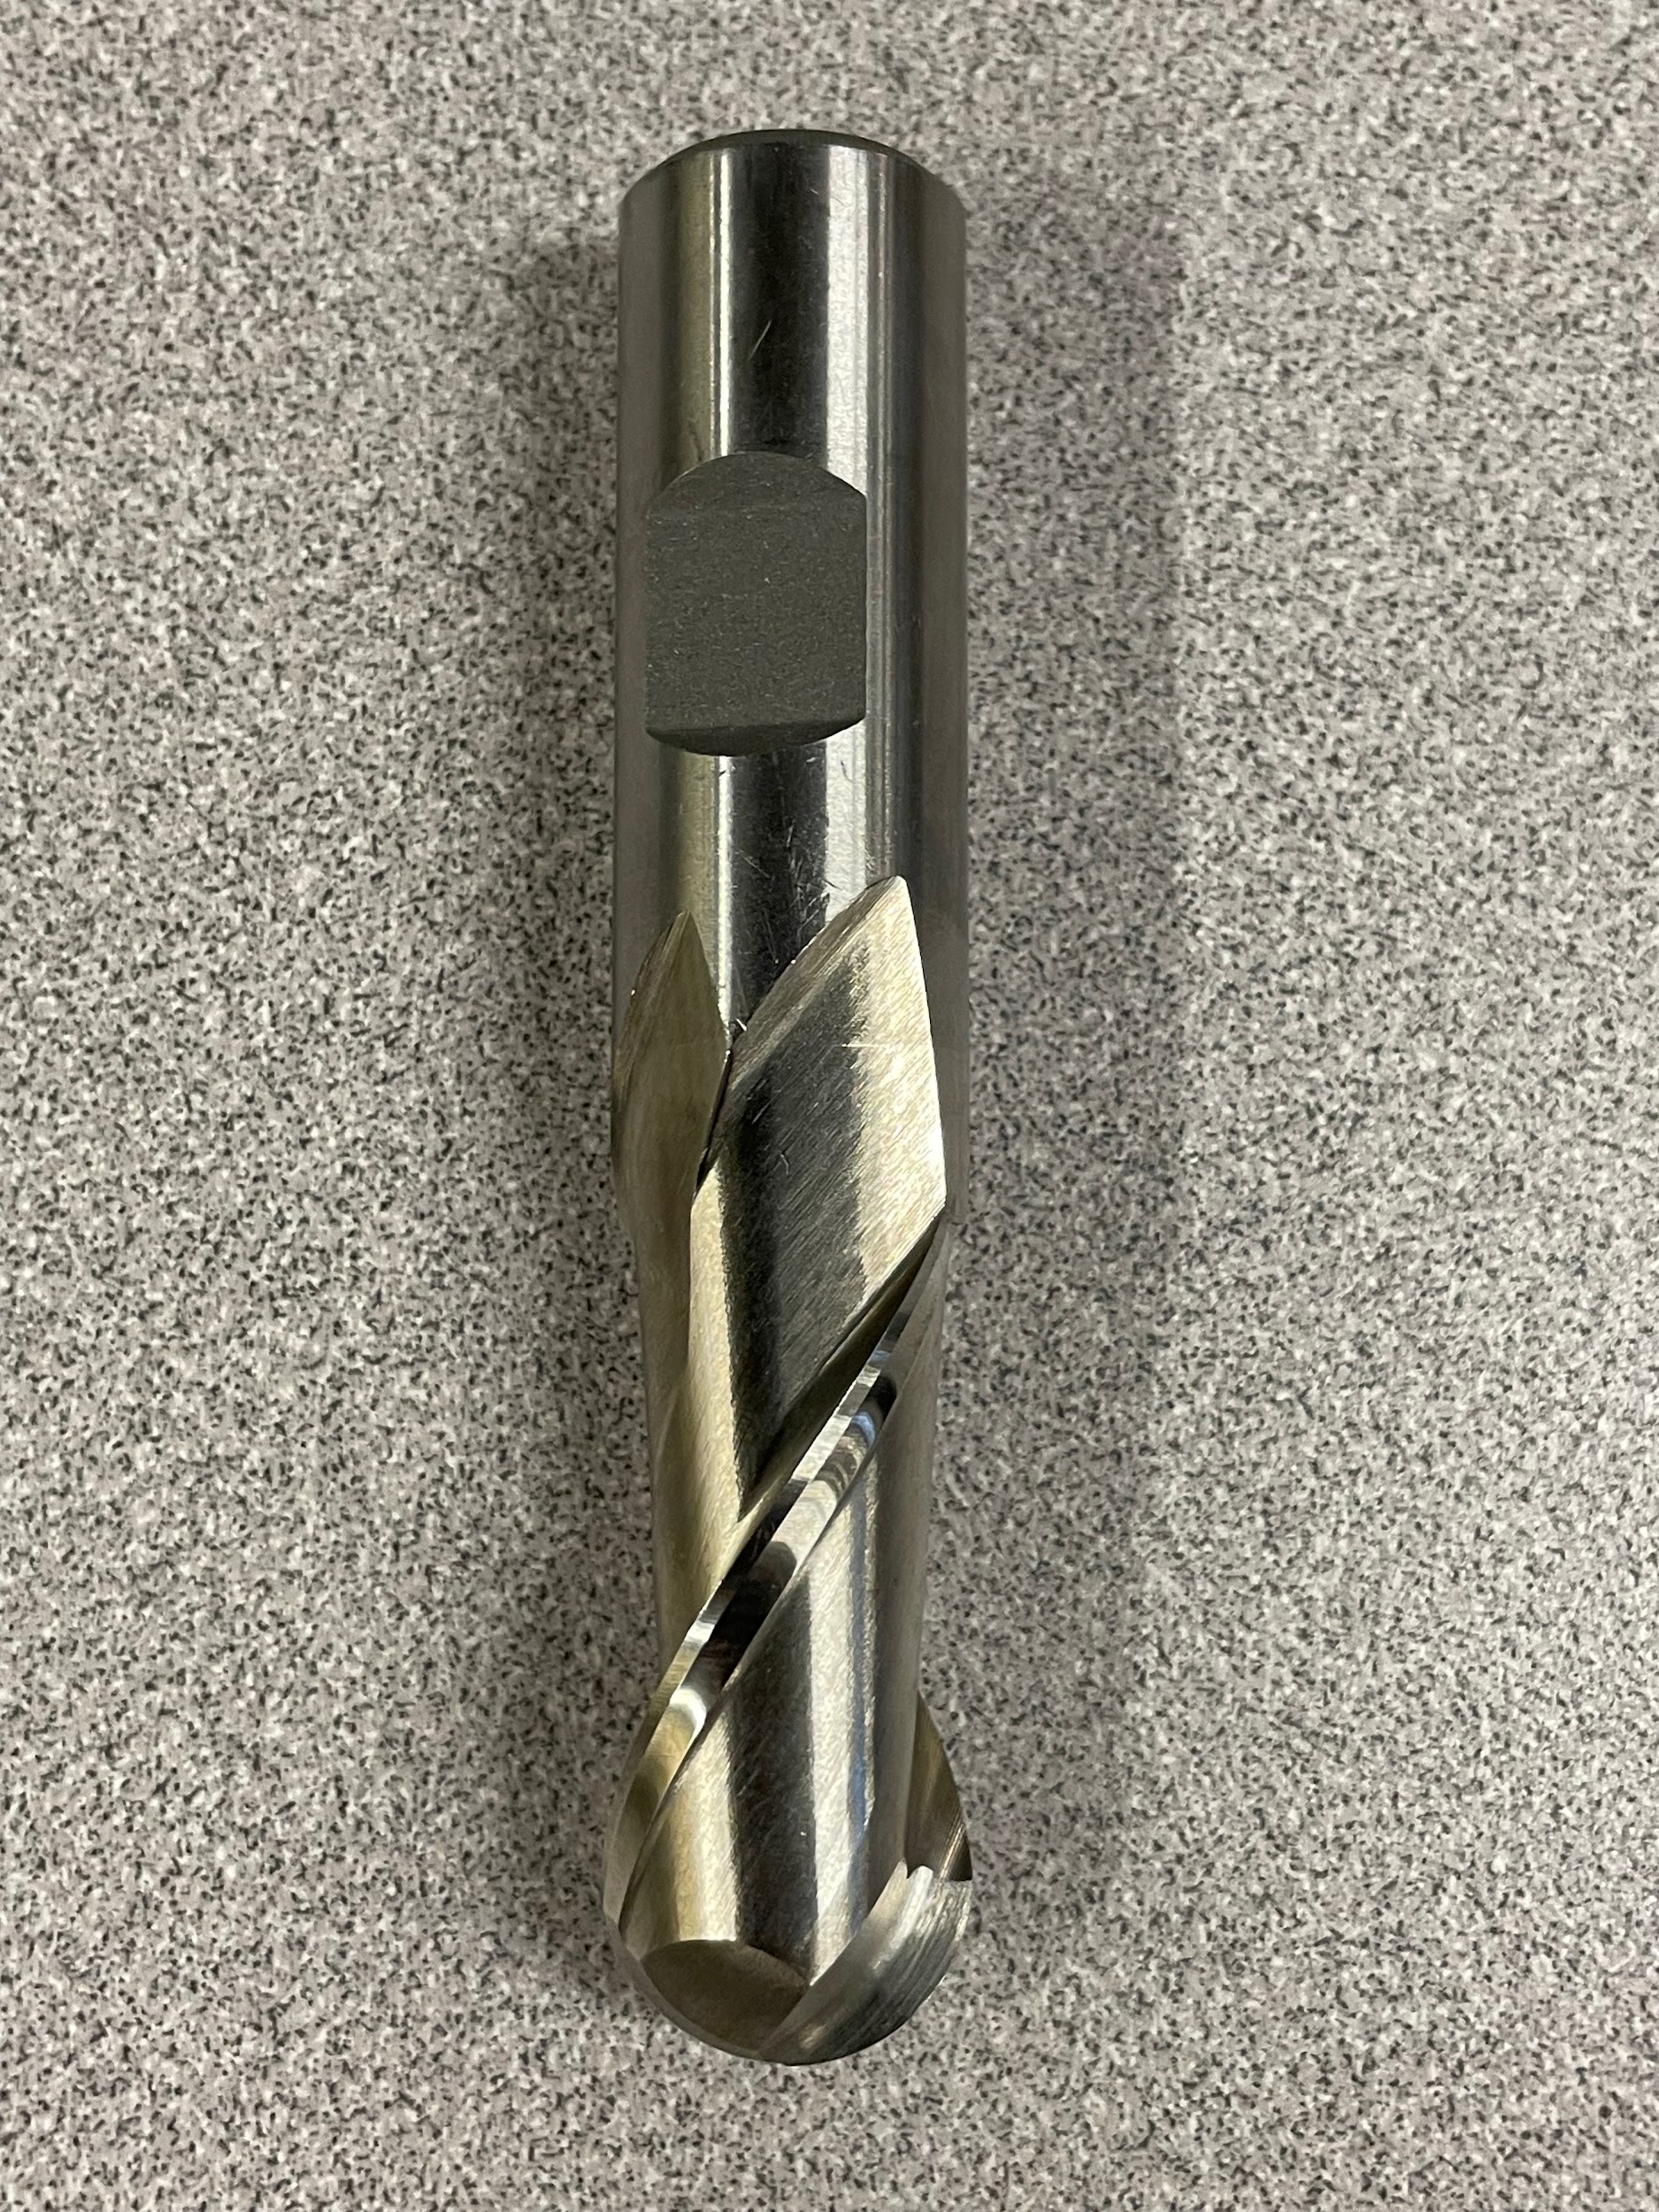
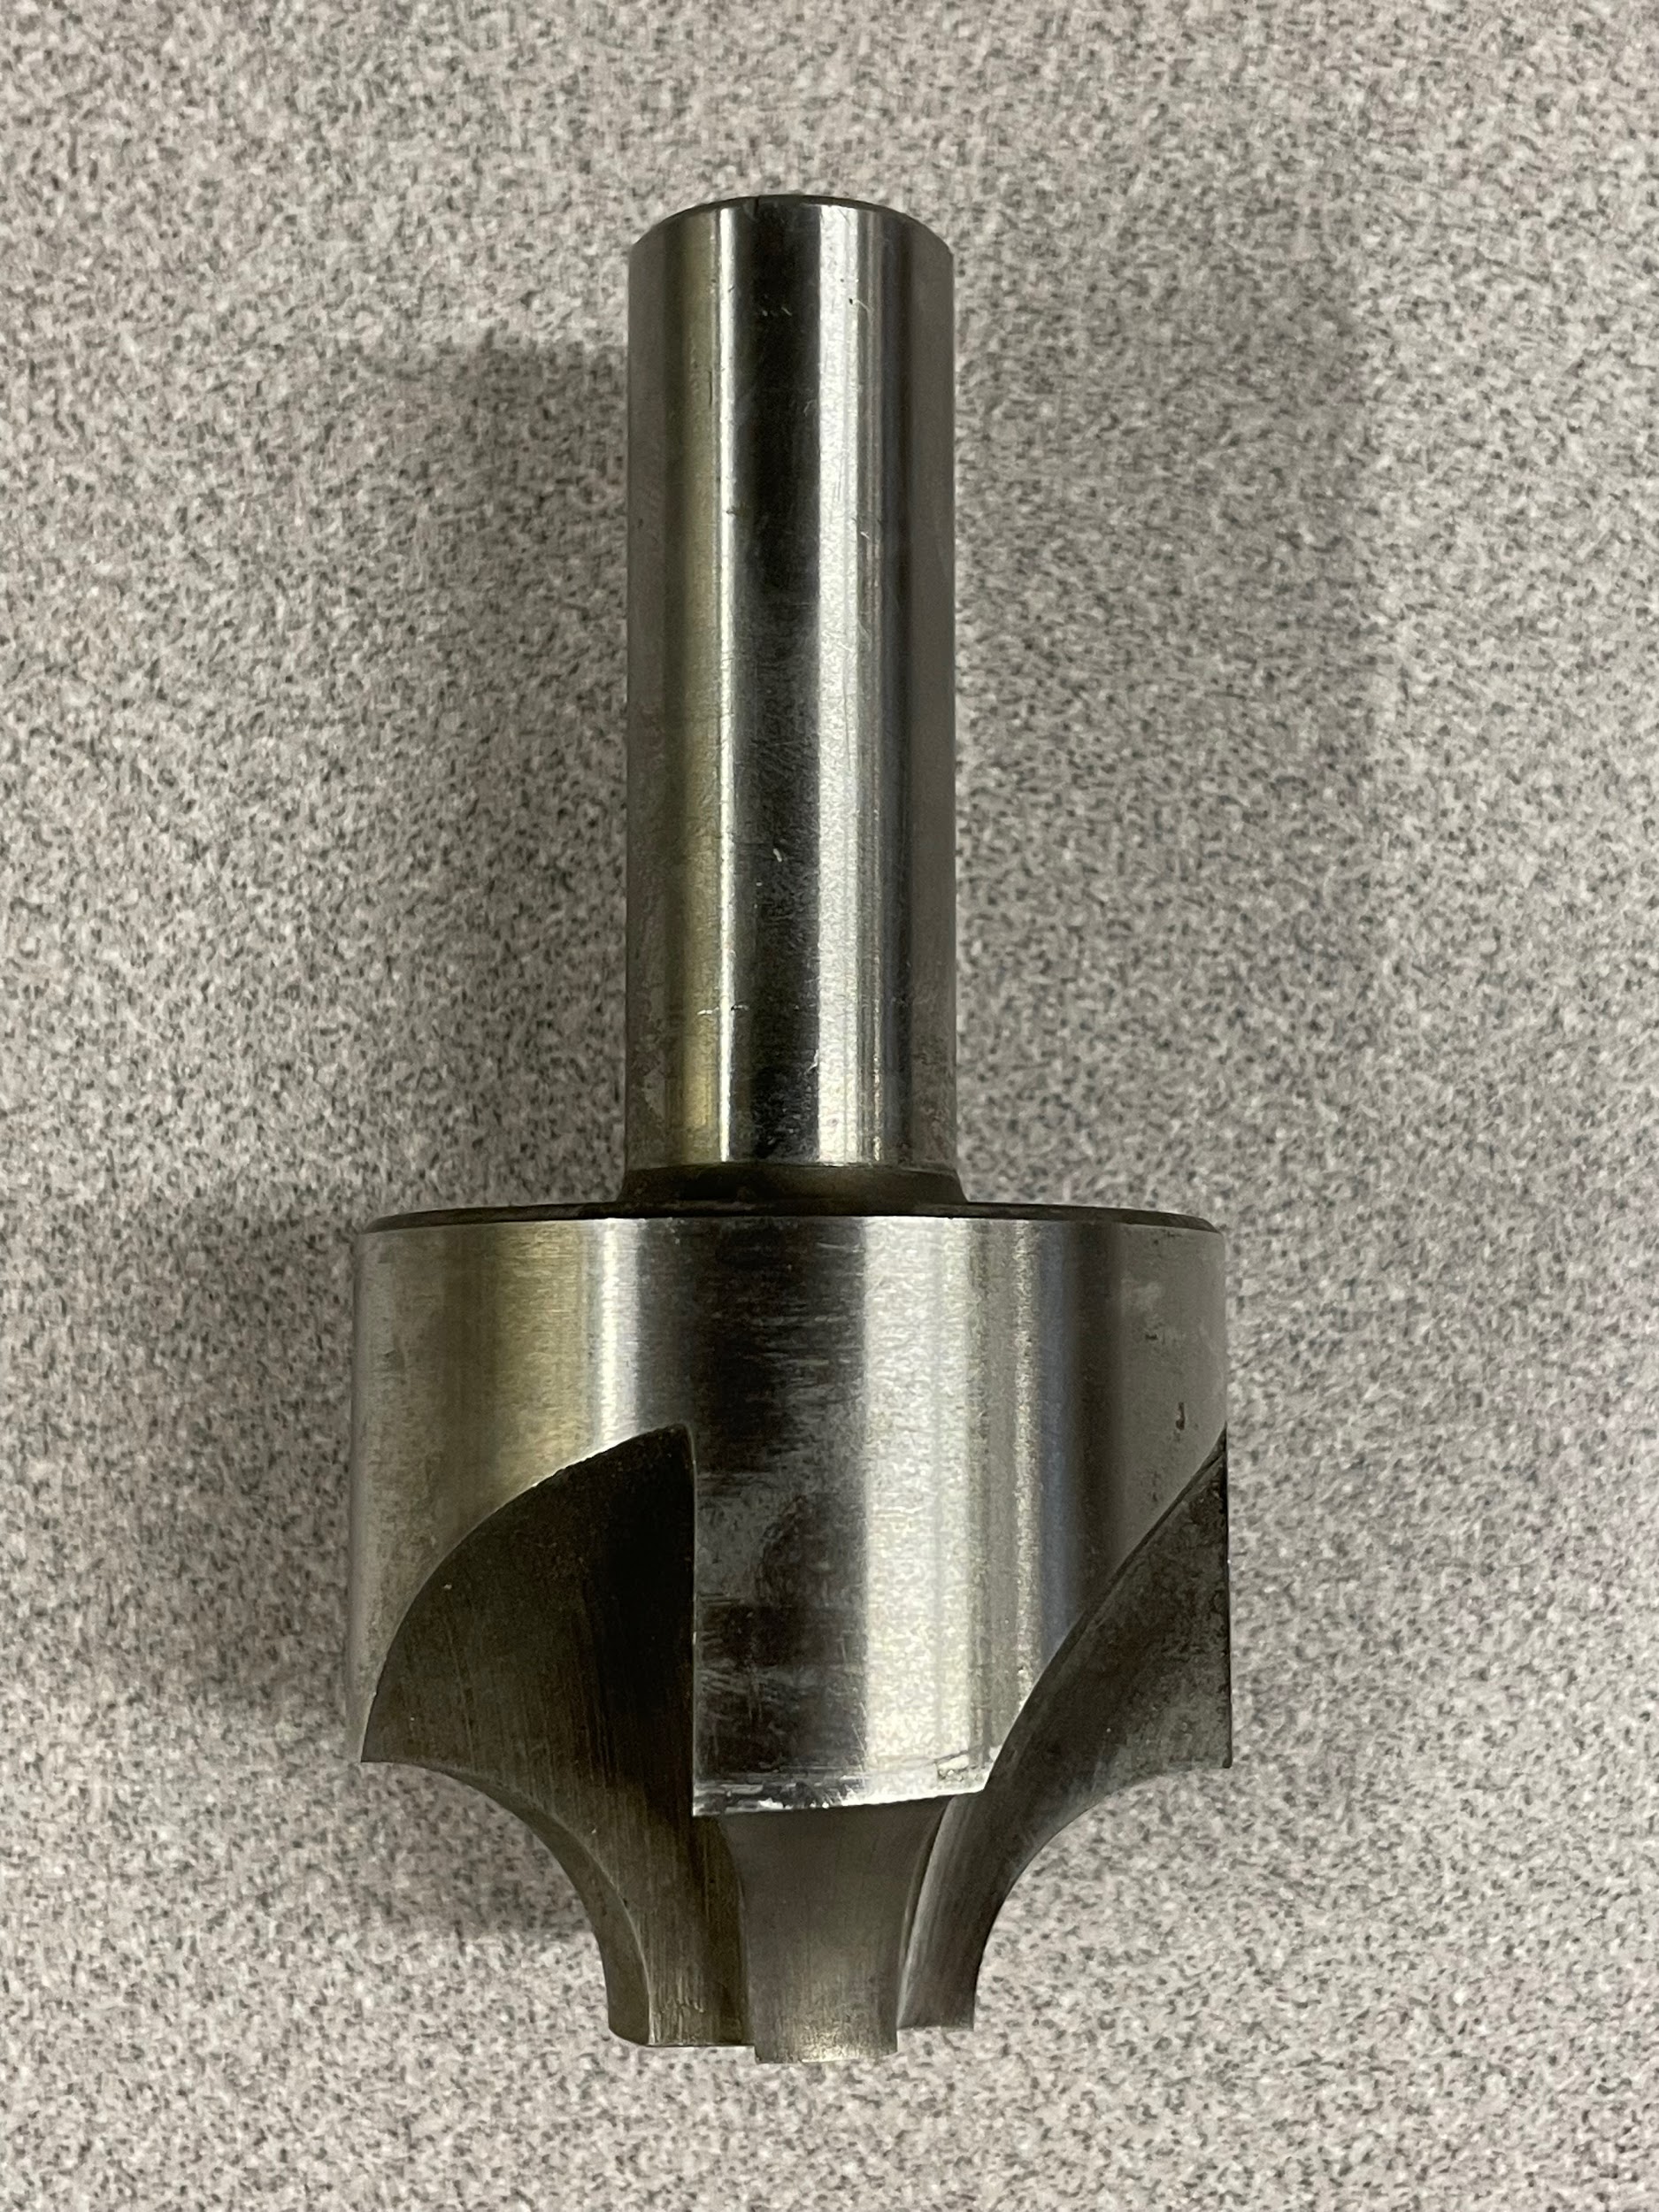
Radius cutting refers to the process of creating either a concave or convex radius on the workpiece using the lathe. There are a couple of ways to create a radius on a lathe. One would be using a radius cutting attachment. Another method would be using form tools. Both methods work well, but using a radius cutting attachment may be a bit more time-consuming and costly in most cases. Buying a custom ground form tool may also be out of the budget for some jobs. If a shop has radius measuring gages, HSS, and a pedestal grinder, simple radius form tool creation is a possibility. For standard 90 or 180 degree radii, ball end mills and milling radius cutters can be used with good results.
Step by step process for cutting a convex radius:
- Select a 90 degree radius cutting tool, install it in a tool holder on the tool post, and square it to the machine.
- Apply layout dye to the outside diameter and the face that will have the 90 degree radius.
- Calculate the spindle speed for the maximum diameter of the work the tool will contact. The spindle speed is generally 1/4 the speed for form turning to that of standard turning because of the amount of tool in contact with the work. The longer the linear length of cutting edge touching the work, the greater the chance for chatter to occur.
- Start the spindle.
- Touch the radial flat edge to the face of where the radius is to be.
- Set the carriage handwheel to zero.
- Back the tool off the part.
- Touch the axial flat edge to the diameter of where the radius is to be.
- Set the cross slide handwheel to zero.
- Back the tool off.
- Bring the center of the radius tool up to the corner of the part.
- Apply cutting oil.
- Gently work the tool in a little on the cross slide, then a little on the carriage. Back and forth with each until reaching the zero point on both hand wheels.
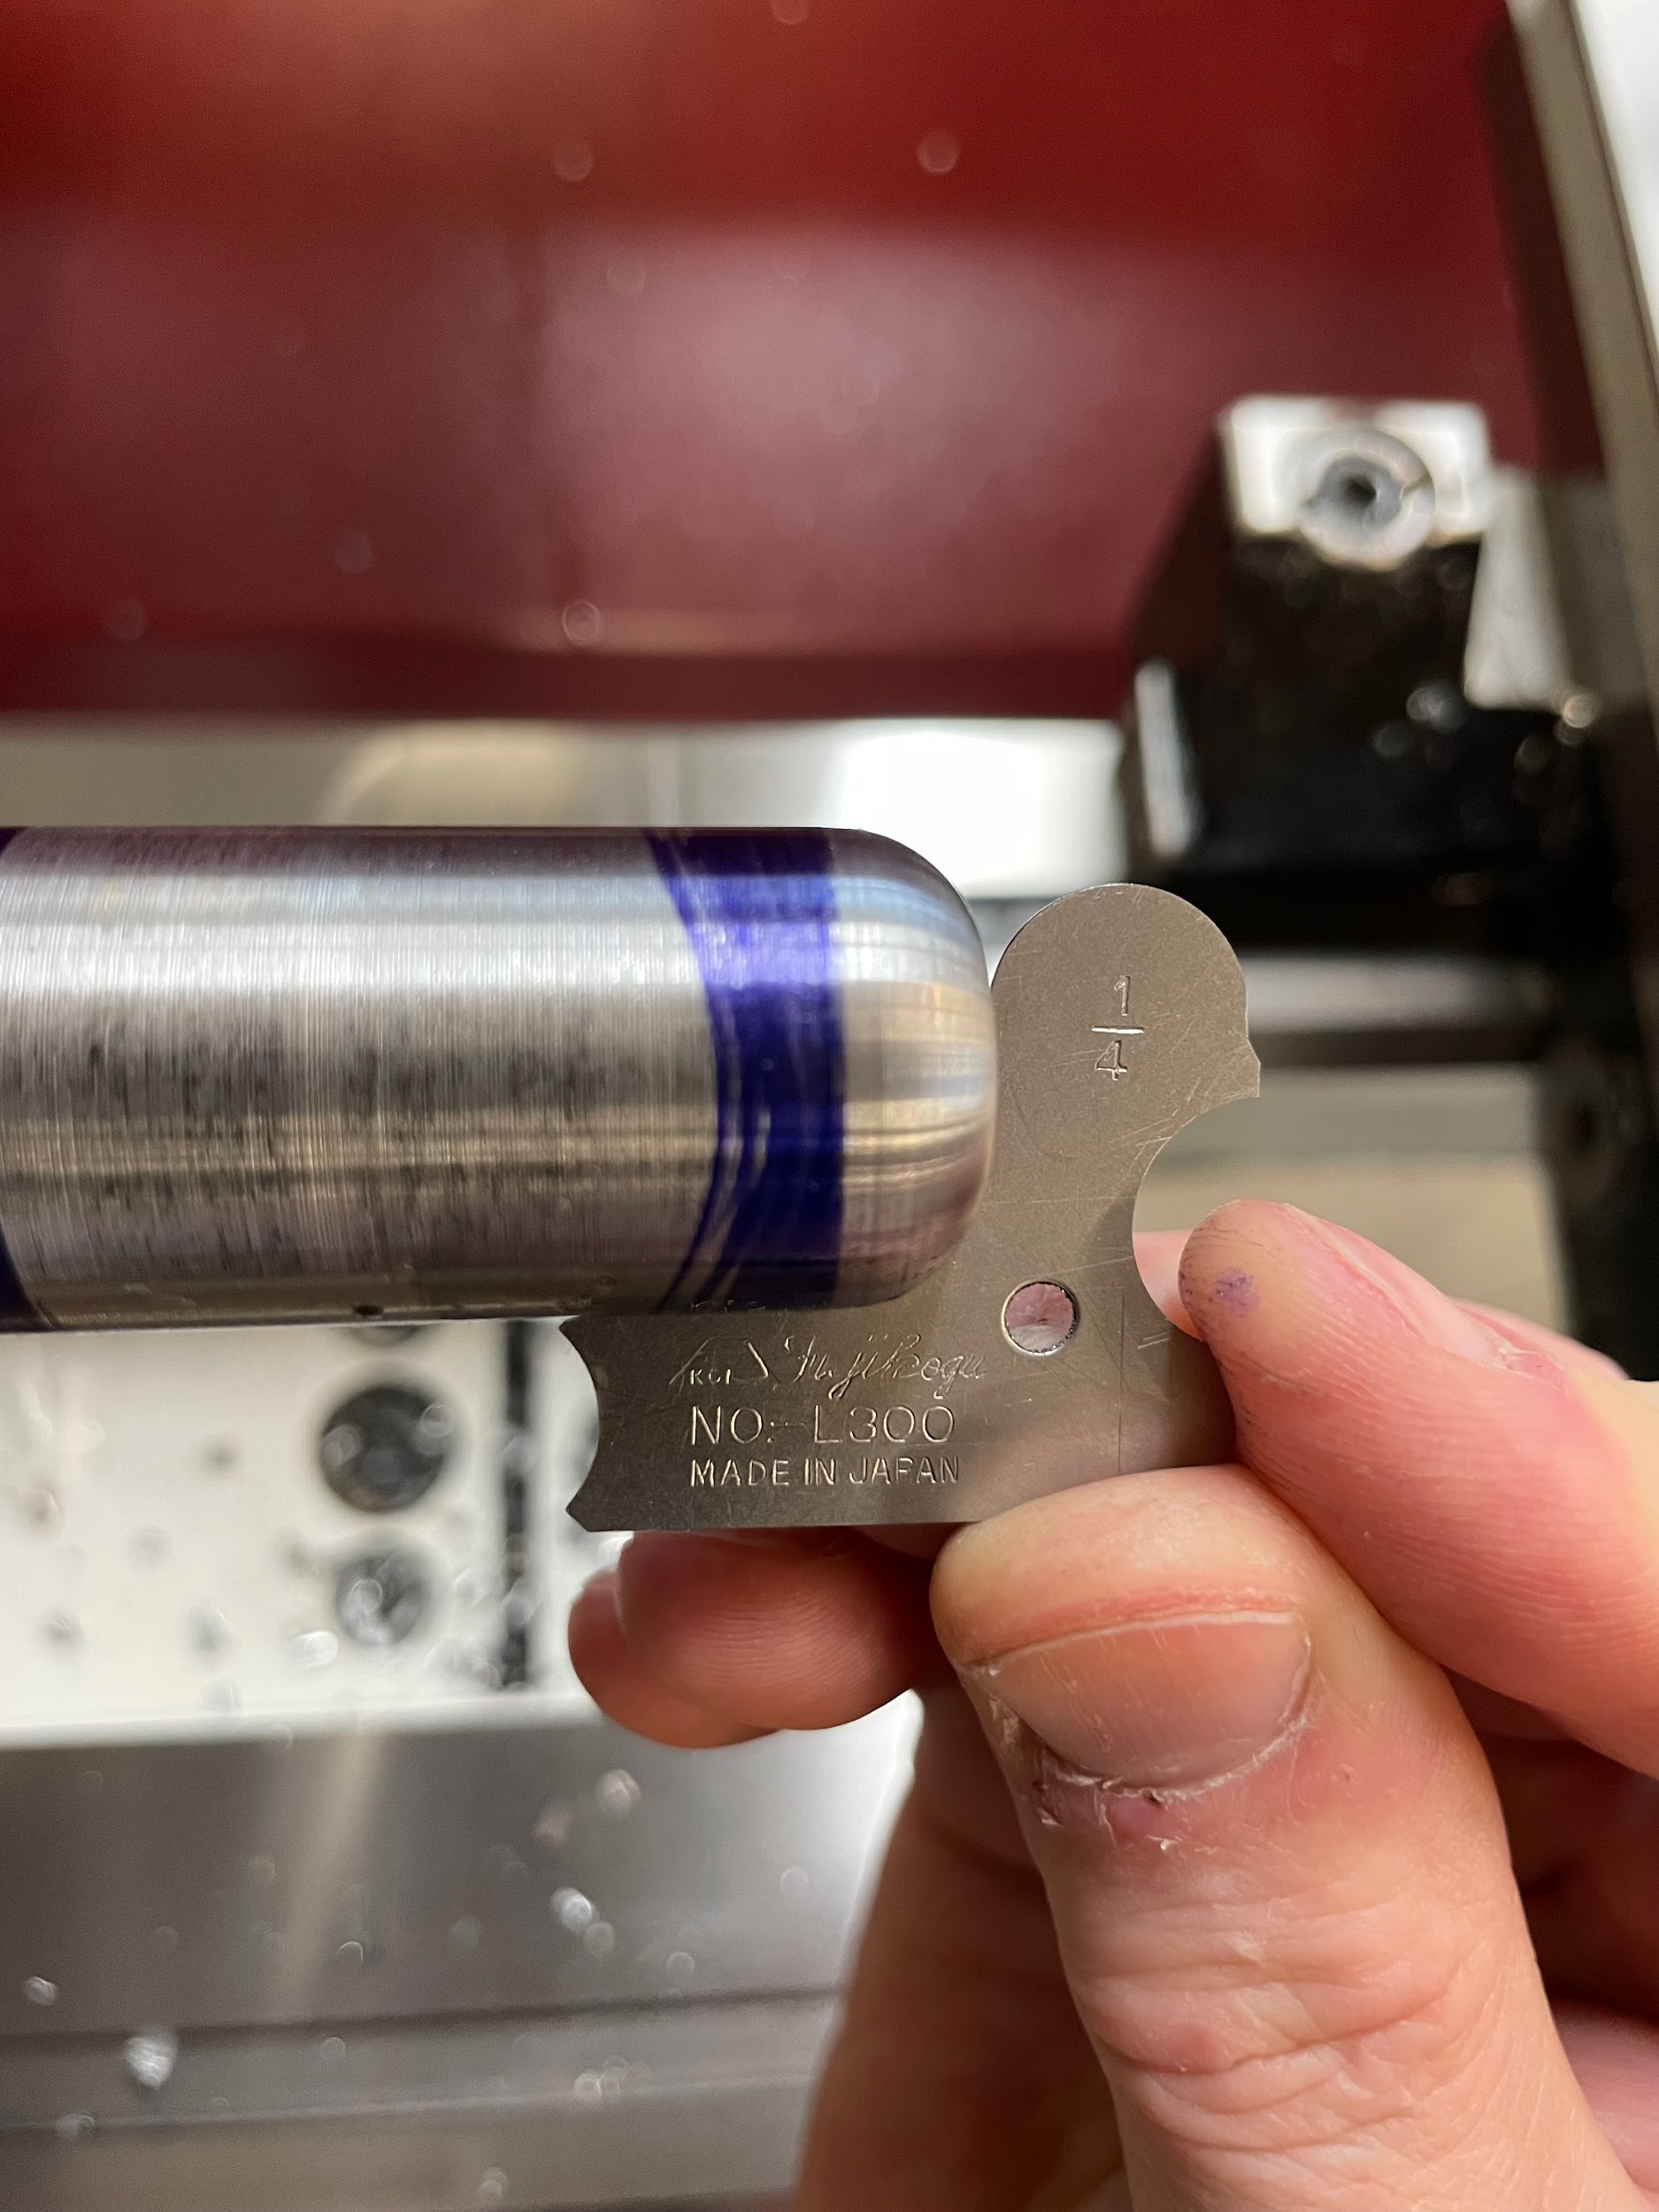
- Back the tool off and measure with a radius gage.
“Step 1: Select a 90 degree radius cutting tool, install it in a tool holder on the tool post, and square it to the machine.“
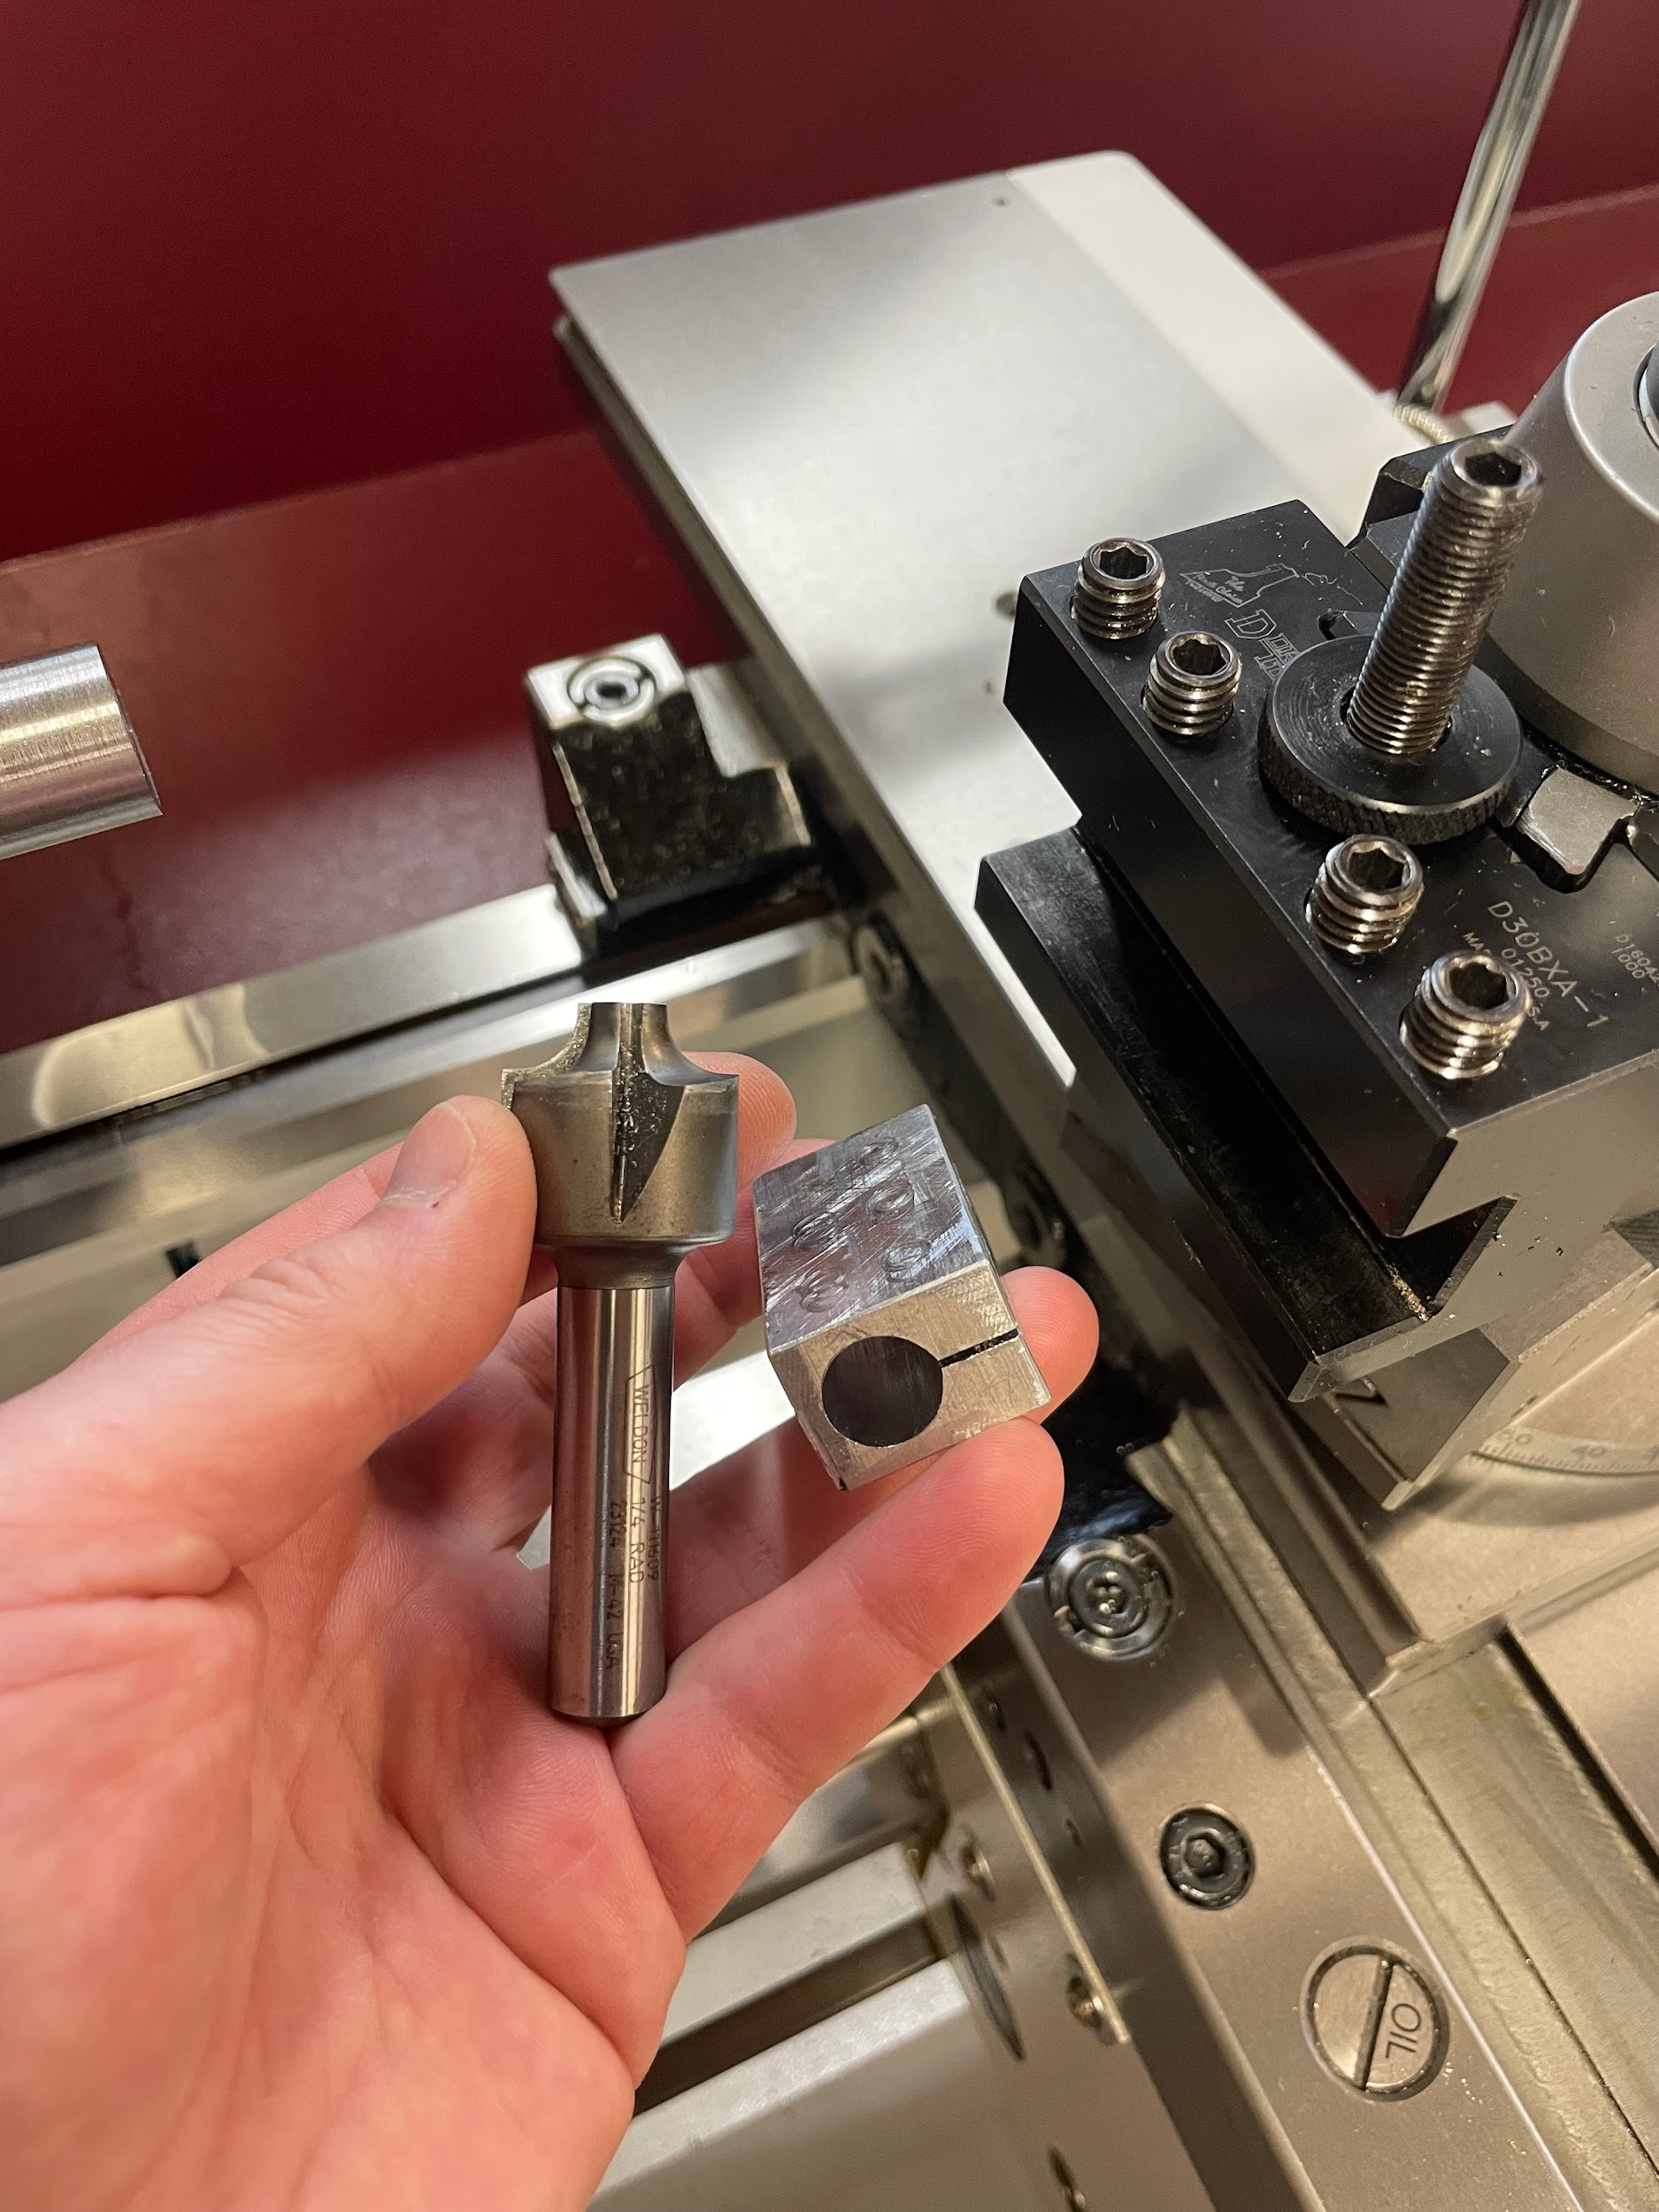
“Step 1: Select a 90 degree radius cutting tool, install it in a tool holder on the tool post, and square it to the machine.“
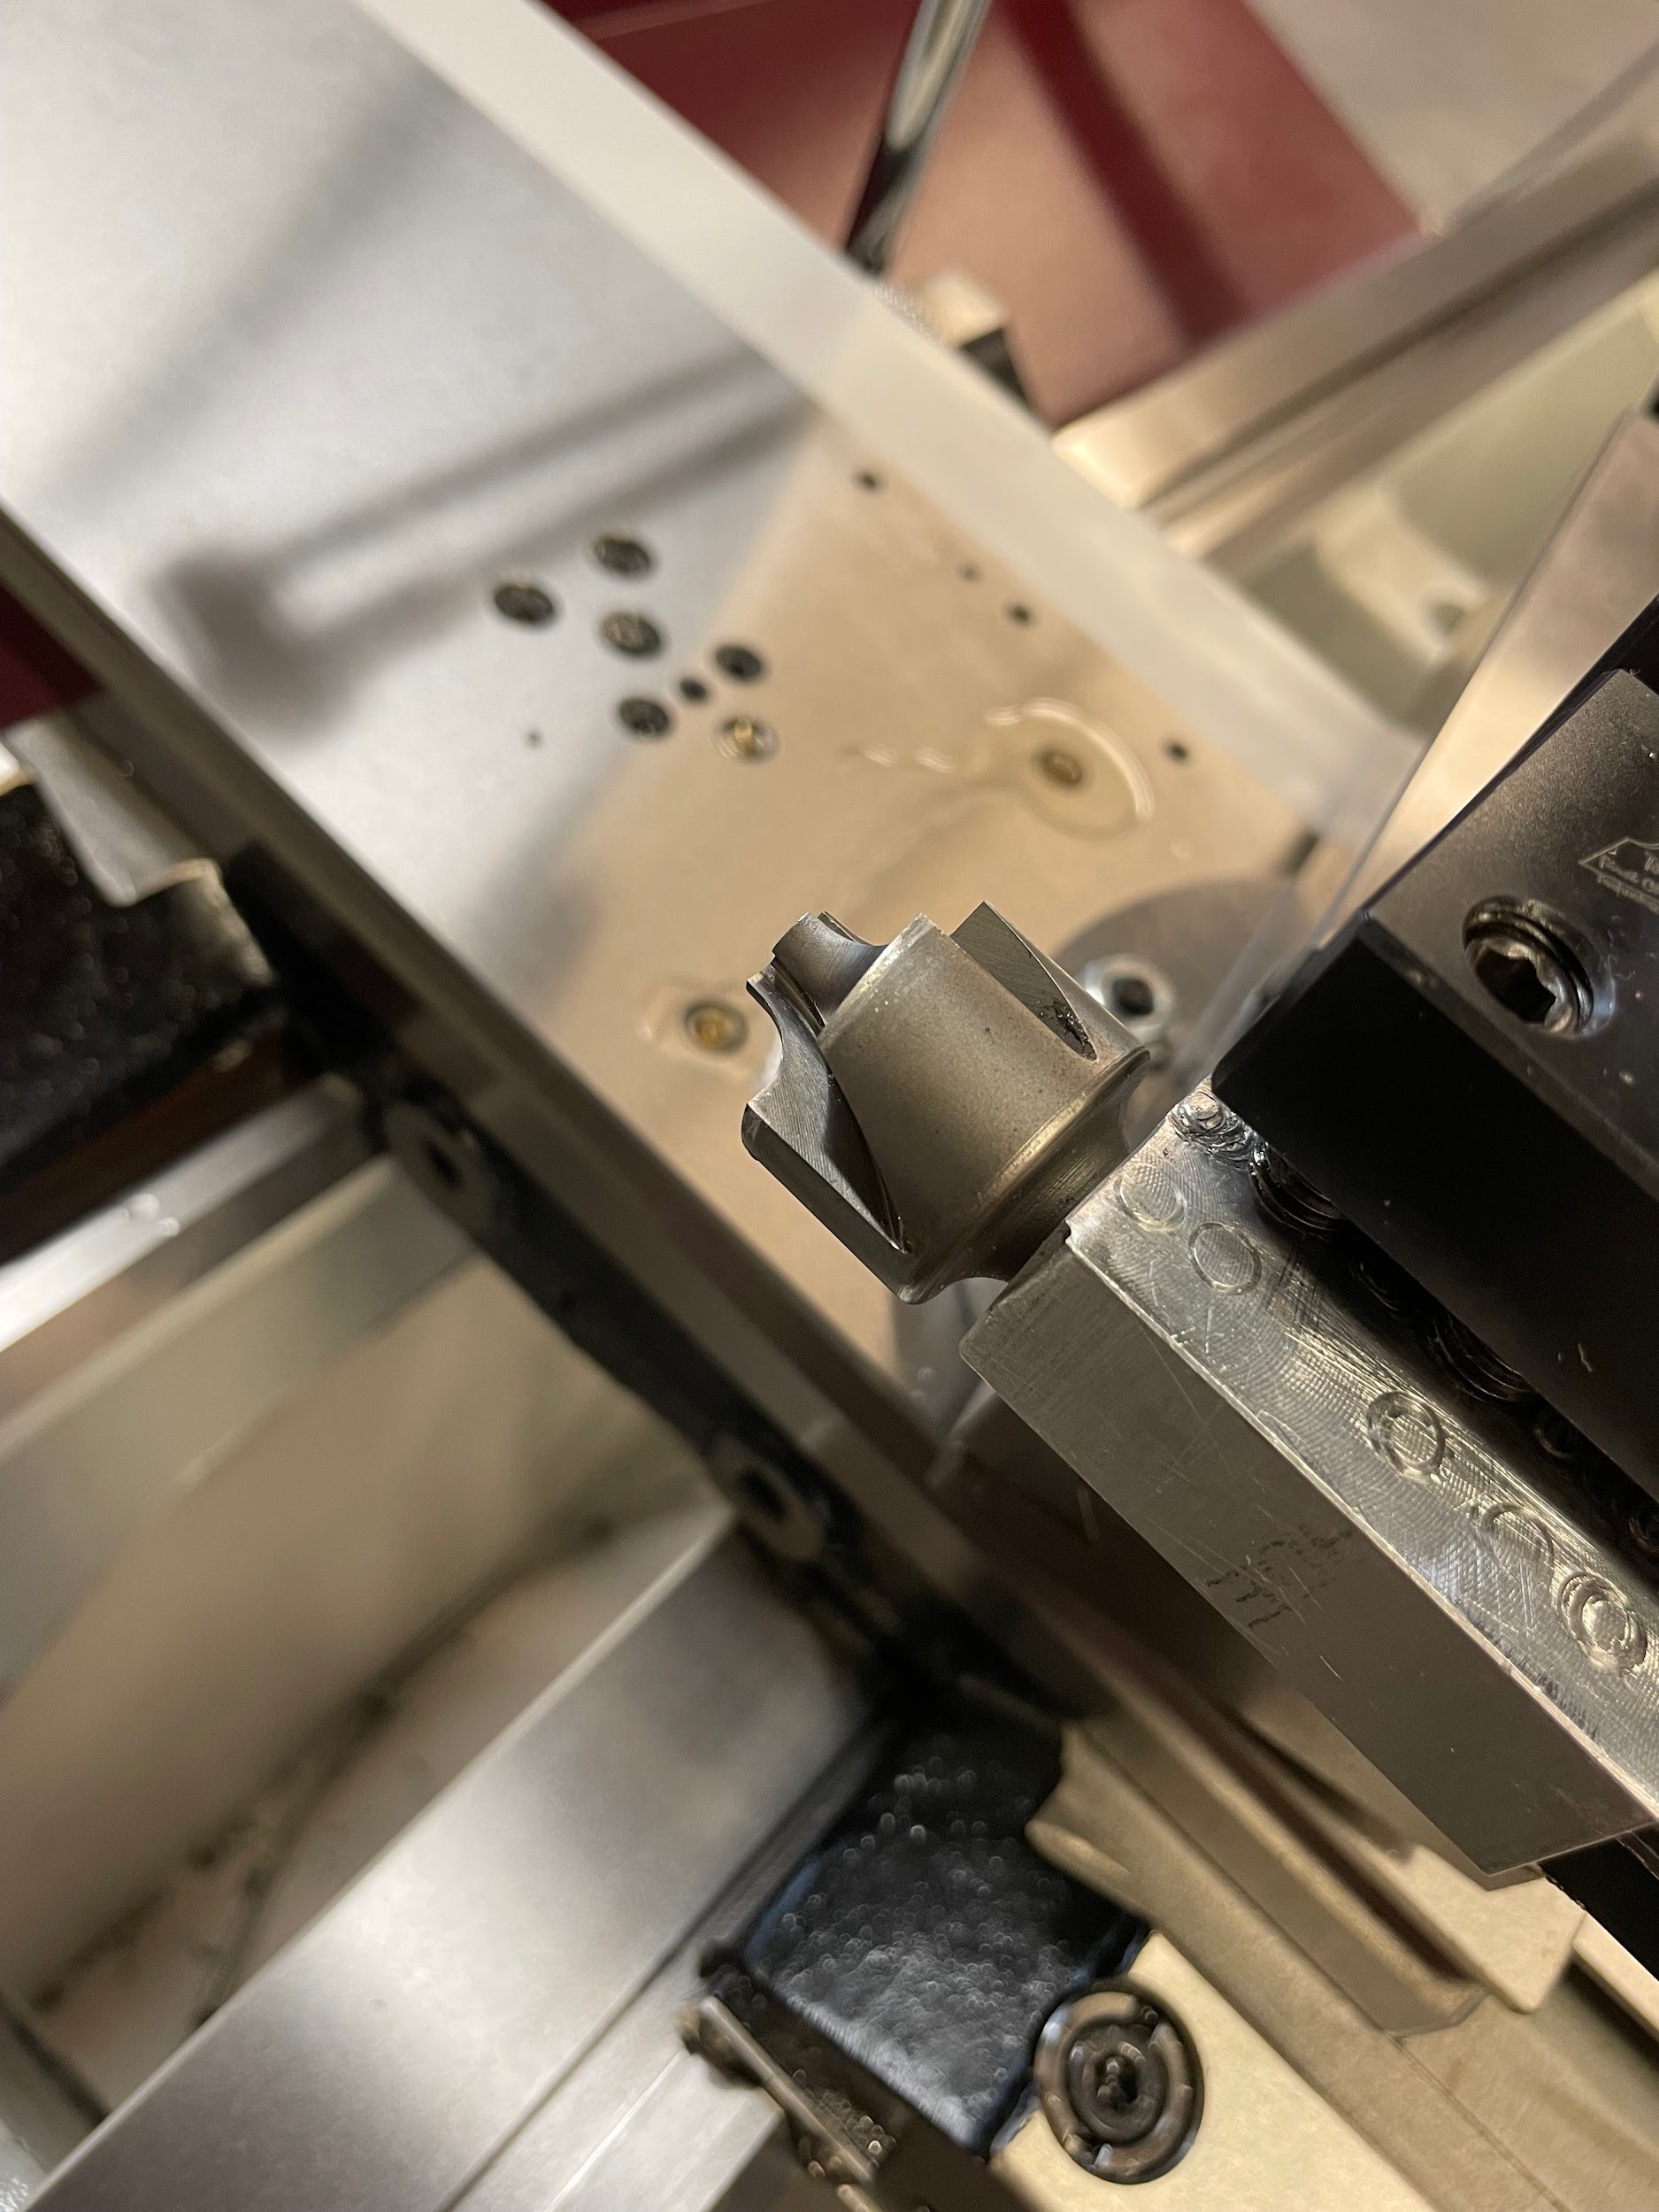
“Step 1: Select a 90 degree radius cutting tool, install it in a tool holder on the tool post, and square it to the machine.“
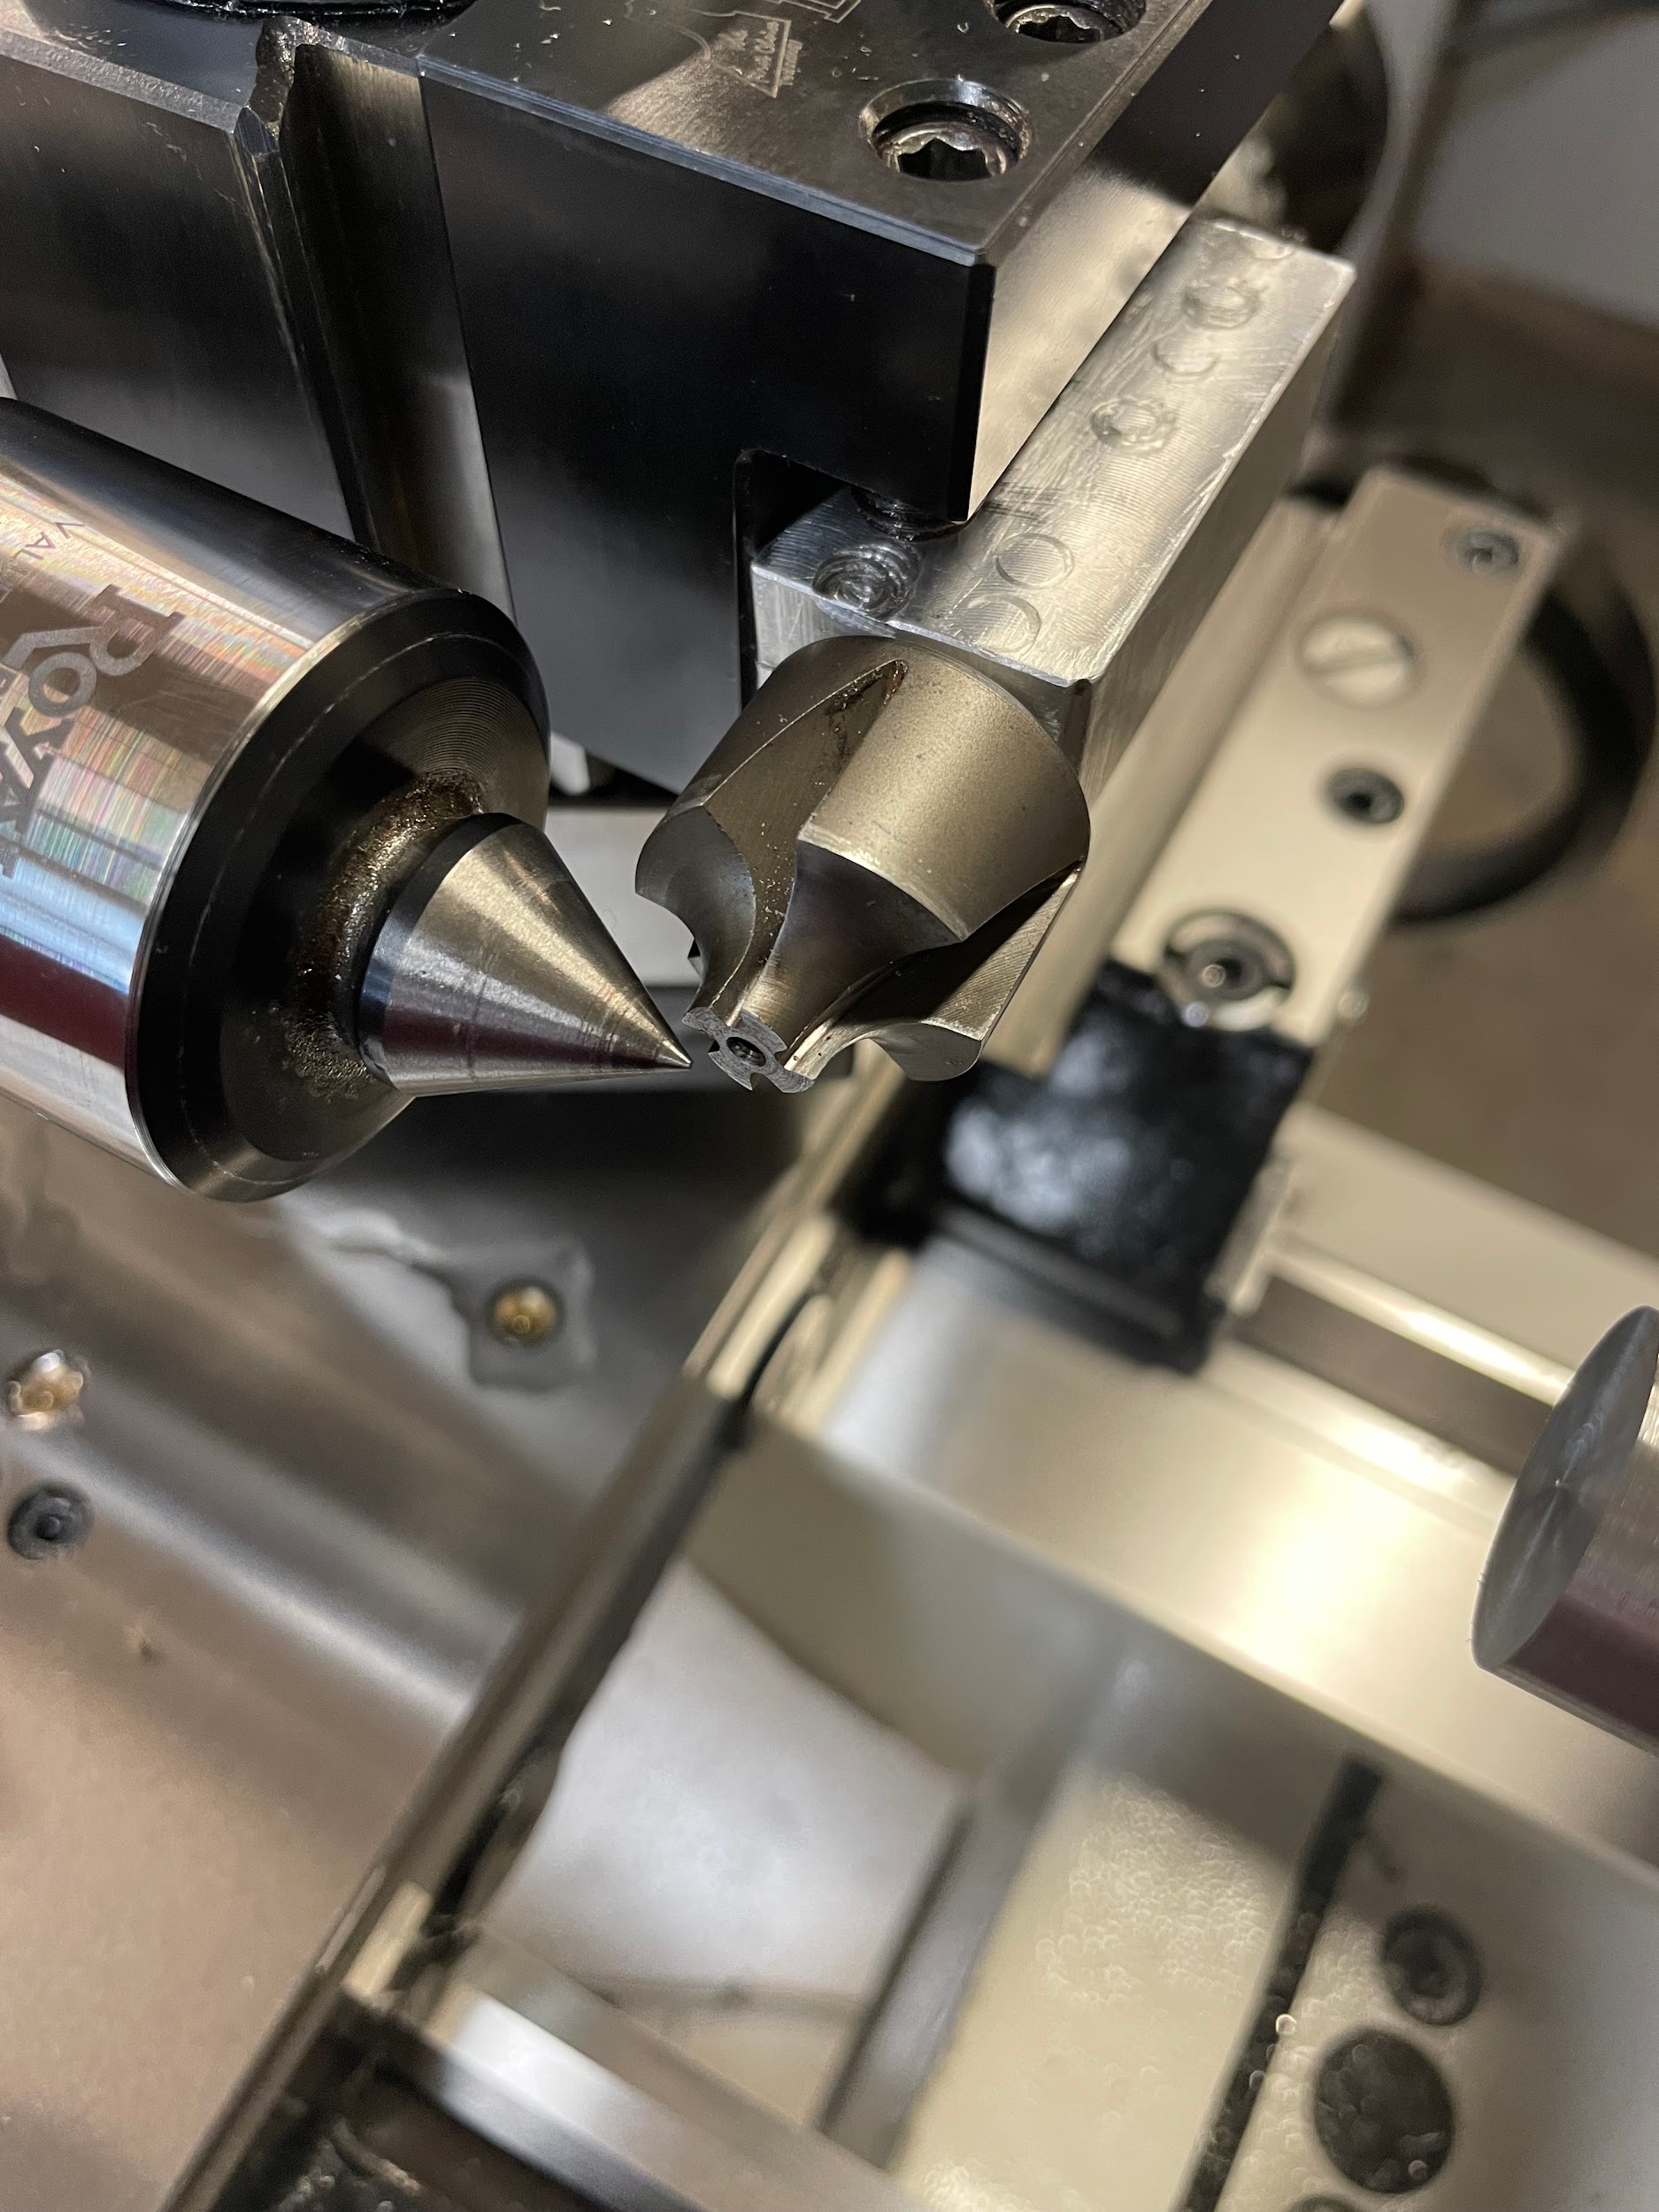
“Step 1: Select a 90 degree radius cutting tool, install it in a tool holder on the tool post, and square it to the machine.“
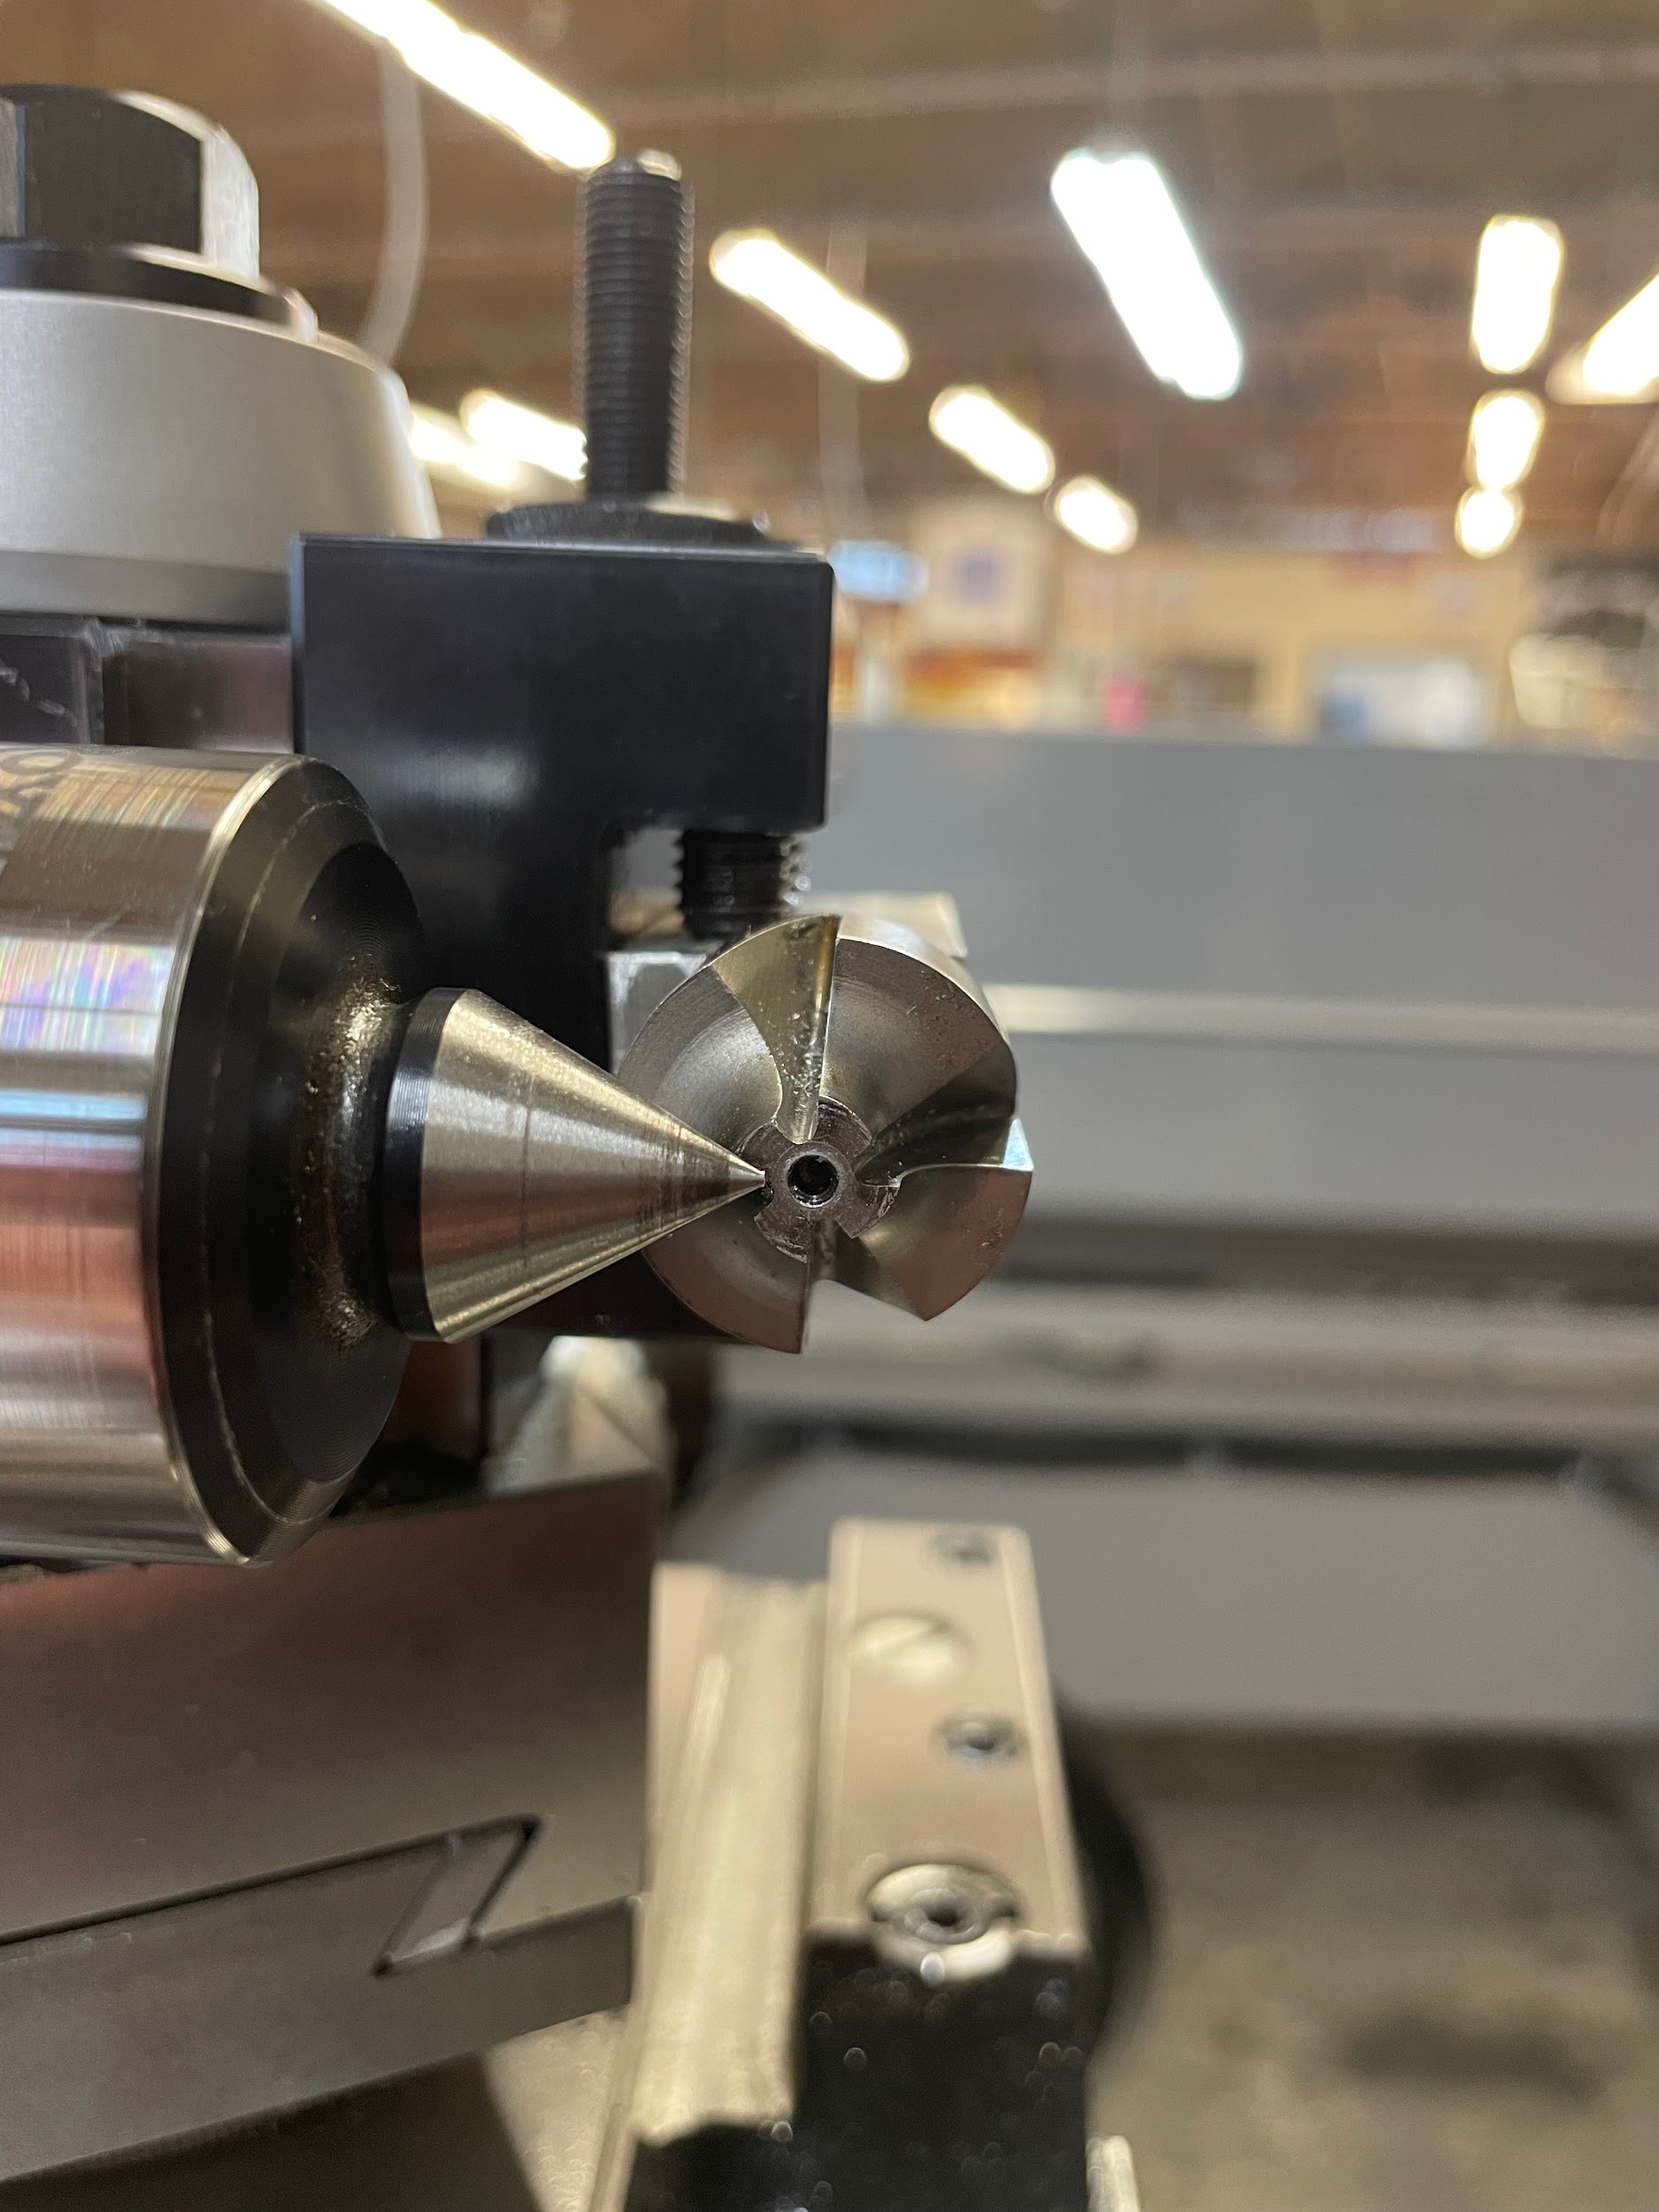

“Step 9: Set the cross slide handwheel to zero.“

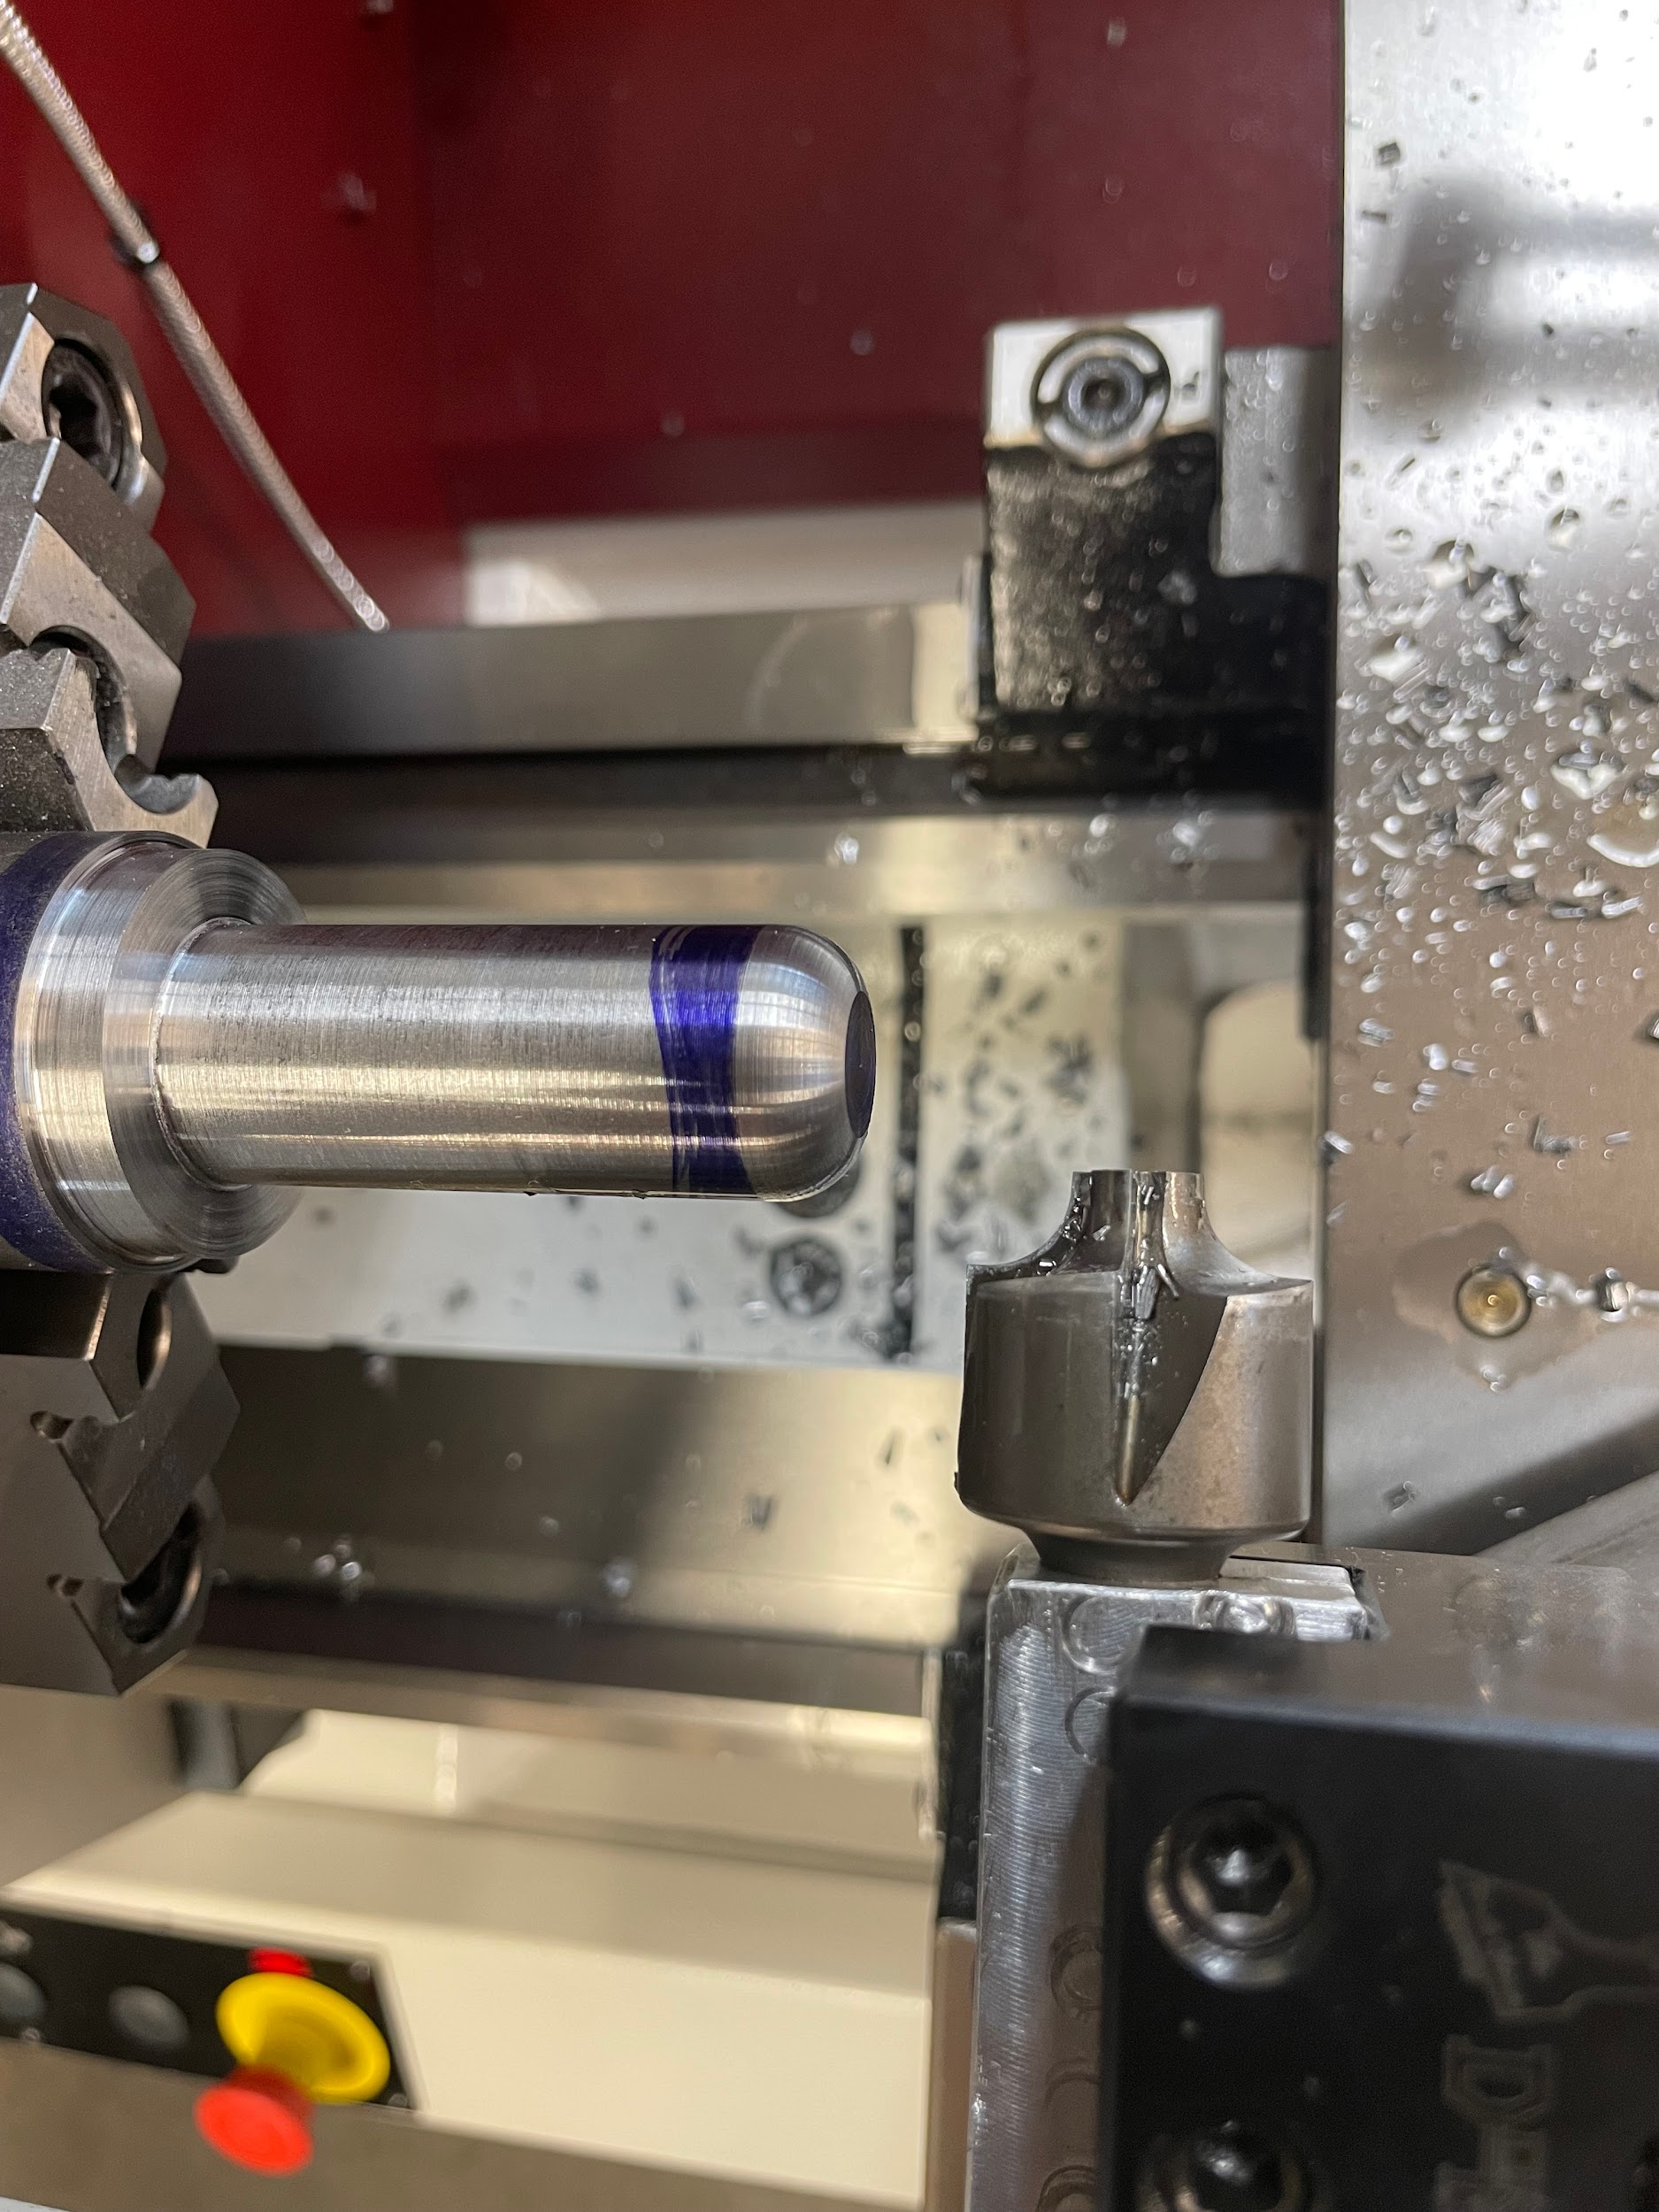
“Step 13: Gently work the tool in a little on the cross slide, then a little on the carriage. Back and forth with each until reaching the zero point on both hand wheels.“
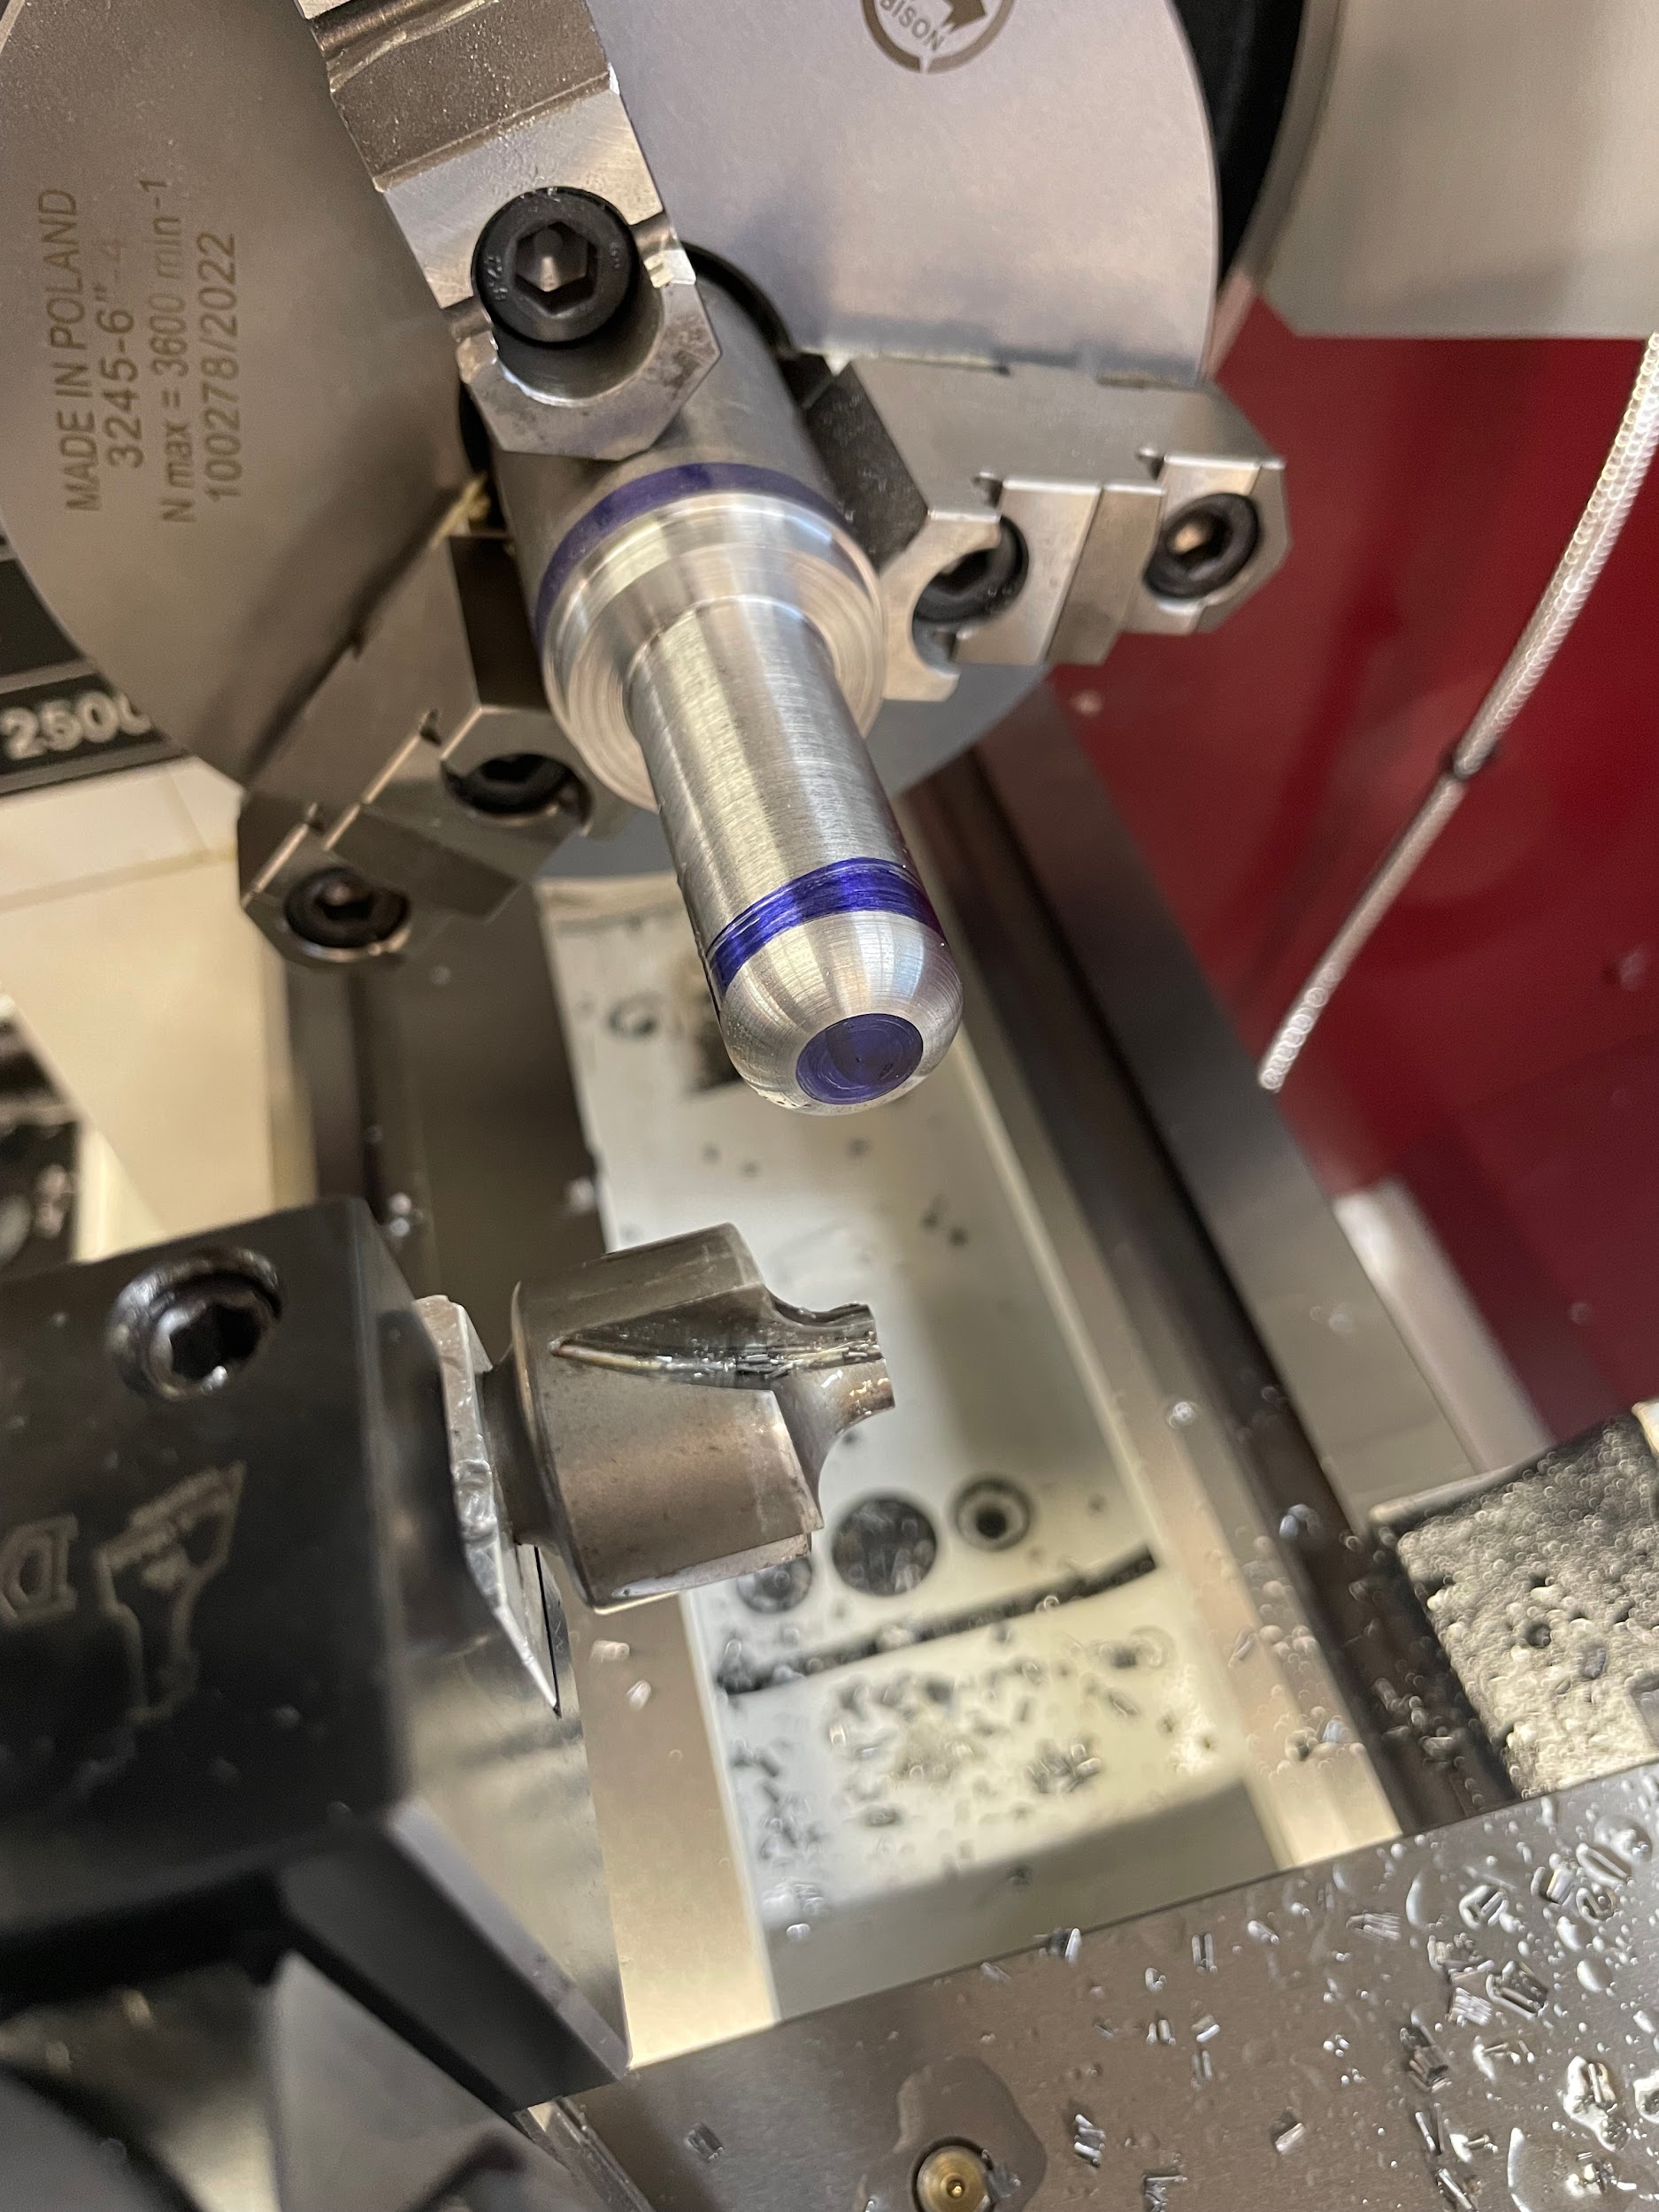
“Step 14: Back the tool off and measure with a radius gage.“

The following is the process for cutting a basic 90 degree concave radius. When turning a diameter that will have an internal radius up against a shoulder, the allowance of the radius must be accounted for. The steps below start with the basics of allowing for the extra material needed.
Step by step process for cutting a concave radius:
- Examine the print for the radius size.
- Calculate the step size that will be left in place of the radius. For instance, a 1/2” radius would require a step of 1/2” shorter in length, and 1” larger in diameter to allow for the creation of the radius. Essentially, instead of making one rectangular shaped cut, two will be made.
- Rough and finish the largest diameter and full length step.
- Rough and finish the smallest diameter and shortest length step.
- Select a 90 degree radius cutting tool, install it in a tool holder on the toolpost, and square it to the machine.
- Apply layout dye to the outside diameter and the face that will have the 90 degree radius.
- Calculate the spindle speed for the maximum diameter of the work the tool will contact. The spindle speed is generally 1/4 the speed for form turning to that of standard turning because of the amount of tool in contact with the work. The longer the linear length of cutting edge touching the work, the greater the chance for chatter to occur.
- Start the spindle.
- Touch the radius tool to the finished diameter of where the radius will end.
- Set the cross slide handwheel to zero.
- Back the tool off the part.
- Touch the radius tool to the finished shoulder of where the radius will end.
- Set the carriage handwheel to zero.
- Back the tool off.
- Bring the center of the radius tool up to the corner of the part.
- Apply cutting oil.
- Gently work the tool in, a little on the cross slide, then a little on the carriage. Back and forth with each until reaching the zero point on both hand wheels.
- Back the tool off and measure with a radius gage.
“Step 1-4: Examine the print for the radius size. Calculate the step size that will be left in place of the radius. For instance, a 1/2” radius would require a step of 1/2” shorter in length, and 1” larger in diameter to allow for the creation of the radius. Essentially, instead of making one rectangular shaped cut, two will be made. Rough and finish the largest diameter and full length step. Rough and finish the smallest diameter and shortest length step.“
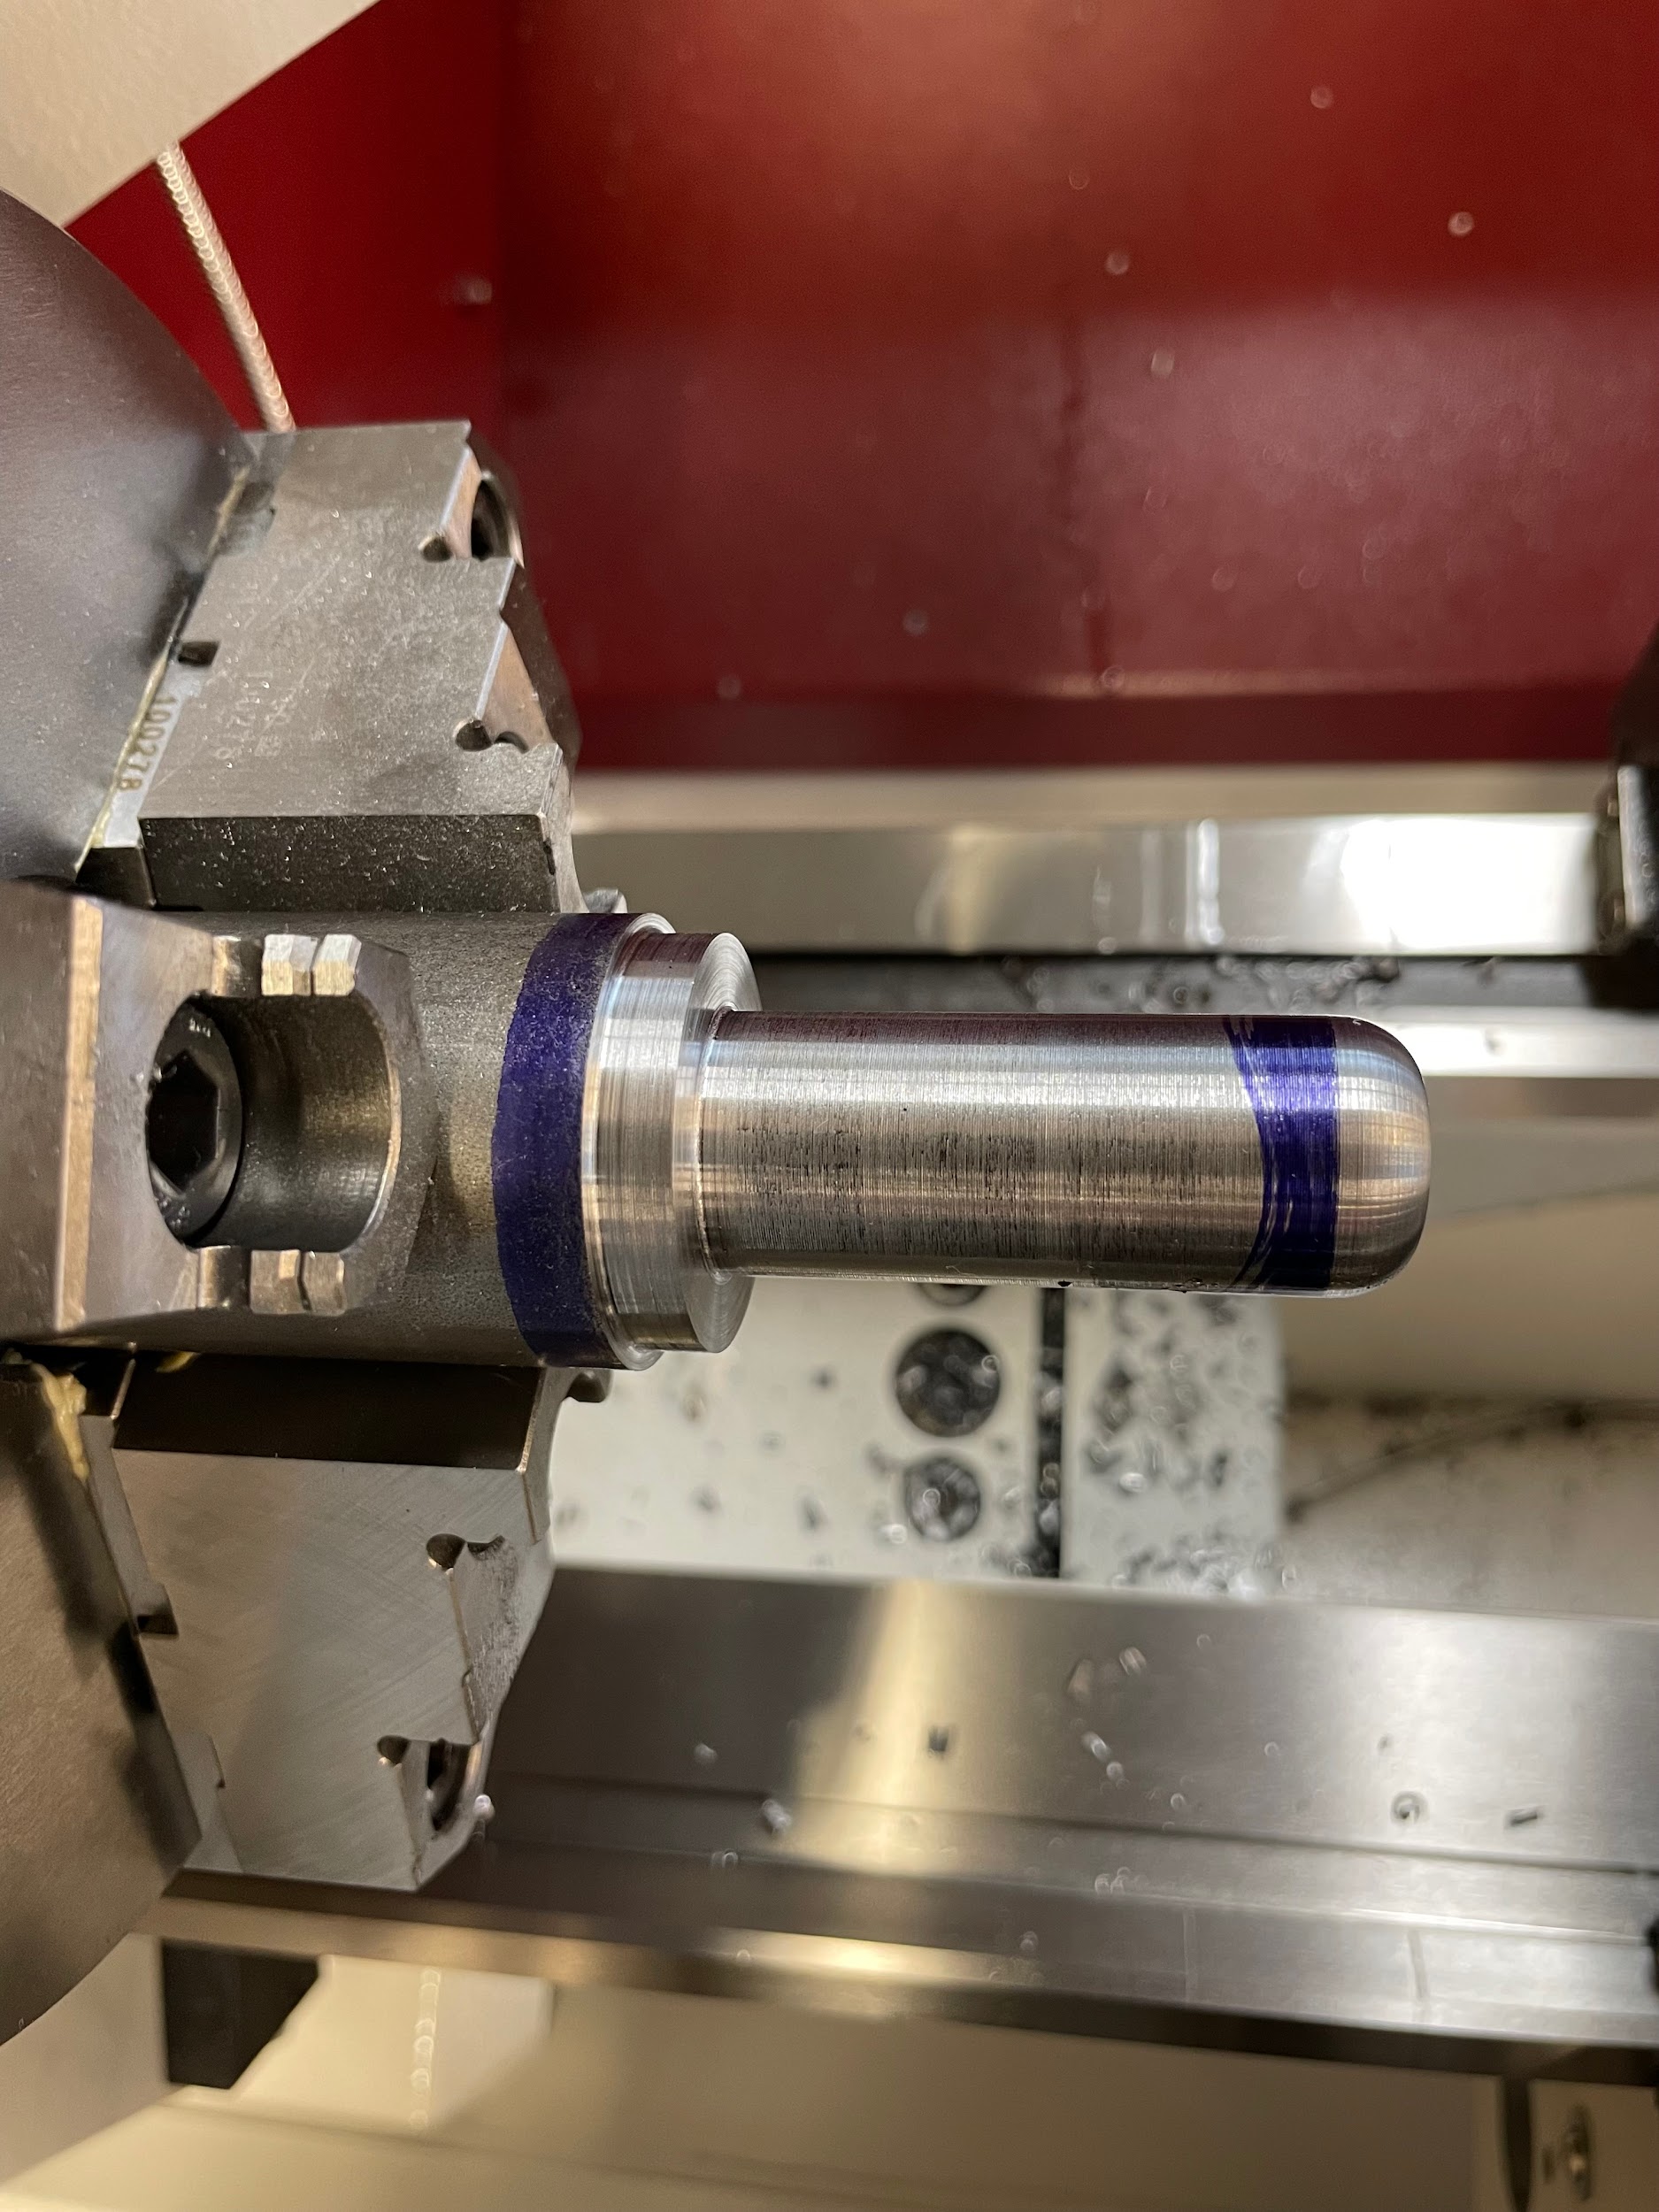
“Step 5: Select a 90 degree radius cutting tool, install it in a tool holder on the toolpost, and square it to the machine.“
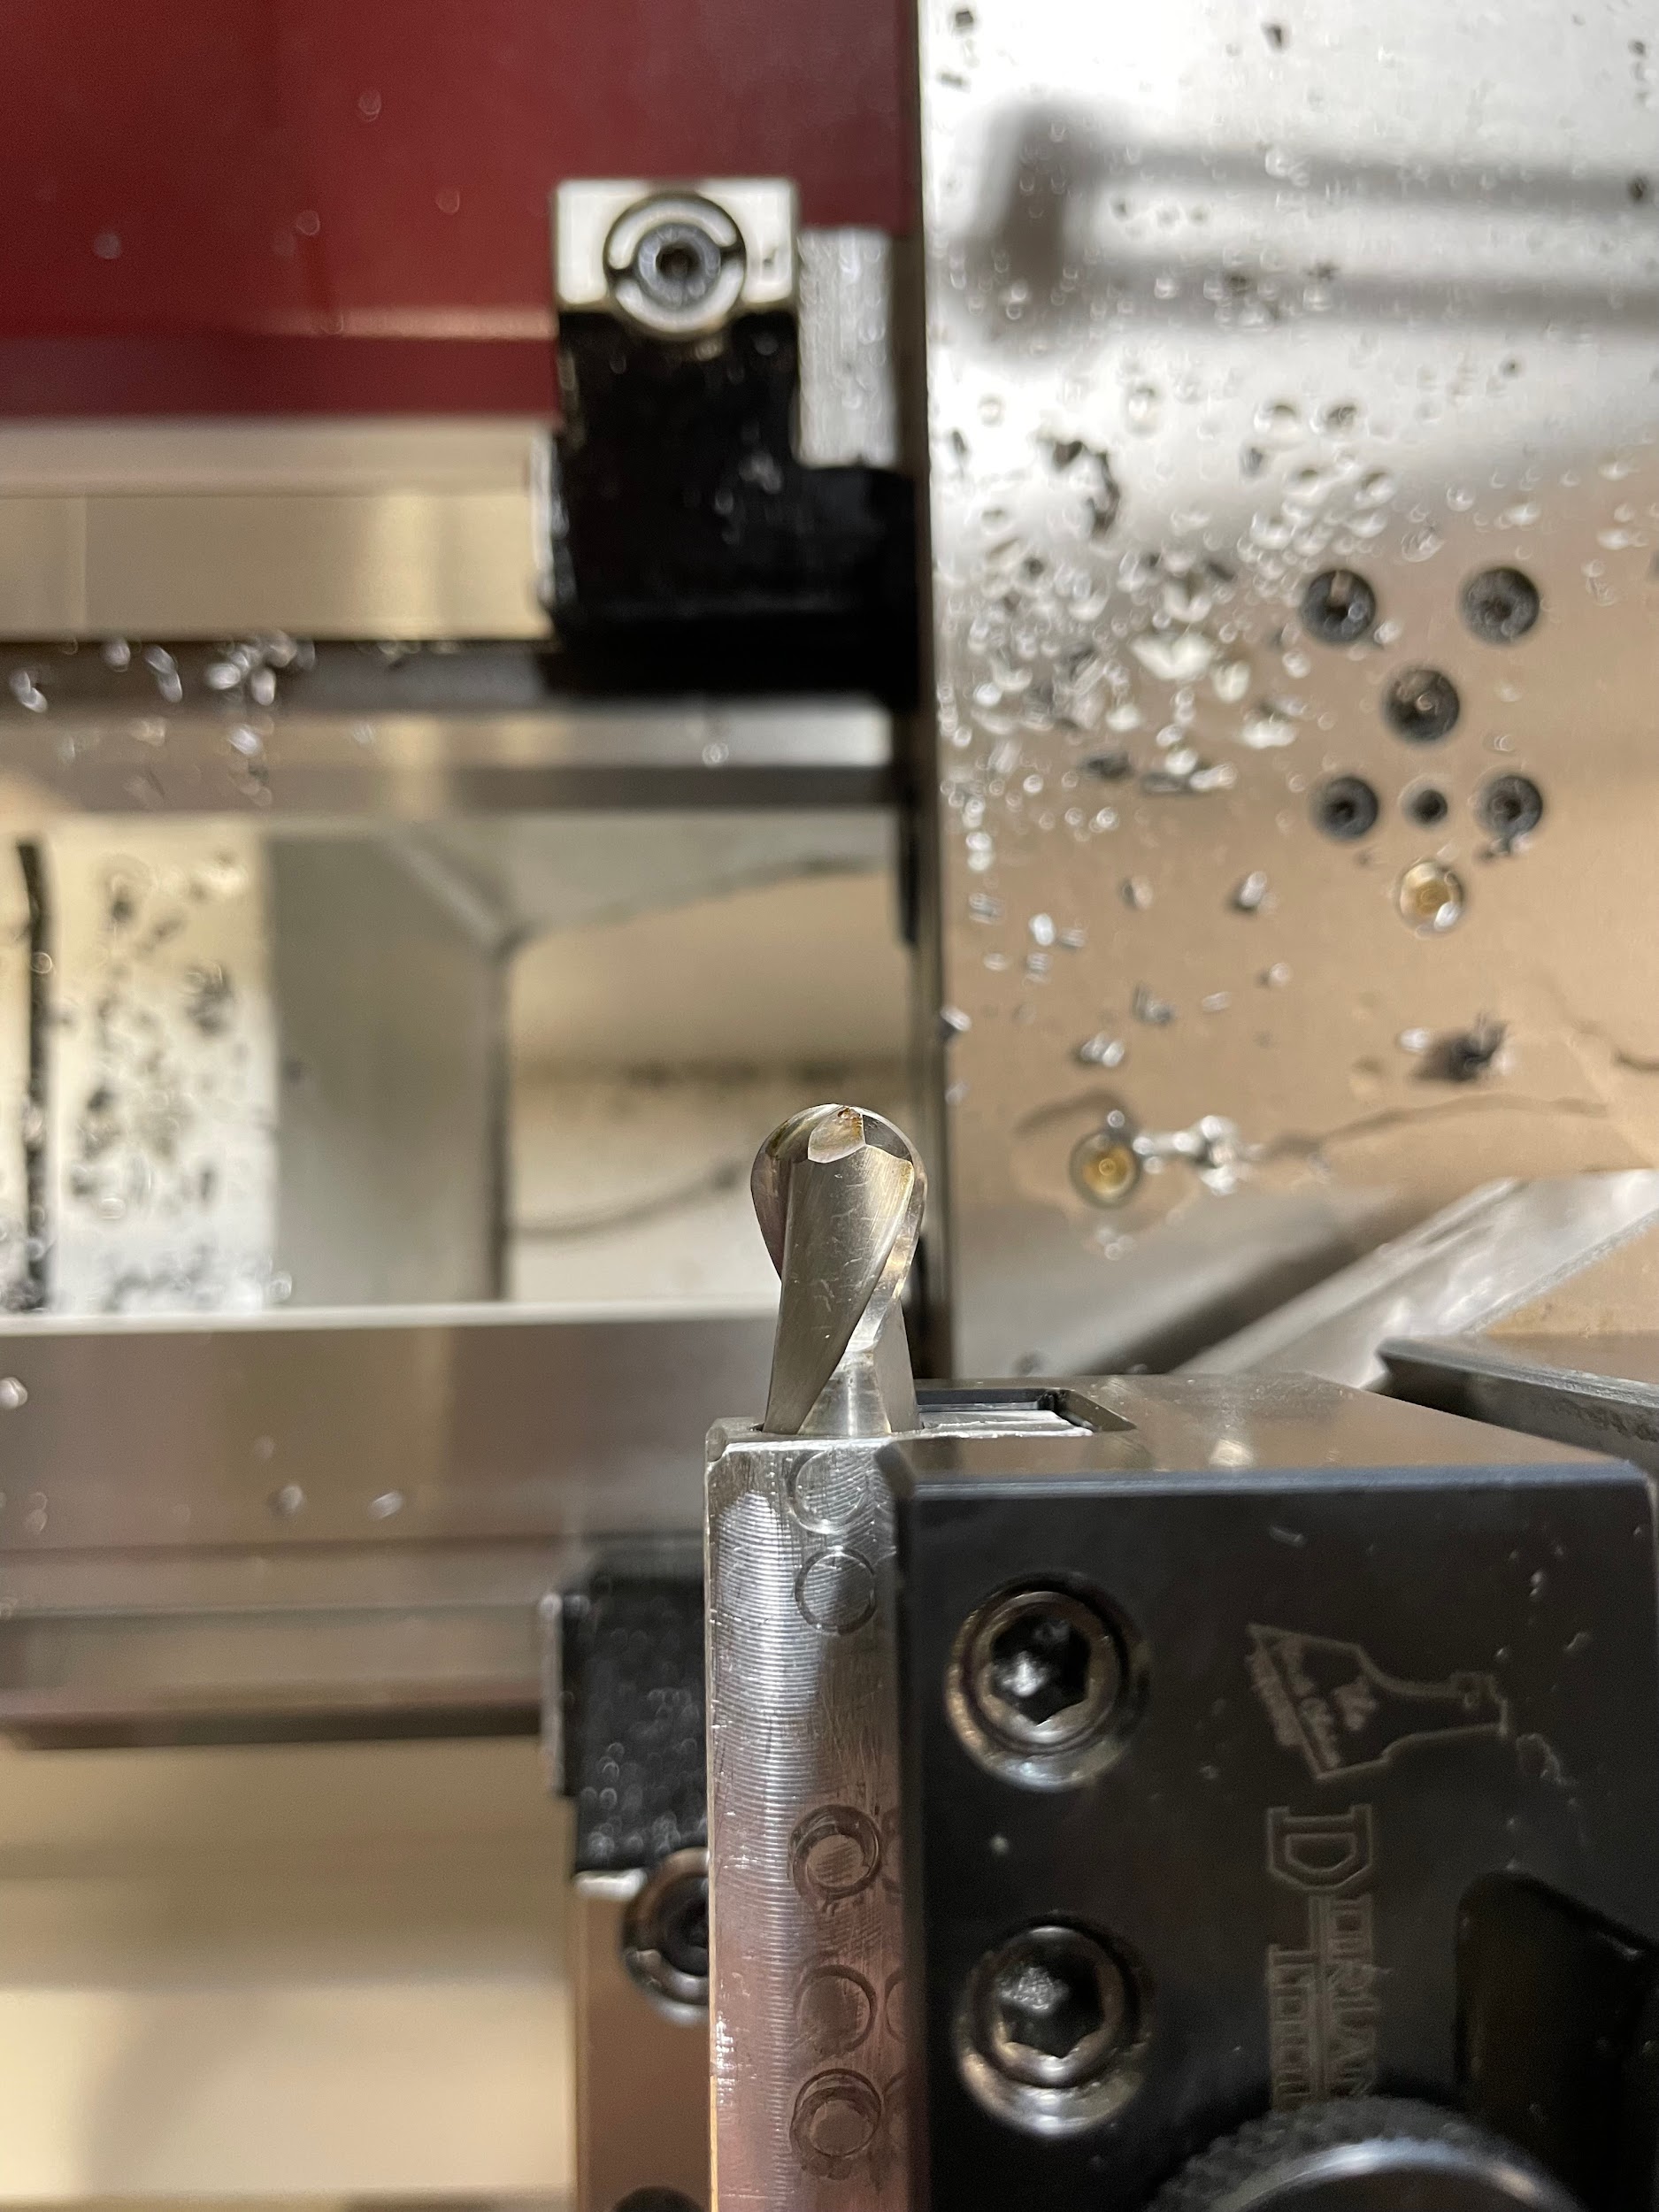
“Step 6: Apply layout dye to the outside diameter and the face that will have the 90 degree radius.“
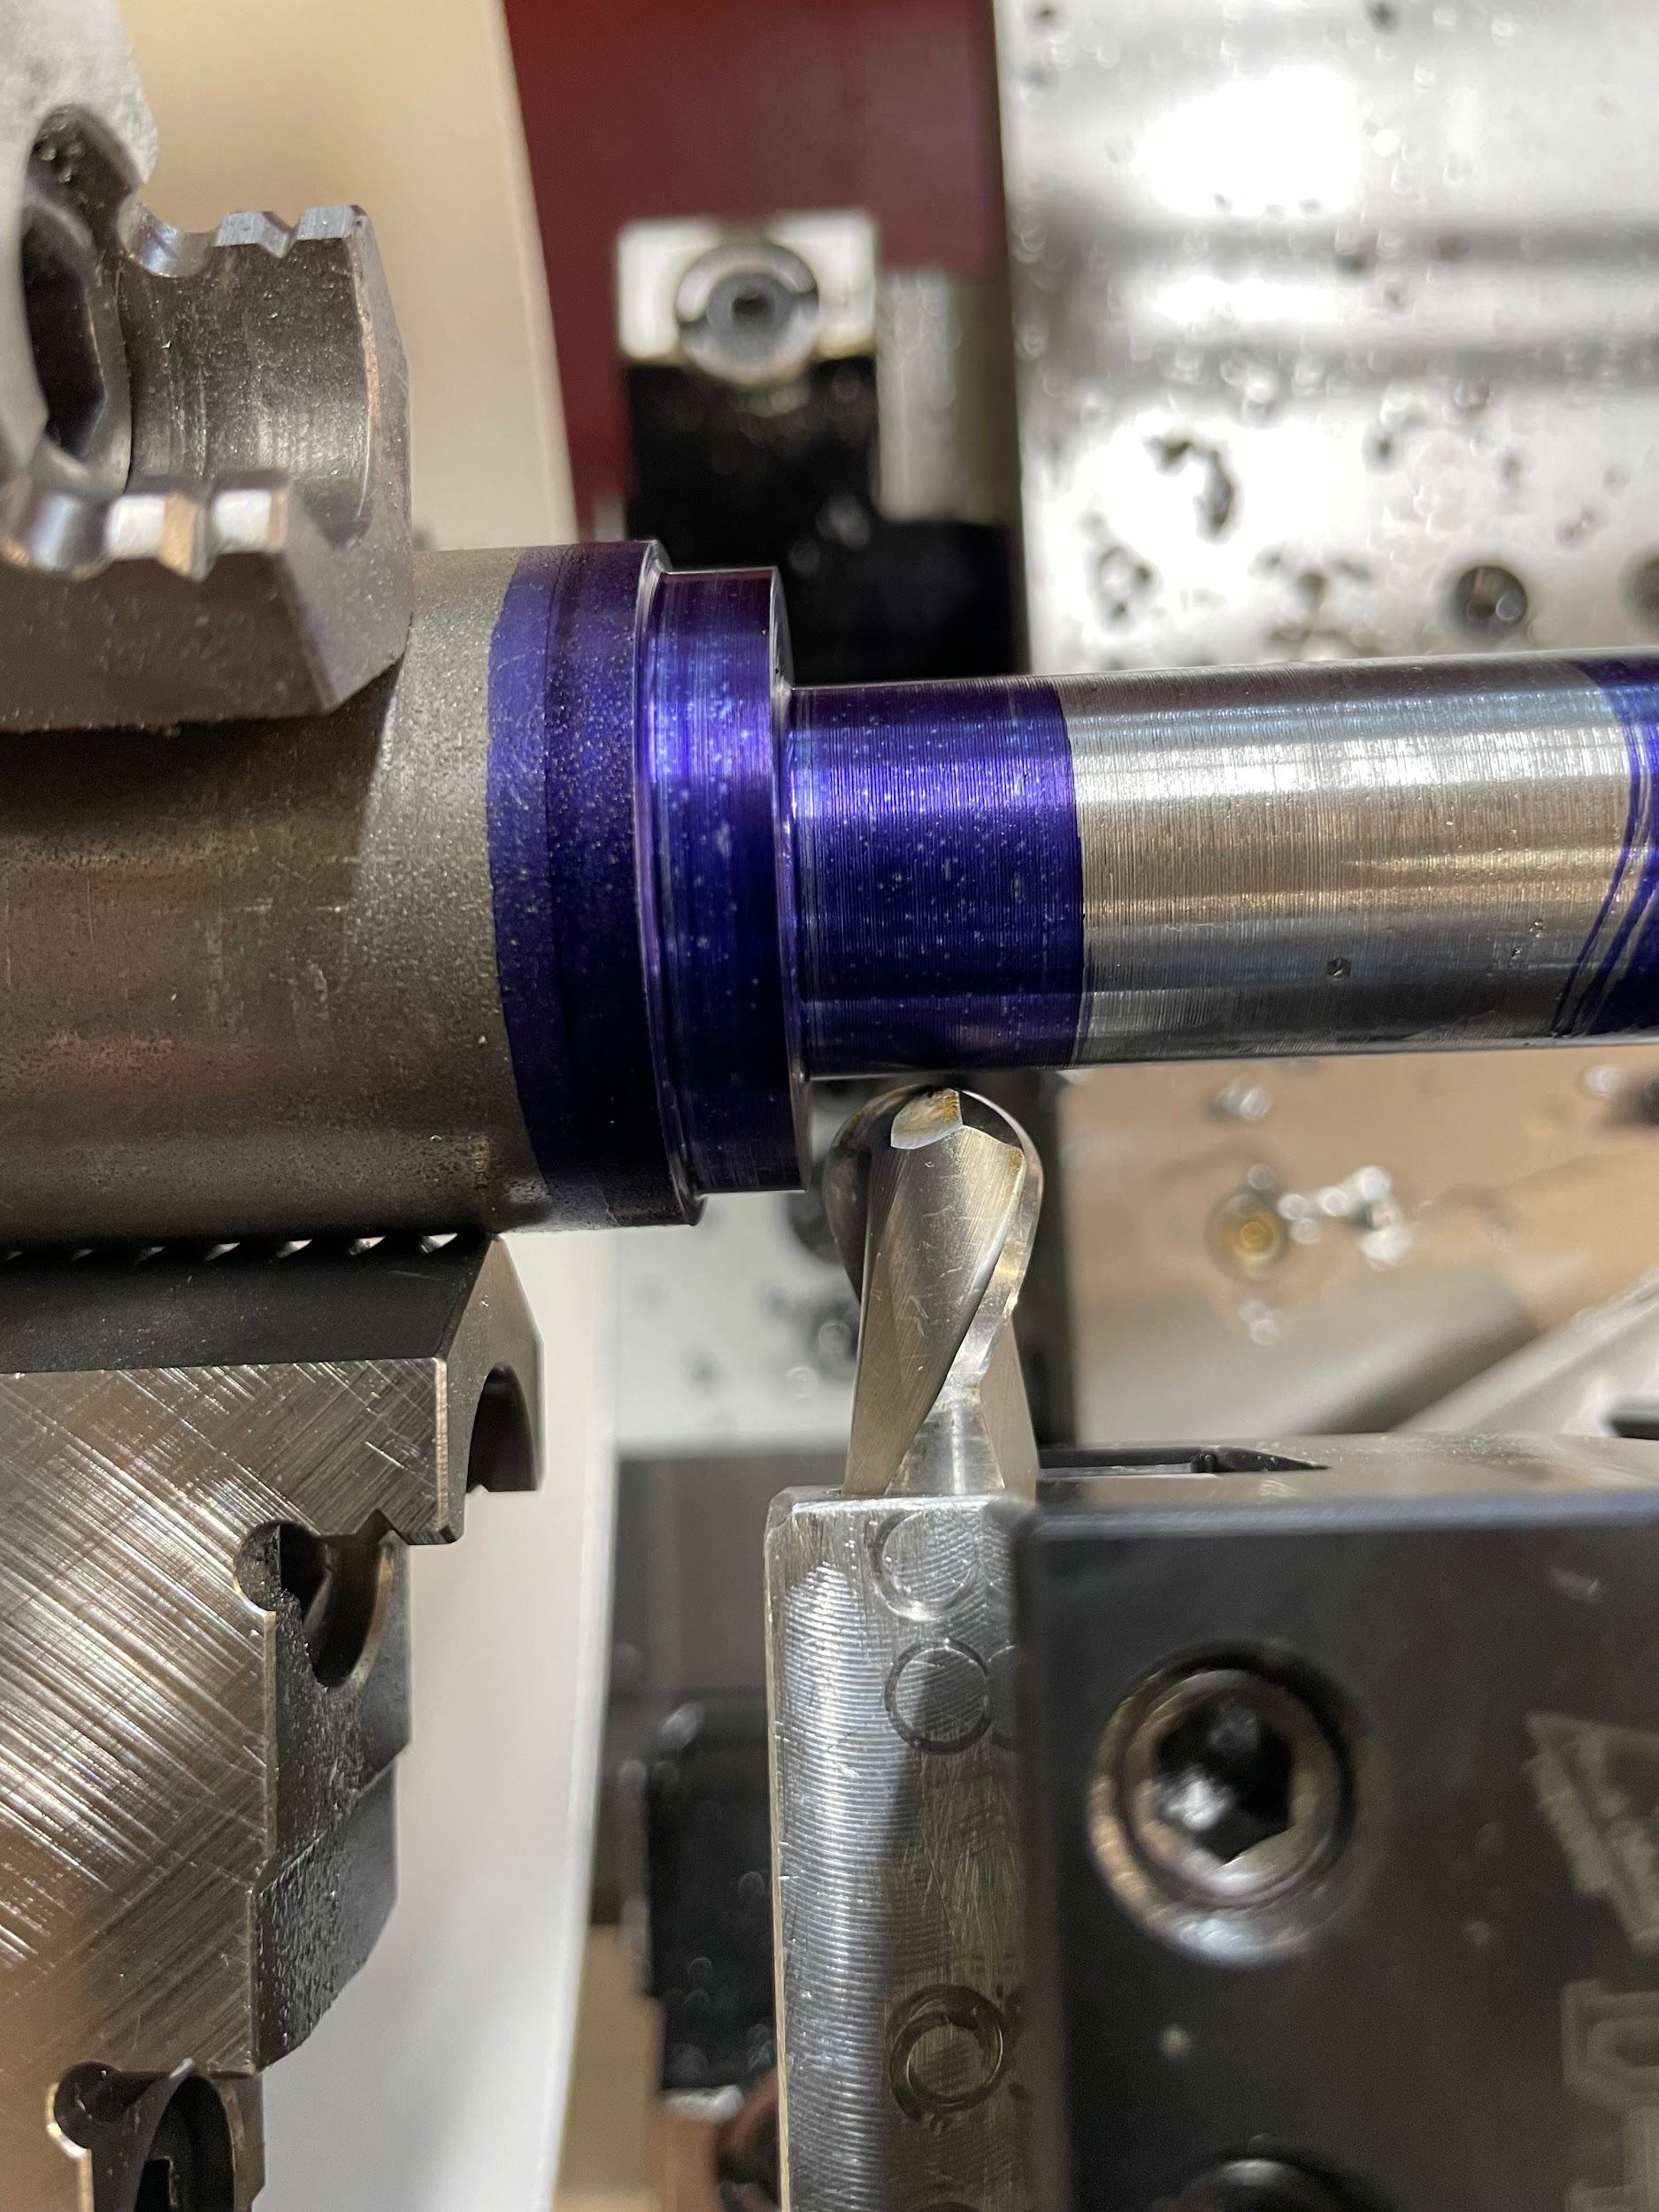
“Step 10: Set the cross slide handwheel to zero.“
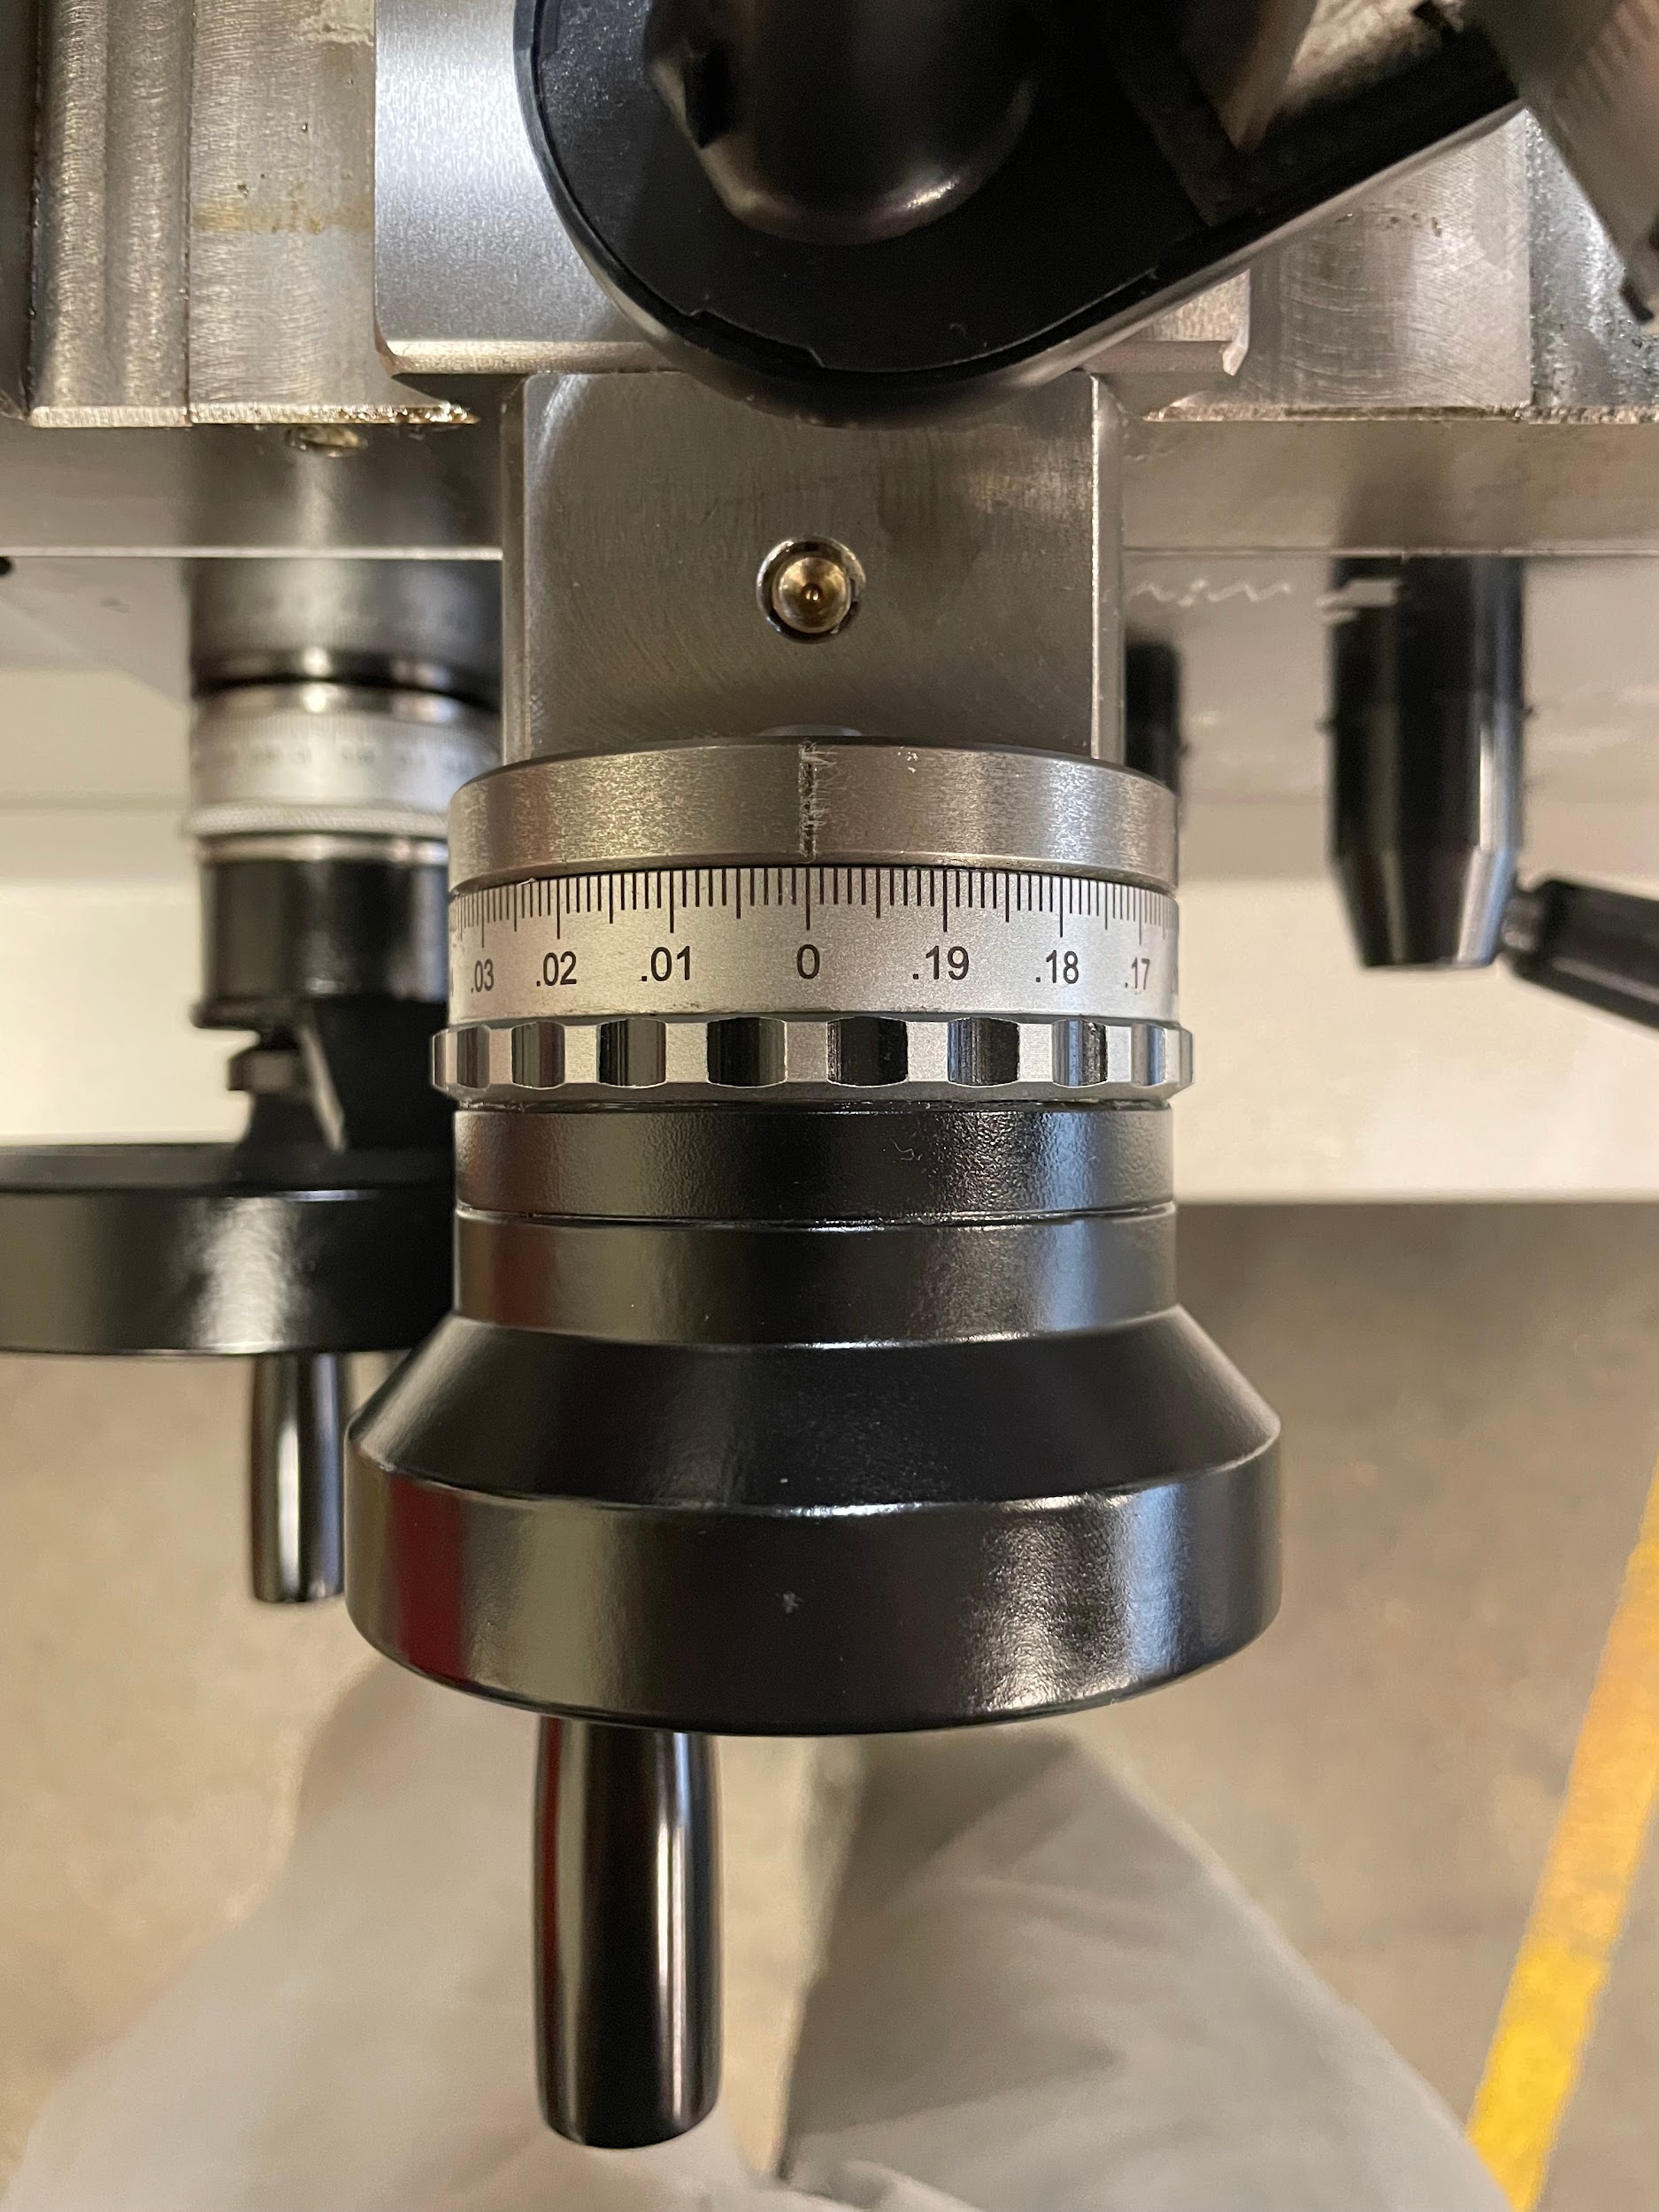
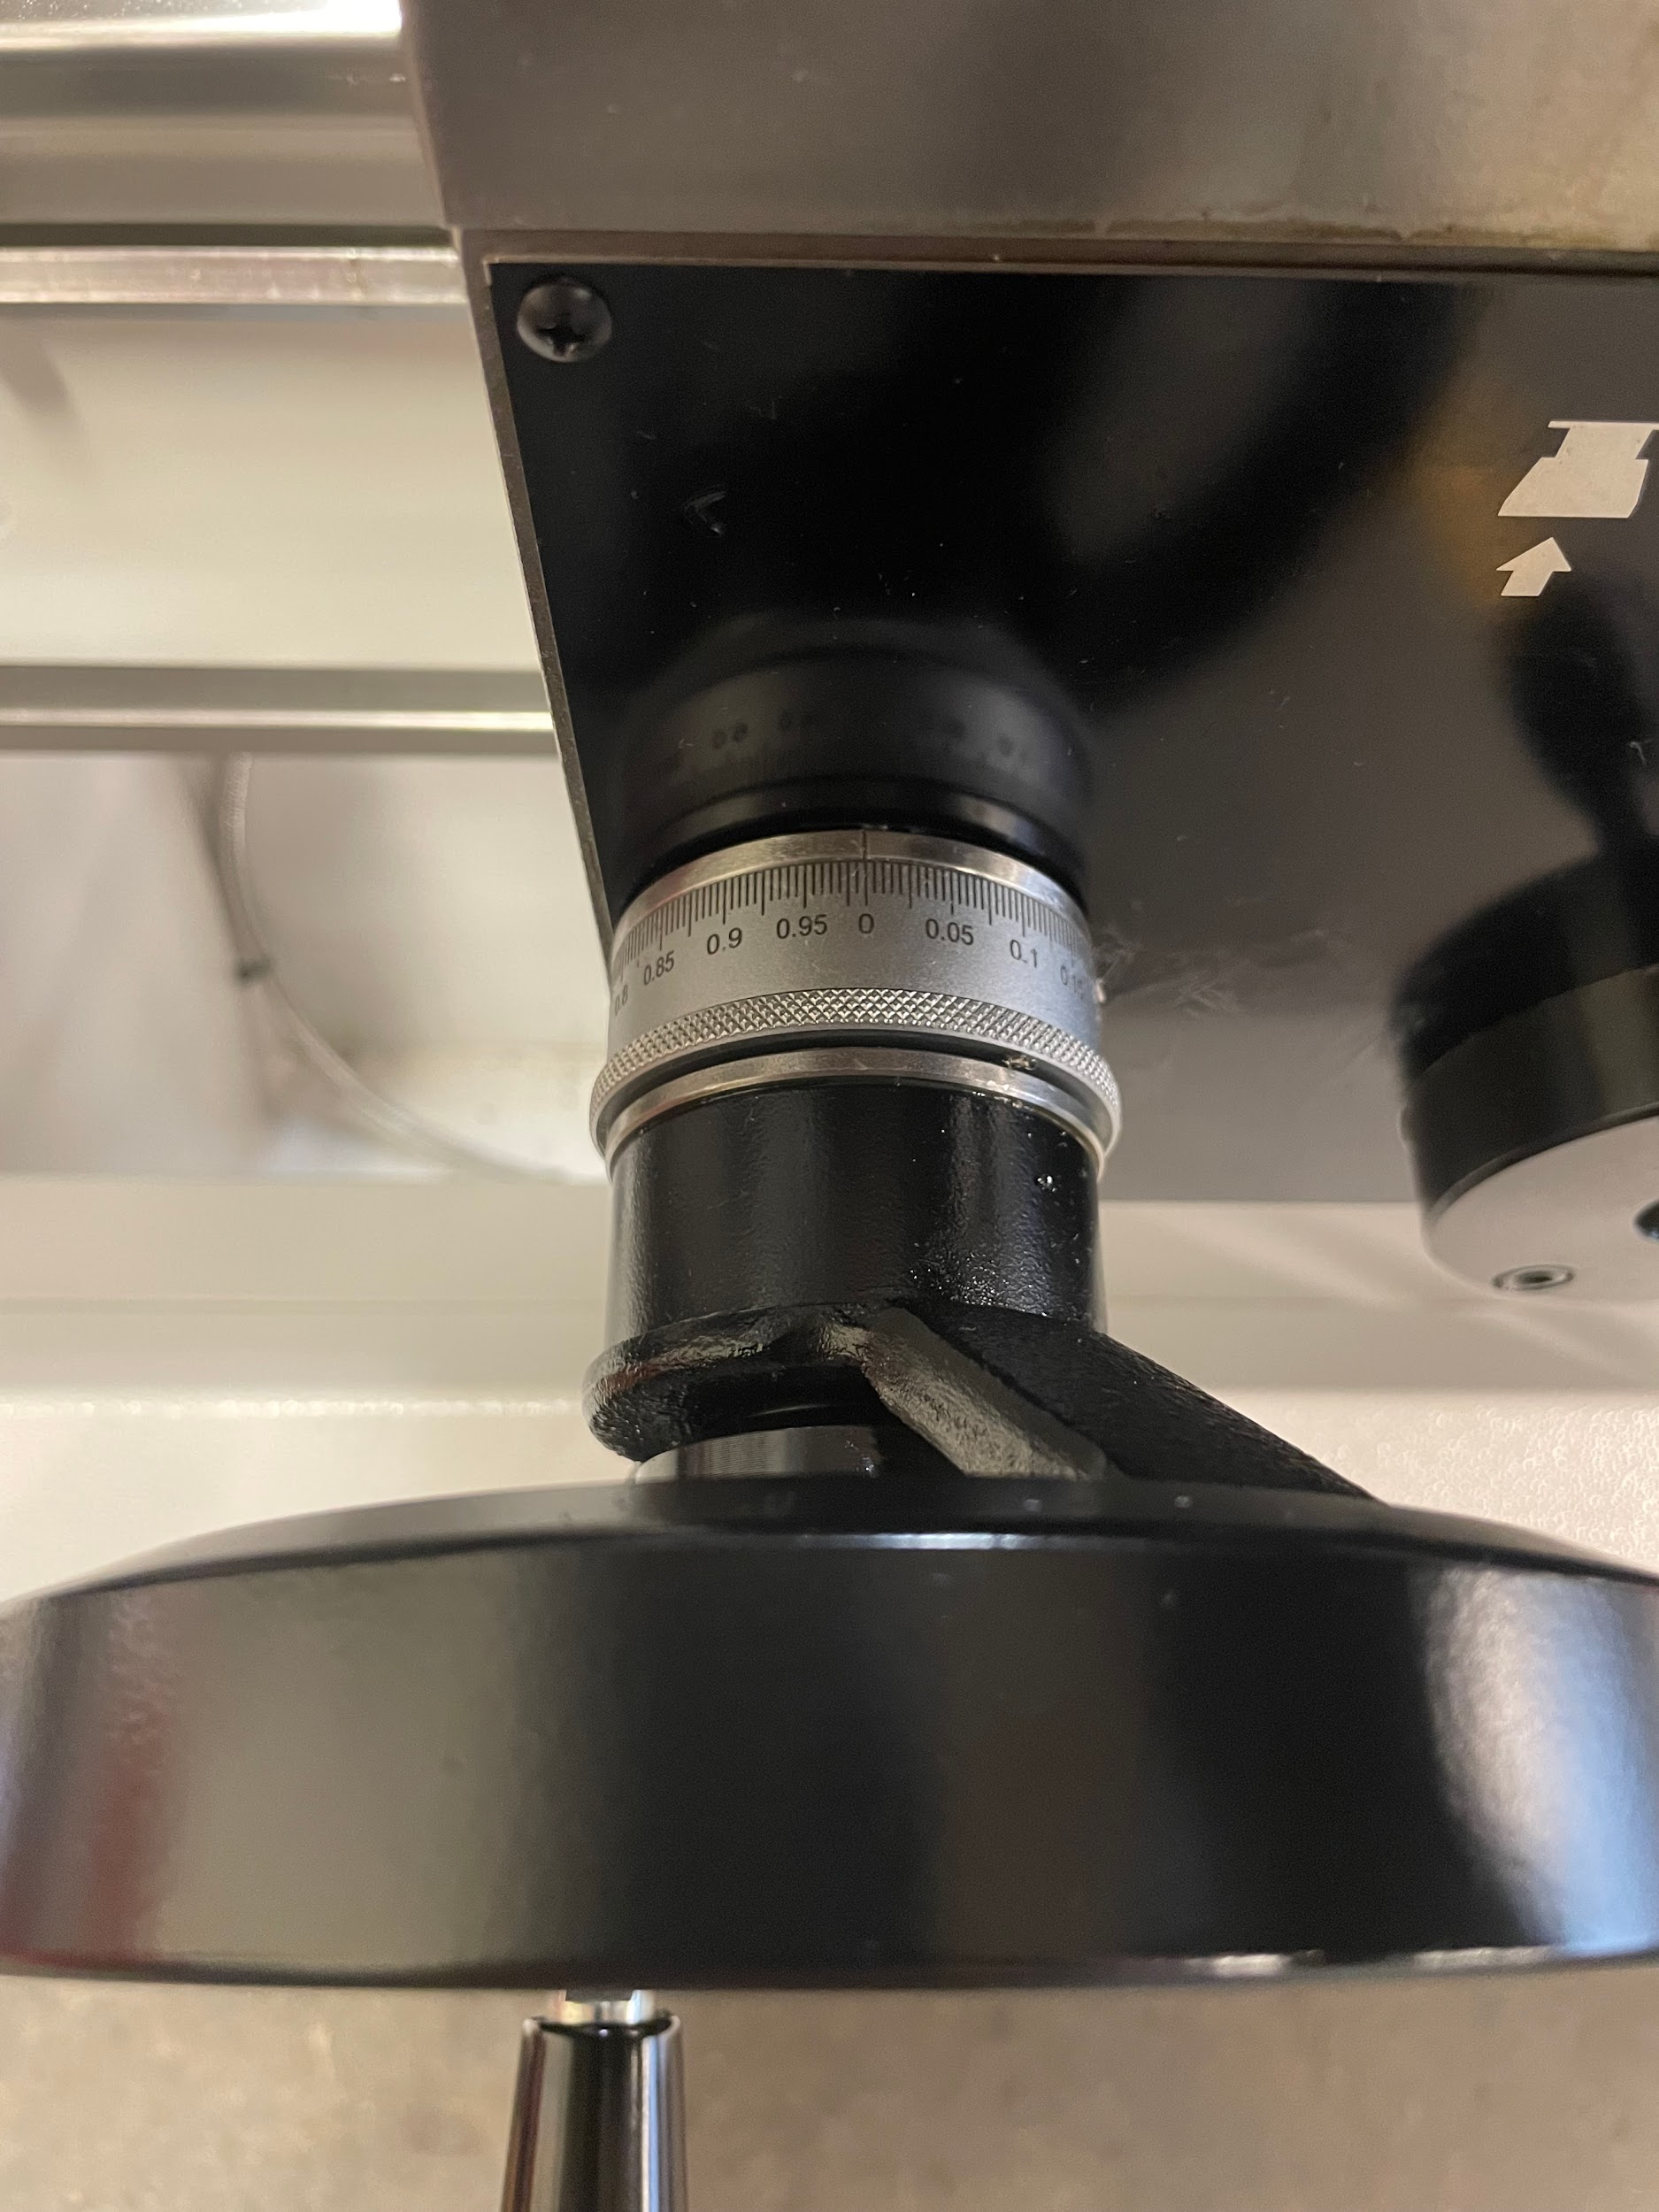
“Step 13: Set the carriage handwheel to zero.“
“Step 17: Gently work the tool in, a little on the cross slide, then a little on the carriage. Back and forth with each until reaching the zero point on both hand wheels.“
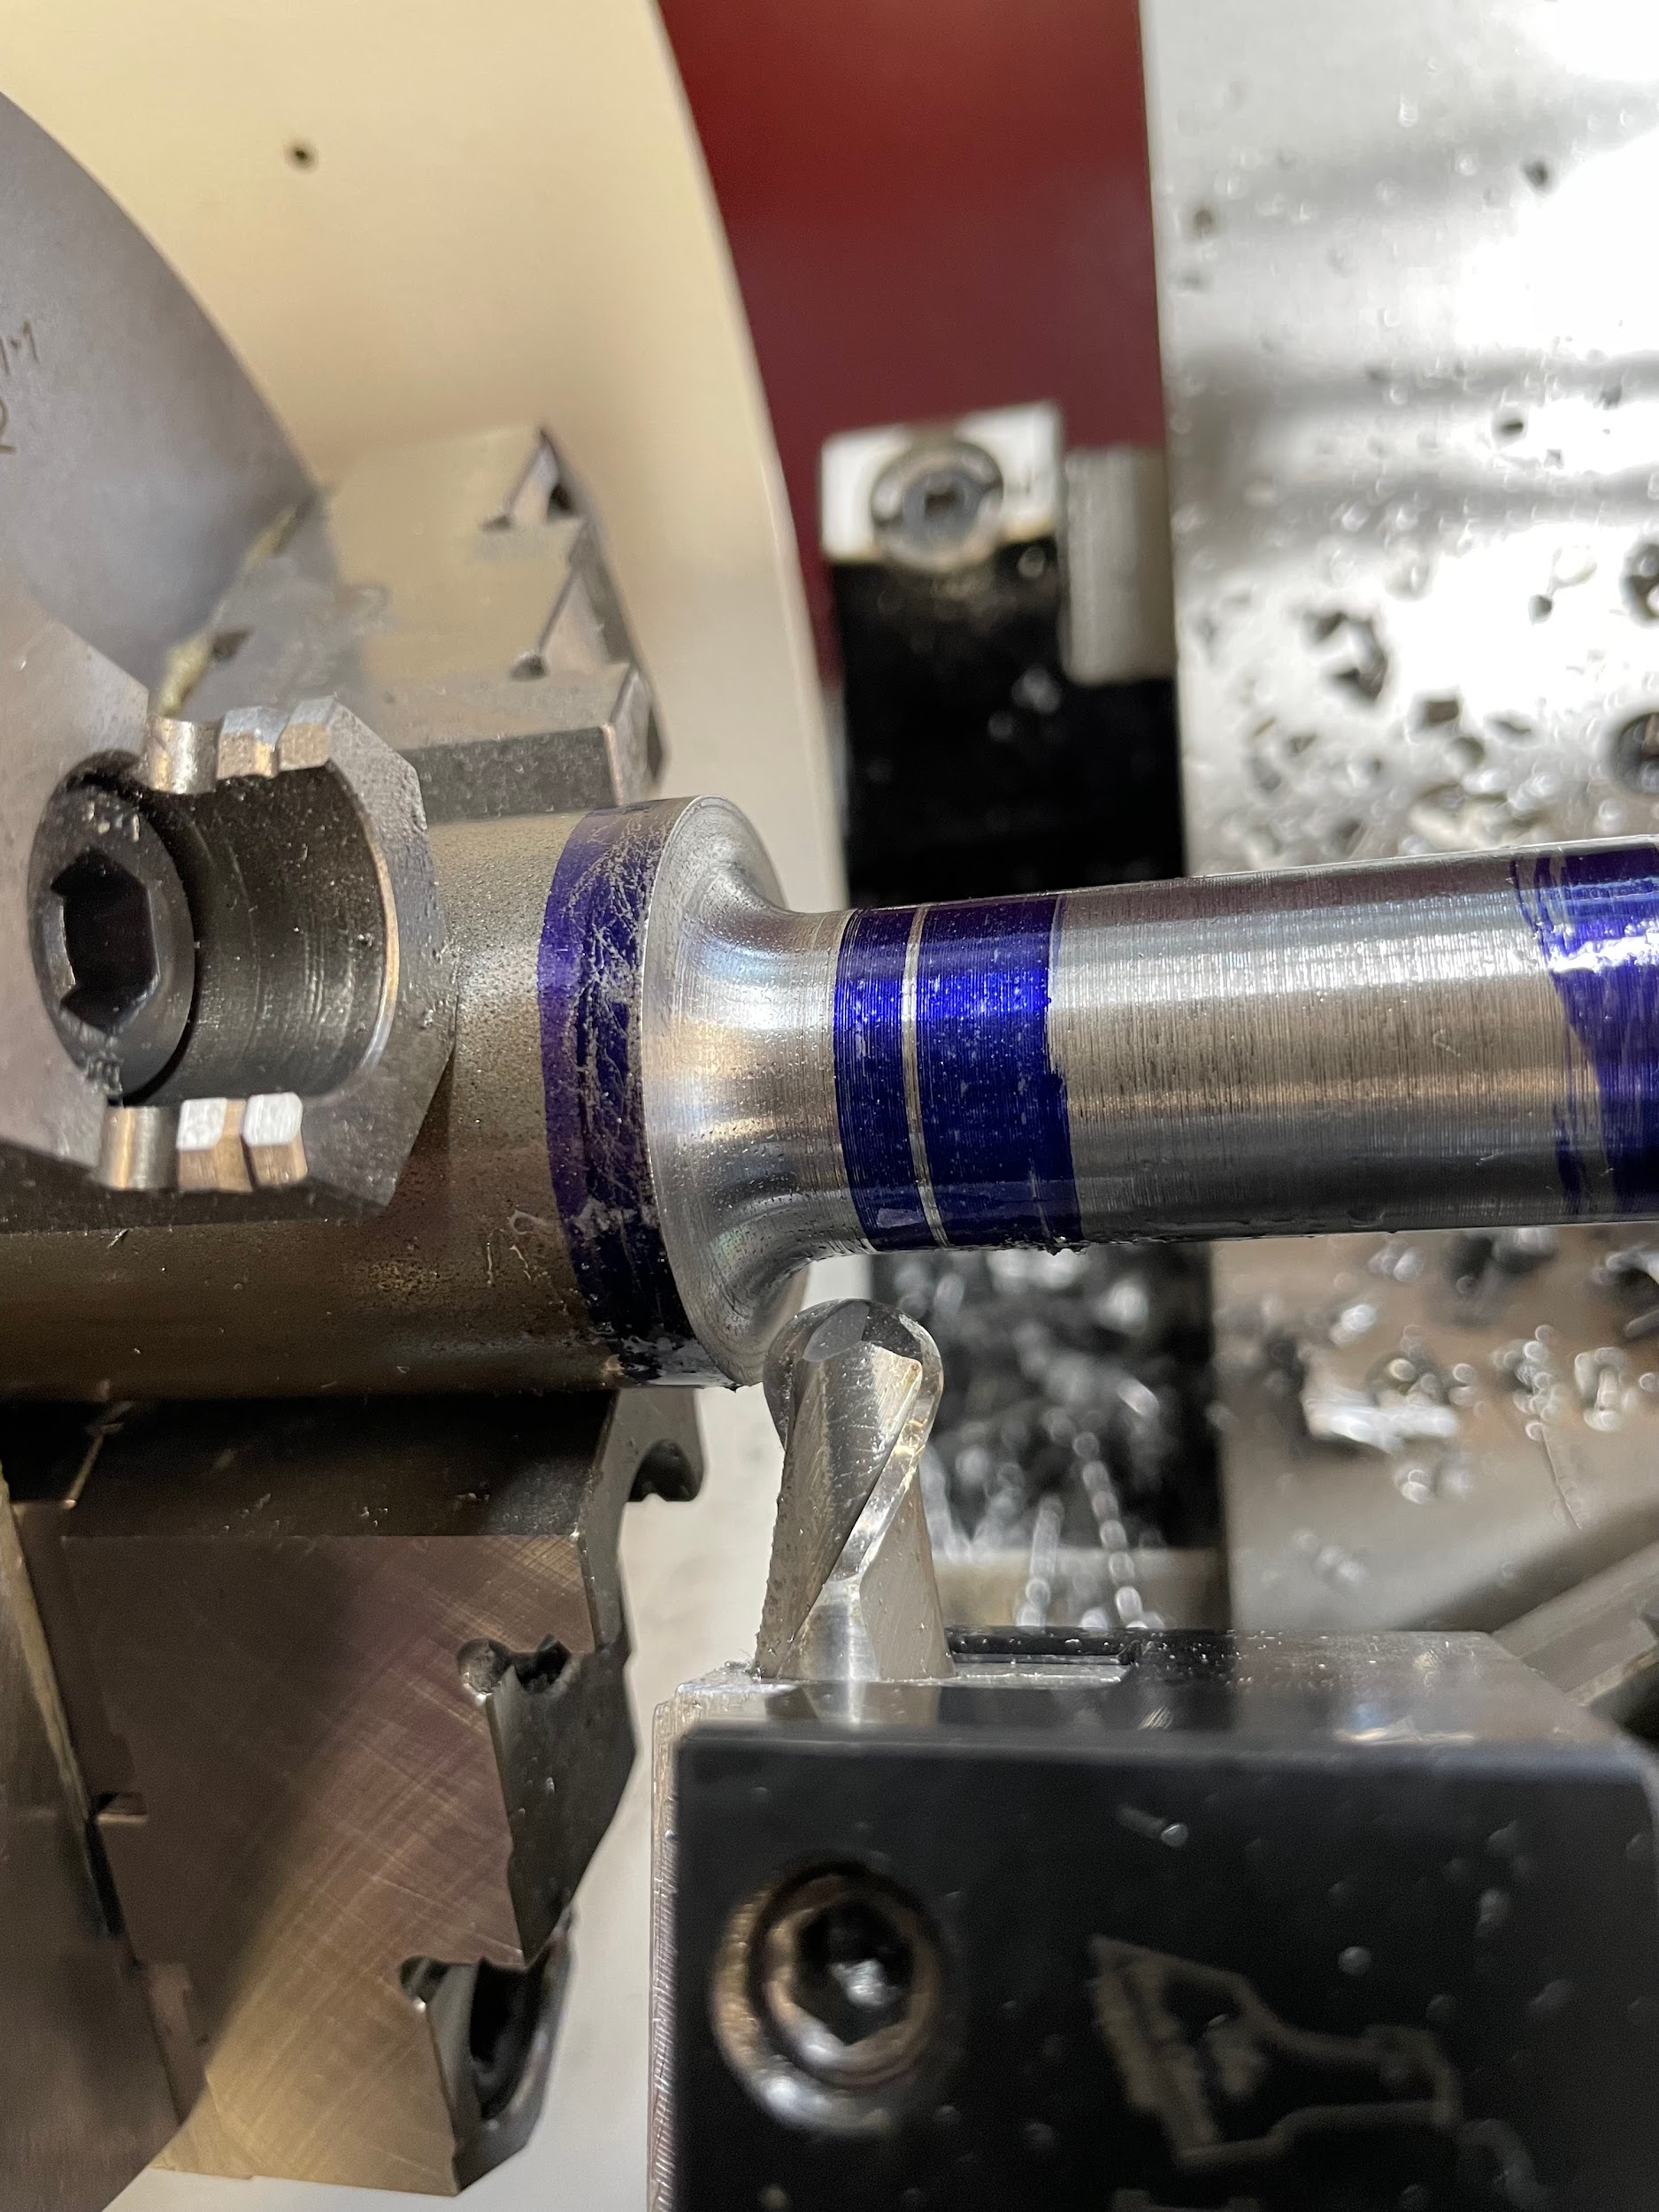
“Step 18: Back the tool off and measure with a radius gage.“
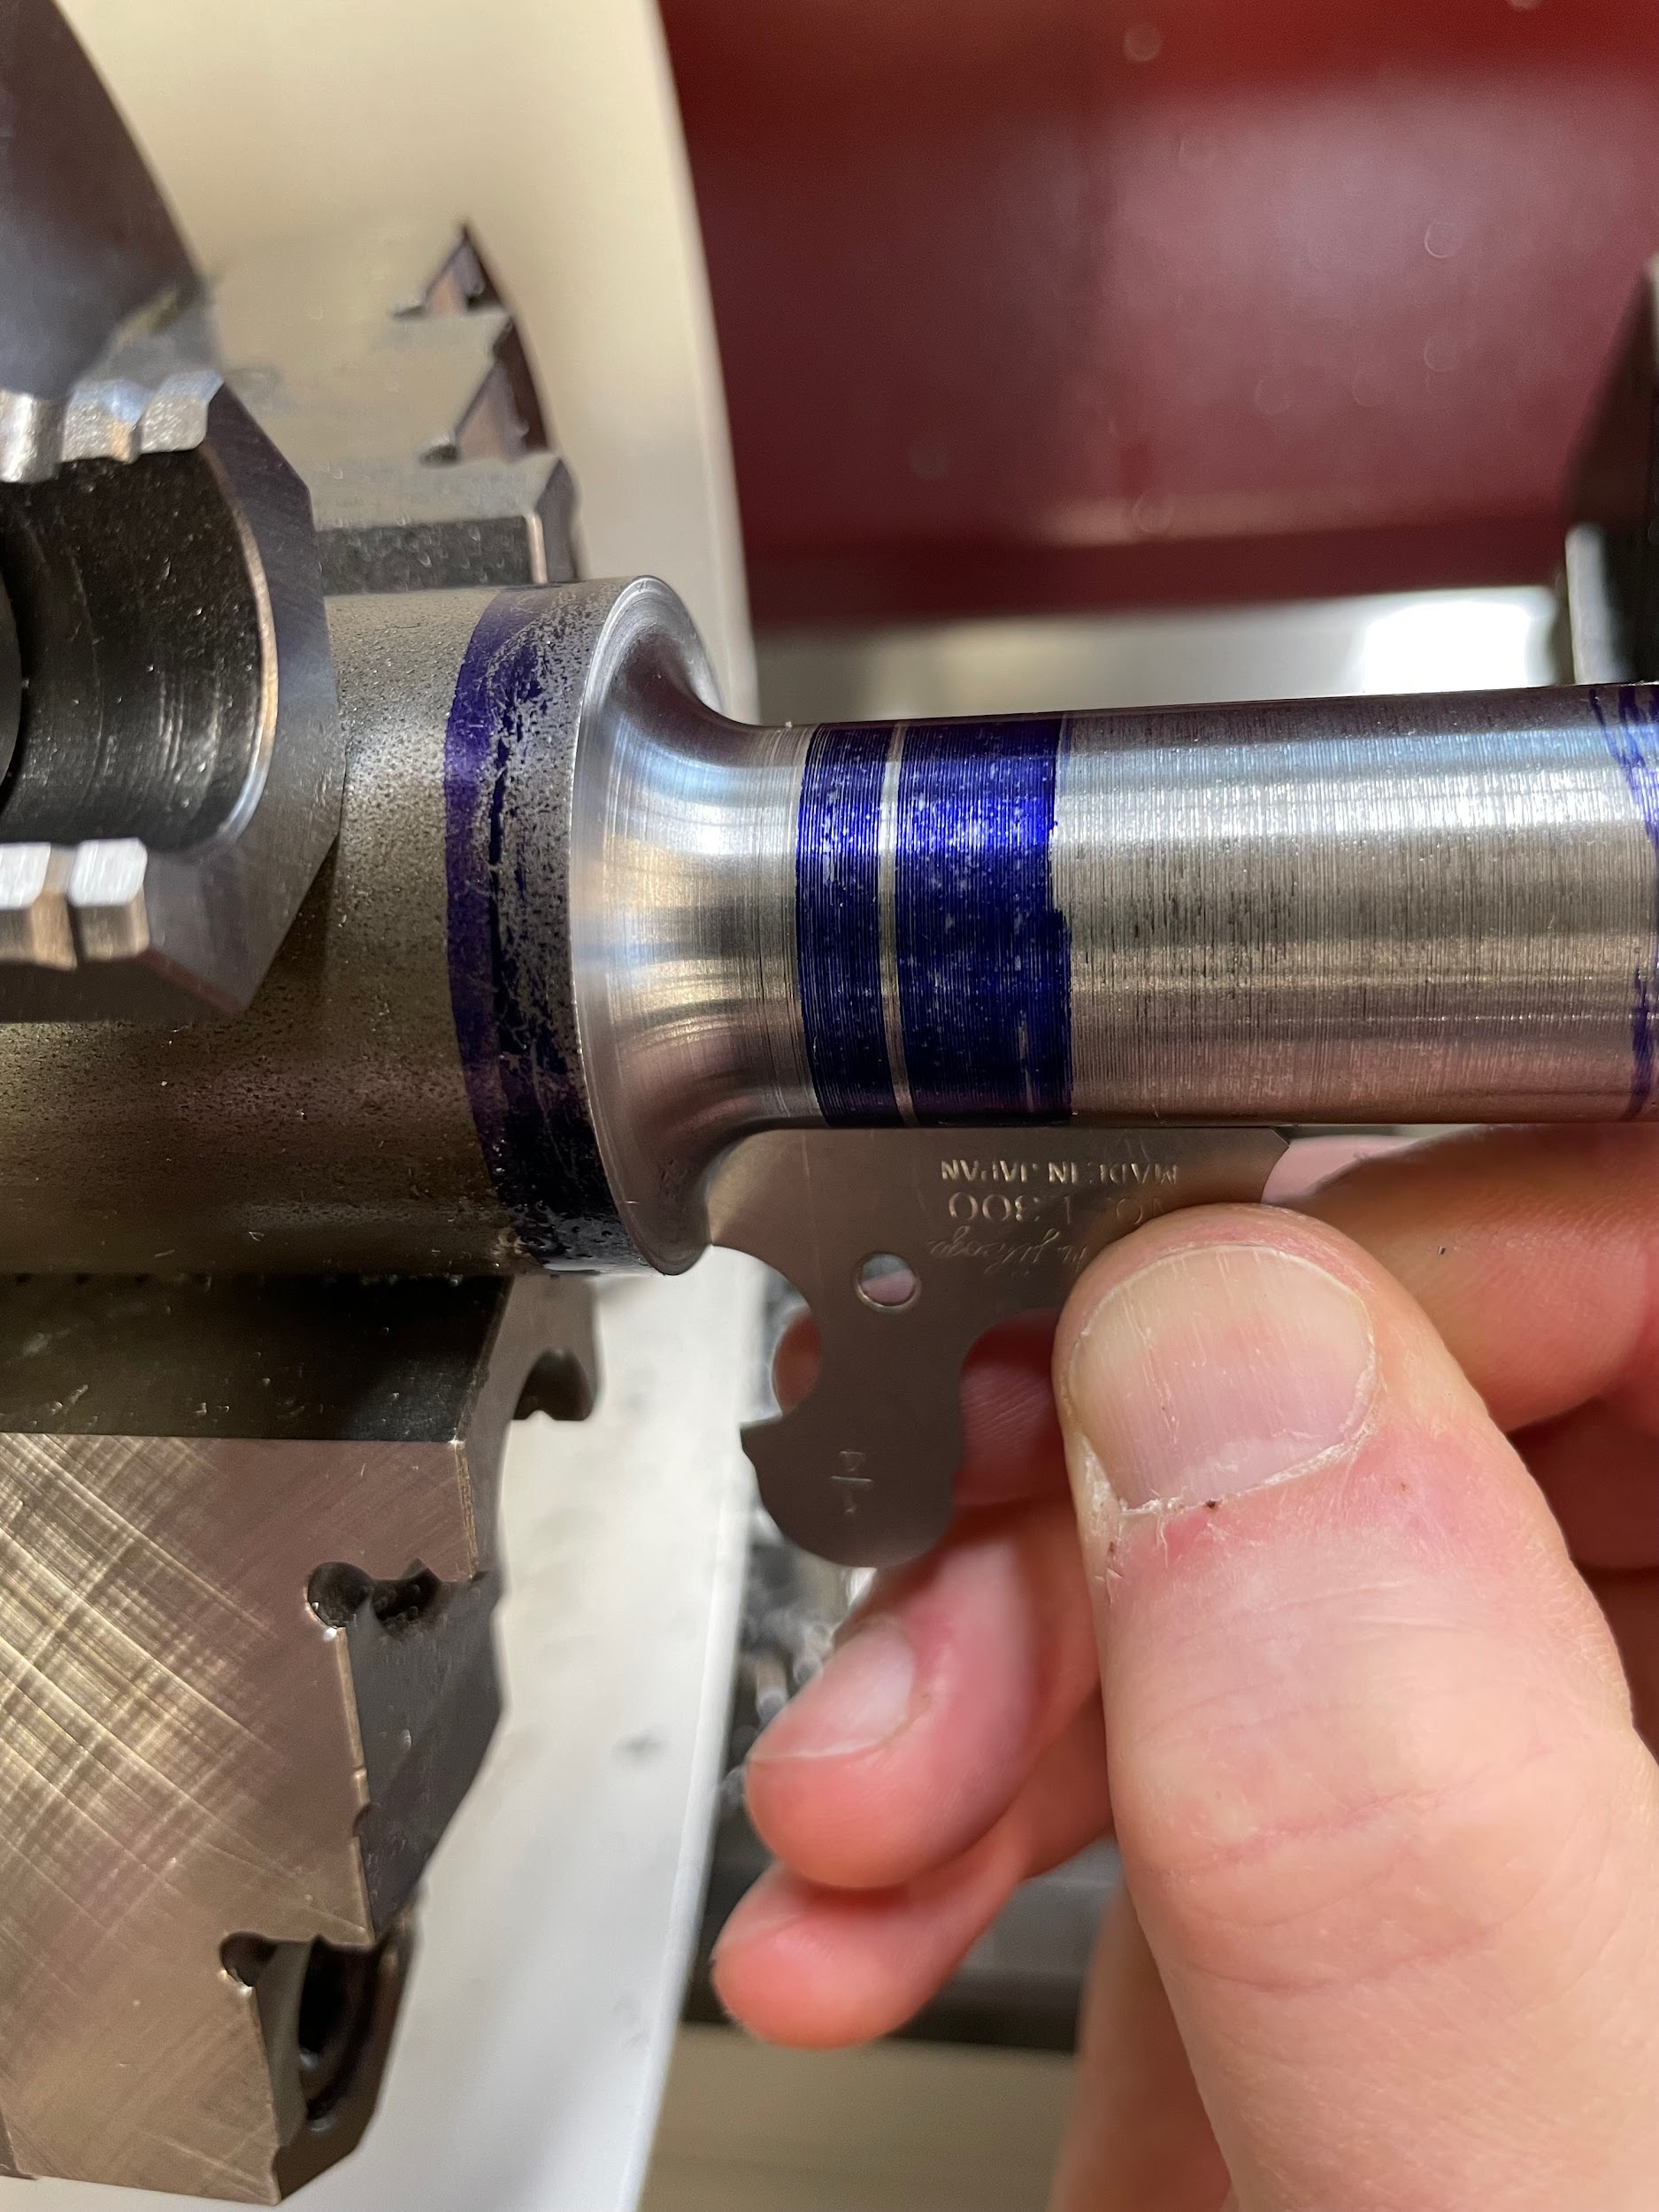
Author’s tip
Professionally ground radius cutting tools are expensive, and it is difficult for us to create accurate circular shapes by off-hand grinding. For that reason, when I have a few parts to make and I don’t have the time or budget to access the nicer tools I would like, I turn to other tools in the shop. Ball end mills and milling radius cutters work beautifully as a precision solution to this issue. All you have to do is create a small rectangular block with a hole in it the size of the milling tool shank. Then cut a slit along one side so the block can be compressed by the set screws of the lathe tool holder and transmit the force onto the shank of the milling tool. Securely holding it in place. Turn impromptu precision radii with confidence!
CHAMFERING
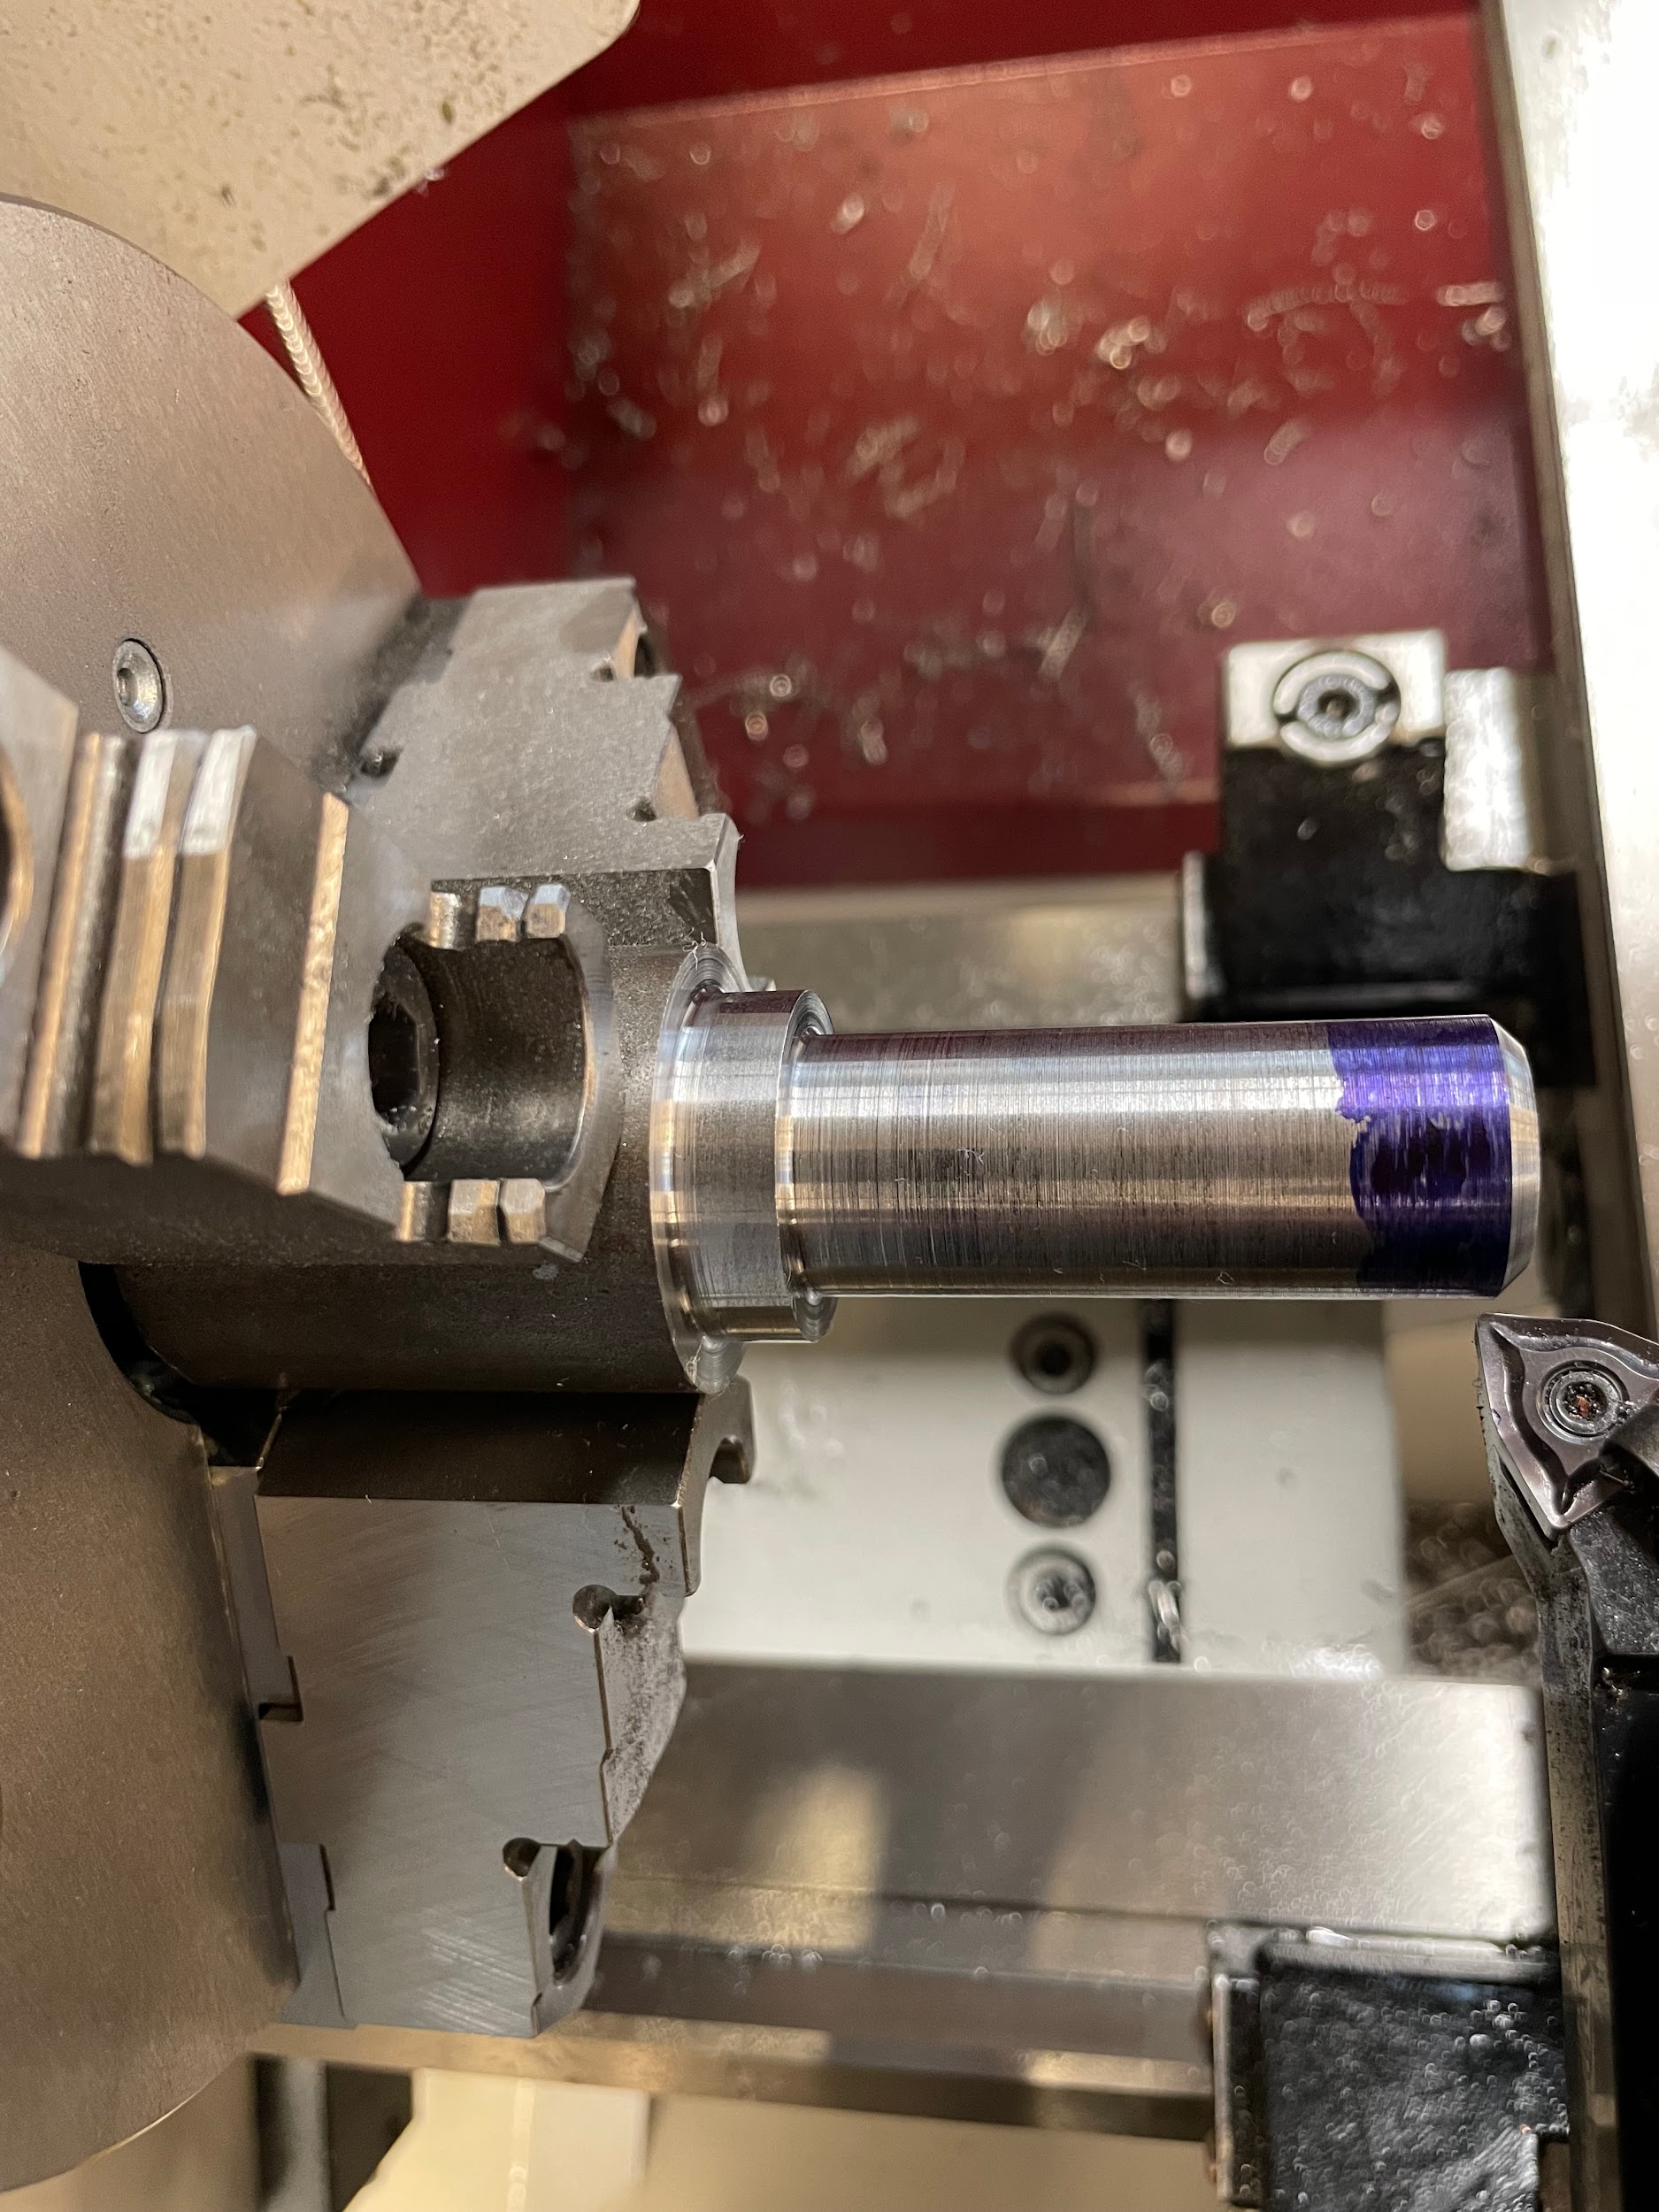
What is it?
A chamfer is a deliberate machined feature that is larger and more uniform than a standard broken edge that an operator may apply with a file or deburring tools. Chamfers can be used to soften the sharp outside corners of parts as well as the inside corners of bores and holes. Chamfers can be any angle, but a common chamfer angle on a lathe print would be 45 degrees.
Step by step process cutting 45 degree chamfers:
- Adjust the compound to a 45 degree angle.
- Align the tool post.
- Apply layout dye.
- Bring the tool up close to the corner that needs to be chamfered.
- Lock the carriage.
- Move the compound rest side to side while at the same time slowly moving in on the cross slide until the tip of the tool just touches the corner of the part.
- Zero the cross slide handle.
- Move the tool to just in front of the work with the compound.
- Make depth cuts with the cross slide and cut towards the spindle with the compound until final size is reached.
Author’s tip
I only cut towards the spindle with the compound. It is okay to rake the tool back across the chamfer surface when roughing multiple passes, but don’t attempt to cut backwards. The reason for this is that the backlash in the compound will give inaccurate sizes when cutting both ways. This can lead to inaccurate measurements and overcutting situations. On the final cut, do not drag the tool back across the finished surface; just back out on the cross slide. This will preserve the nice finish of the forward cut.
“Step 1: Adjust the compound to a 45 degree angle.“
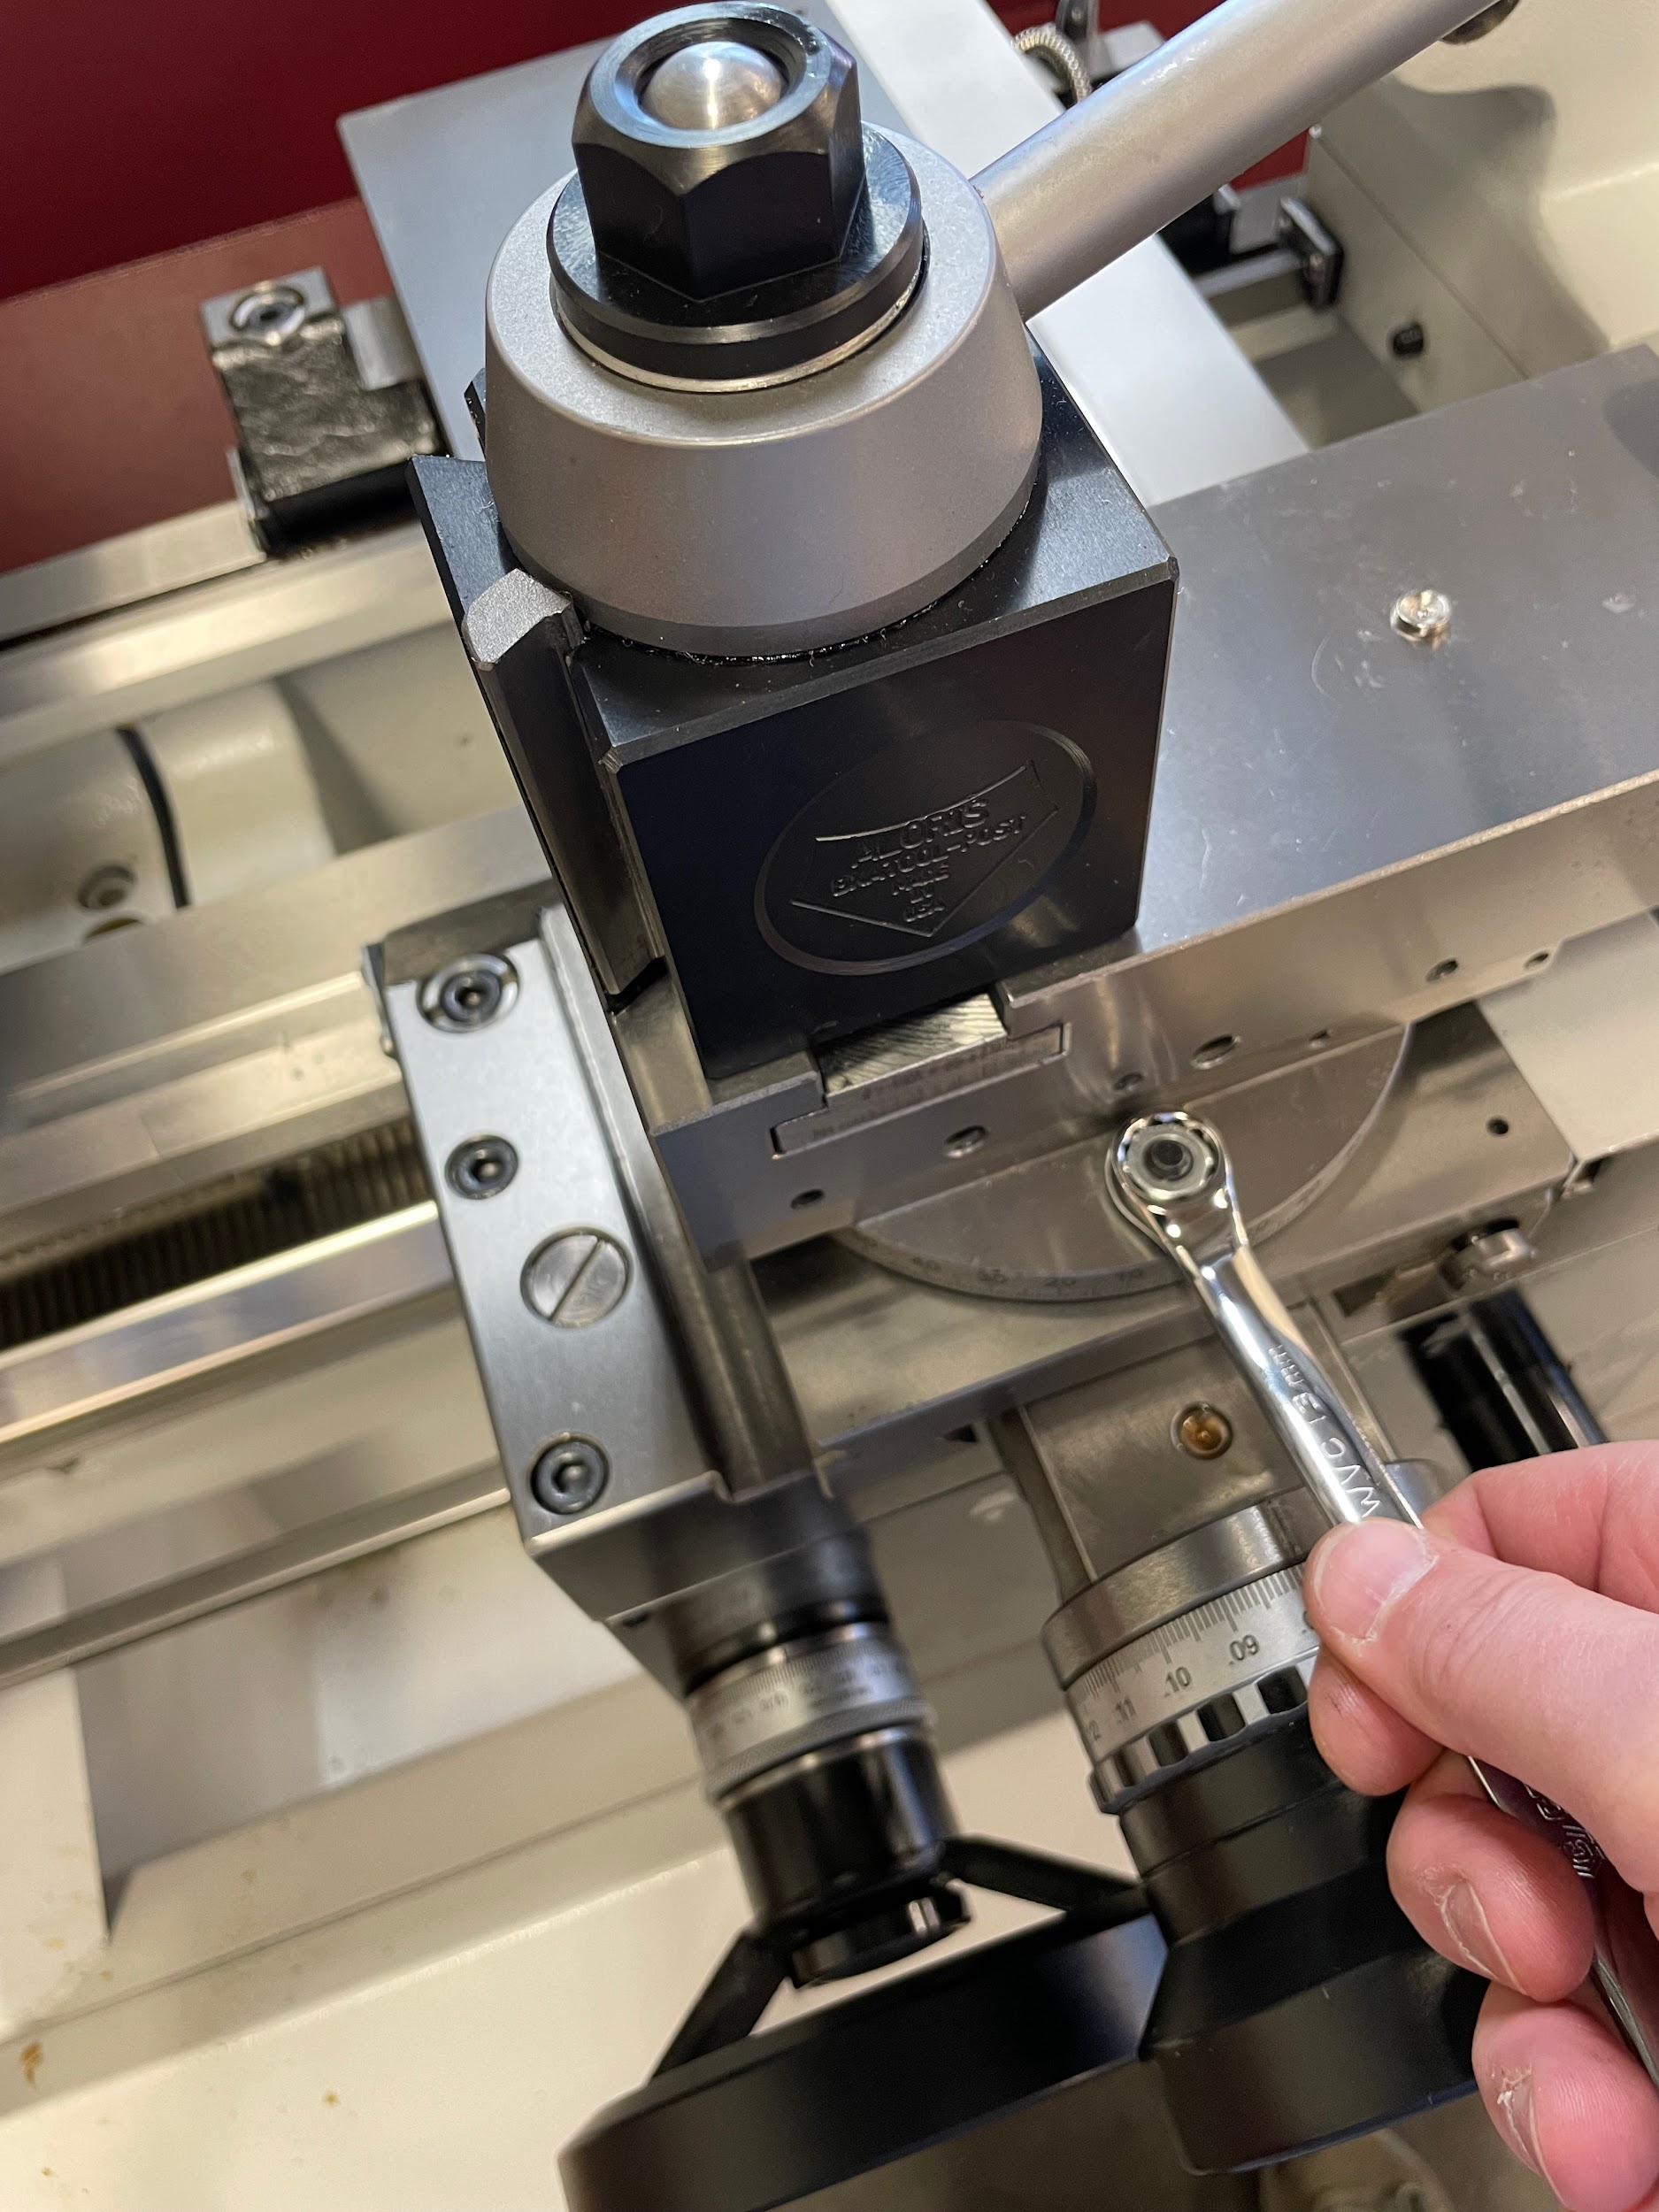
“Step 1: Adjust the compound to a 45 degree angle.“
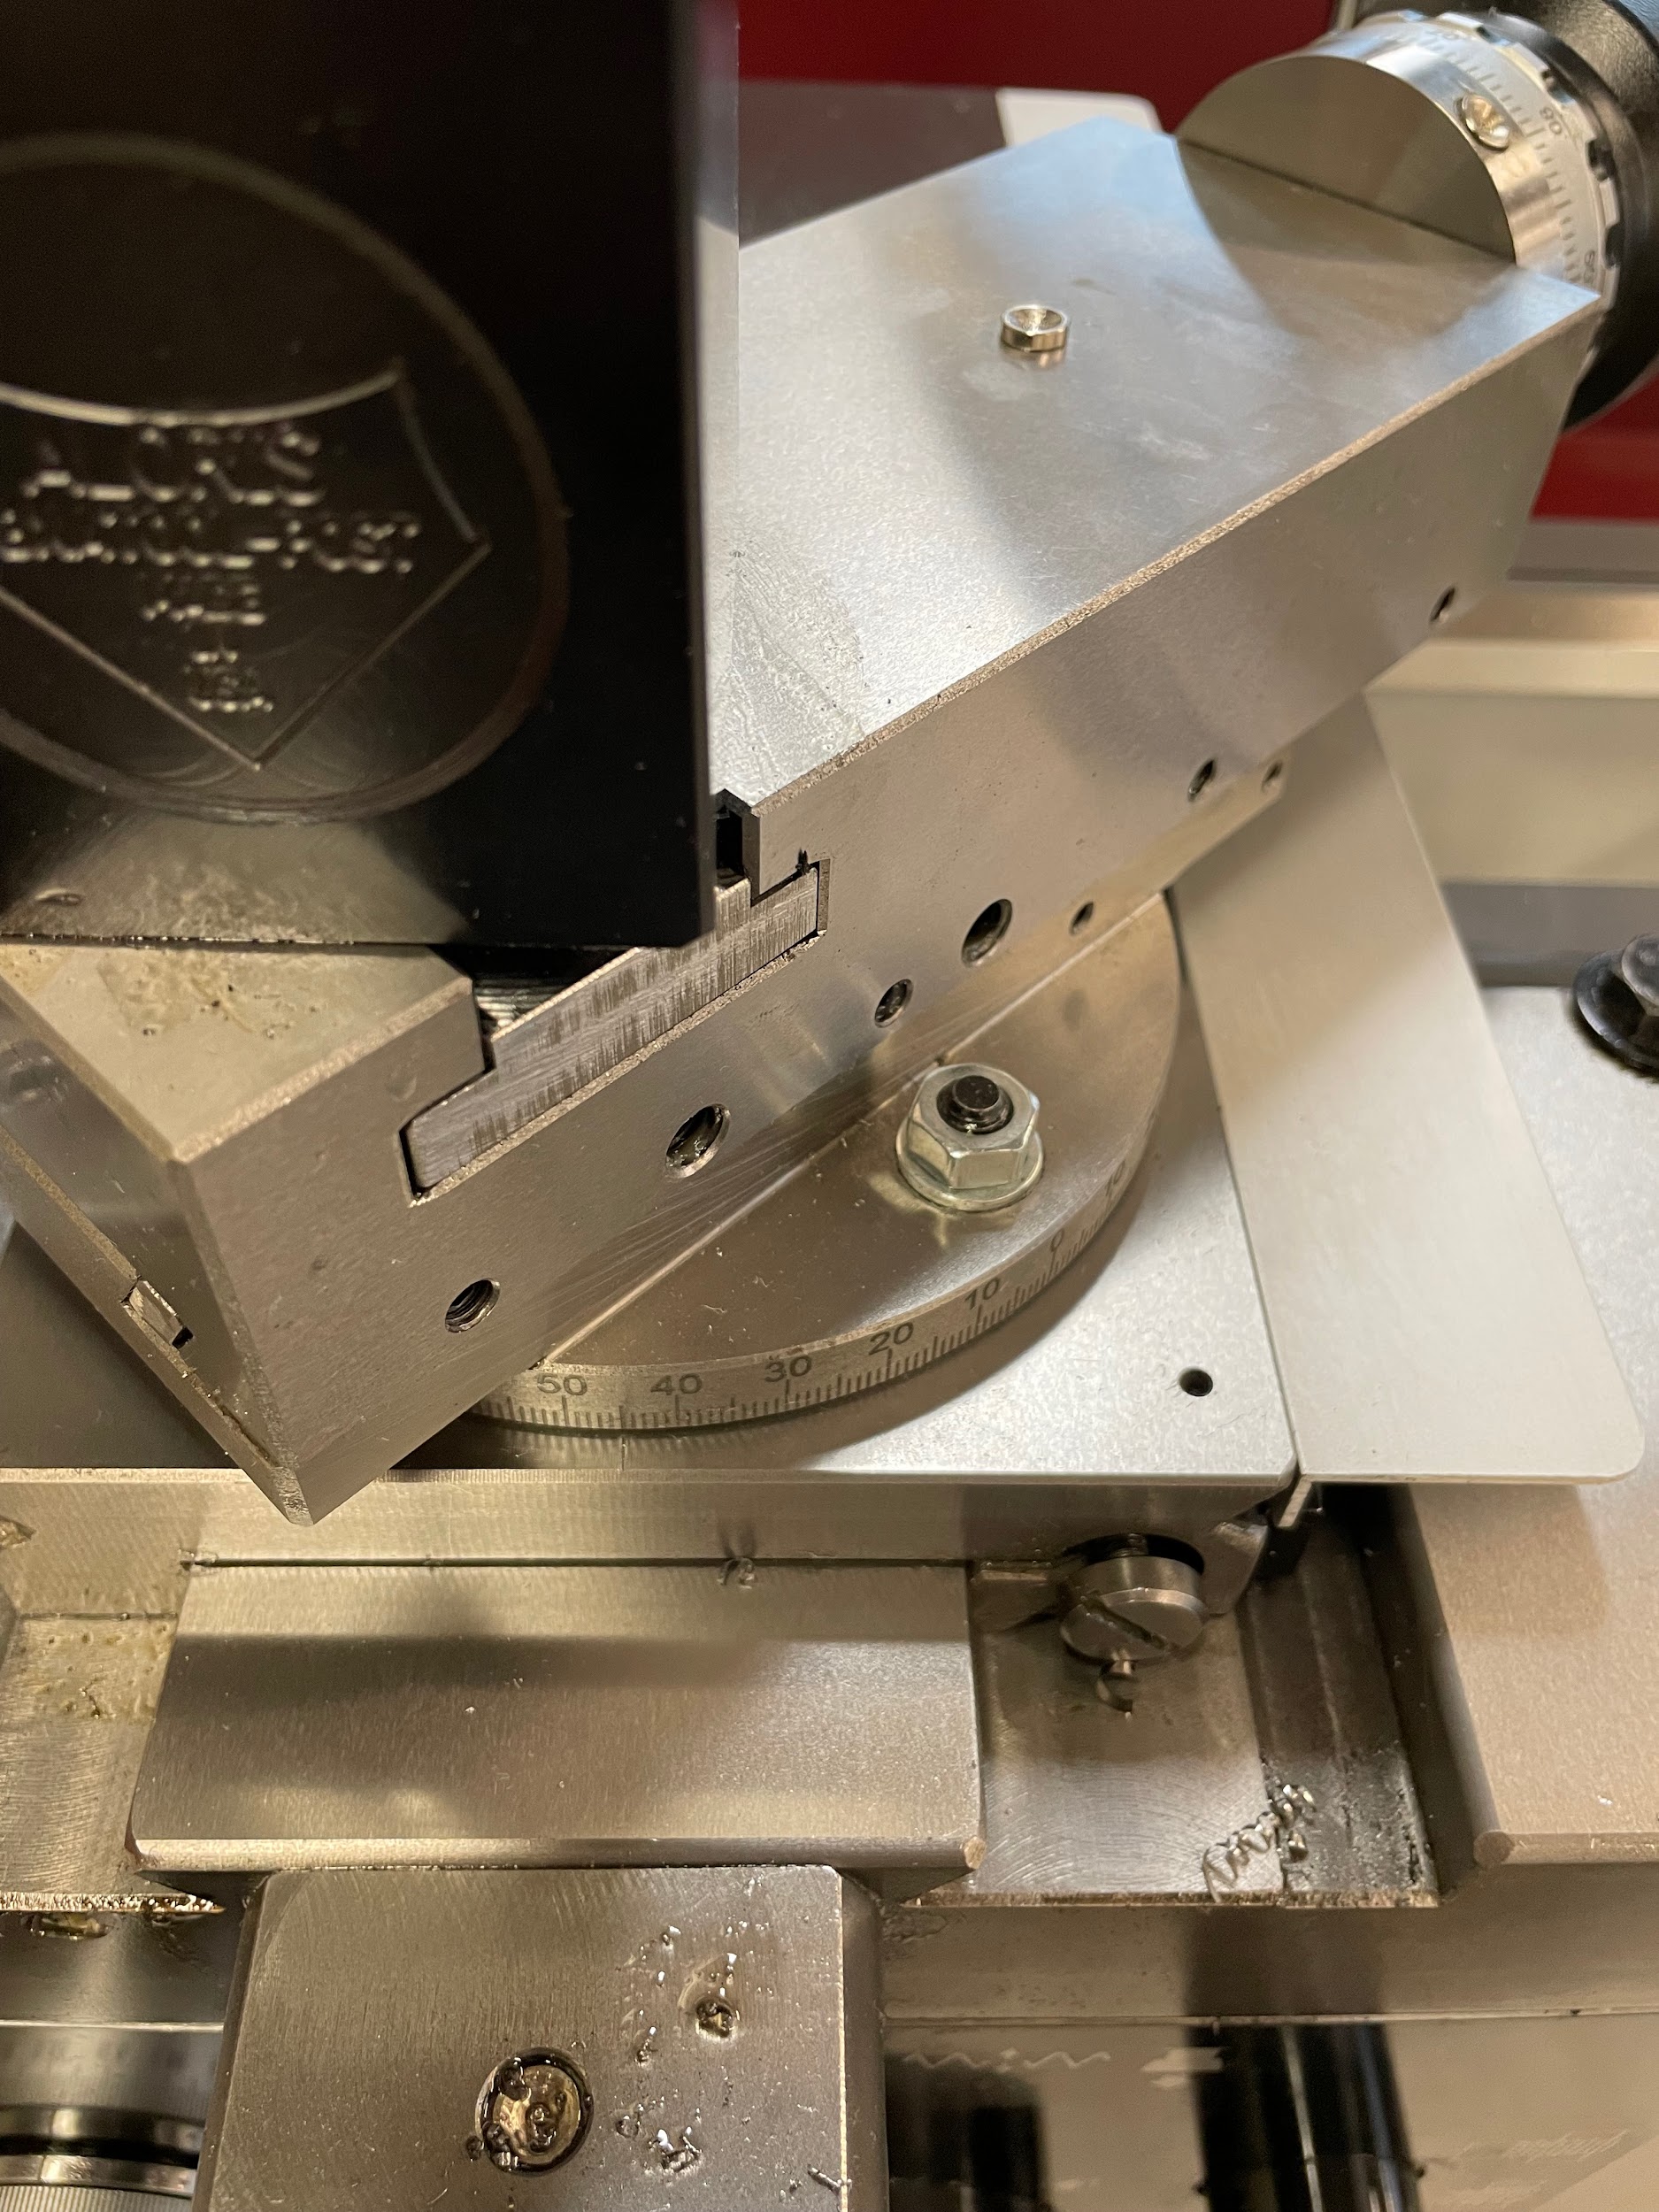
“Step 1: Adjust the compound to a 45 degree angle.“
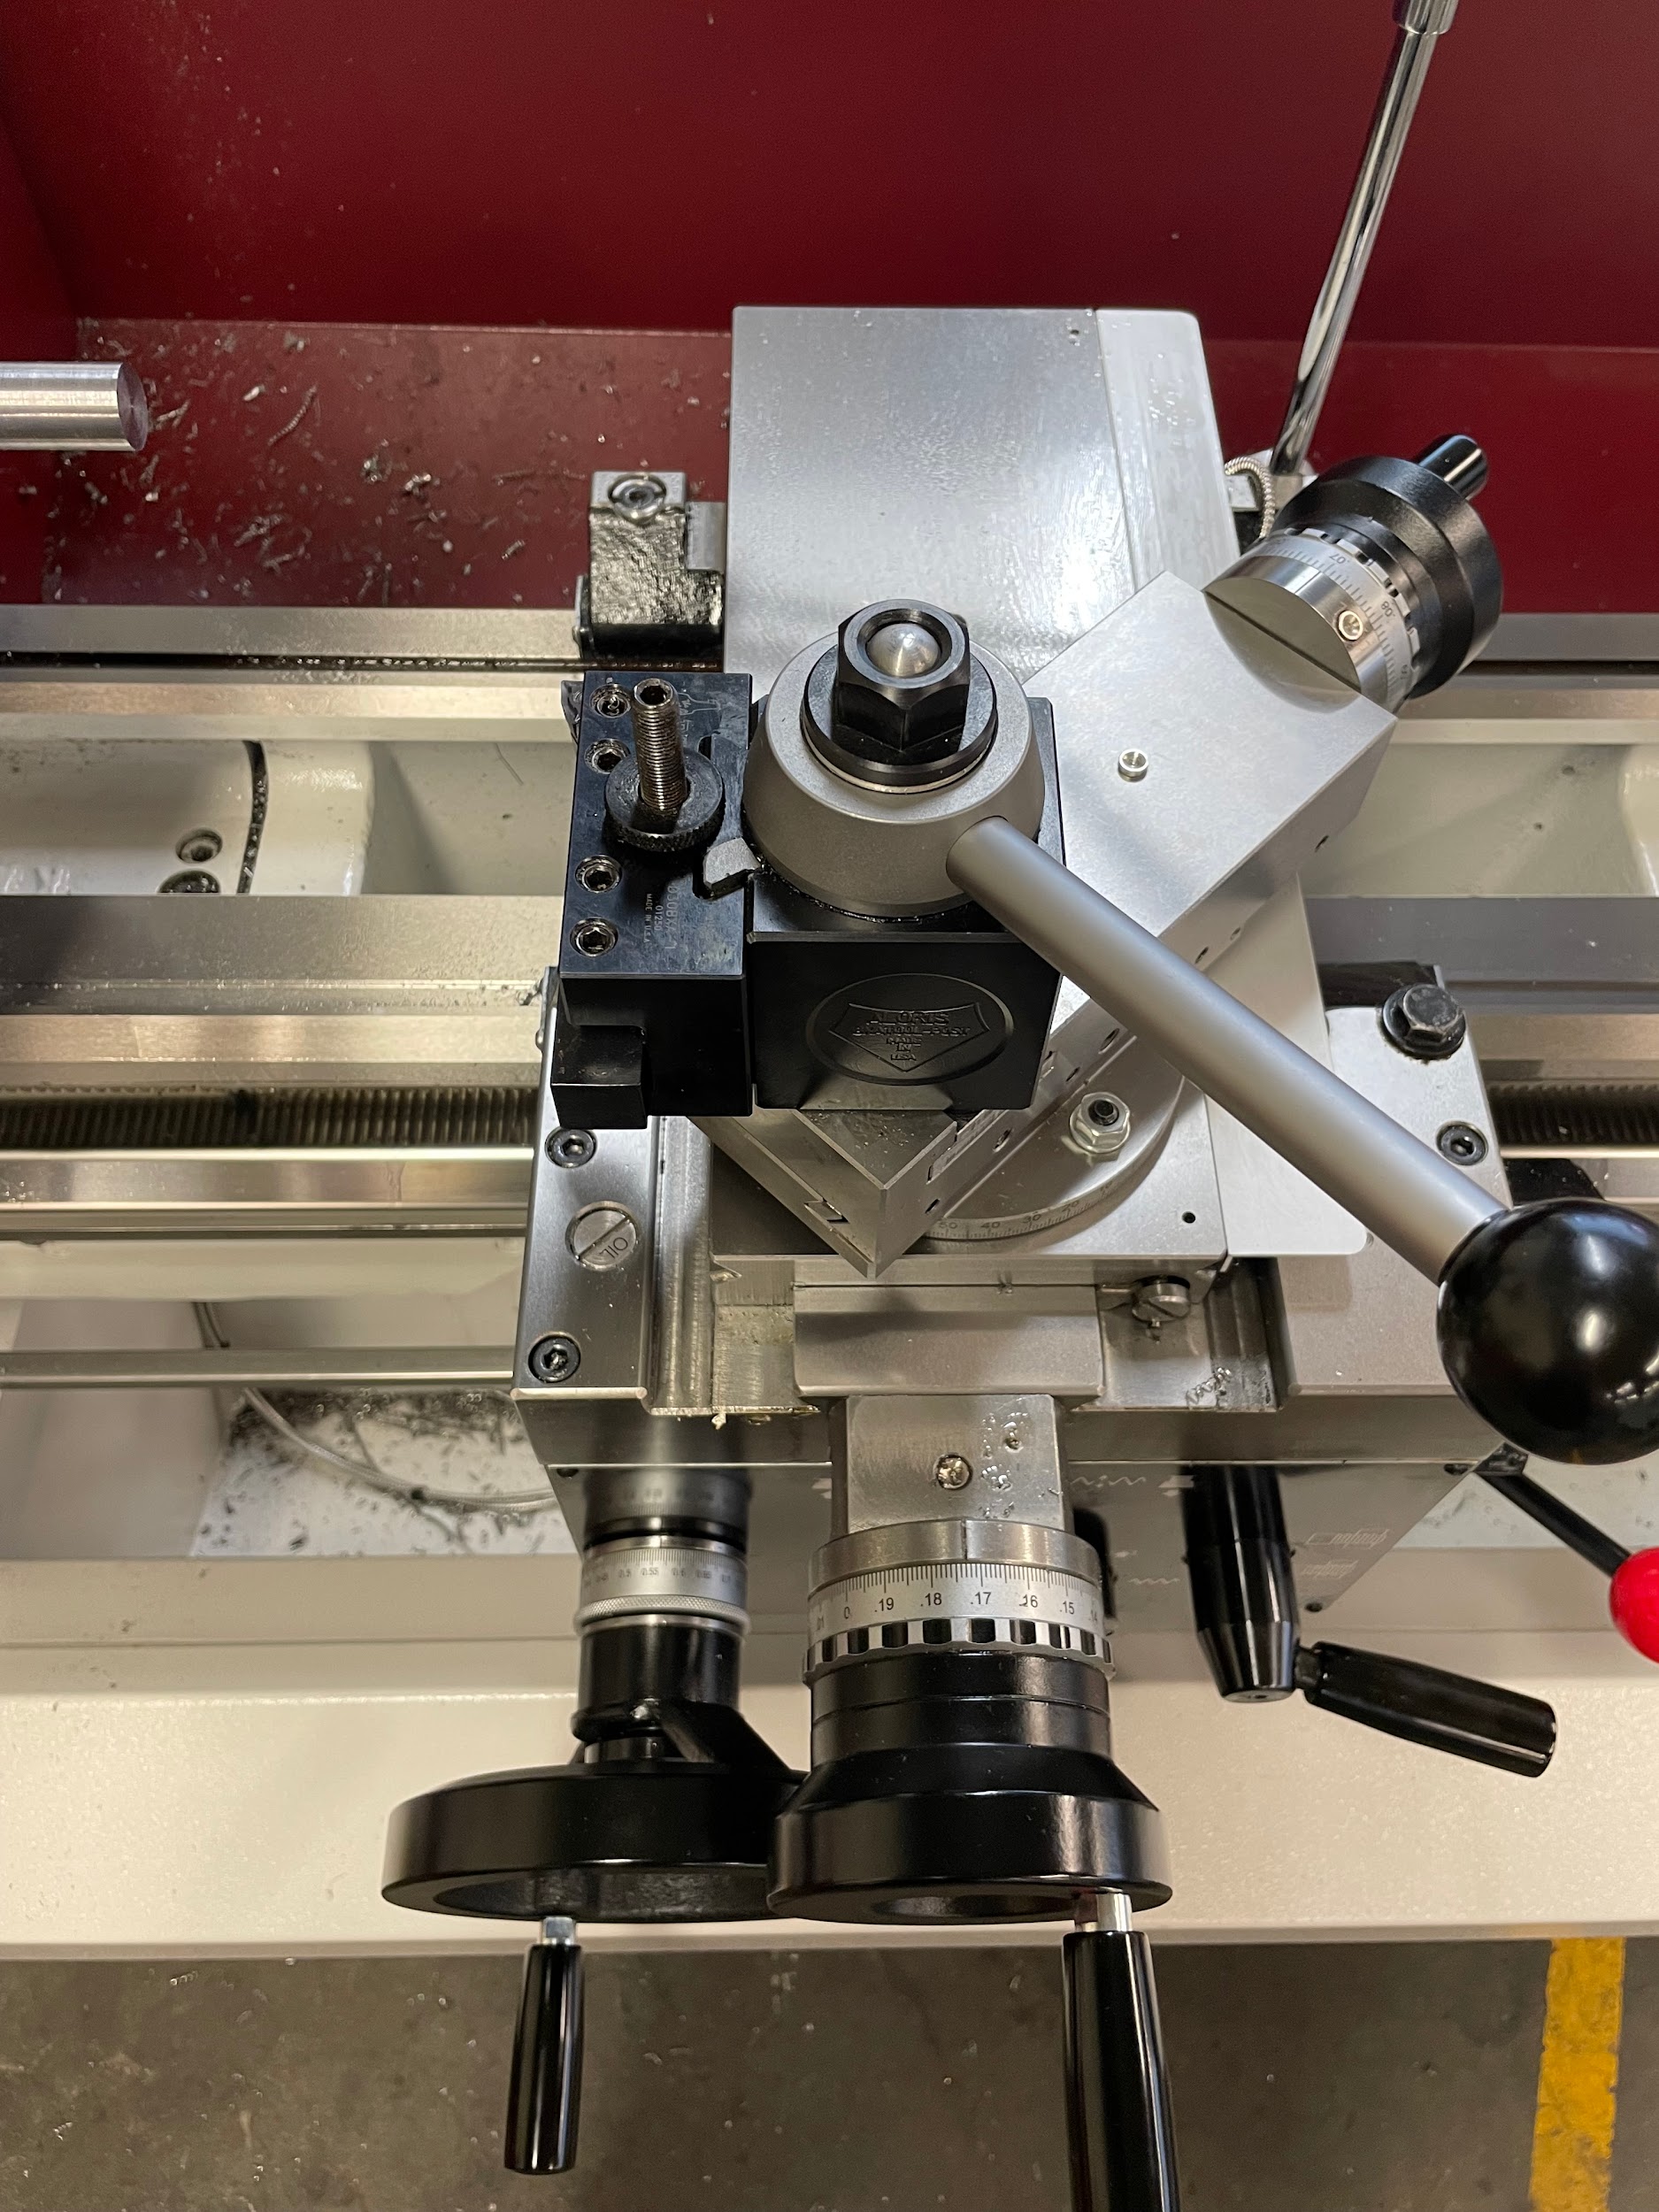
“Step 3: Apply layout dye.“
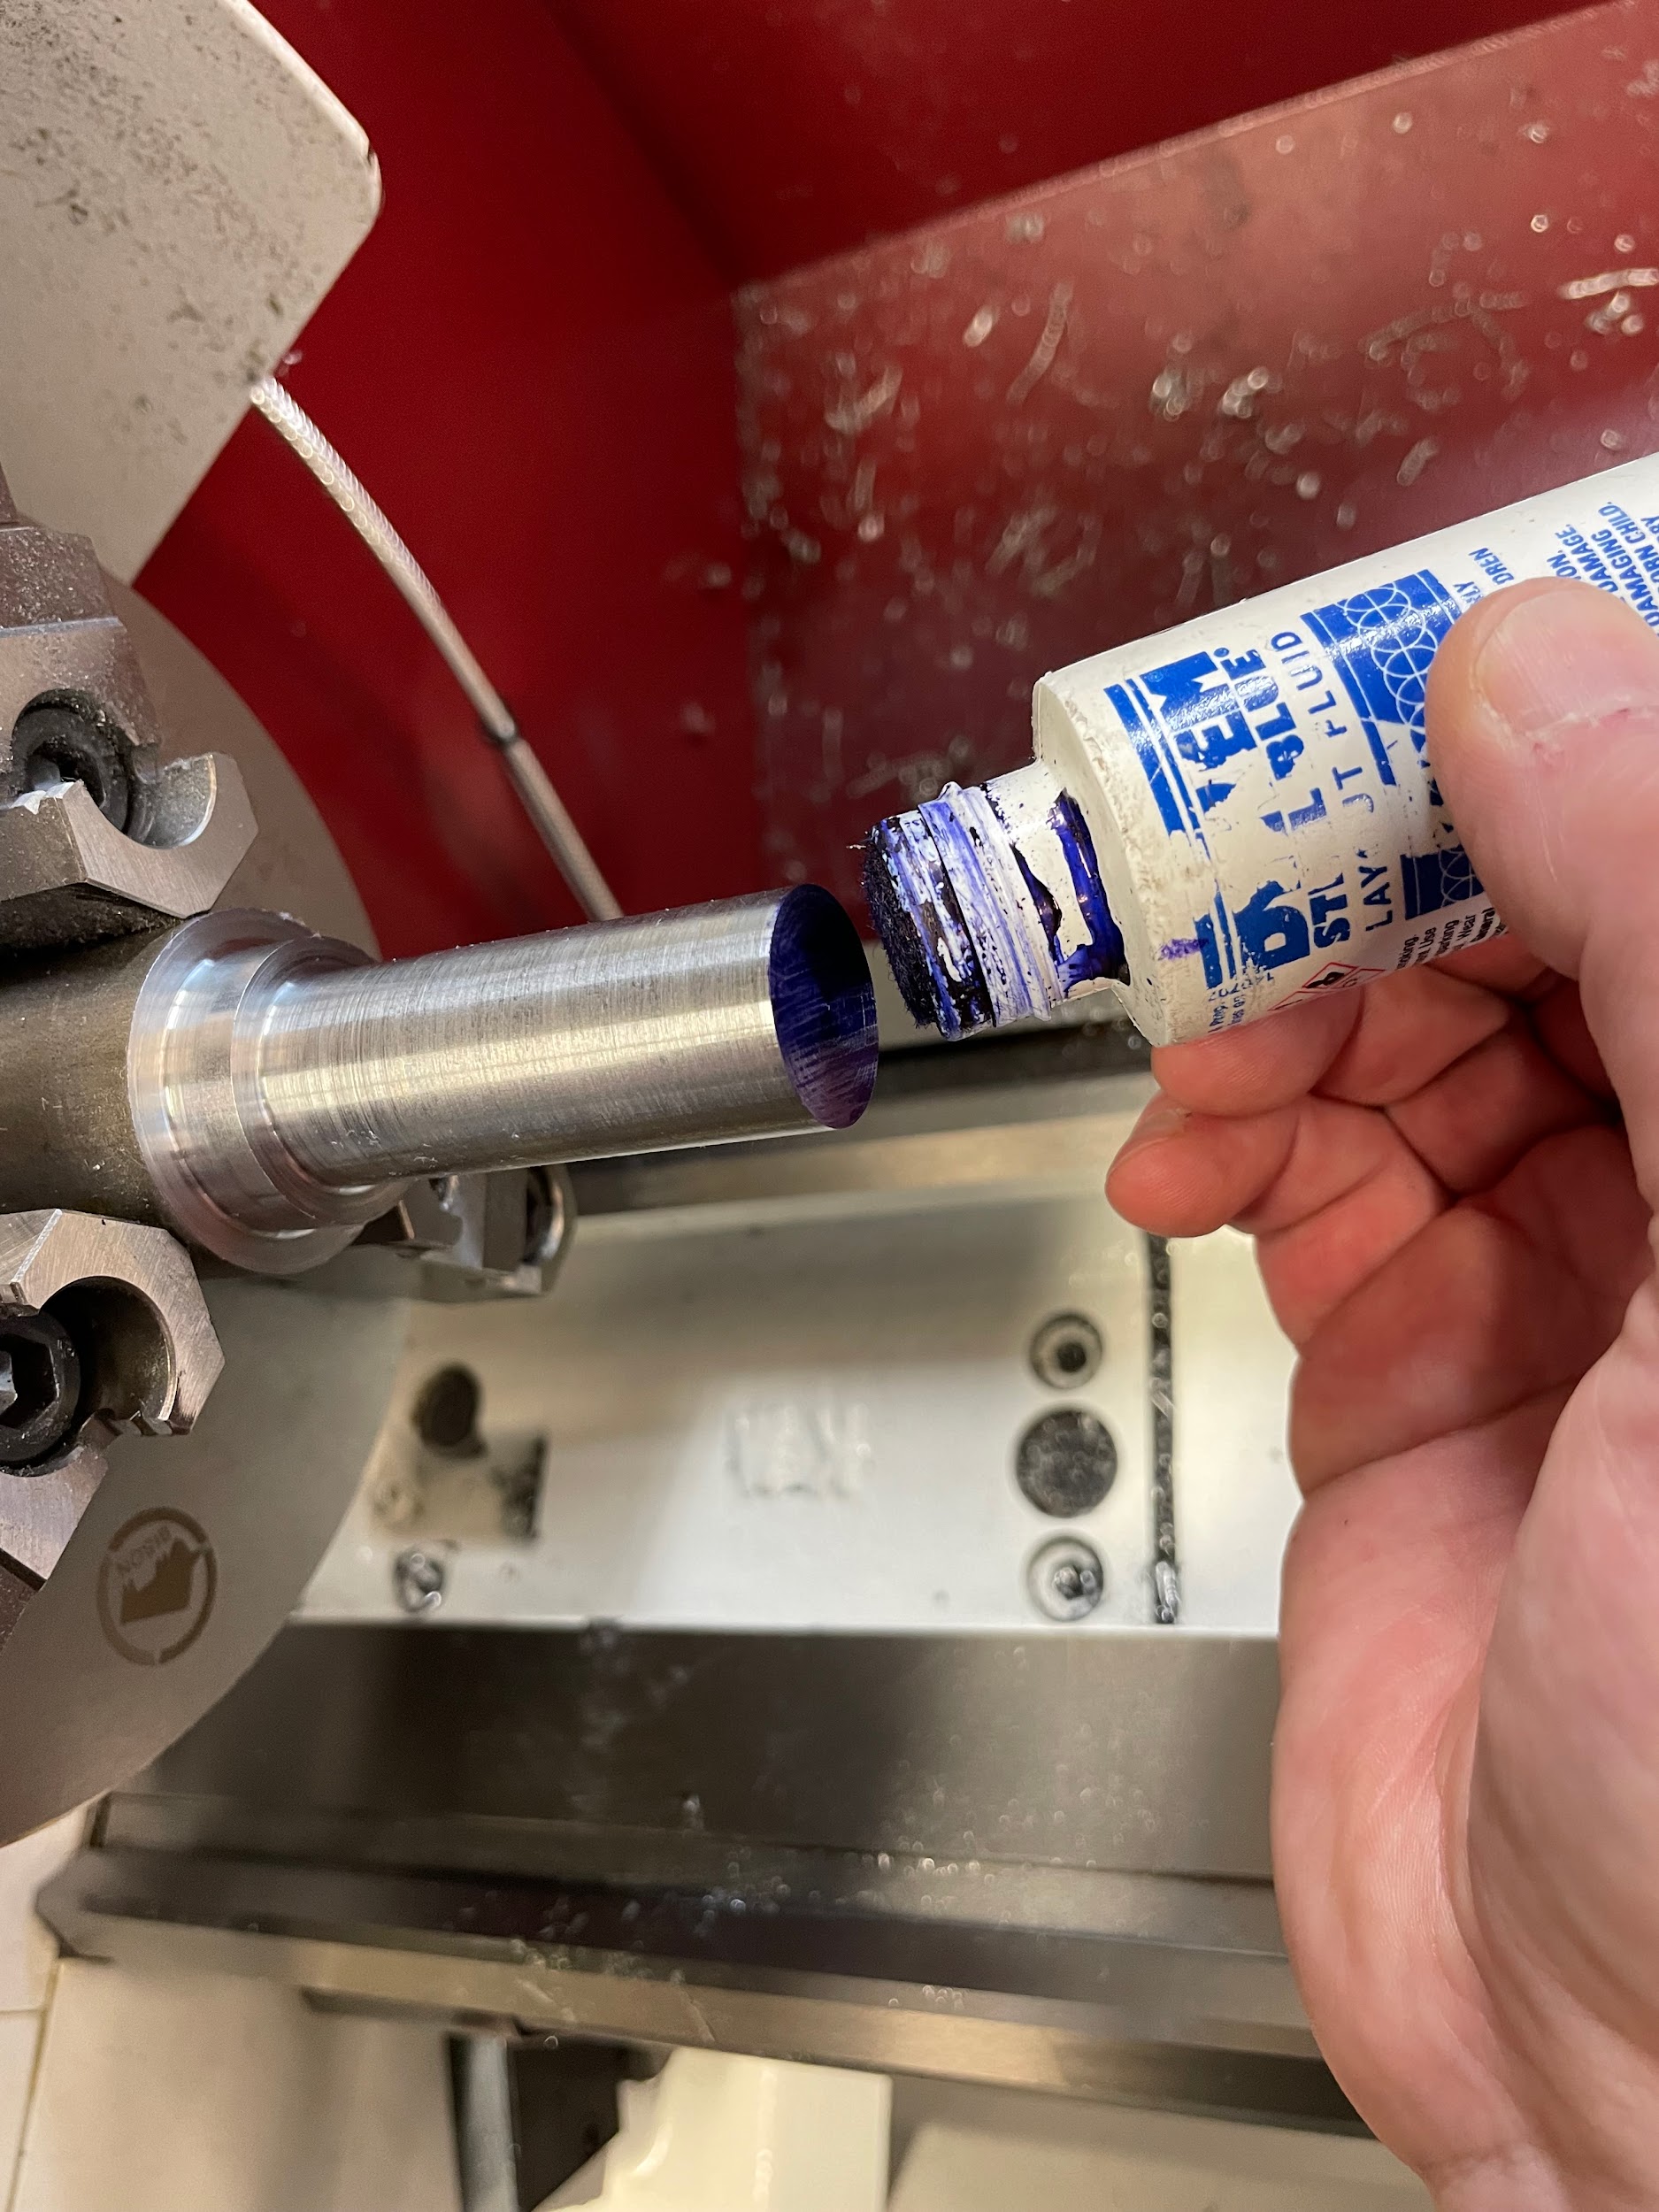
“Step 3: Apply layout dye.“
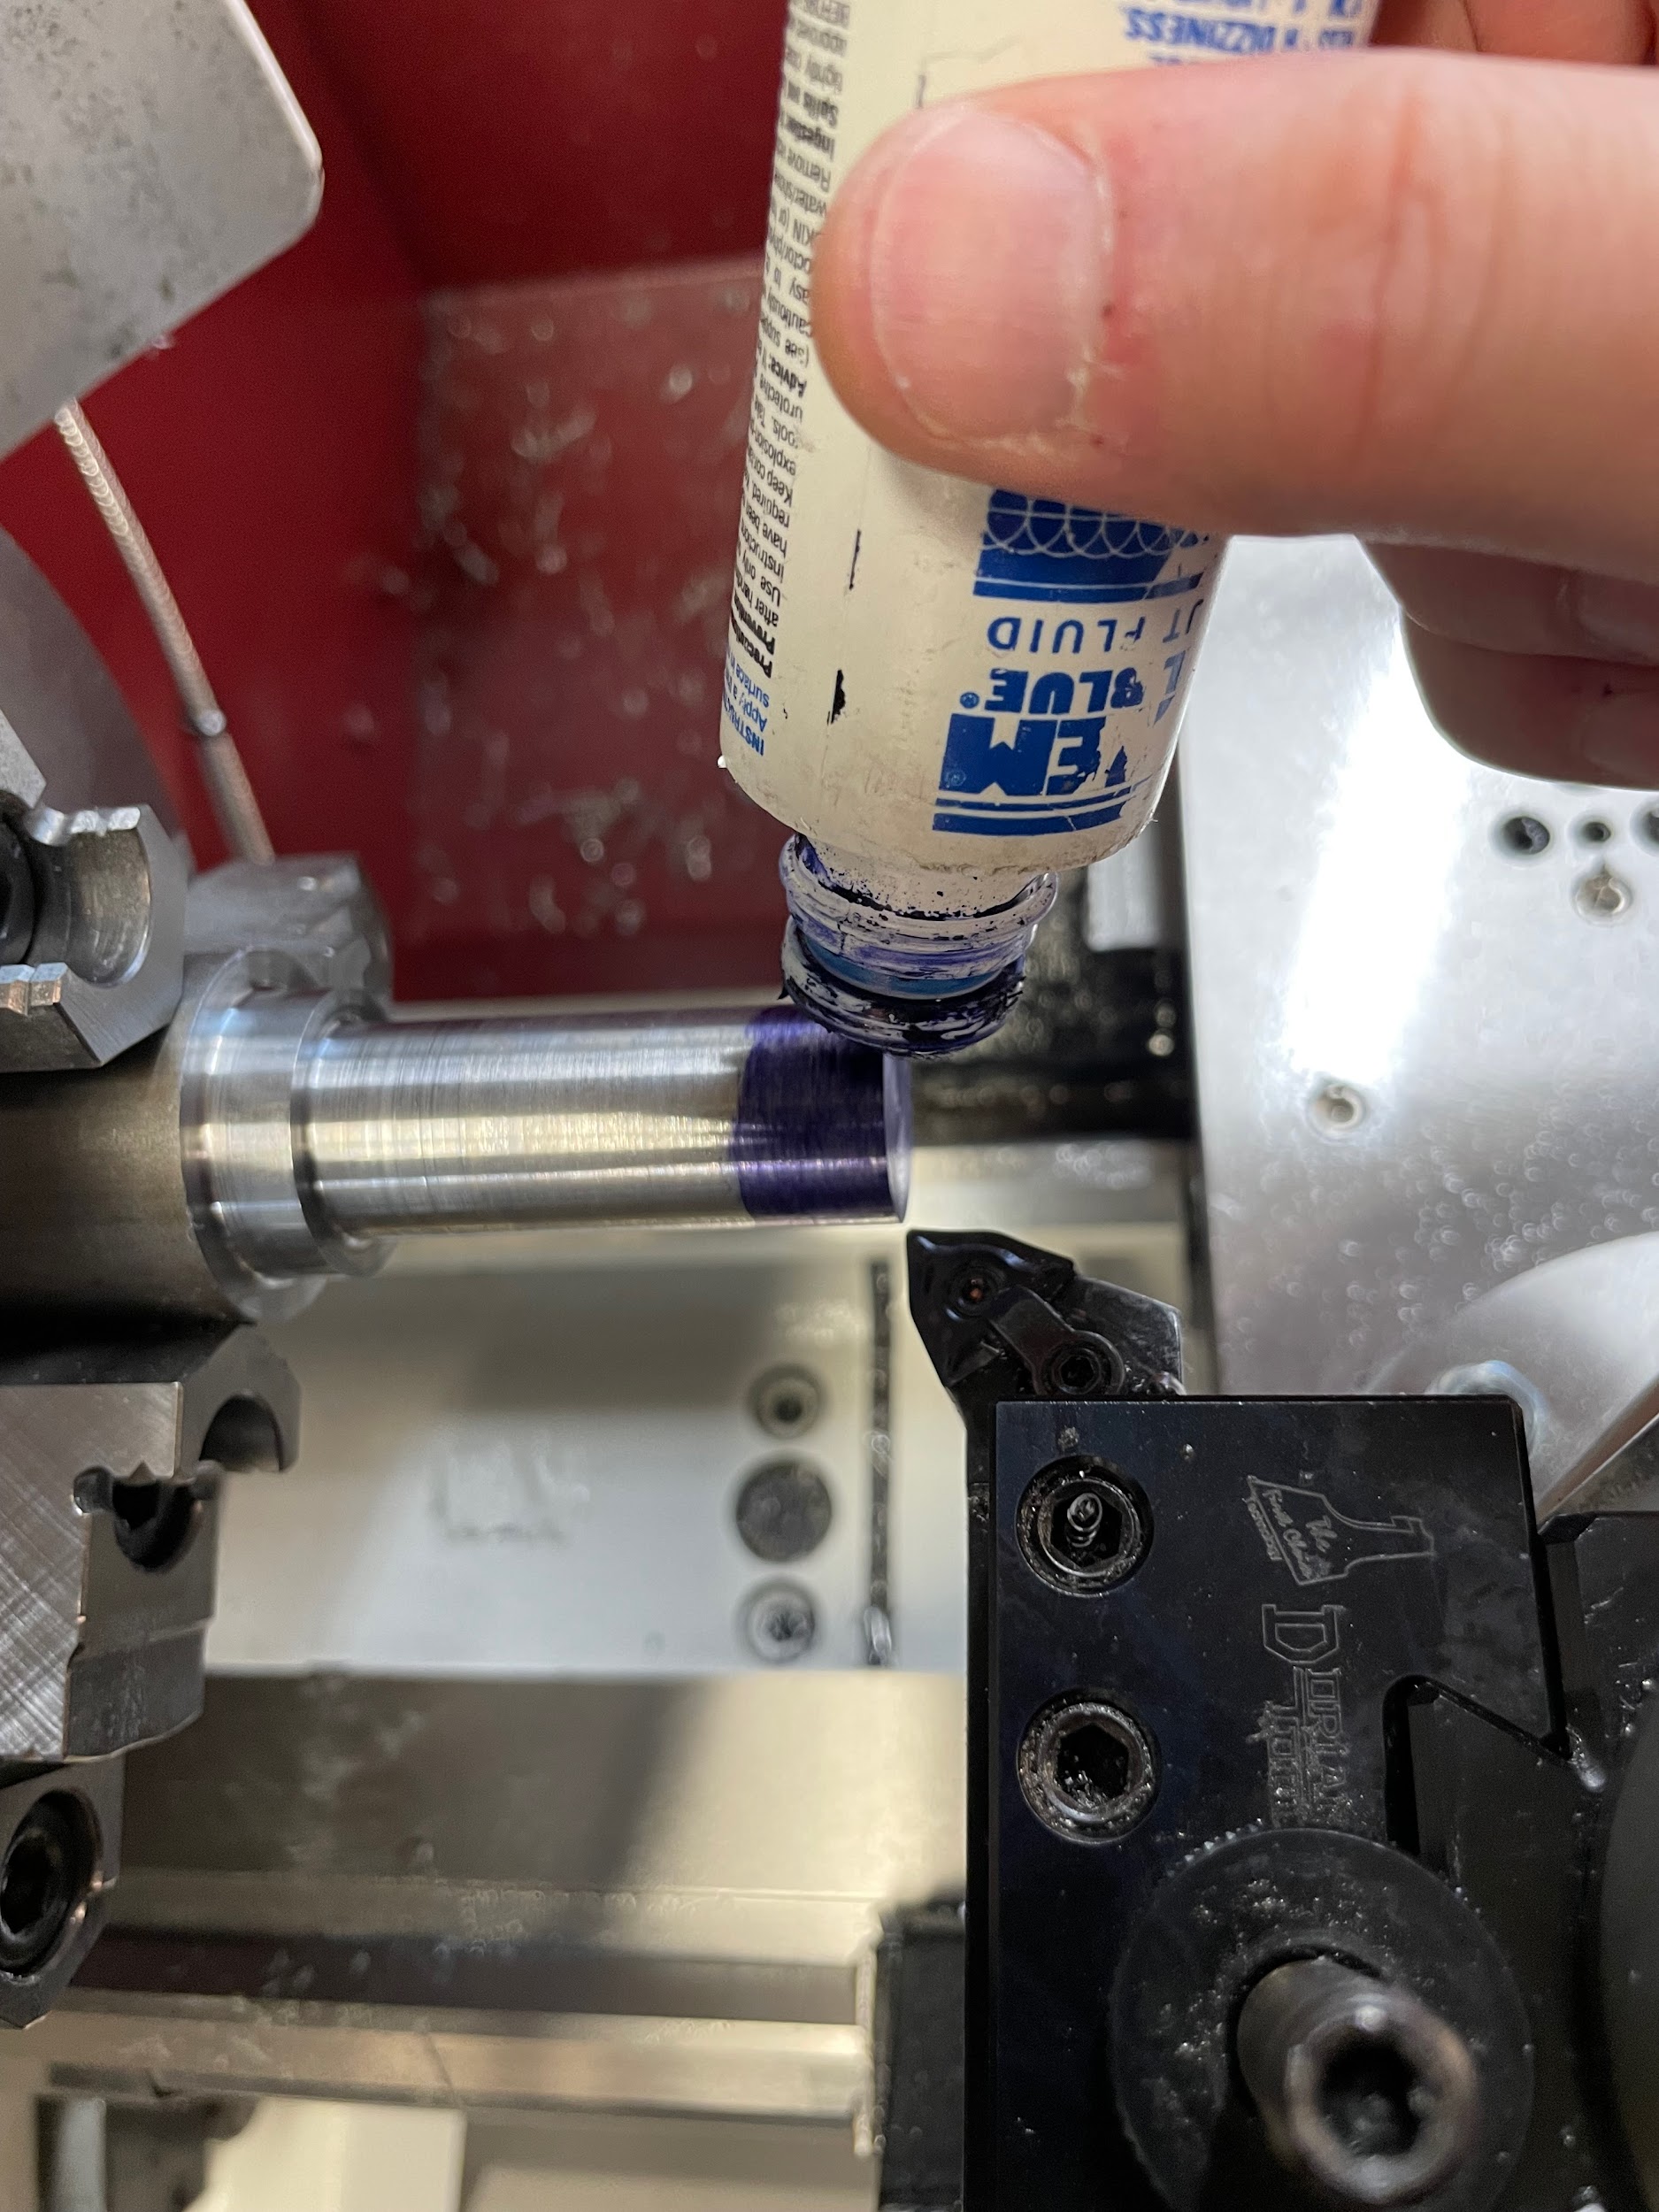
“Step 3: Apply layout dye.“
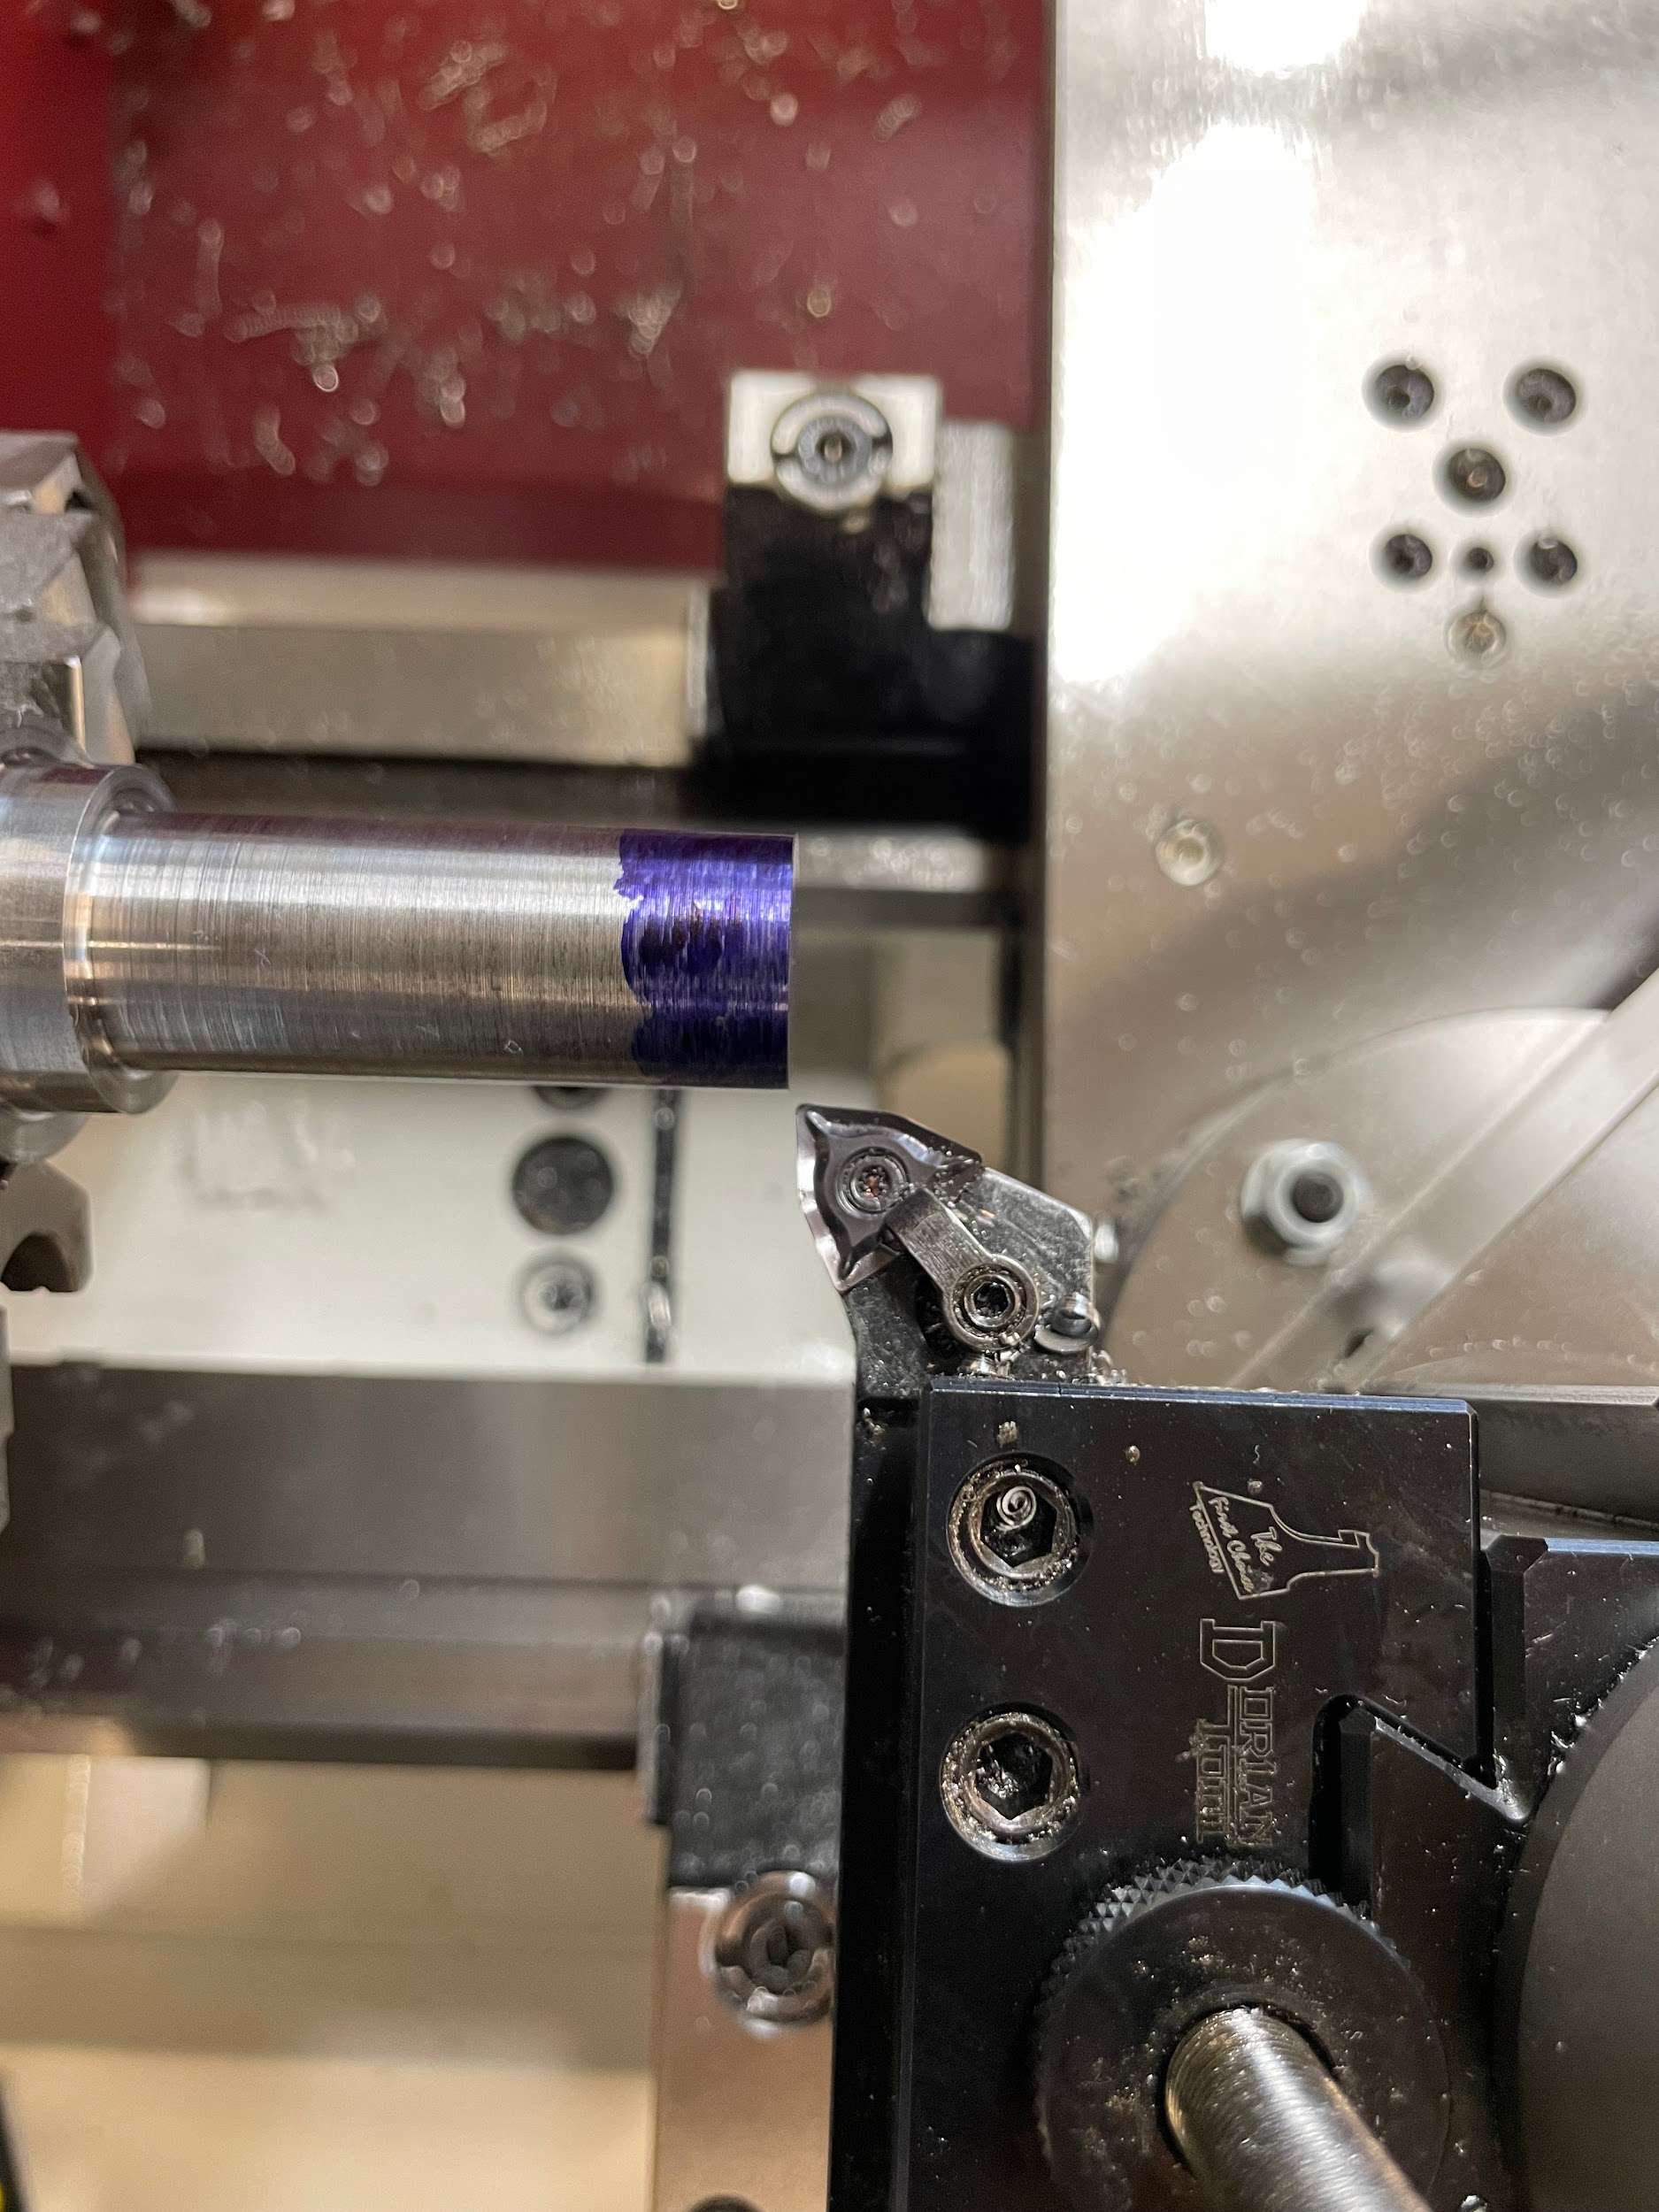
“Step 5: Lock the carriage.“
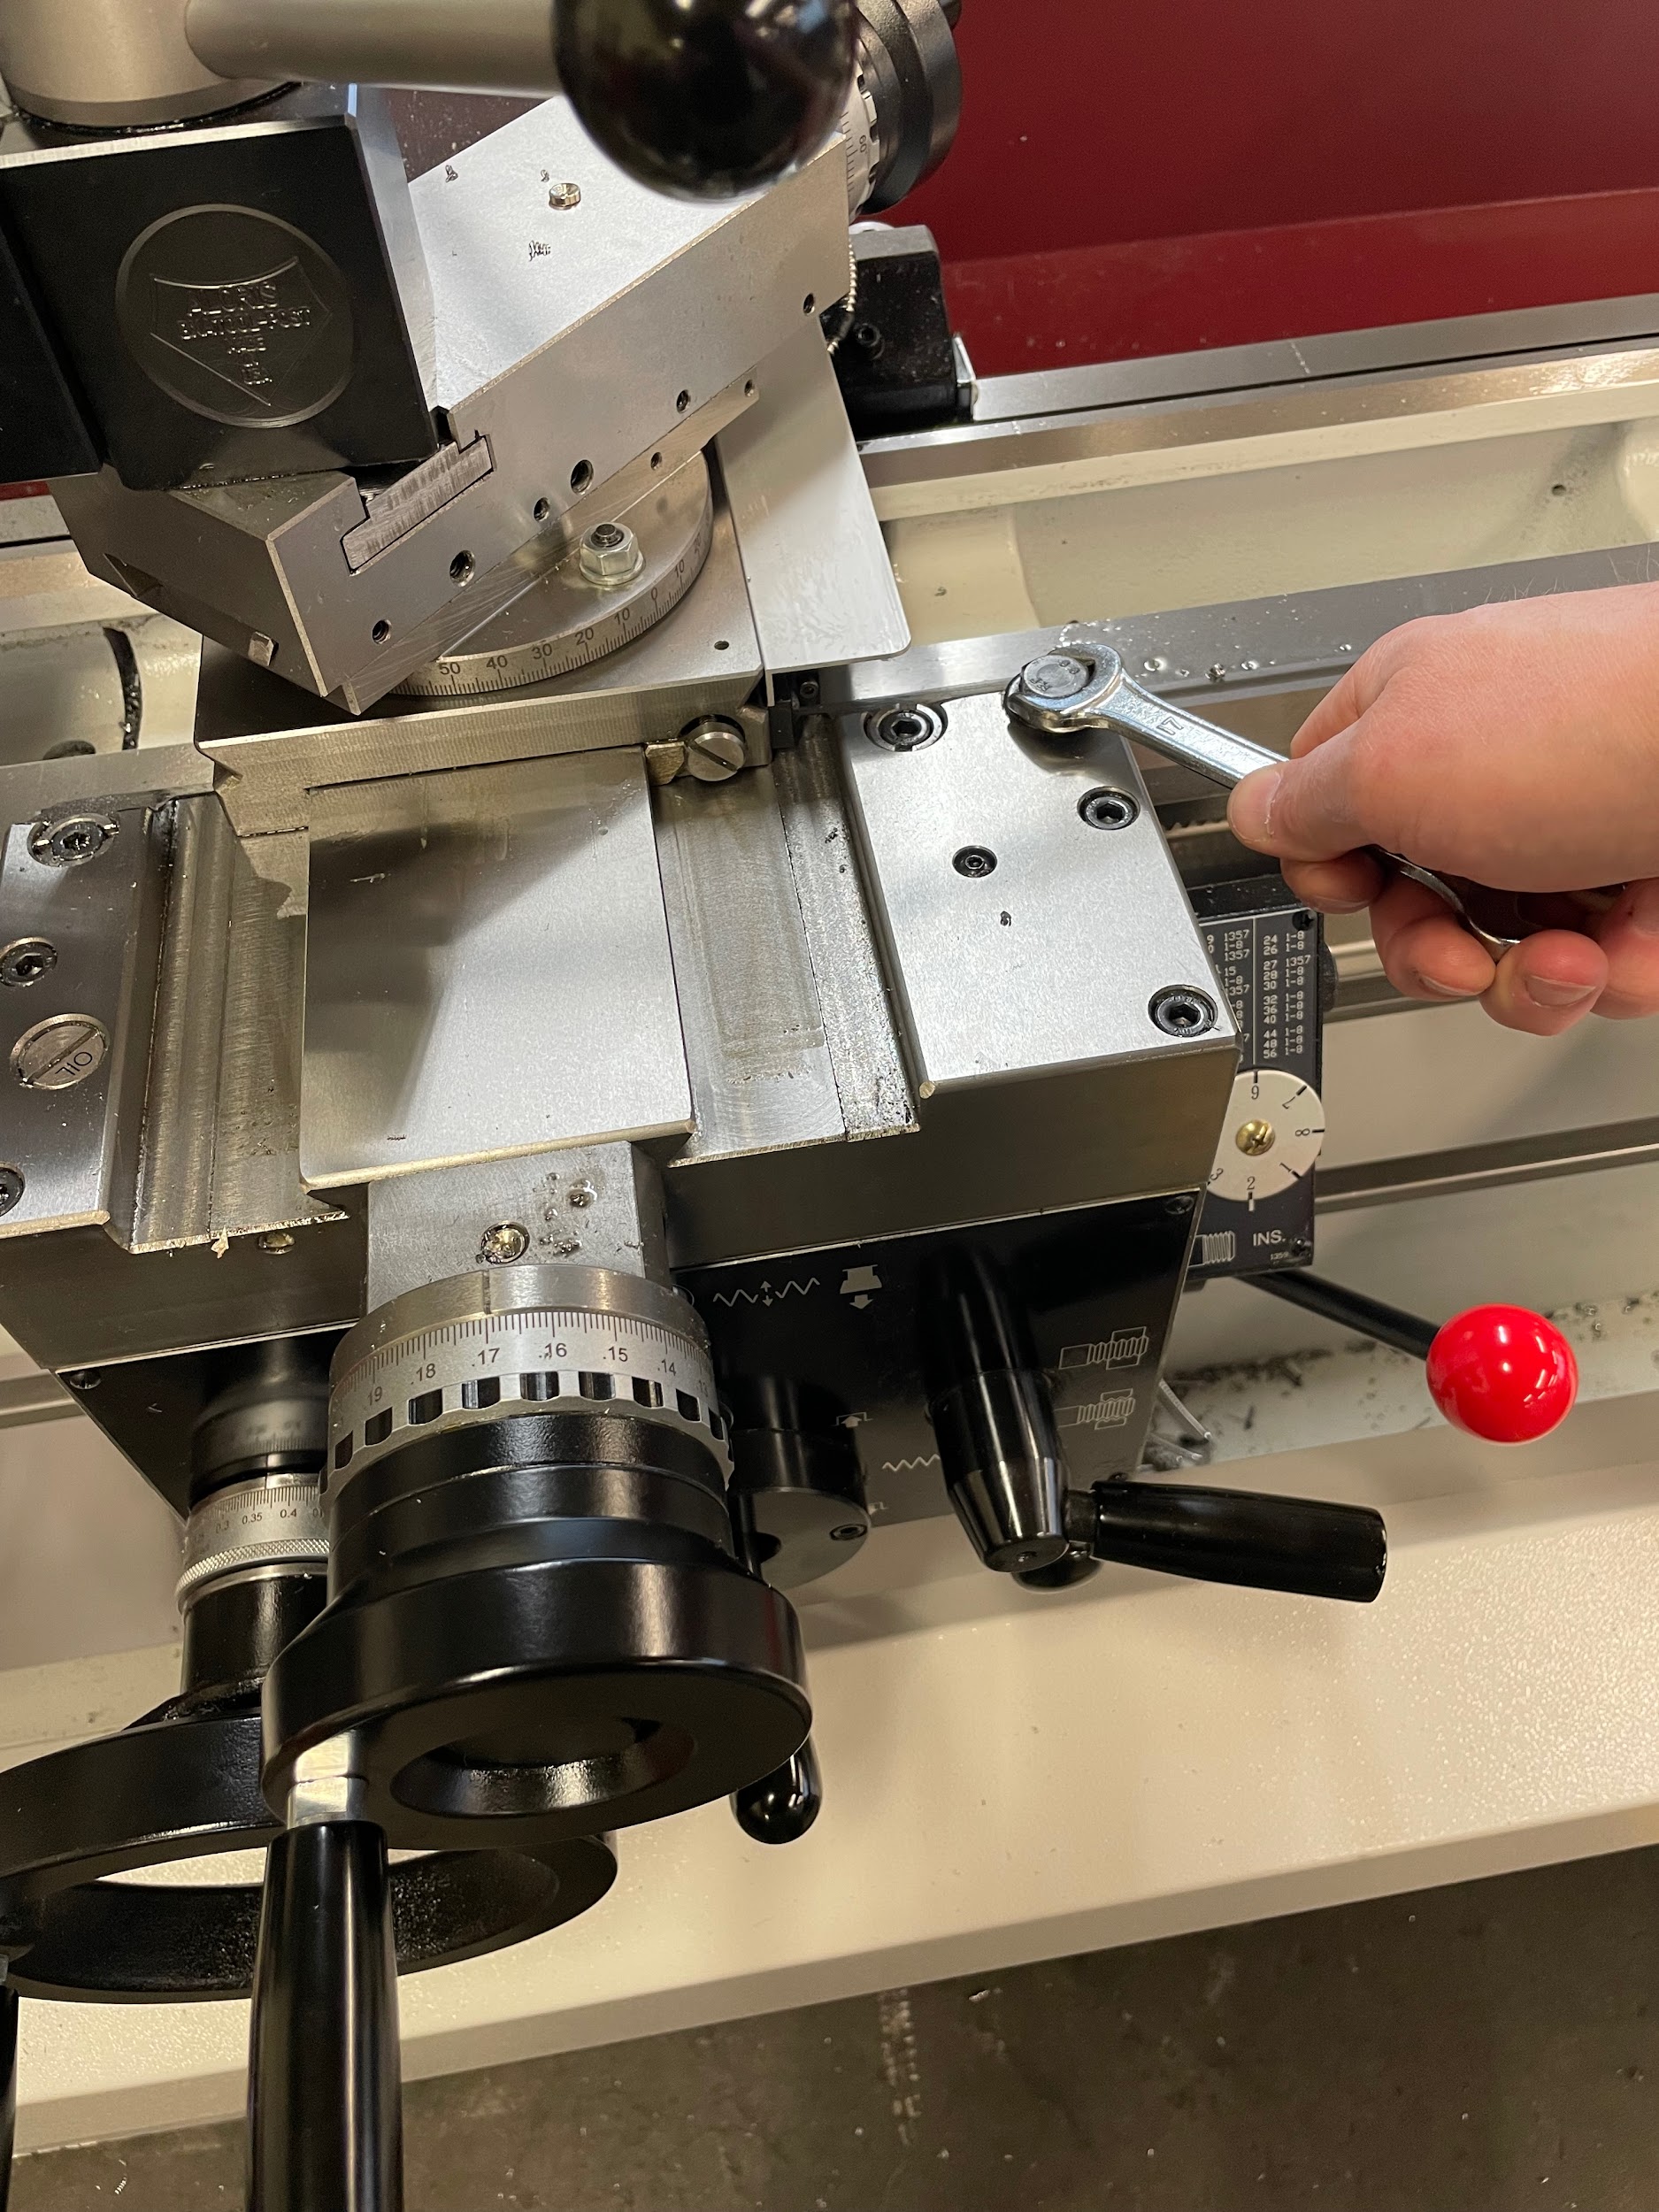
“Step 7: Zero the cross slide handle.“
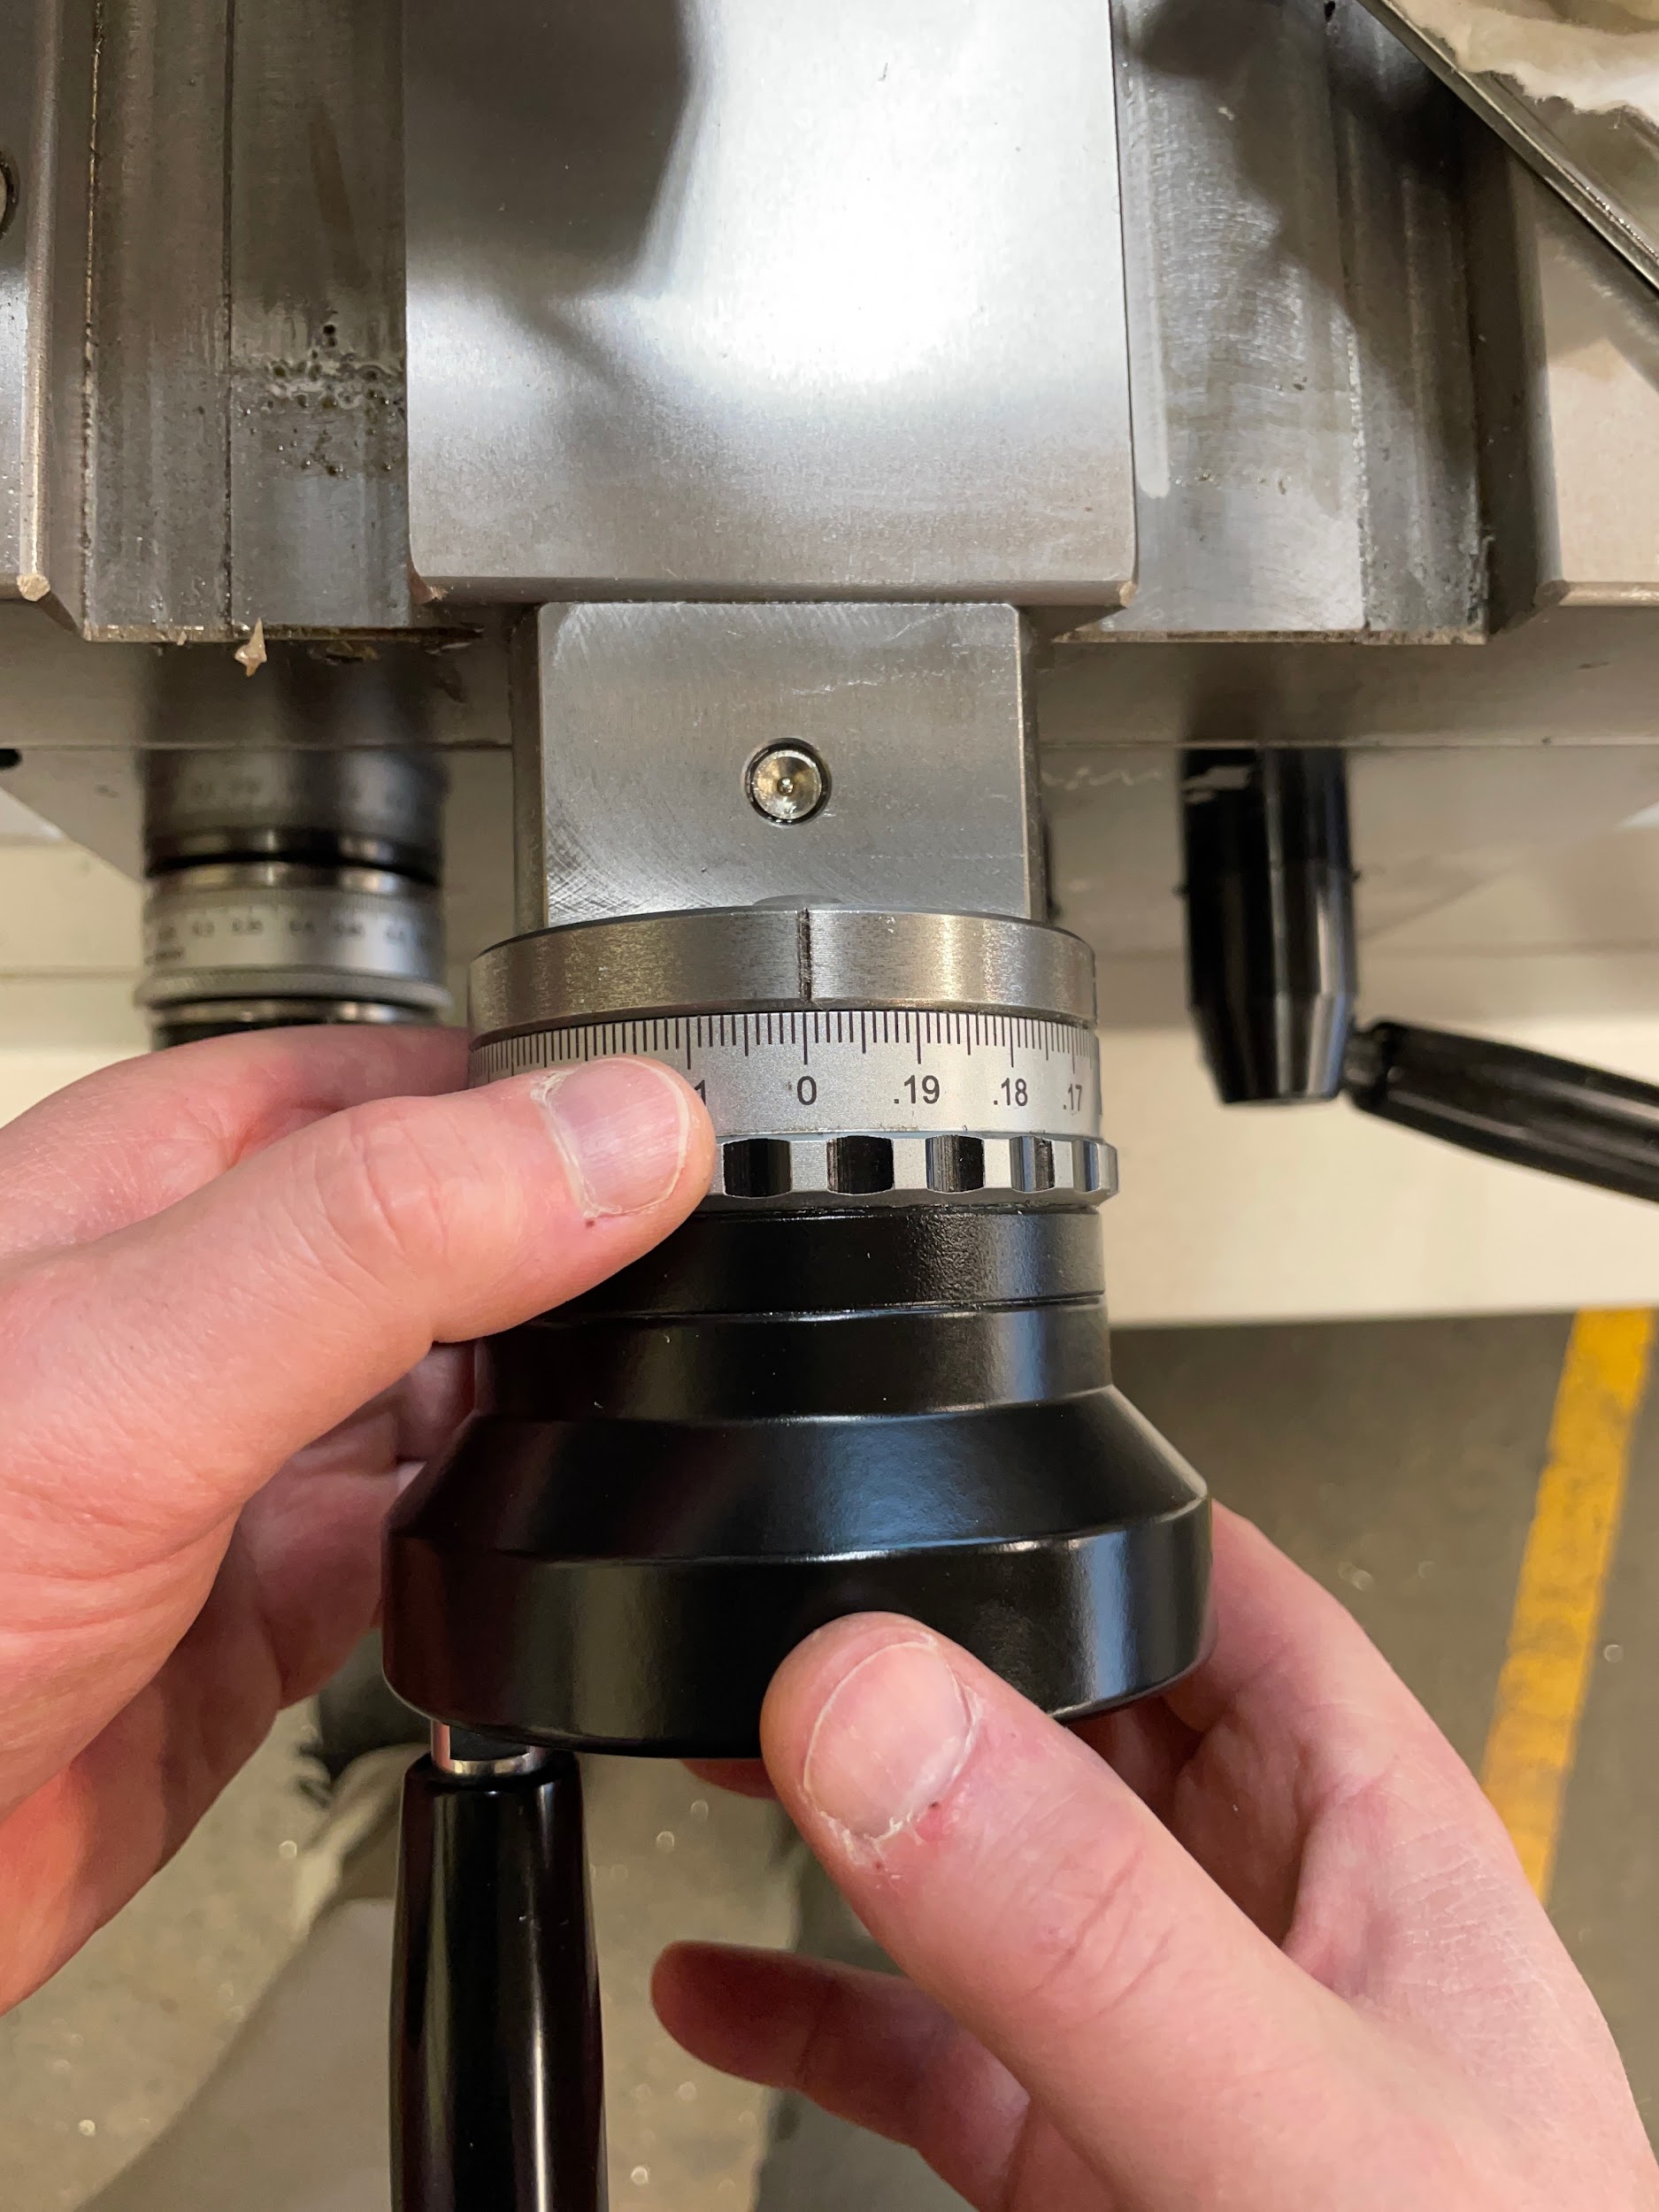
“Step 9: Make depth cuts with the cross slide and cut towards the spindle with the compound until final size is reached.“


