2 Panoramas
Panoramas combine multiple angles to make a single image with a wider field of view. You can stitch any pile of related images together, but we’ll focus on a few likely cases: cylindrical panoramas, spherical panoramas, fisheye lens panoramas, and pano head panoramas.
Easy Cylindrical Panorama: Ballard Locks Hill
Cylindrical panoramas are made using a single 360 degree spin on a tripod.
- Set your tripod and camera up with your camera vertical, to better capture the sky and ground, and the camera level. Pick your starting angle sensibly, such as starting at the sun, North, or aligned with man-made lines from tiles, sidewalks, etc.
- Turn off anything automatic on your camera: White Balance, ISO, and autofocus should all be off. Otherwise, the camera will pick and choose different settings based on the angle, and your angles won’t stitch together due to the discrepancy.
- Use a high F-stop. As we are capturing our whole environment, the foreground and background should ideally both have a sharp focus. Outside that, choose whatever exposure settings you like.
- Take a photo, and note in the viewfinder where objects align in a Rule of Thirds grid.
- Pick a landmark ⅓ of the way across, and rotate the tripod such that it is now at the ⅔ mark. This will ensure overlap from photo to photo. Shoot this new angle.
- Repeat until you’ve gone all the way around the photo. You can also use degree markers on a tripod, or just be conservative in your photo overlap and wing it.
Once you’ve gotten these into Lightroom, we can make an easy panorama by right-clicking and choosing Photo Merge > Panorama (or Edit In > Merge to Panorama in Photoshop)
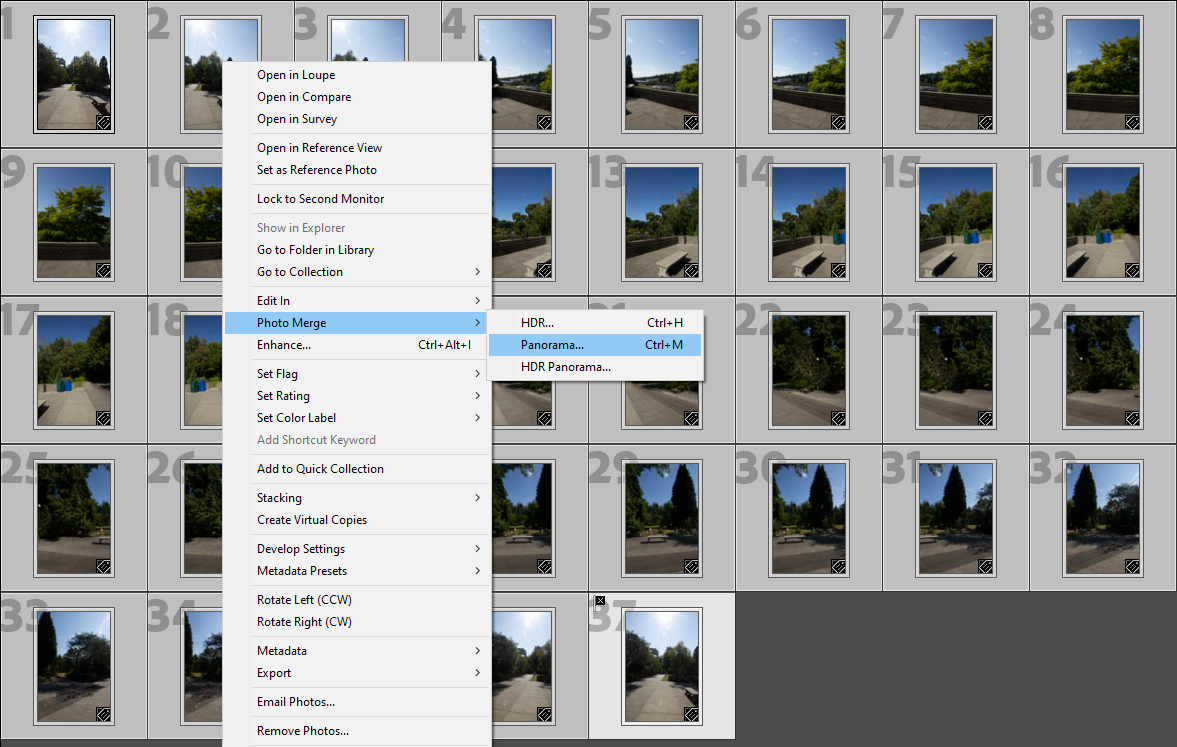
For a cylinder panorama, Lightroom’s native panorama stitcher is perfectly capable as a starting point. However, Photoshop offers more capabilities for some of the remaining issues, such as missing edge pixels.
- Right click and choose Edit in > Edit in Photoshop.
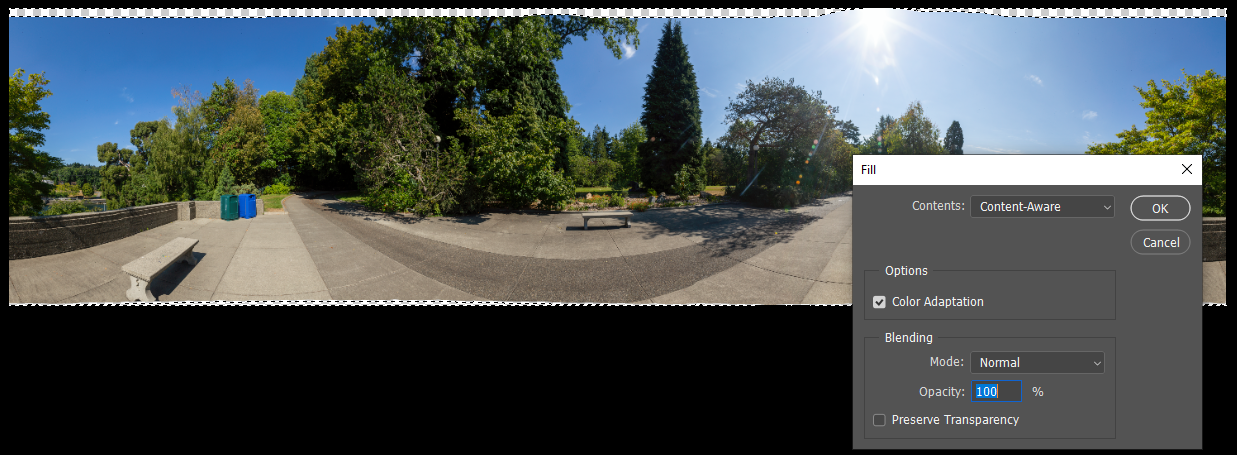
- Control Click on the layer thumbnail to load it as a selection.
- Invert the selection with Ctrl I, then use Select > Modify > Expand to encompass a tiny bit of the existing photo.
- Use Edit > Content Aware Fill to replace the empty pixels
- The lines of the concrete often stitch wrong, and the best solution is manually fixing it. Select chunks of sidewalk cracks with a 4 px feathered polygonal lasso, duplicate it to a new layer with Ctrl J, enter Transform with Ctrl T, and right click to choose Distort. Move the layer around until the sidewalk crack lines up with its neighbors.
- Spot heal any dirt or lens flares, and finish with some creative touches in with the Camera Raw filter. I start from Auto, then up the yellows and greens.
- To choose an interesting center point, use Filter > Offset, and rotate it horizontally until you like the center focus, such as the sun. This can also reveal an edge that doesn’t align, which you can then clean up with the Stamp tool.
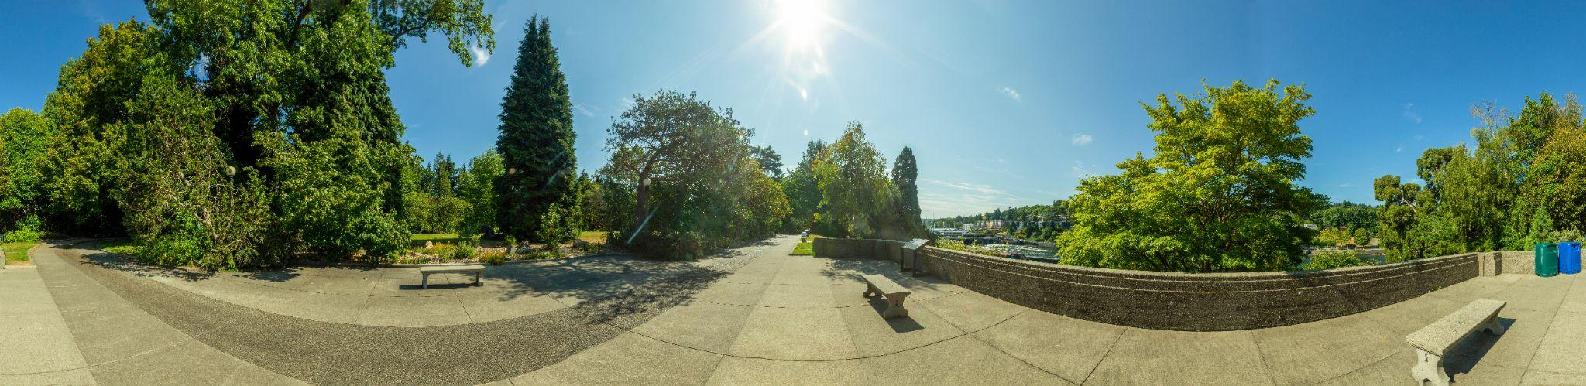
The final image is a whopping 23556 by 5741 pixels!
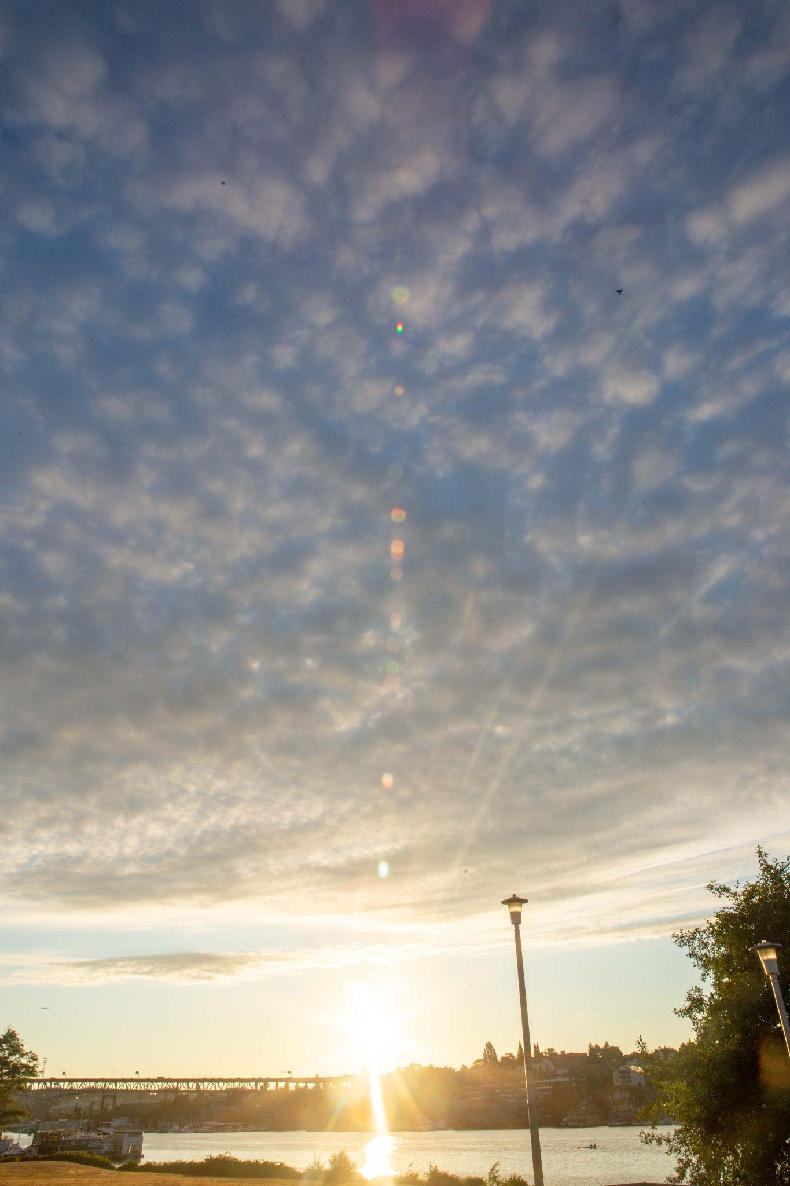
Increased Angles Spherical Panorama: Gasworks Platform
Spherical panoramas essentially combine multiple cylindrical panoramas (a middle, low, and high angle) to get the entire field of view. For the next panorama, shooting starts in a manner similar to the cylindrical panorama. Upon return to your starting point, tilt the camera upward, until just the horizon is in the shot, and repeat. Next, tilt the camera downward until the sky is just barely in the shot, and repeat. This results in three cylinders: middle, top, and bottom, with overlap needed to stitch to their horizontal and vertical neighbors.
|
Middle |
Top |
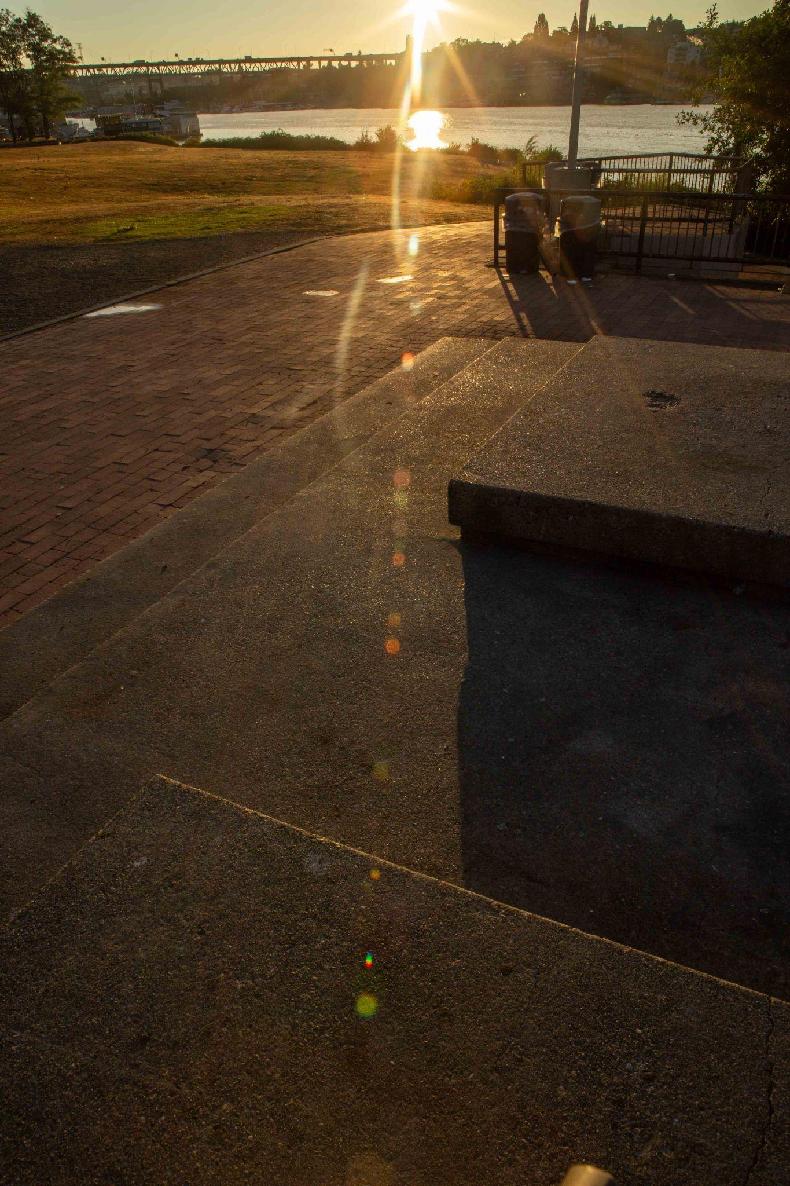
Bottom |
With 36 photos total (12 per cylinder), cleanup must be done in stages: edits to everything, followed by edits to individual angles, followed by another round of edits to the final panorama. Start by an initial correction to brightness and spot heal lens dirt (which will repeat on all 36 angles), then copy these settings to all photos. Next, spot heal individual photos, such as the sunny angles that get lens flares.
This time, we’ll use Photoshop to stitch the panorama. Select all the angles, right click, then choose Edit in > Merge to Panorama in Photoshop. With 36 raw files, this can take a while, and uses a lot of RAM! The finished result has more overlap then necessary, so I crop to a shared edge, then immediately flatten the image and purge history to get memory back. After offsetting, I then use the Spot Healing Brush, Content Aware Fill, and manually transformed chunks of layer to clean up seams again, and fill the missing pixels with Content Aware Fill again like before.
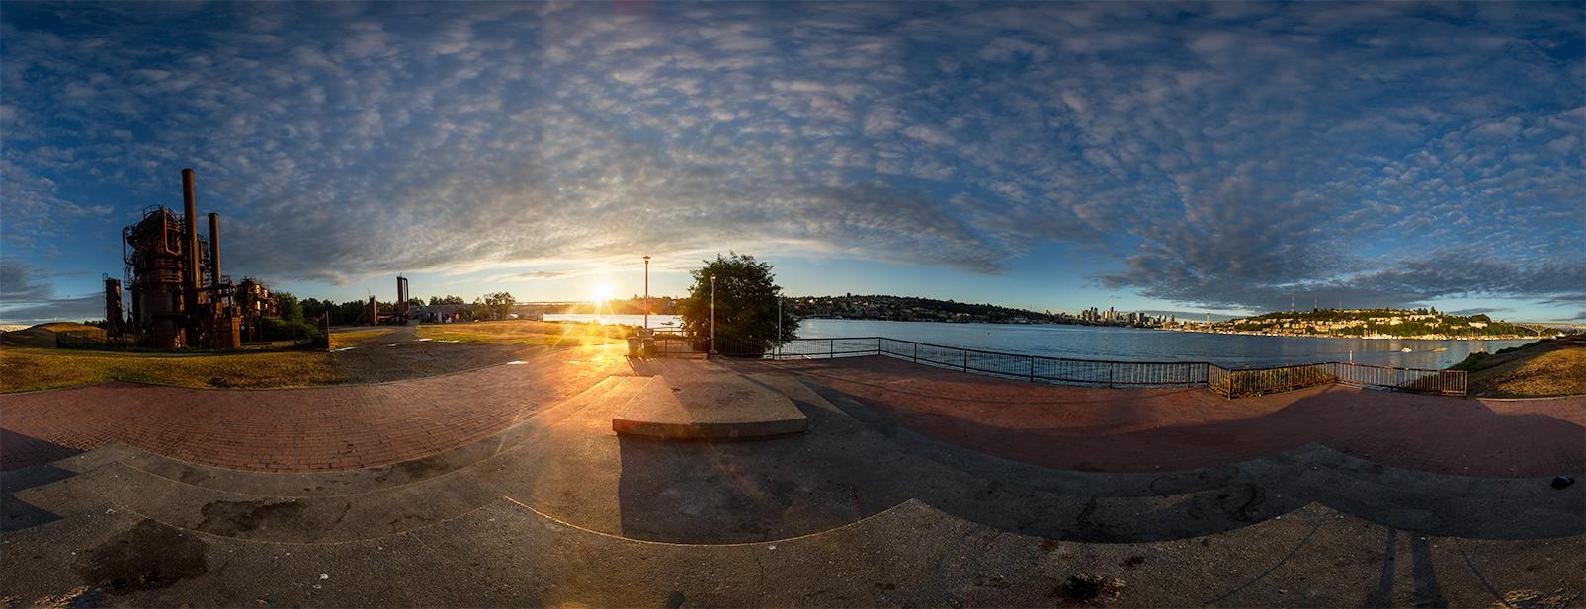
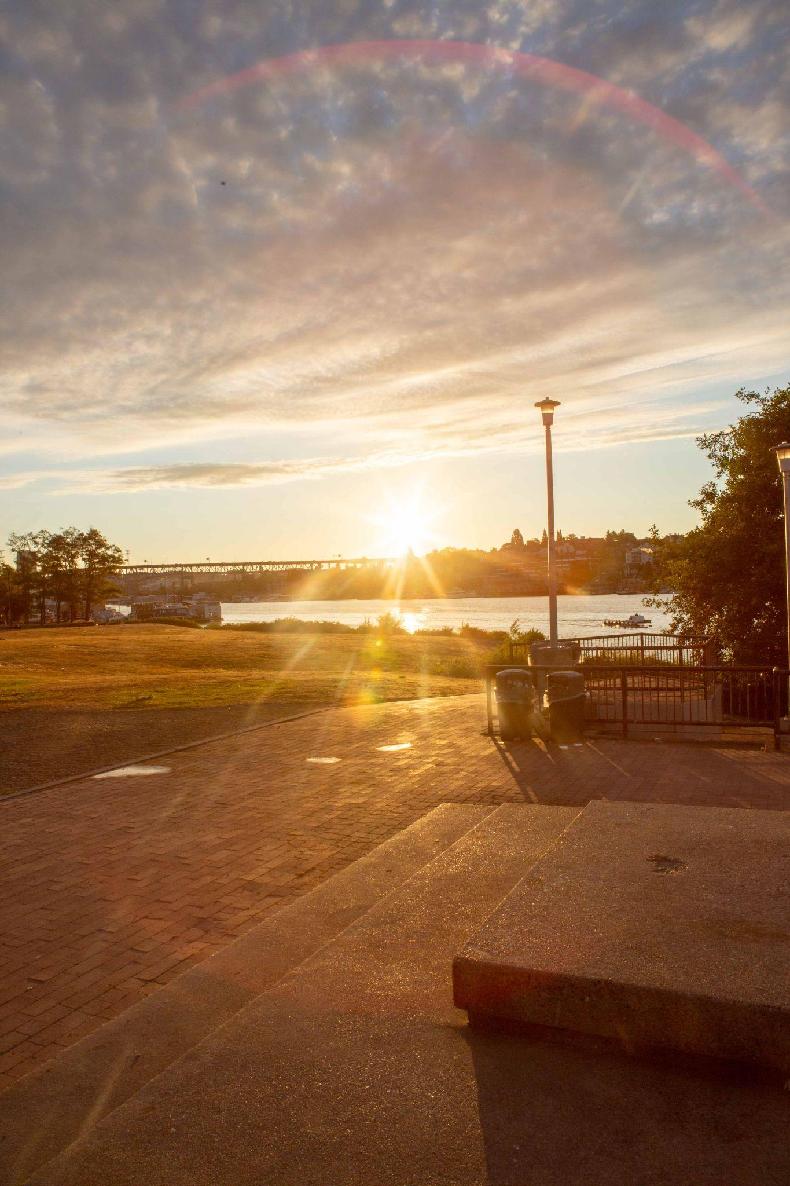
On the less technical side, this sunrise panorama highlights one of the key skills of shooting panoramas: waking up early. If you wake up at 5 AM for a sunrise, even dense urban spots will be completely empty. If you go at sunset, even remote areas will be swarmed with cars, pedestrians, picnickers, and other pano nightmares.
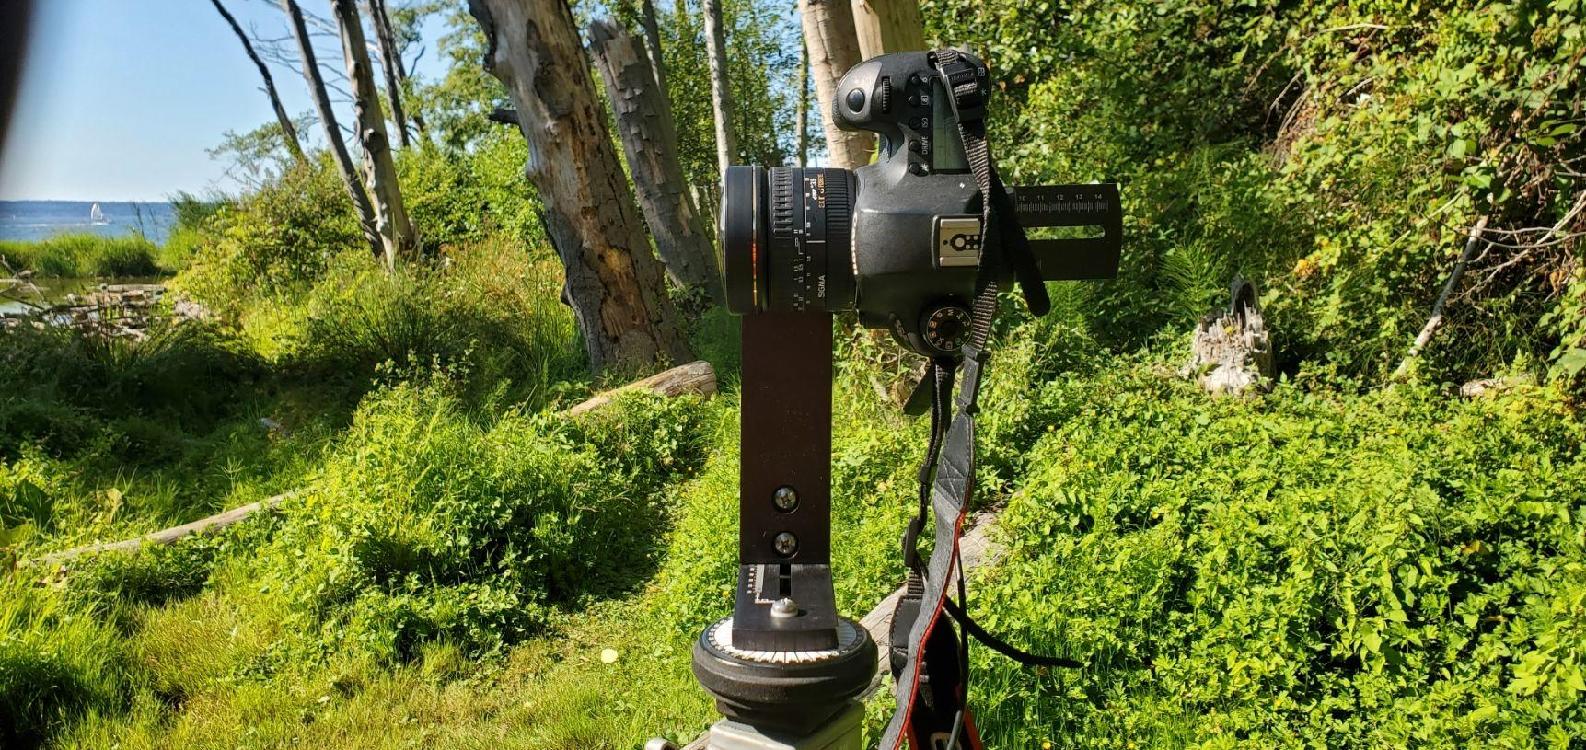
Minimal Angles Spherical Panorama: Gasworks Hill
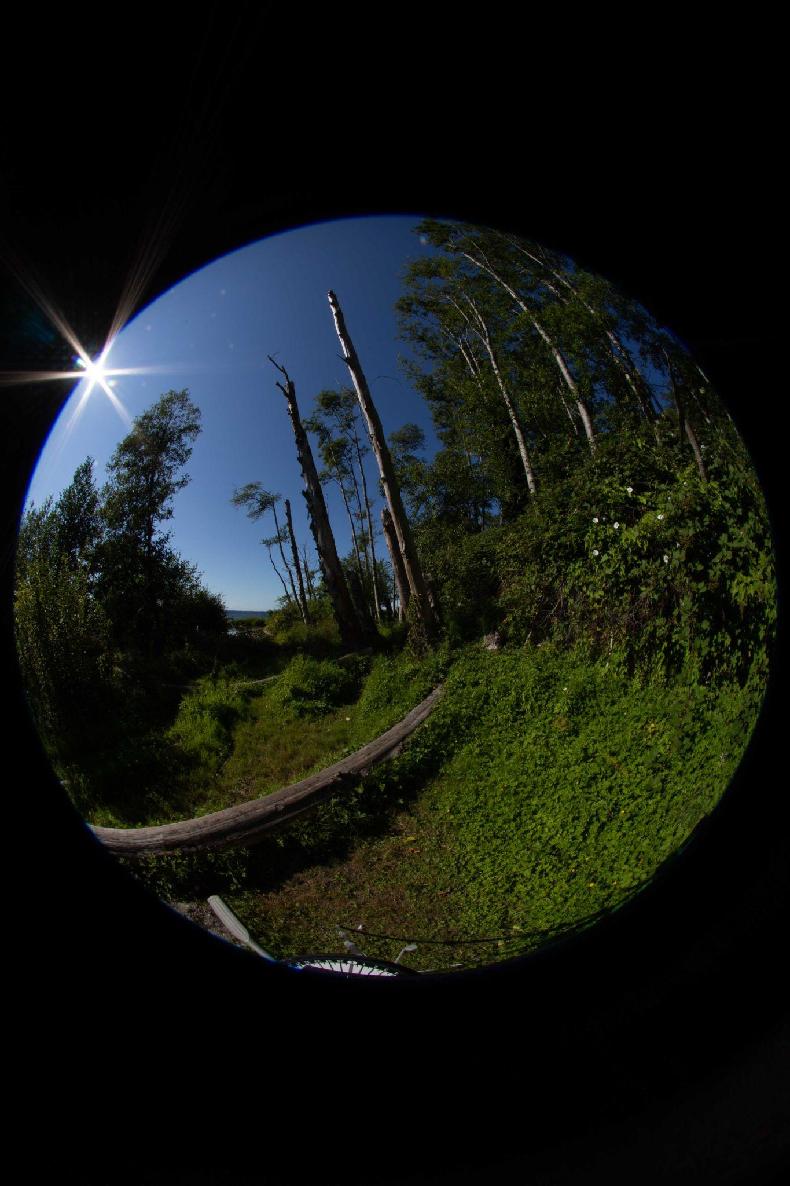
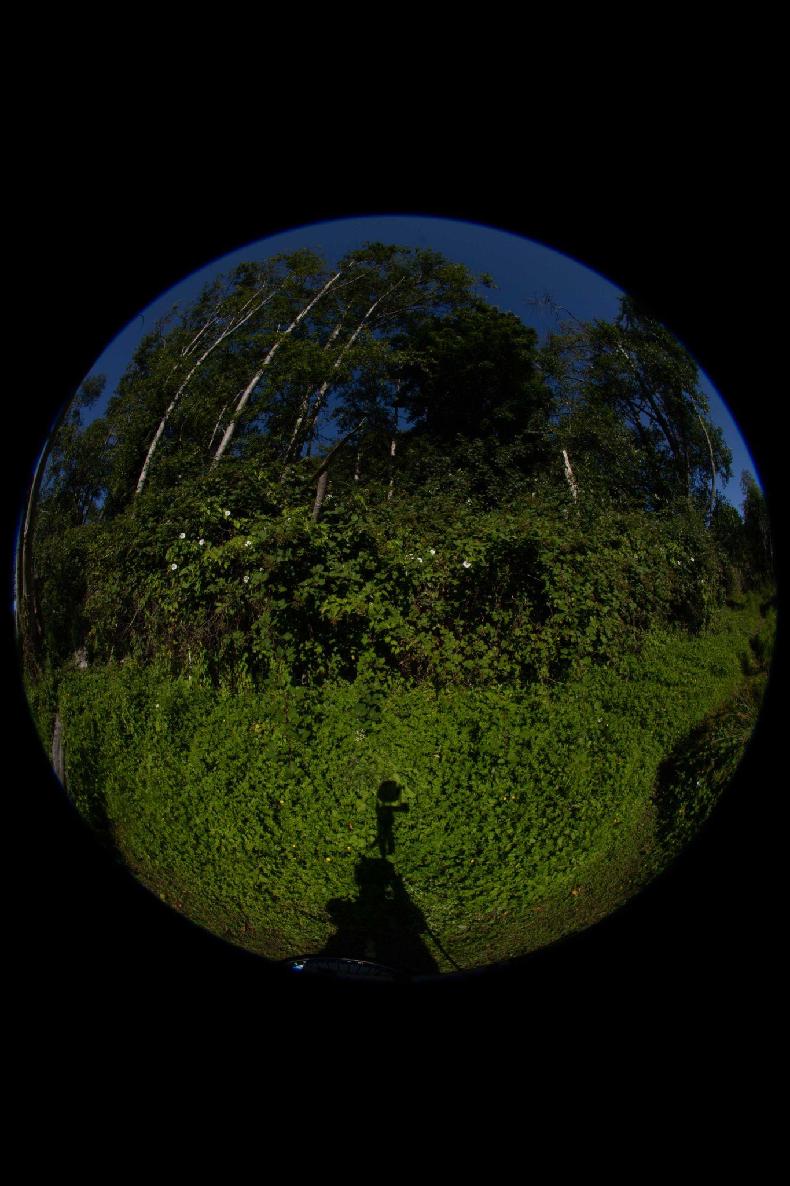
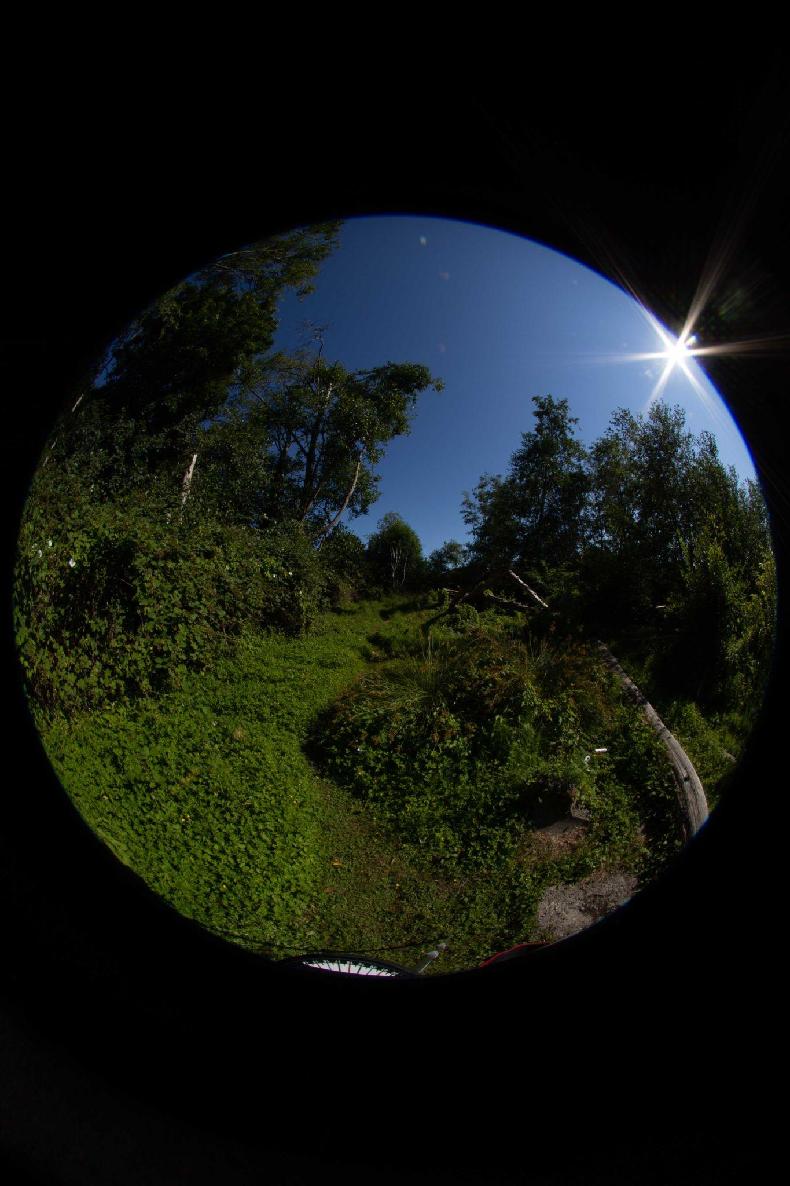
A fisheye lens and full frame camera offer such a vast field of view that a panorama can be created in only 3 angles. This reduces the processing and cleanup necessary. The 36 angles needed with the 24mm lens was already a drain on system resources, so imagine the impact of multiplying that by even just 3 brackets!
|
|
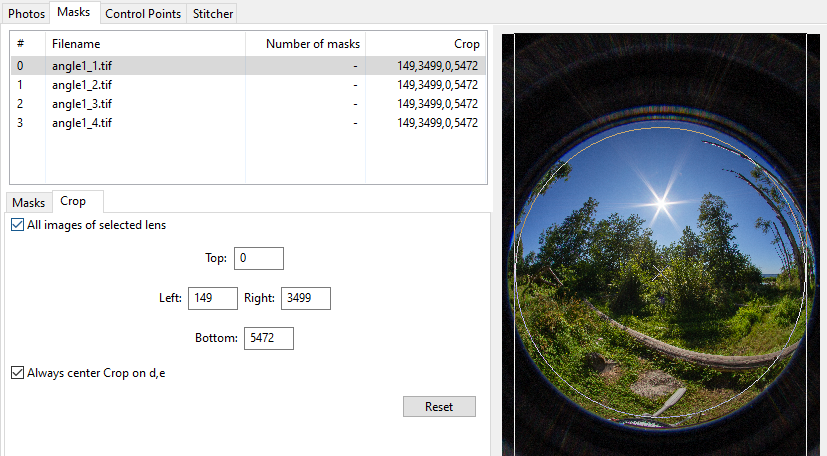
The resulting 4 angles:
|
|
|
|
|

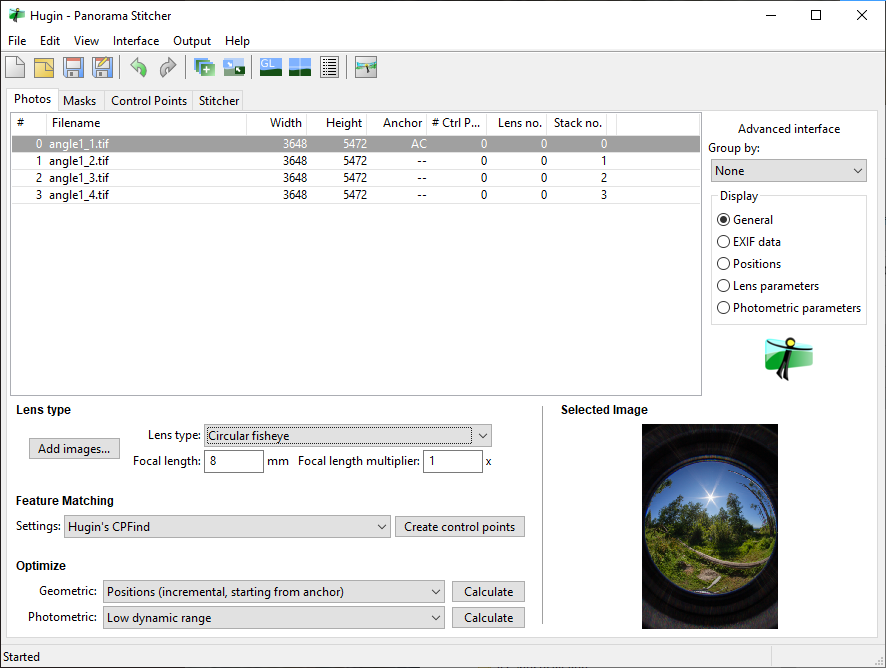
I use Lightroom to fix exposures and spot heal lens flares. However, Photoshop and Lightroom both struggle with stitching fisheye panoramas. Instead, we’ll use a dedicated panorama program: Hugin, which is free and open source.
|
|
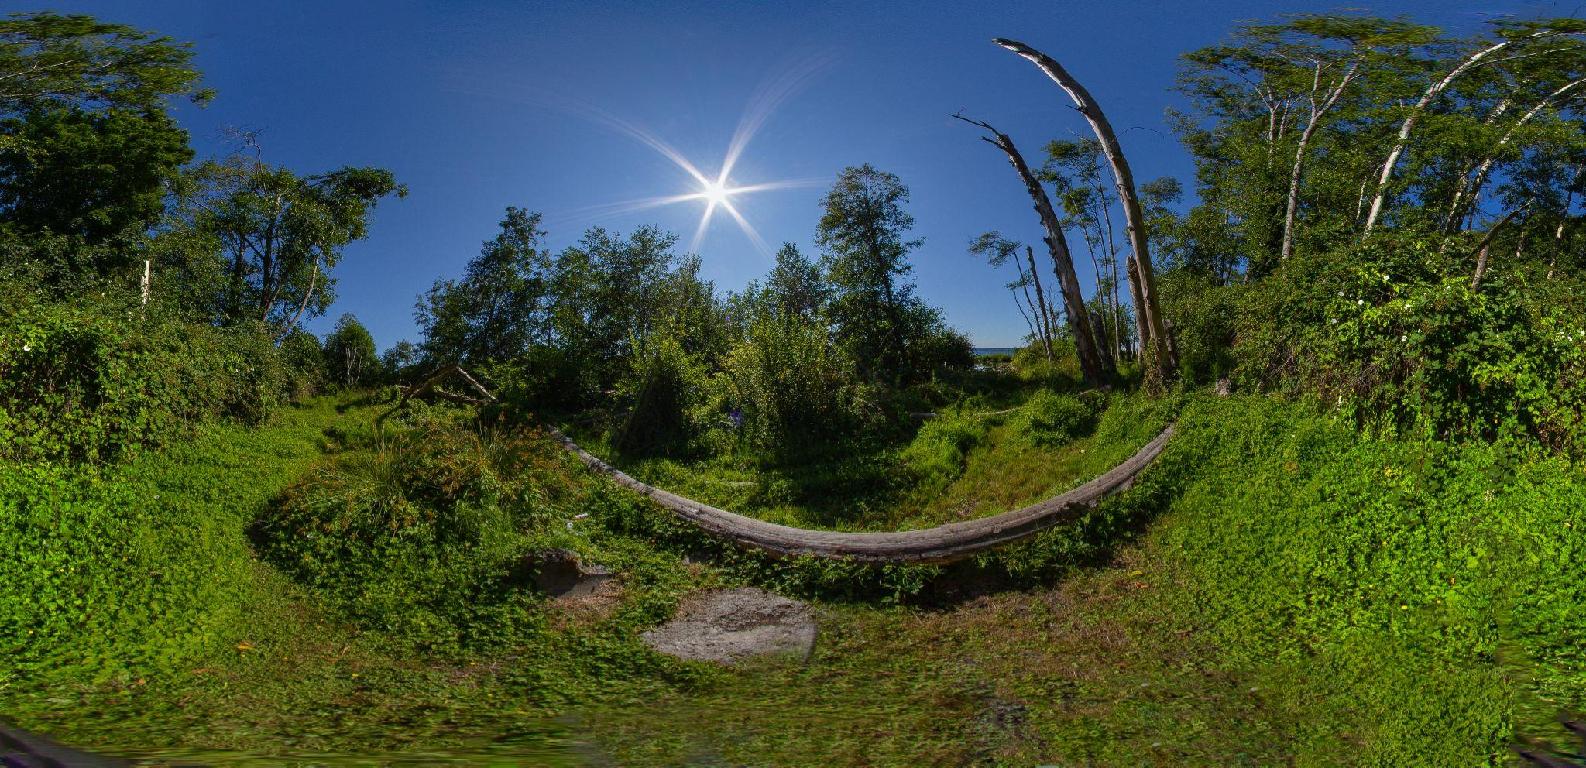
The final panorama is not as high resolution as the previous panorama. However, it took far less work to shoot, with far less chance of errors compromising it. Additionally, the composited panorama compiles together much faster.

Feedback/Errata