Note: use a mouse instead of a trackpad or touchscreen to limit frustration while using Afterglow.
Click “Next” above to see the step-by-step instructions.
Alternate Format: Video Instructions (Includes Advanced Info)
- Follow along with this tutorial video
Alternate Format: Written Instructions (Level 1 Only)
We are going to make a color image, using three images taken through three different filters. As you know, Skynet only returns black and white images.
- Note: one or two things may differ from Dr. Reichart’s tutorial.
- Open the three images you requested in your color request assignment – they will all still be black and white.
- Align your images
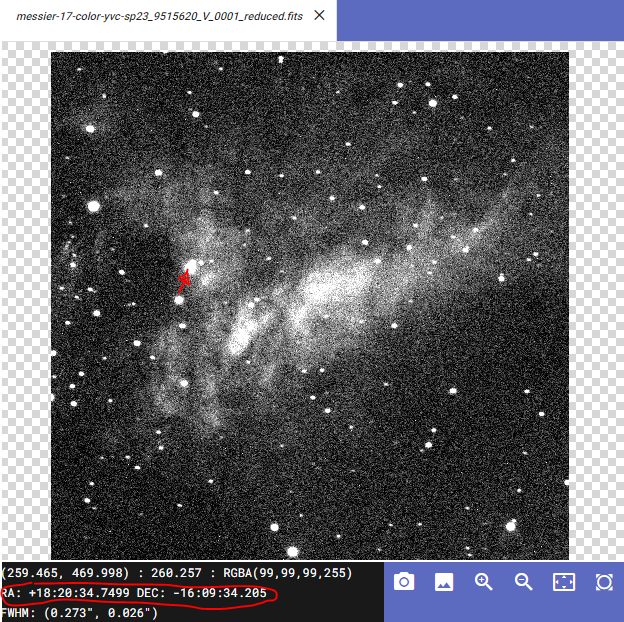
- Check that you see a number next to RA and Dec when you mouse over a star. This means your image has coordinates. If you don’t, take a longer image so it has more stars in it.
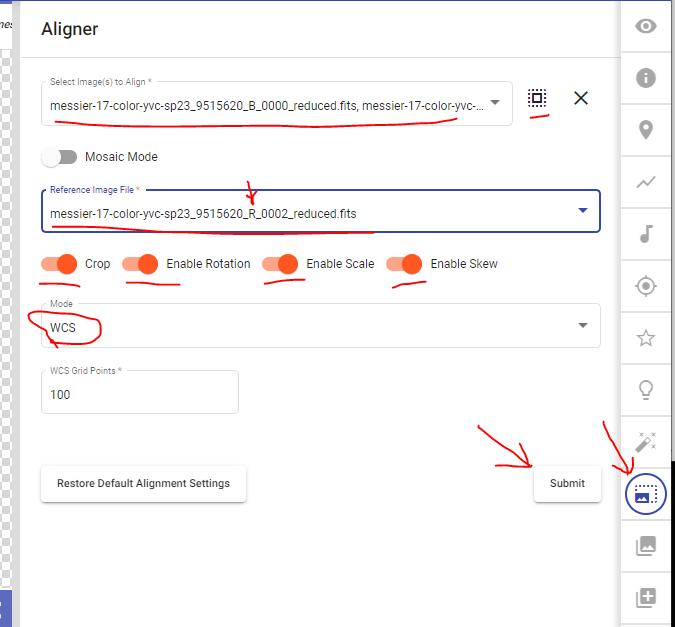
- Open Aligner.
- Choose all three images.
- Choose any image as “reference” but you might prefer the one with “R” in the filename – the red one.
- Turn on Crop, Enable Rotation, Enable Scale, and Enable Skew.
- Choose “WCS” as the Mode
- Submit
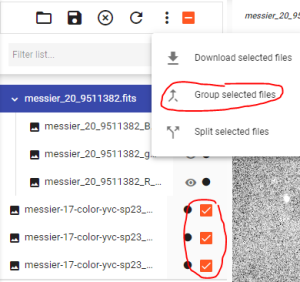
- Group your files using the file list on the left
- Select all three of your images
- Choose the three dots at the top
- Choose “Group”
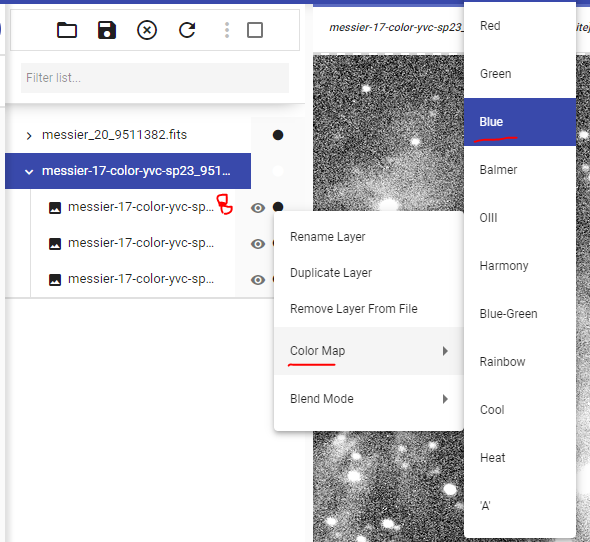
- Change the color of each layer
- You now have a three-layer image, where the layers are added together.
- Click on the sub-image that has “B” in its filename and right click. Choose “Color Map” and then “Blue.”
- Click on the sub-image that has “R” in its filename and right click. Choose “Color Map” and then “Red.”
- Click on the sub-image that has “G” or “V” in its filename and right click. Choose “Color Map” and then “Green.”
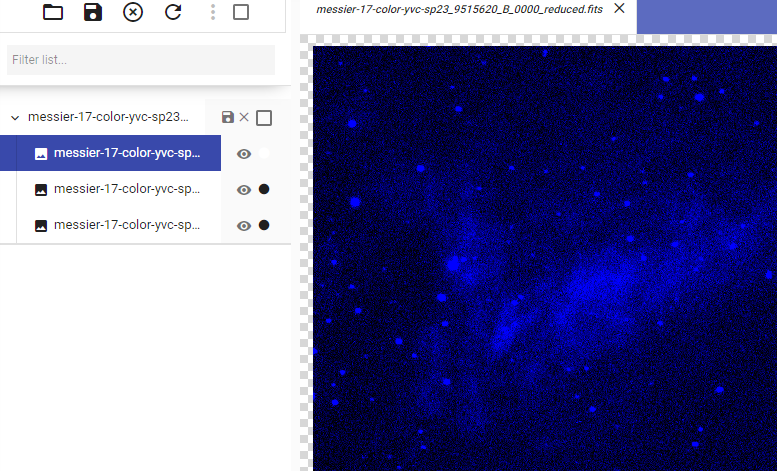
- Click on the top image, it should be in color! Adjust the display settings of each of the sub-images until you like the look of the top (full color) image.
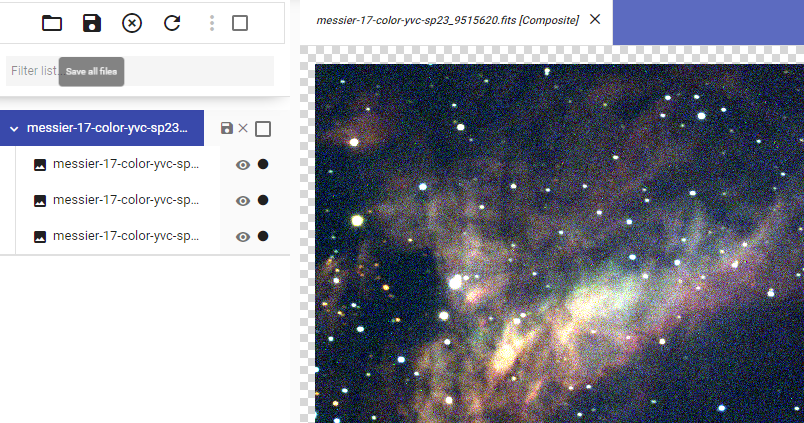
- Embed your adjusted color image into your assignment.
Media Attributions
- Check for WCS
- Align for color
- group files
- Color map Blue
- Blue setting
- Full color setting
