Adjust Contrast, Zoom In, Download
Note: use a mouse instead of a trackpad or touchscreen to limit frustration while using Afterglow.
Click “Next” above to see the step-by-step instructions.
Alternate Format: Video Instructions
- Follow along with the tutorial.
Alternate Format: Written Instructions
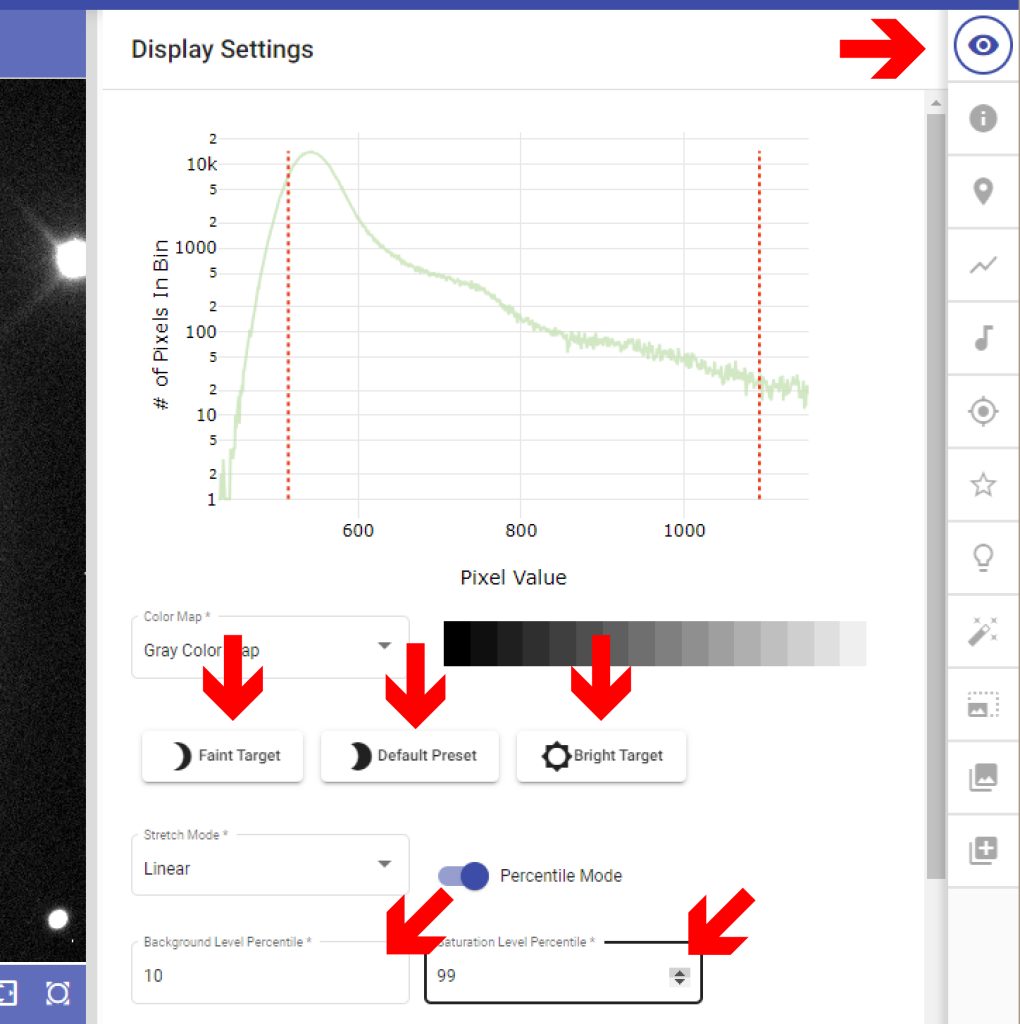
Adjusting Contrast
- Click the eye icon “Display” to adjust the display settings.
- Use the “Faint Target”, “Bright Target”, and “Default Preset” to preview contrast settings.
- Pick the one that shows the most detail for your image.
- Use the tiny arrows in “Saturation Level Percentile*” and “Background Level Percentile*” to adjust the image further. Make the background as black as possible while still seeing lots details.
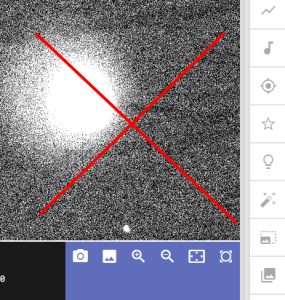
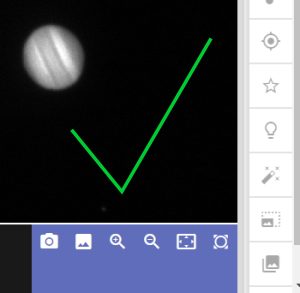
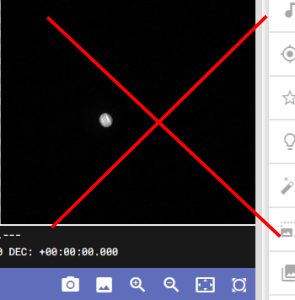
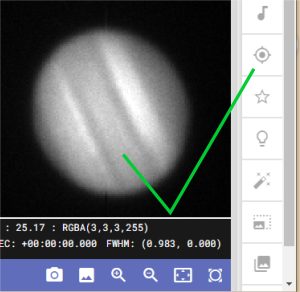
- The first image below is poorly adjusted. The second is well adjusted (but not zoomed in yet).
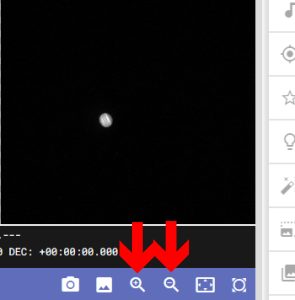
Zooming In
- Use the scroll wheel or the +/- magnifying glasses at the bottom to zoom in on your image
- Use your mouse to drag and reposition the image
- The first example below is poorly adjusted, the second is well adjusted.
- When the image is positioned so it fills the window, go on to the next step.
Download Images
- Click the Camera icon on the bottom. (Not the “image” icon)
- This will download a .jpg to your computer.
- This is the image you will use in your assignments.
Media Attributions
- Display Settings
- Adjusted not background
- Adjusted background
- Adjustment Zooms
- Adjusted not zoomed
- Adjusted zoomed
- Camera Icon