Request Color Observations
Click “Next” above to see the step-by-step instructions.
Note: Your images will be black and white when returned, we need to process them.
Alternate Format: Written Instructions
To create an observation with Skynet:
- Log in to Skynet
- https://skynet.unc.edu/user/login
- Check your e-mail for registration code. Follow the directions in the email. (This won’t work until after your teacher has sent you an email for you to create your account, probably will take at least a day.)
- Request an observation of a specific night sky object:
- In Skynet go to: “My Observatory” then “Optical Observing”
- Choose “+ Add New Observation” from the list on the right.
- Page 1, Defaults: Reset Skynet’s defaults like this:

- For an object to be observable, the sun should be at least 12° below the horizon and the object should be at least 20° above the horizon, for at least 0.5 hours of the night.
- Click “Save and Choose Filters” to continue.
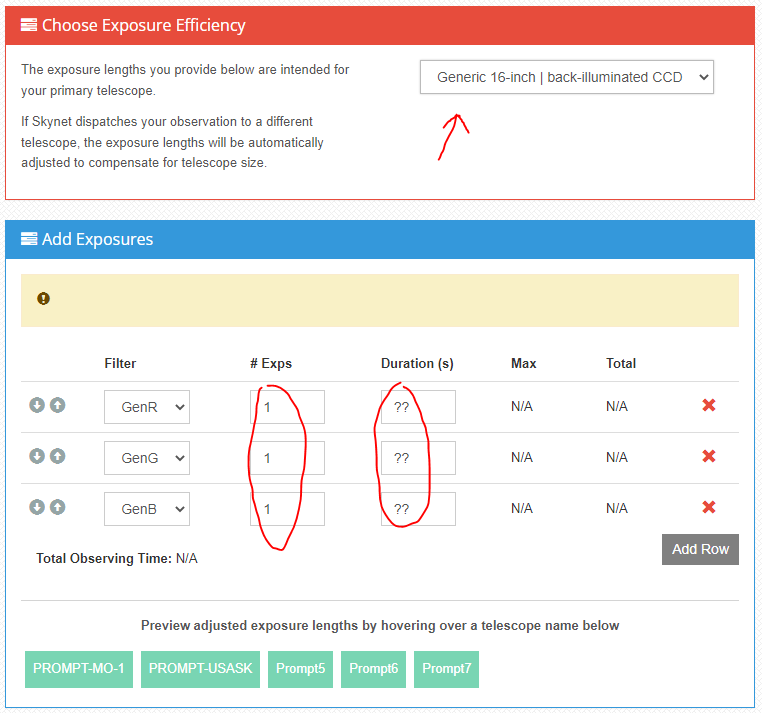
- Page 2, Filter Choice: Click on “Choose Filters” and select:
- GenR
- GenG
- and GenB
- Page 3, Telescope Choice: Select all the telescopes!!
(Normally we select all with “Prompt” in the name, but right now several of those are disconnected, so select everything!)If this lab is not due for a while, select only PROMPT telescopes, to get higher quality images. But if the lab is due soon, select all telescopes that you have access to. The more telescopes that you select, the more likely that Skynet will be able to observe your object quickly. Depending on telescope availability, it will take anywhere from seconds to days to get your images. - Page 4, Exposures:
- Request only one exposure per filter.
- Look up the exposure duration on the table in the assignment.
- You may need to know the apparent magnitude of your object, which you can find in Wikipedia.
- Page 5, Confirm and Submit.
- Click on the name of your observation and take a screenshot showing that you’ve requested an image from each of the filters.
- Check back every day to see if your images have been returned.

Media Attributions
- lab1-skynet-defaults default elevations
- lab1-proc-a-02 choose every prompt telescope
- color image setup (1)