14.3 PAC Operation and Techniques
Karl Fulton
Making Cuts
Before you start welding with a handheld torch, make sure you have all your personal protective equipment (PPE) on to safely complete your cut. Table 14.1 shows the recommended shade you will need to protect your eyes.
| Amperage | Minimum Shade | Recommended Shade |
|---|---|---|
| Less than 20 | 4 | 4 |
| 20-40 | 5 | 5 |
| 40-60 | 6 | 6 |
| 60-80 | 8 | 8 |
| 80-300 | 8 | 8 |
| 300-400 | 9 | 12 |
Note: Table reprinted from ANSI Z49.1 (“Guide For Shade Numbers,” pp. 9)
Once you are wearing the needed PPE, you can begin cutting. Just like with welding, you will always want to practice on a similar piece of material before starting on your actual project—this way you can troubleshoot your settings. When ready, follow this process:
- Hold the torch perpendicular to the metal.
- Pull the trigger and drag the torch across the metal.
- If you do not have a drag tip or shield, hover about 0.125 inches from the material.
If you encounter some problems, you may need to adjust your technique. For instance, if you are not cutting all the way through the metal, slow down your cutting speed and turn up your amperage. Not cutting through your material comes with the risk of the molten metal blowing back into your torch and at you, so be cautious.
What you are looking for is a square edge on your cut. If you find you are producing a negative kerf angle—meaning the sharpest part of the metal is at the top and drifts away at the bottom—you are likely cutting too close to the metal and need to pull your torch back. If you have a positive kerf angle—meaning the cut material looks like it has a bevel on it—you are likely holding the torch too far away and need to bring it in closer.
The direction of your cut matters significantly in PAC because of the swirl that is produced inside the torch. If your intention is to keep the inside of the cut, your travel direction should be clockwise. When your goal is to cut out the interior of a part (so you will keep what is outside of the cut), drag the torch in a counterclockwise travel direction.
Know that after you have made your cut the material will be hot, so be cautious when handling cut metals. Most of the dross should break off easily with a chipping hammer.
Maintaining the System
Maintenance for a PAC system is quite simple. A best practice is to check all electrical connections before and after use. Replace the consumables in the torch when needed. An occasional blowdown with compressed air is also a good idea. As always, check the owner’s manual for all equipment and parts for detailed instructions on their care and use.
Safety Considerations
Safety is paramount when operating a PAC system. Be aware of the risks and take reasonable precautions to avoid them and you will enjoy a safe PAC experience.
Electrical shock is a possibility. Whenever possible, reduce the probability of being shocked. Always wear your PPE and do not begin cutting if you are wet or have sweat through your gloves. If using an extension cord, connect the machine to the cord and then to the power. When shutting down, first disconnect the power then remove the machine from the extension cord.
Fire is another hazard to be aware of, as there are lots of sparks in the PAC process. Make sure to check your surroundings and identify where the nearest fire extinguisher is before you start cutting.
PAC uses compressed air, which represents a safety concern because it can puncture the skin and create debris that can get in your eyes. Be careful when using compressed air.
The PAC process produces ultraviolet and infrared light which are outside the visible light spectrum of the human eye and can be hazardous and burn our eyes. Always wear the appropriate eye protection and check the shade recommended by ANSI Z49.1 (see Table 14.1).
Machined torches and CNC machines have their own safety concerns that you will want to pay close attention to. Be sure to ask the job site manager for specific safety guidelines and read the manufacturer’s warnings carefully before operating these machines.
Attributions
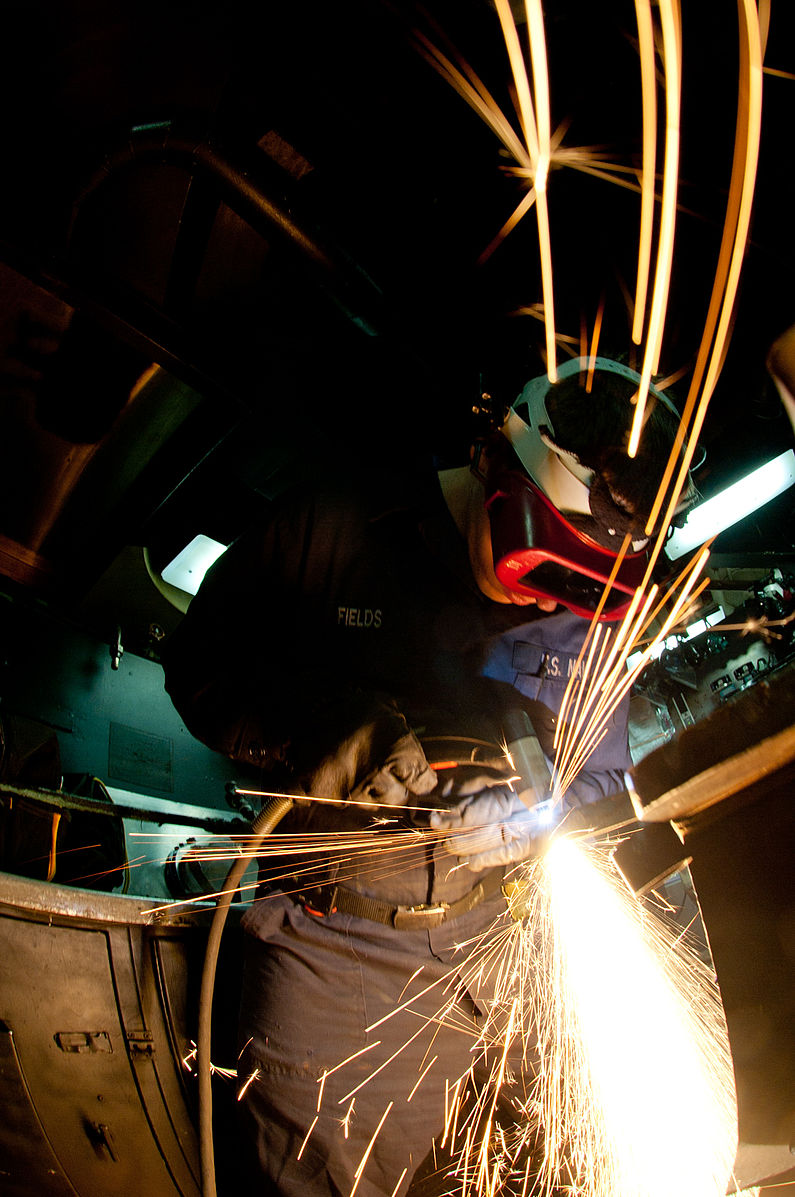
- Figure 14.15: US Navy 111128-N-OY799-092 Hull Maintenance Technician Fireman Tom Fields, from Brinnon, Wash., uses a plasma cutter in the sheet metal shop aboard by Mass Communication Specialist 3rd Class Kenneth Abbate in the Public Domain; United States government work
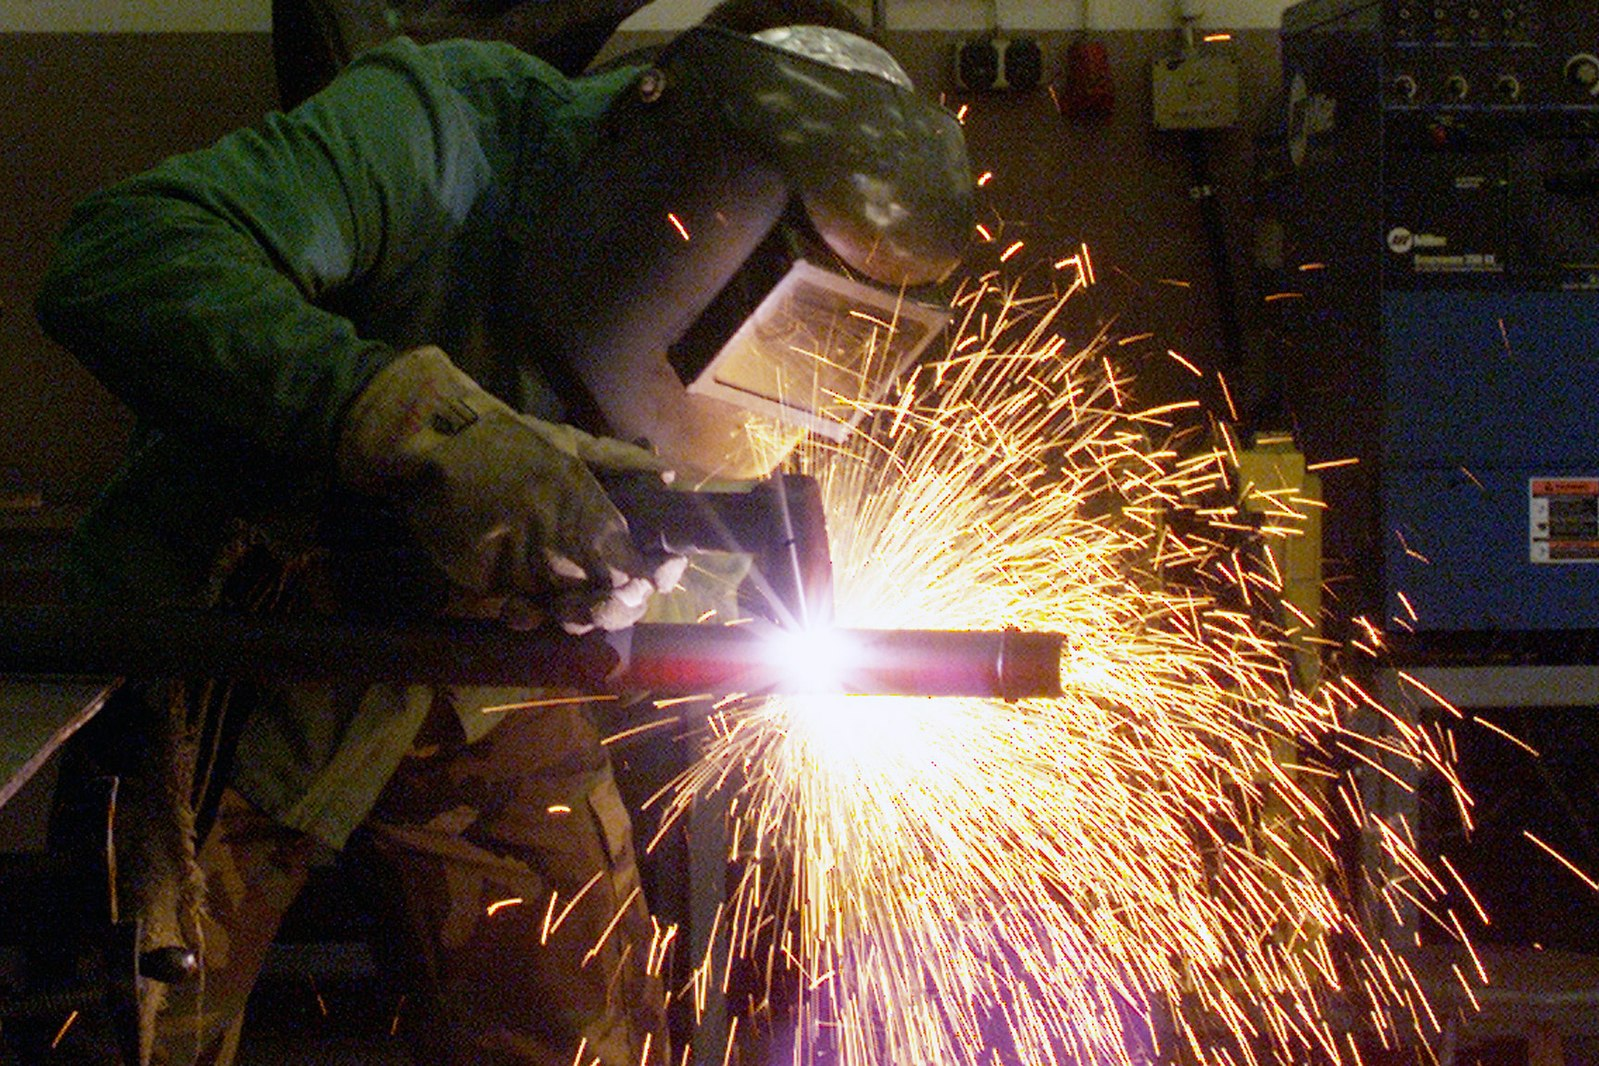
- Figure 14.16: US Air Force (USAF) Technical Sergeant (TSGT) Jeffrey Wright, Aircraft Metal Technician, 52nd Equipment Maintenance Squadron (EMS), uses plasma arc cutting torch to destroy a 30mm gun barrel, inside the welding shop at Spangdahlem Air Base (AB), Germany. The weapon was removed from an aircraft and set for destruction after reaching its serviceability date by Department of Defense. American Forces Information Service. Defense Visual Information Center. in the Public Domain; United States government work
The cleanliness and squareness of a cut.
