1 High Dynamic Range
HDR stands for High Dynamic Range. The range in this case is the total exposure referred to in a scene–the lightest lights and the darkest darks. A high range scene means there is an extremity to the brightest light sources and the darkest shadows. Have you ever struggled to see your phone’s screen in the sun? Even though the phone is technically a light source, it is impossibly overpowered by the sun. The last component, the dynamic part, refers to a photographer’s ability to capture that range and maintain the ability to adjust it after the fact. A camera raw file has a certain quantity of built-in dynamic range, which varies based on the quality of an image sensor. However, a single raw image will fall short when trying to capture the lightest lights and darkest darks; a dark exposure will capture the sun and sky’s nuance, but leave everything else underexposed. A light exposure will do the opposite. By capturing multiple exposures (called bracketing), they can be combined in post, where their full range can be dynamically shifted or combined.
Easy HDR: Sun Through Foliage
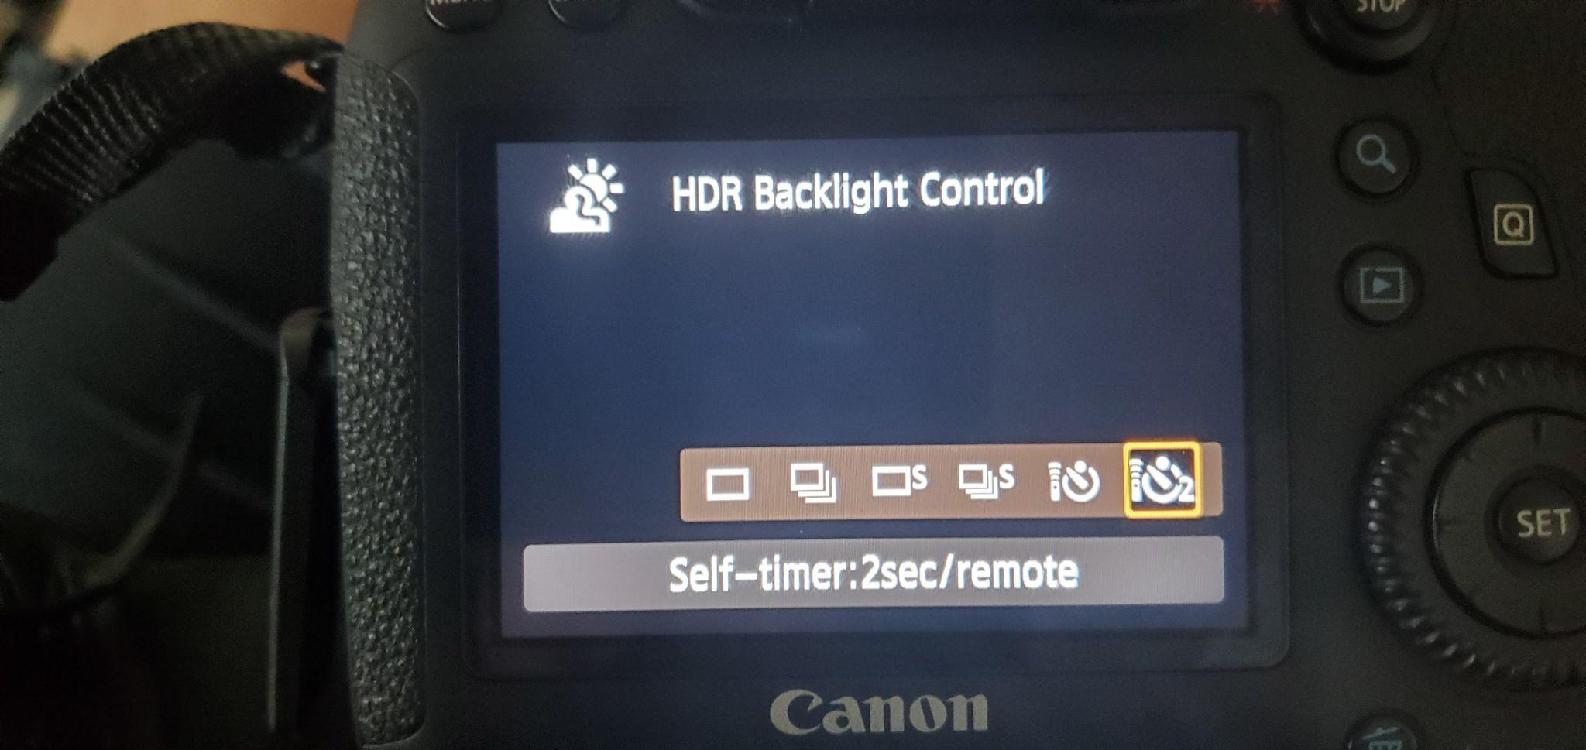
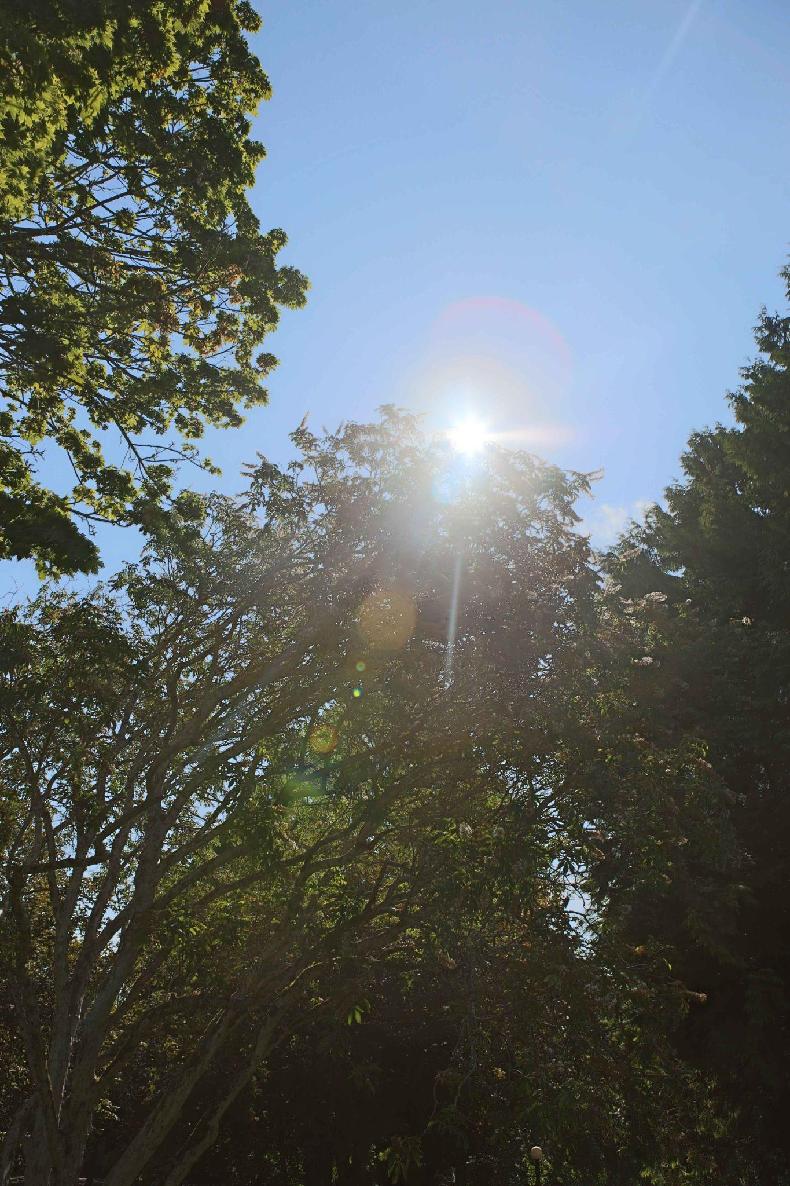
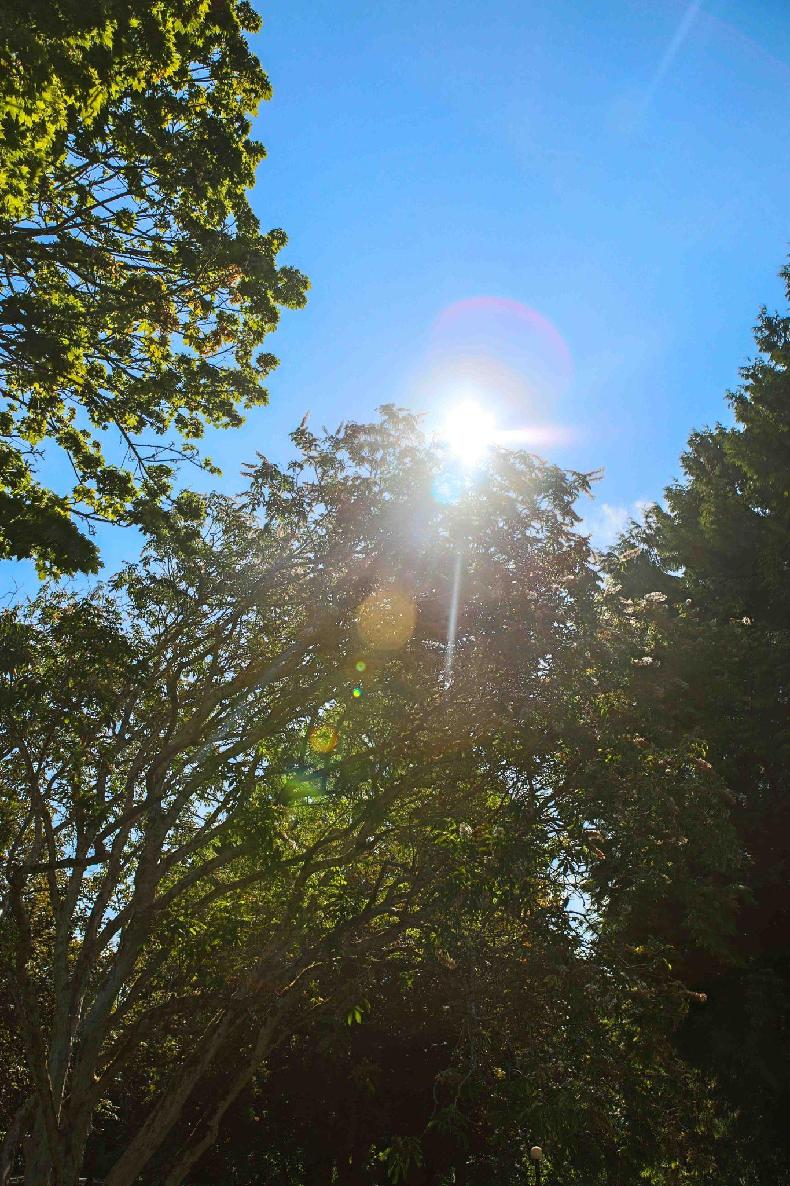
The easiest way to make an HDR image is using the camera’s native method, which will combine 3 exposures into one photo just using the DSLR.
|
|
|---|
|
Original |
Edited |
|---|
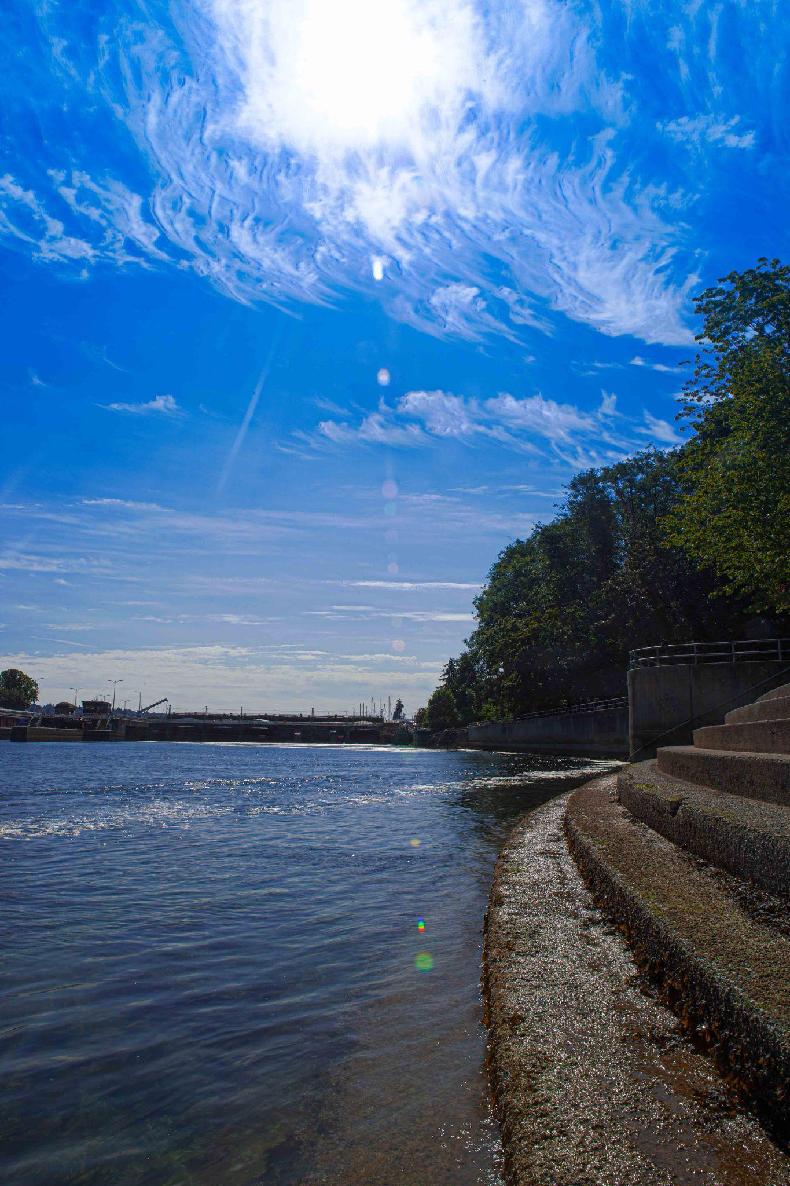
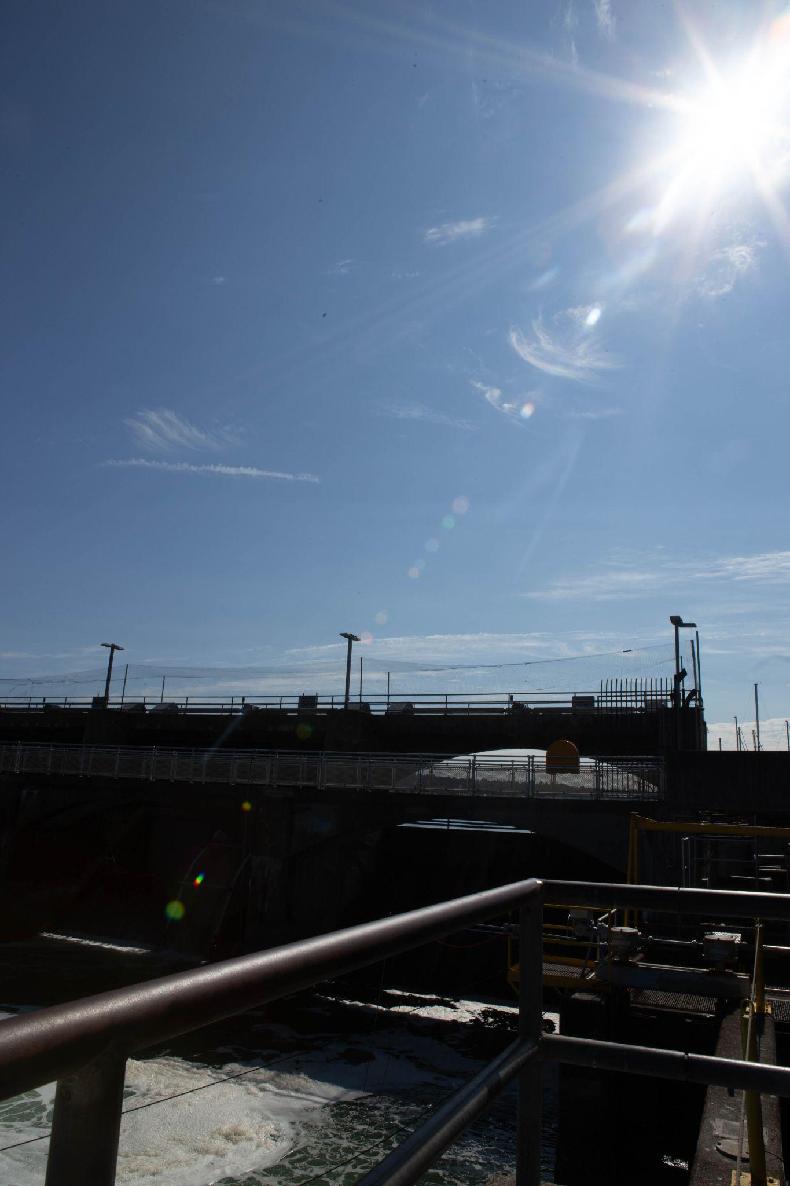
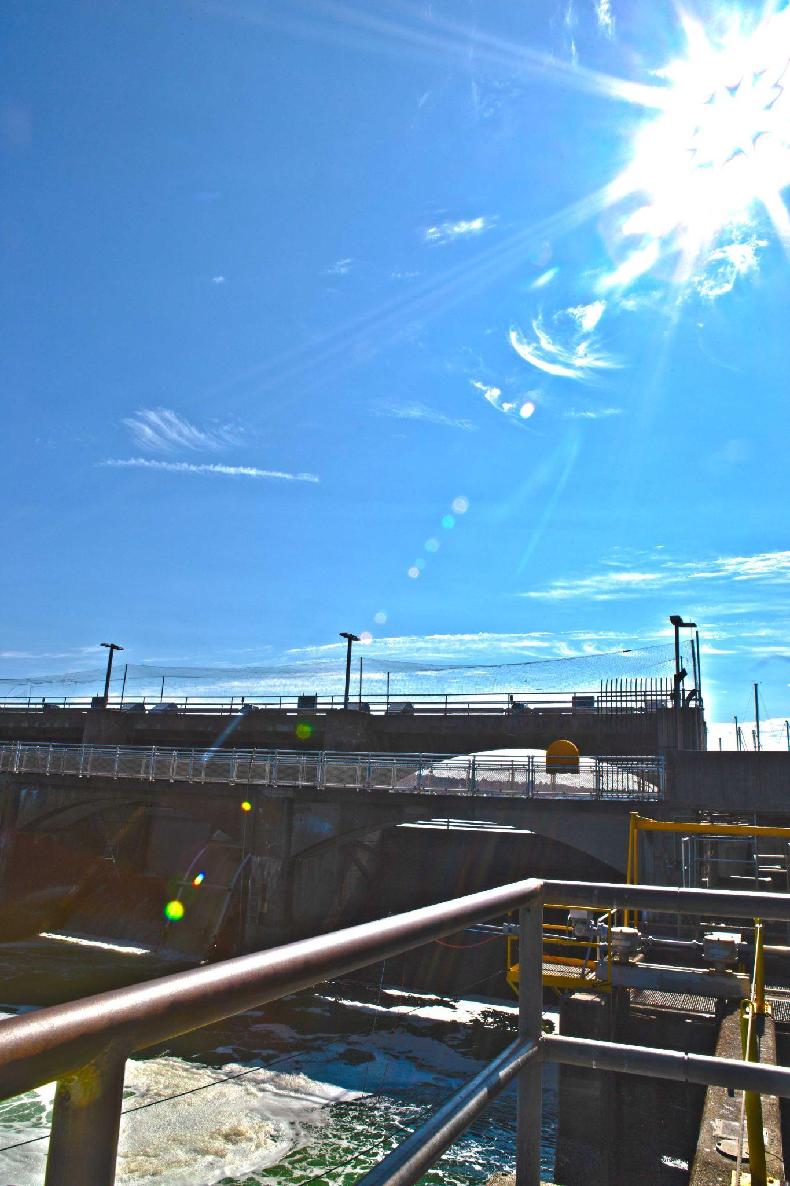
The resulting photo automatically captures what is impossible in a single image: the green of the trees, the blue of the sky, and the sun. It also retains an increased amount of editing flexibility, shown here by the darkened blues in the sky and the lightened greens in the trees.
Bracketed HDR: Locks Ladder
For greater control, we can shoot a bracketed HDR and combine it later in other software.
|
|
|---|
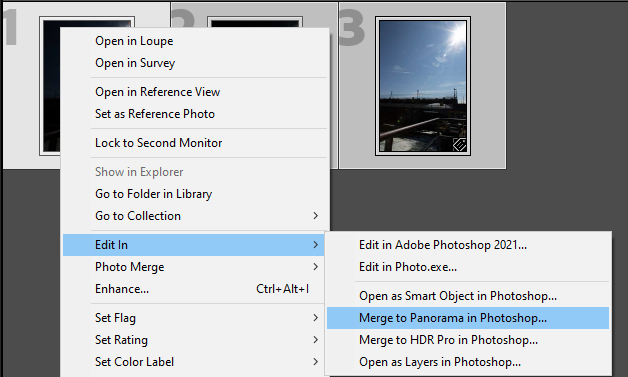
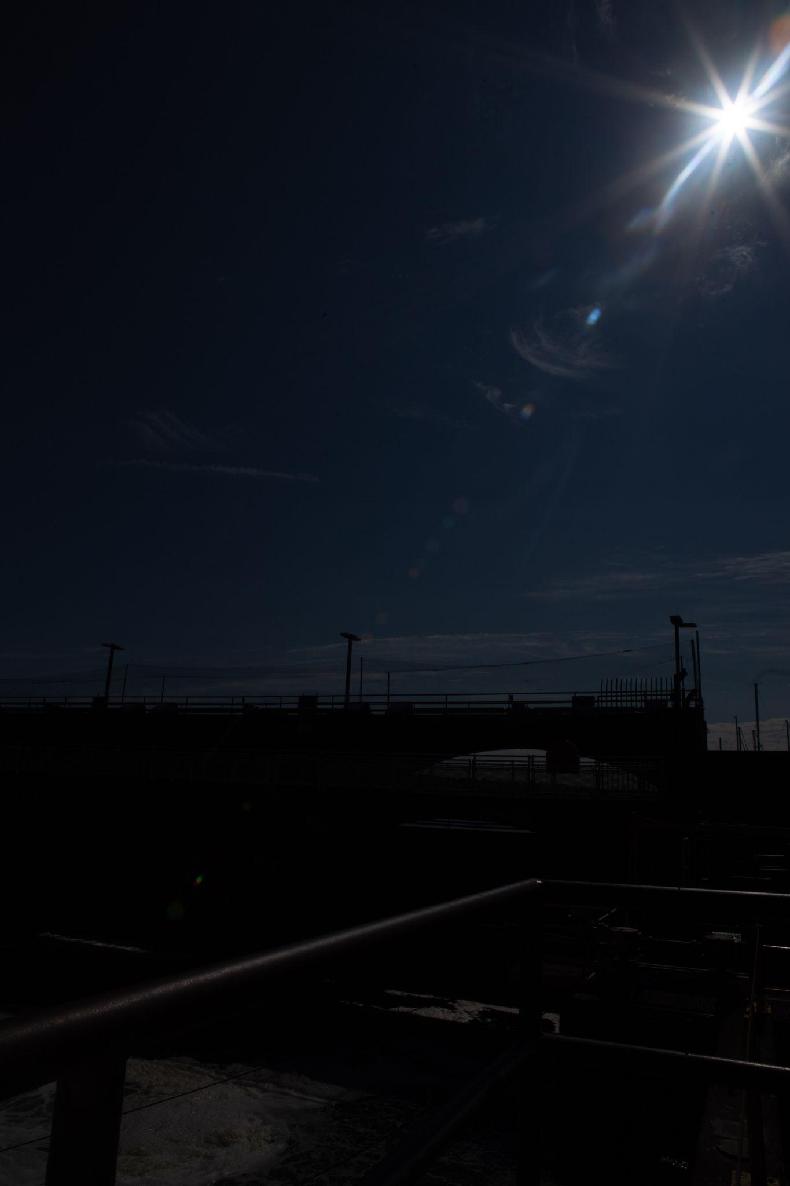
Once you’ve imported the photos to a computer, they are combined to an HDR in software, in this case using Lightroom and Photoshop.
|
|
|---|
|
1/800, f22, ISO 100 |
1/4000, f22, ISO 100 |
1/100, f22, ISO 100 |
|---|
The finished photo allows for much more dramatic editing possibilities than a single RAW file offers.
DSLR Controller HDR: Locks Water
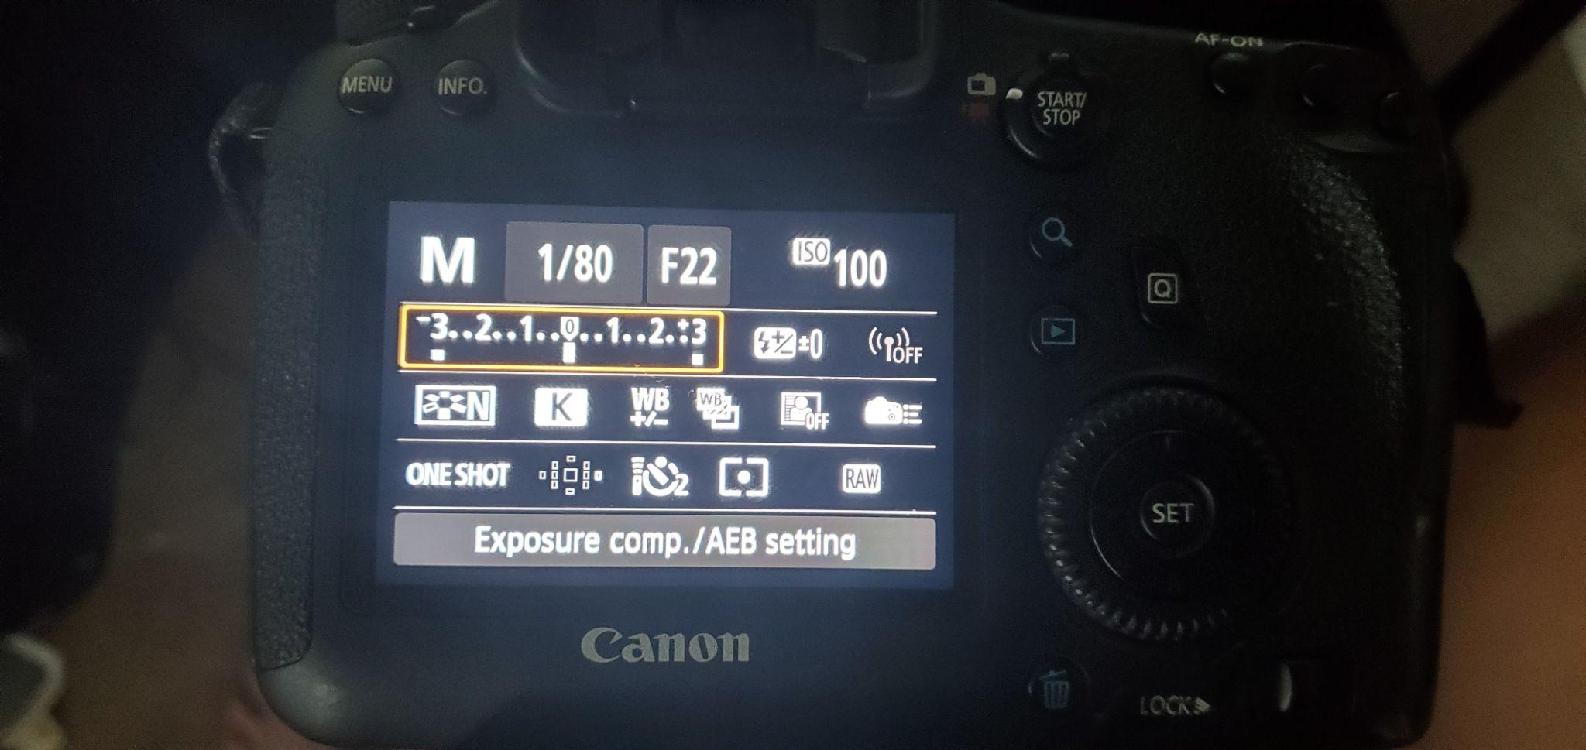
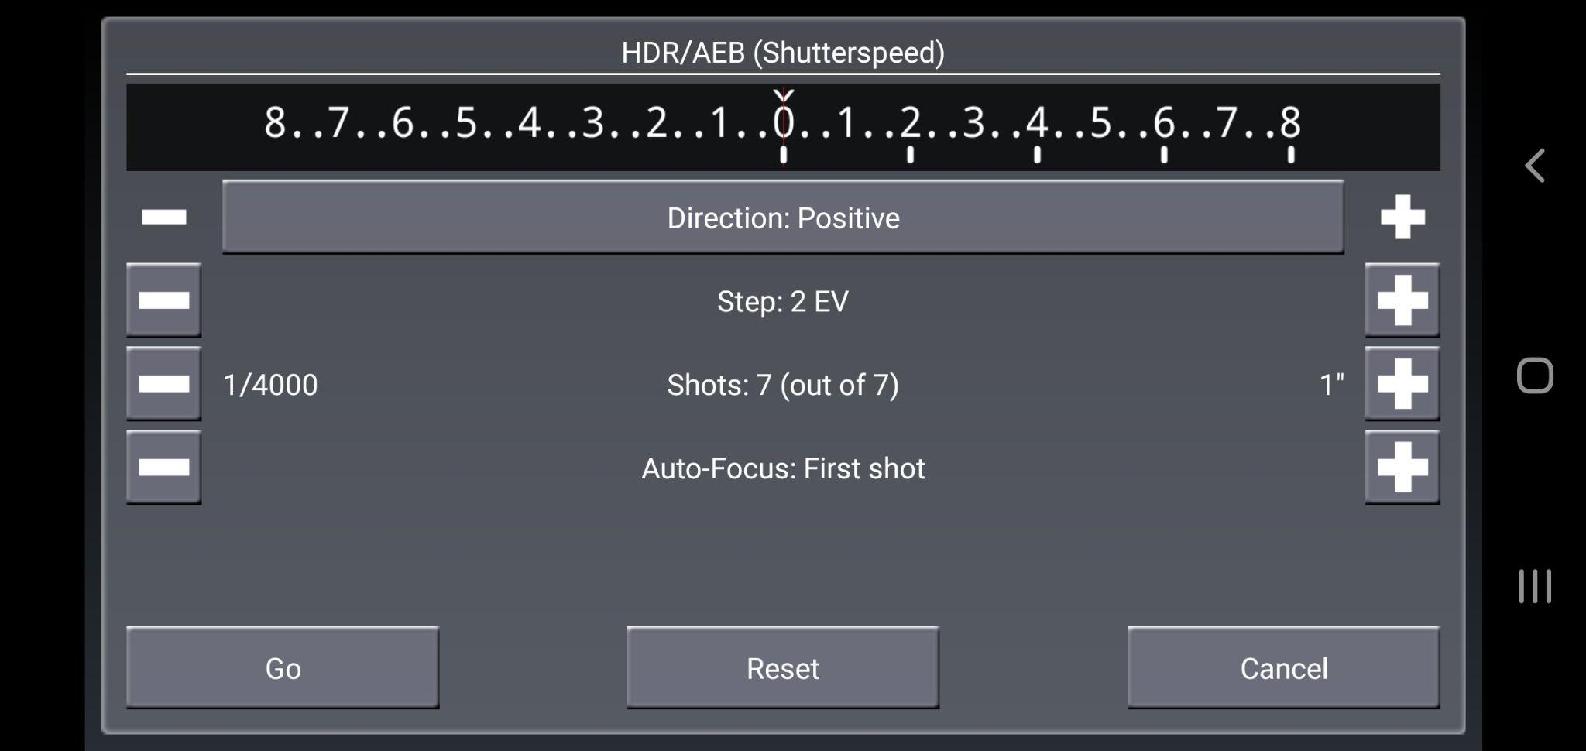
The native bracketing in a camera is often limited by the default firmware. By using an alternative interface, many greater functions can be unlocked. A popular option is the Magic Lantern plugin, that can void your camera’s warranty. I prefer to use DSLR Controller and a USB-C to Mini USB cord to shoot HDR with a greater range of brackets.
|
|
|---|
If you have dirt on your lens, it will repeat across all the brackets in the same spot, so you can clean them with the Spot Healing tool on one photo, then replicate the change across photos by right clicking and choosing Develop Settings > Copy Settings, and turn on Spot Removal. 
The two brightest exposures end up too bright to be useful, so I merge the other 5 to HDR Pro in Photoshop, a range of exposure from 1/4000” to 1/15”, 10 total EVs. This time, switch the mode to 32 Bit. The 16 bit mode is actually better referred to as tone mapping, where the dynamic range is used to make an artistic effect. By using 32 bit, the actual HDR capabilities of the photo will be stored; it can have the exposure increased or decreased without damaging the file through clipping the lights or darks. The ability to modify the colors in Adobe Camera RAW is greatly increased. However, you can see a common HDR defect in the clouds: ghosting, where their movement over a matter of seconds makes it struggle to align.
HDR with ND Filters: Magnuson Parking Lot
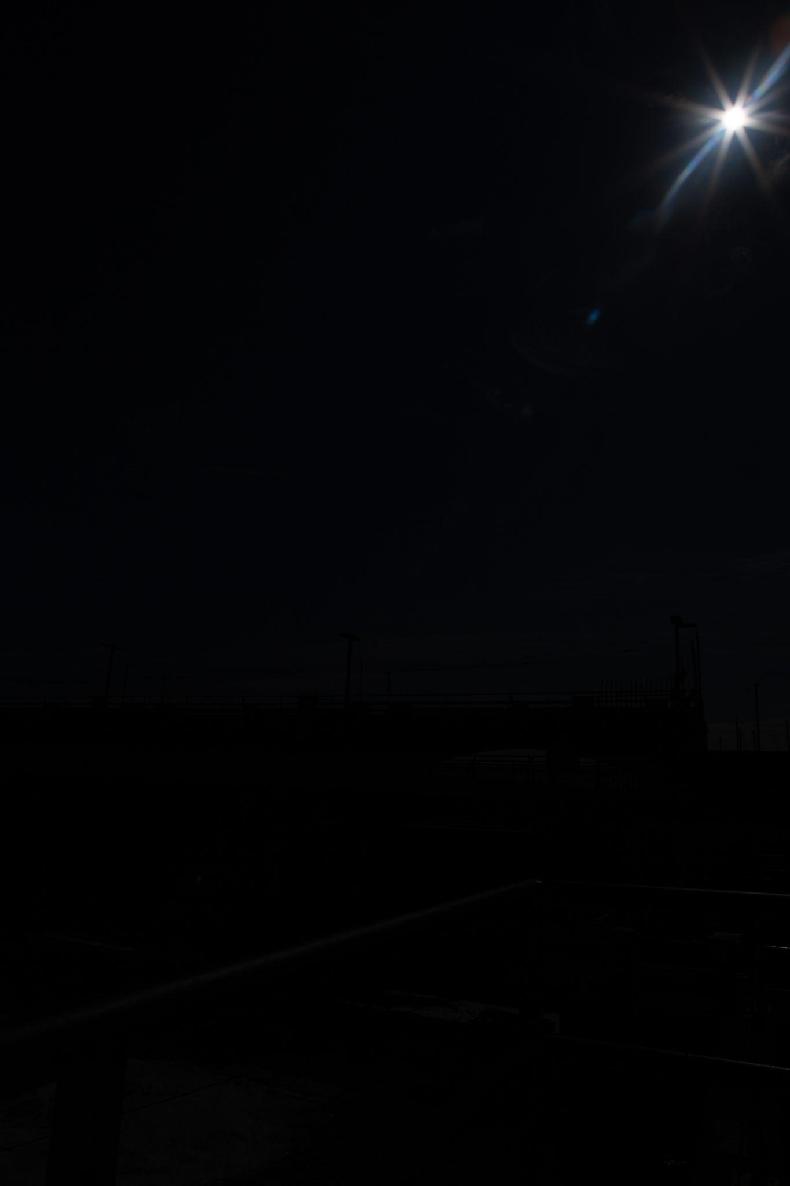
Note how the sun still has a visible rays in the darkest exposure. This means that, even on our camera’s darkest settings, we have still failed to capture the full range of our scene. Through the use of neutral density film, an even darker exposure can be captured. This shoot progresses like the last one, with one exception: I also shoot an extra exposure at 1/4000”, but with two layers of ND 1.2 gelatin. At -4 stops each (-8 total) this is the equivalent of a 1/512000” exposure! The resulting image is pitch black, except for a single dot of sun, with no corona. Export these from Lightroom as 32 bit TIFFs.
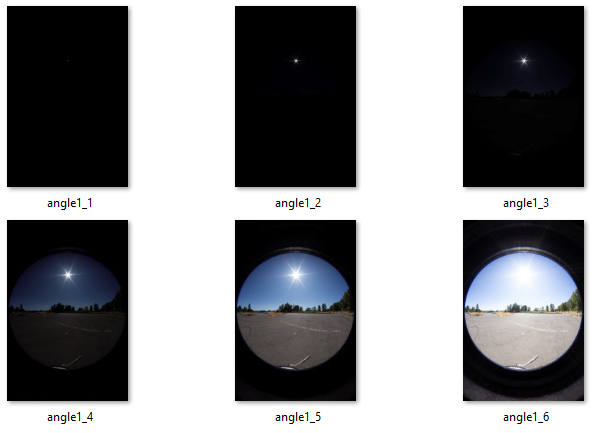
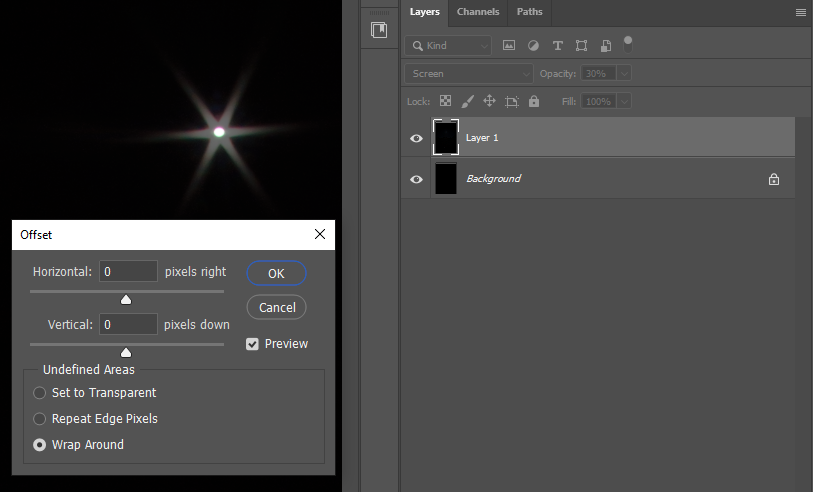
Angle 1_1 isn’t aligned with the others, since taking the lens off and inserting the ND film causes some movement. Fix this in Photoshop by putting angle1_2 over it in Photoshop set to Screen and 30% opacity. Next, use Filter>Offset to modify angle1_1 until it’s aligned. Discard the guide layer.
This photo’s EXIF data doesn’t know we adjusted the exposure artificially, which makes it inaccurate for HDR merging. Download, rename, and place exiftool.exe in C:\Windows so it’s discoverable by the system path, and then use exiftoolGUI to set the exposure time to our modified custom amount (1/512000.)
Merge these to HDR Pro in Photoshop, and your two photos shot at 1/4000 will now have different EVs listed on import. Finish with necessary cleanup for lens flares and dirt with the Clone Stamp tool. Having previously installed the EXR-IO plugin, save this as a .EXR.
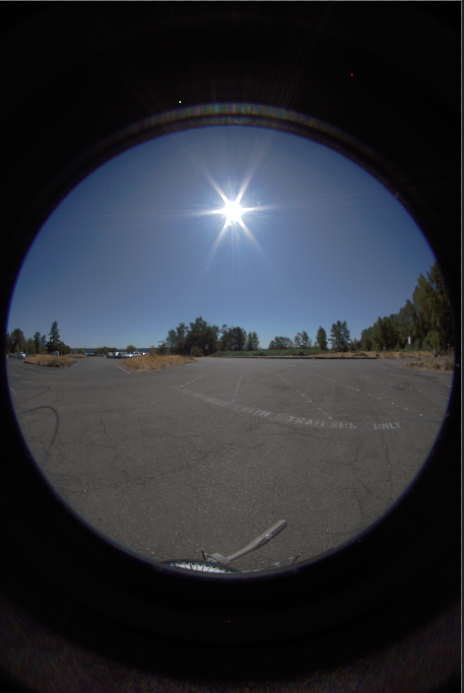
By design, there are no creative edits to this photo. The beauty of this EXR is in the successful composite of its file format to be used later. In modern CGI pipelines, multiple lighting assets compile together in the beginning: HDR backgrounds, background plates, video footage, model textures, 3D lights, etc. As separate ingredients in a soup, it’s important they all stay truthful before they are combined, or else all their individual edits will work against each other when combined. The creative artistry that affects them is the last stage in this pipeline, using final compositing tools. Much of that beyond the scope of this document, but below you can see the fruits of this HDR process: the image has successfully recorded the lighting data, meaning we can cast hard, realistic shadows off of just an image.
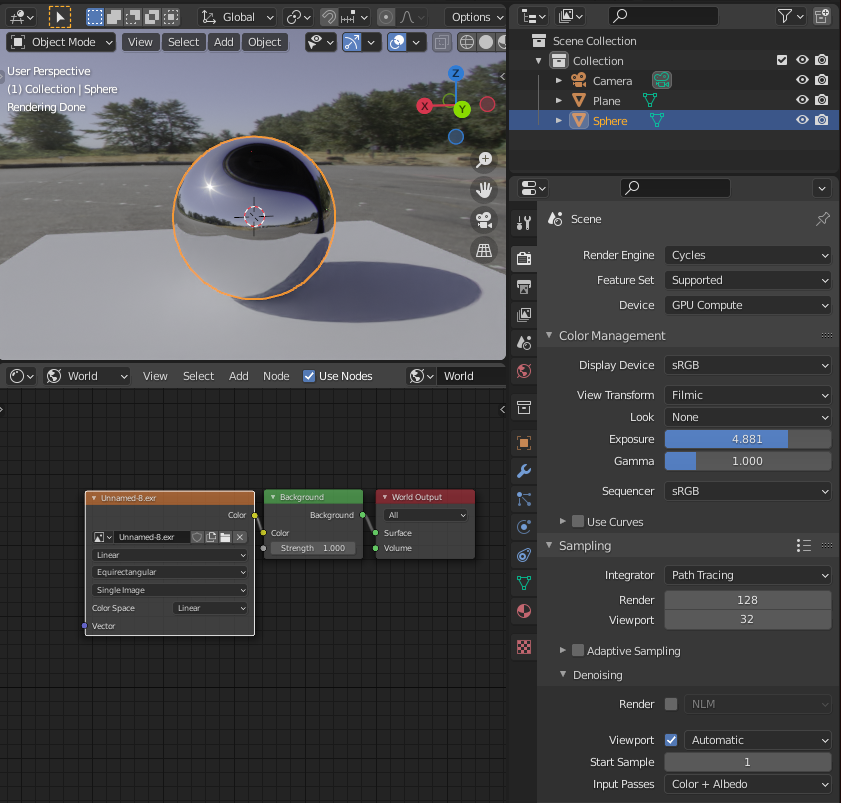
Of course, the oblong black shape in the sphere’s reflection reveals our next problem: this single HDR image leaves much of the environment left out. Which brings us to panoramas.


Feedback/Errata