3 HDR Panoramas
Now for the ultimate challenge. We’re going to combine these two disciplines of HDR and panoramas into a final, fully realized HDR image. This will require a careful approach to making sure the files are processed correctly.
Full HDR Panorama: Magnuson Park
|
|
|---|---|
|
|
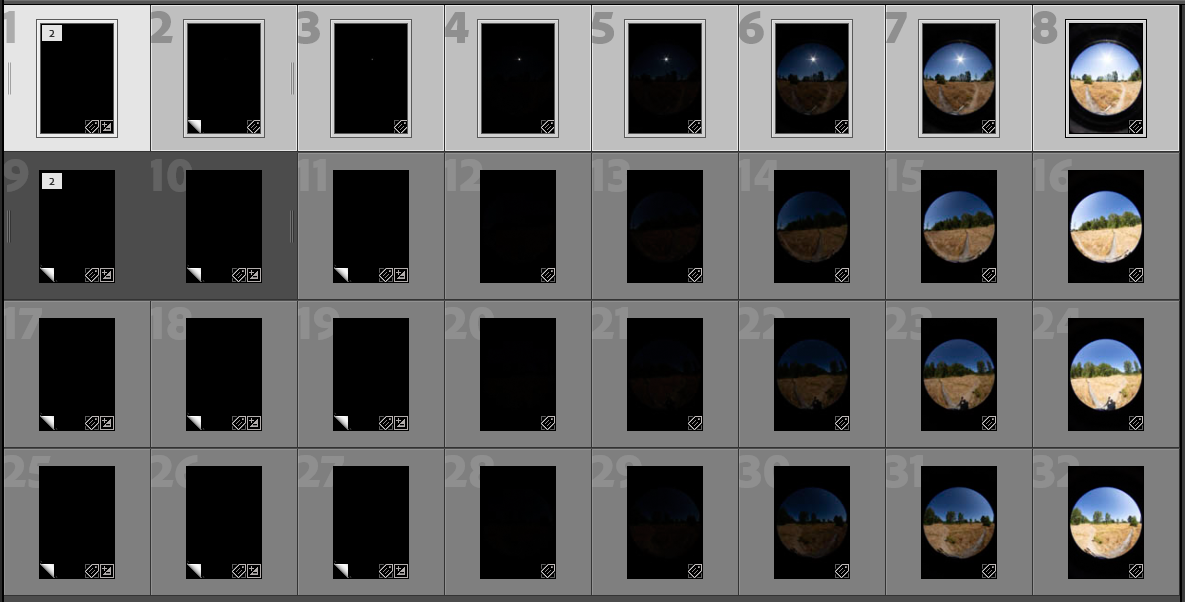
Upon import, we’ve got our organizational work cut out for us.
- Right click on the lowest double-ND bracket, create a virtual copy, and lower the exposure on this copy by -4 stops. This is rearranged to #1.
- Create virtual copies for image 1, 2, and 3, and rearrange these to be in spots 9, 10, and 11.
- Use the Spot Healing tool to erase the sun on spots 9, 10, and 11. Now it’s the equivalent of those exposure rotated.
- Create virtual copies of 9, 10, and 11, and shift these to be in positions 17/18/19, and 25/26/27.
- Fix the sun position with offset in Photoshop like we did before.
- Export 1 through 8 renamed as angle1_1.tiff through angle 1_8.tiff. Repeat with 9 through 16 as angle2, and so on with the 3rd and 4th angle.
- Use ExifToolGUI to edit the EXIF exposure time metadata as before. Exposures 3, 2, and 1, all listed as their recorded 1/4000 exposure, are -4, -8, and -12 exposure stops from there. When you do the exposure math, you get: 1/64000, 1/1024000, and a whopping 1/16384000!
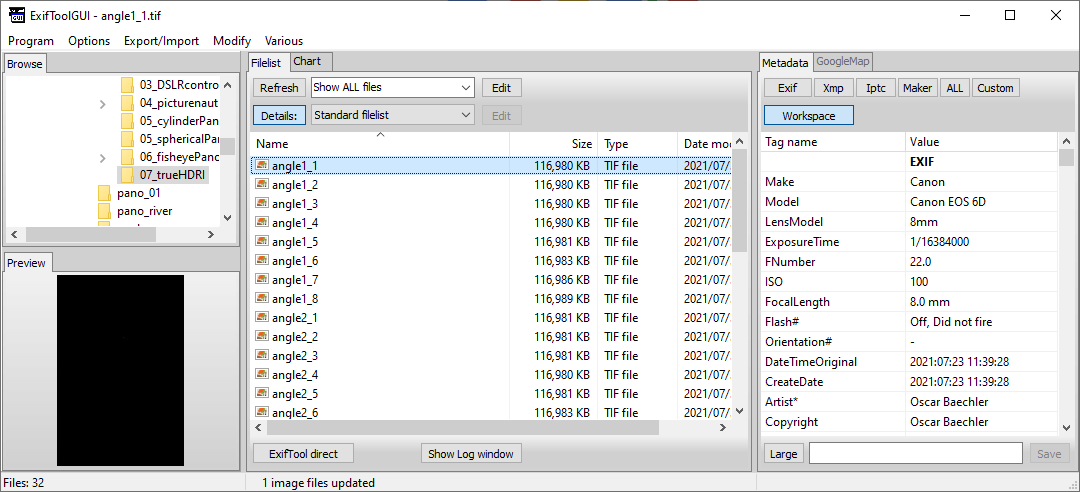
HDR panorama creation must choose one of three methods: merging brackets first and stitching the outputs, stitching each bracket individually and then merging them, or doing it all at one time. In our case, we will first use Photoshop to make our finished EXRs, then stitch the EXRs together.
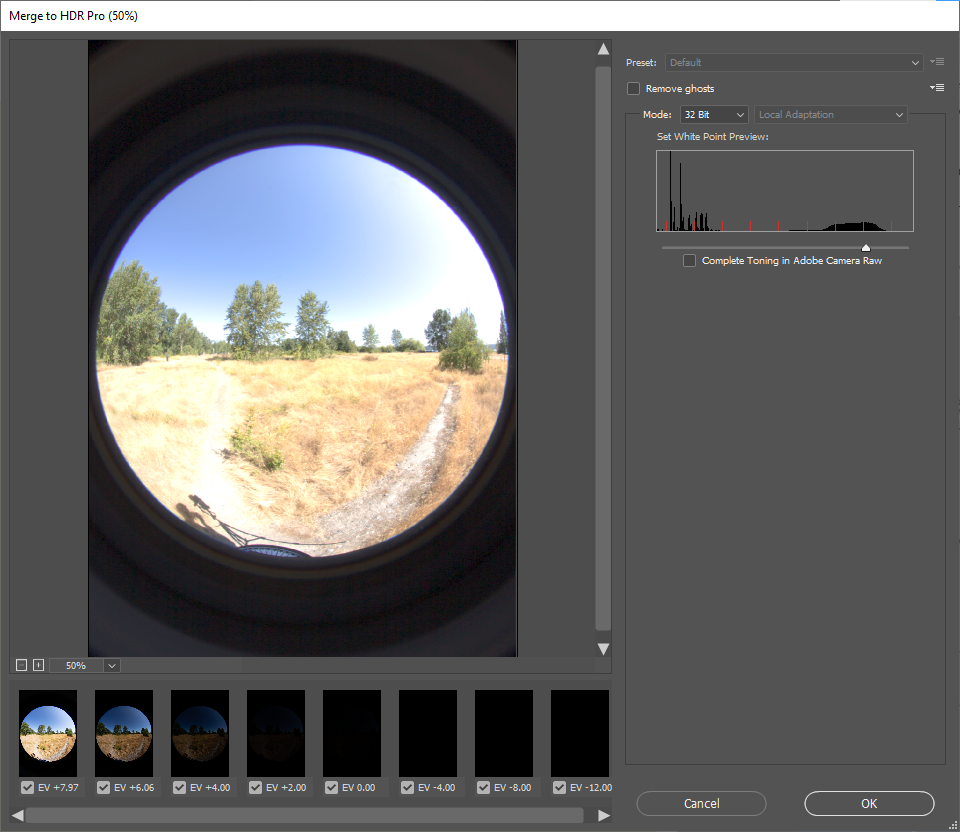
- In Photoshop, use File > Automate > Merge to HDR Pro. Select your first angle’s brackets. Note on import how the modified EXIF data successfully interprets the ND-affected and manually underexposed brackets as lower EVs than the 1/4000 exposure. Use 32 Bits.
- Save as an EXR. Repeat for the other 3 angles.
Next, we need to stitch these angles together.
|
|
|---|---|
|
|
|
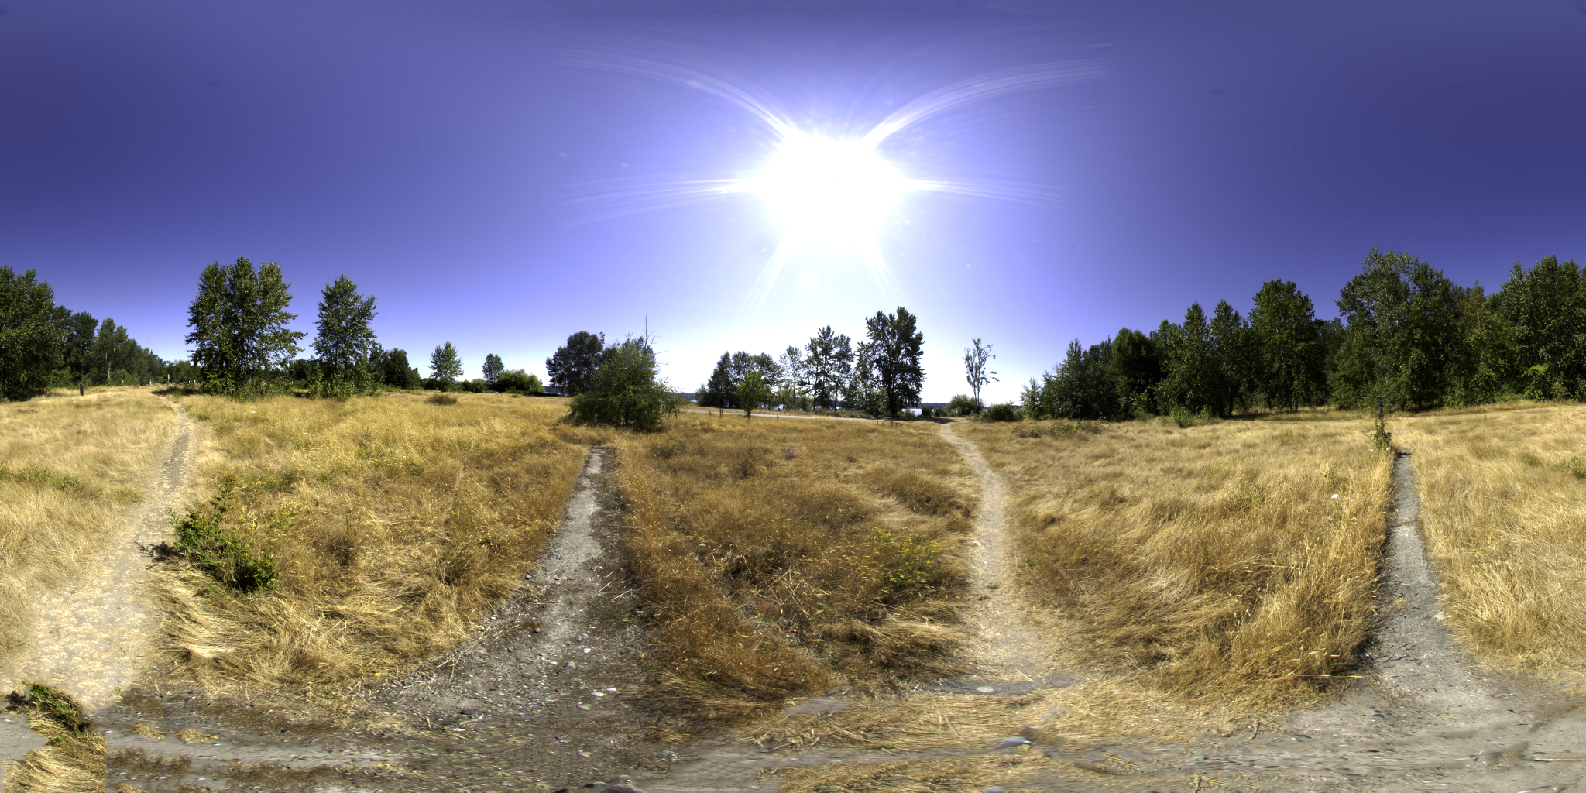
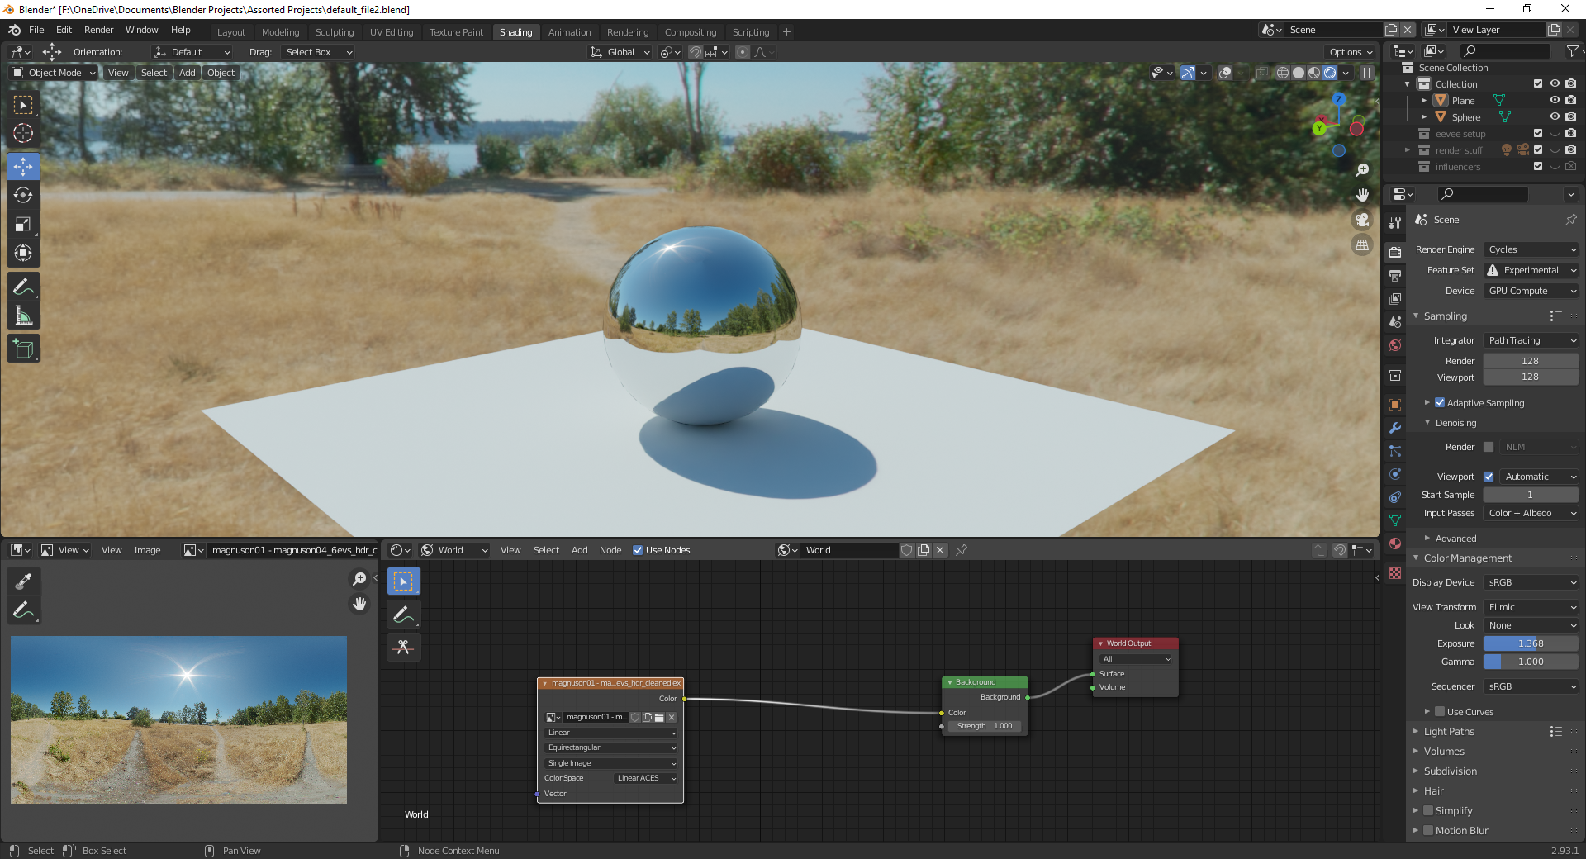
So we’ve got a finished panorama. What’s the big deal? Why bother with all that format mess when the earlier methods worked? The reason is because the saved EXR truly stores lighting data inside the file. Now it’s ready for use in 3D applications, and the total light in the scene is actually captures successfully enough that objects can cast shadows, reflect highlights, and be reprocessed with 3D exposure settings as if the objects were right there in the Magnuson Park field. The 3D scene below has no other light objects except the HDRI. Of course, using Blender is a another tutorial entirely!
Second Cool Thing
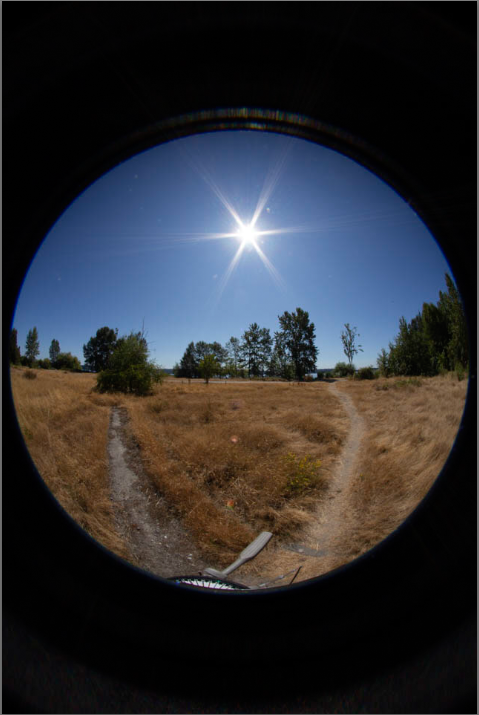
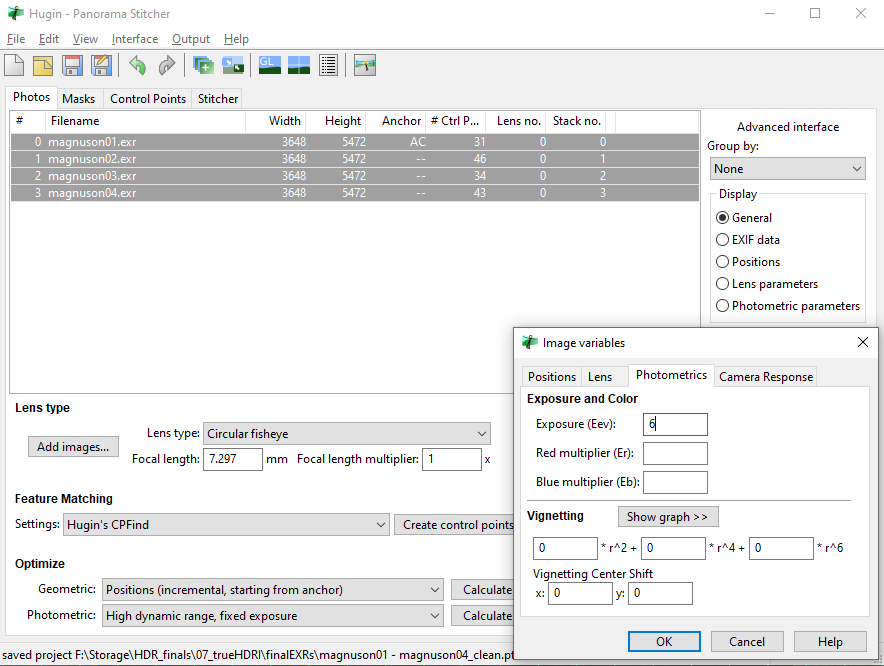
Fully realized HDR panoramas, suitable for use in a 3D production, is a very specialized subset of photography. As a result, the tools are often so esoteric that we are left with a choice of spending extra for special software, or suffering the consequences of their inadequacies in both HDR merging and panoramic stitching. This next HDR panorama shows an alternative software pipeline with more desirable results.


Feedback/Errata