CAE1004 Flywheel Tutorial
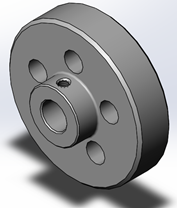
Open a new part in SolidWorks and start a new sketch on the Right Plane by right clicking on the right plane and selecting the sketch icon. CAE1004_Flywheel was designed in inches so be sure your units are set to inches.
The Revolve
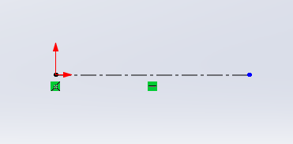
Draw a horizontal centerline from the origin to the right. The length of this line does not matter.
Sketch above the centerline a rough outline of the top portion of the section view shown in the drawing excluding all holes. Make your sketch as proportional as possible to the actual geometry seen in the drawing. The sketch should look like a blocky letter “S”.
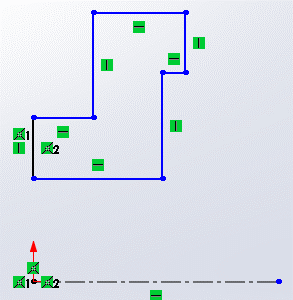
Place diameter dimensions by selecting each horizontal line of the sketch and the center line. When your cursor is above the centerline, the dimension will only show as a radius. But when you move your cursor below the centerline, the dimension becomes a diameter. Here we will add the .5-inch diameter, the 1-inch diameter, the 2-inch diameter, and the 2.66-inch diameter.
In this sketch still, also add the .2-inch width, .400-inch width and the 1.030-inch width by selecting the vertical lines that represent the width.
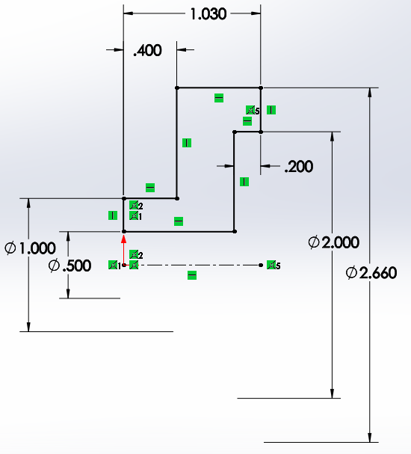
Ensure that your sketch is fully defined after adding these dimensions (except for the center line endpoint which will remain underdefined. This is acceptable but if it really bothers you like it does me, you can add a relation between the centerline endpoint and the overall width edge of the sketch.
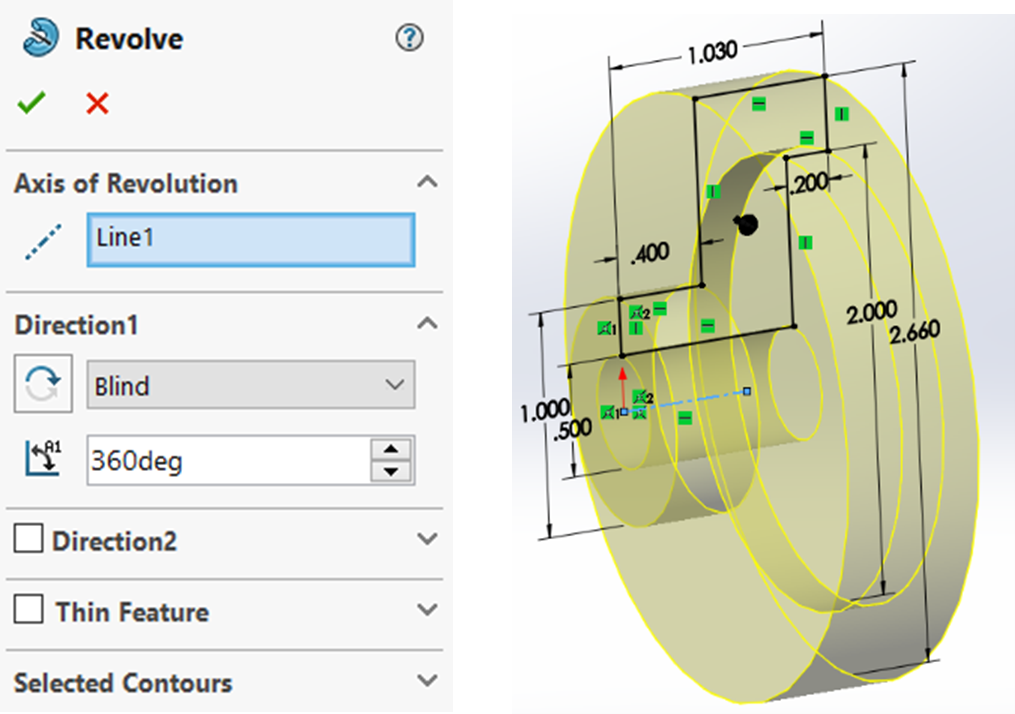
Select the Revolved Boss/Base tool from the features tab and then confirm the feature. You should see a yellow preview of the revolved feature revolving 360 degrees the profile of the sketch we just drew.
Exercise 5.6 The Revolve of CAE1004 Flywheel
Start a new part and complete the revolve feature of the CAE1004 Flywheel.
Hole Wizard Holes

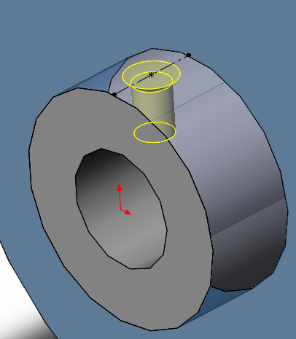
Start the hole wizard feature command from the CommandManager and specify a 10-32 Straight Tapped Hole that goes up to the next surface (Up to Next) and a nearside countersink of .220 inches by 90 degrees (Figure 5.17).
Switch to the positions tab and select the 1-inch outer diameter face as the face to place the hole on. Place the hole near where we desire it, draw a centerline from the front edge to the back edge of the 1-inch diameter face. Click the centerline and in the context toolbar, specify an “Along Z” relation. Then CNTRL-click the front endpoint of the centerline and the origin and specify an “Along Y” relation. Finally, add a midpoint relation to the centerline and the point for the tapped hole. Confirm the hole wizard (Figure 5.18).
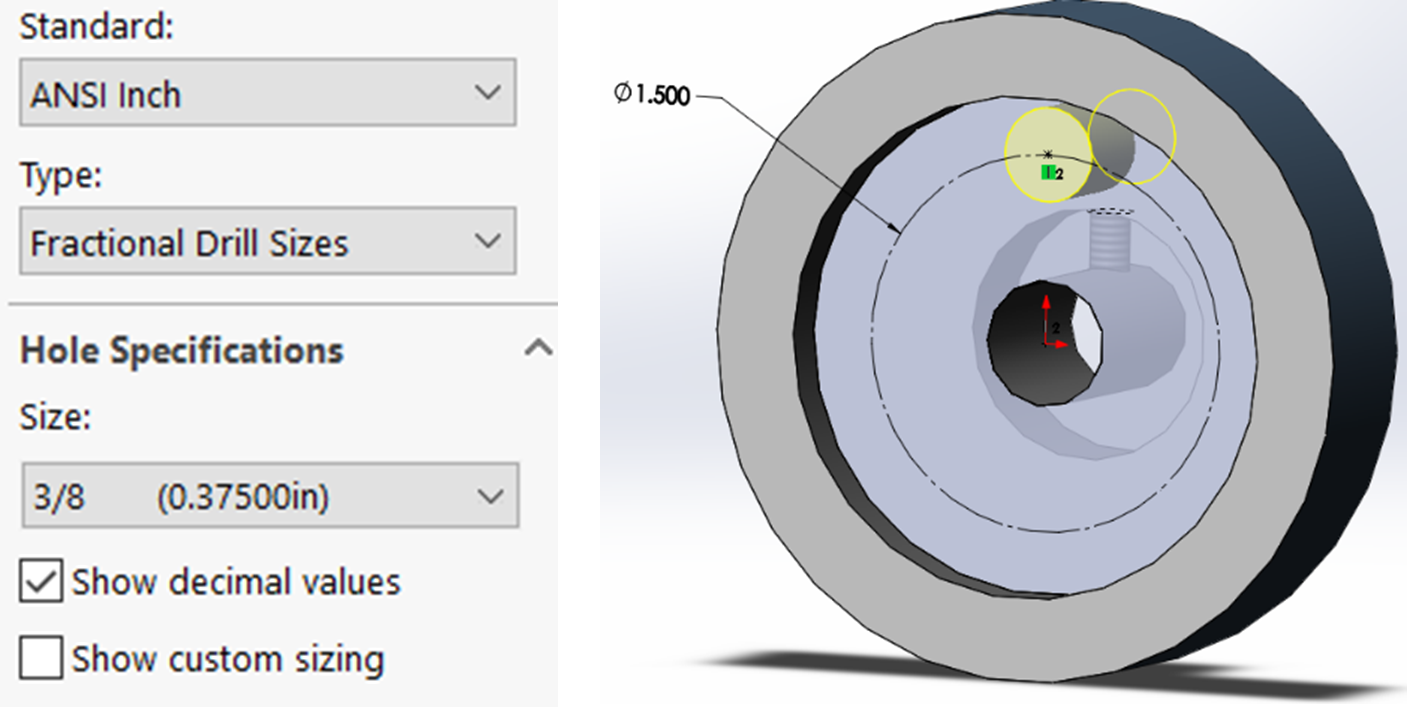
Start the hole wizard a second time and specify a 3/8 of an inch hole (.375) that goes through the entire part. Switching to the Fractional Drill Size hole type helps find the hole size faster. Switching the “Show Decimal Values” also helps when you aren’t sure of the drill size.
Switch to the positions tab, click the back inside face of the part, activate the circle sketch command and place a 1.5-inch construction circle at the origin of the sketch. Remember that you can change the circle to construction from the property manager (“For Construction” Option) as well as by clicking the circle and selecting “Construction Geometry” from the context toolbar.
Activate the point command again to place the .375-inch hole at the top quadrant of the construction circle and confirm the hole wizard command.
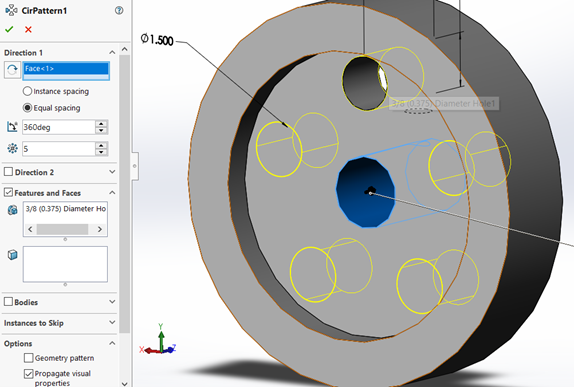
Activate the Circular Pattern command from the features tab of the CommandManager and pattern the circle 5 times equally spaced around the center of the part. To do this, be sure that the 3/8 of an inch hole is selected in the “Features and Faces to Pattern” selection box and the center hole of the part is selected in the “Pattern Axis” selection box of the property manager. Confirm the circular pattern command.
Exercise 5.7 Adding the Holes to CAE1004
Add the 10-32 tapped hole and .375 through hole using the Hole Wizard and Circular Pattern features.
Fillets and Chamfers
Add a .032-inch fillet using the fillet feature from the CommandManager to the two internal corner edges of the part as shown in the drawing.
Add a .050-inch by 45-degree chamfer using the chamfer feature from the fillet drop down in the CommandManager to the edges of the 2.66-inch diameter face and the back edge of the 2-inch diameter pocket. If you don’t see the chamfer preview, check to make sure the “Full Preview” option is set in the property manager.
To finish our part, add a .020-inch by 45-degree chamfer to the internal edges of the .5-inch diameter hole and the front edge of the 1-inch diameter face.
Set the material as 6061 Alloy and save your part as CAE1004.
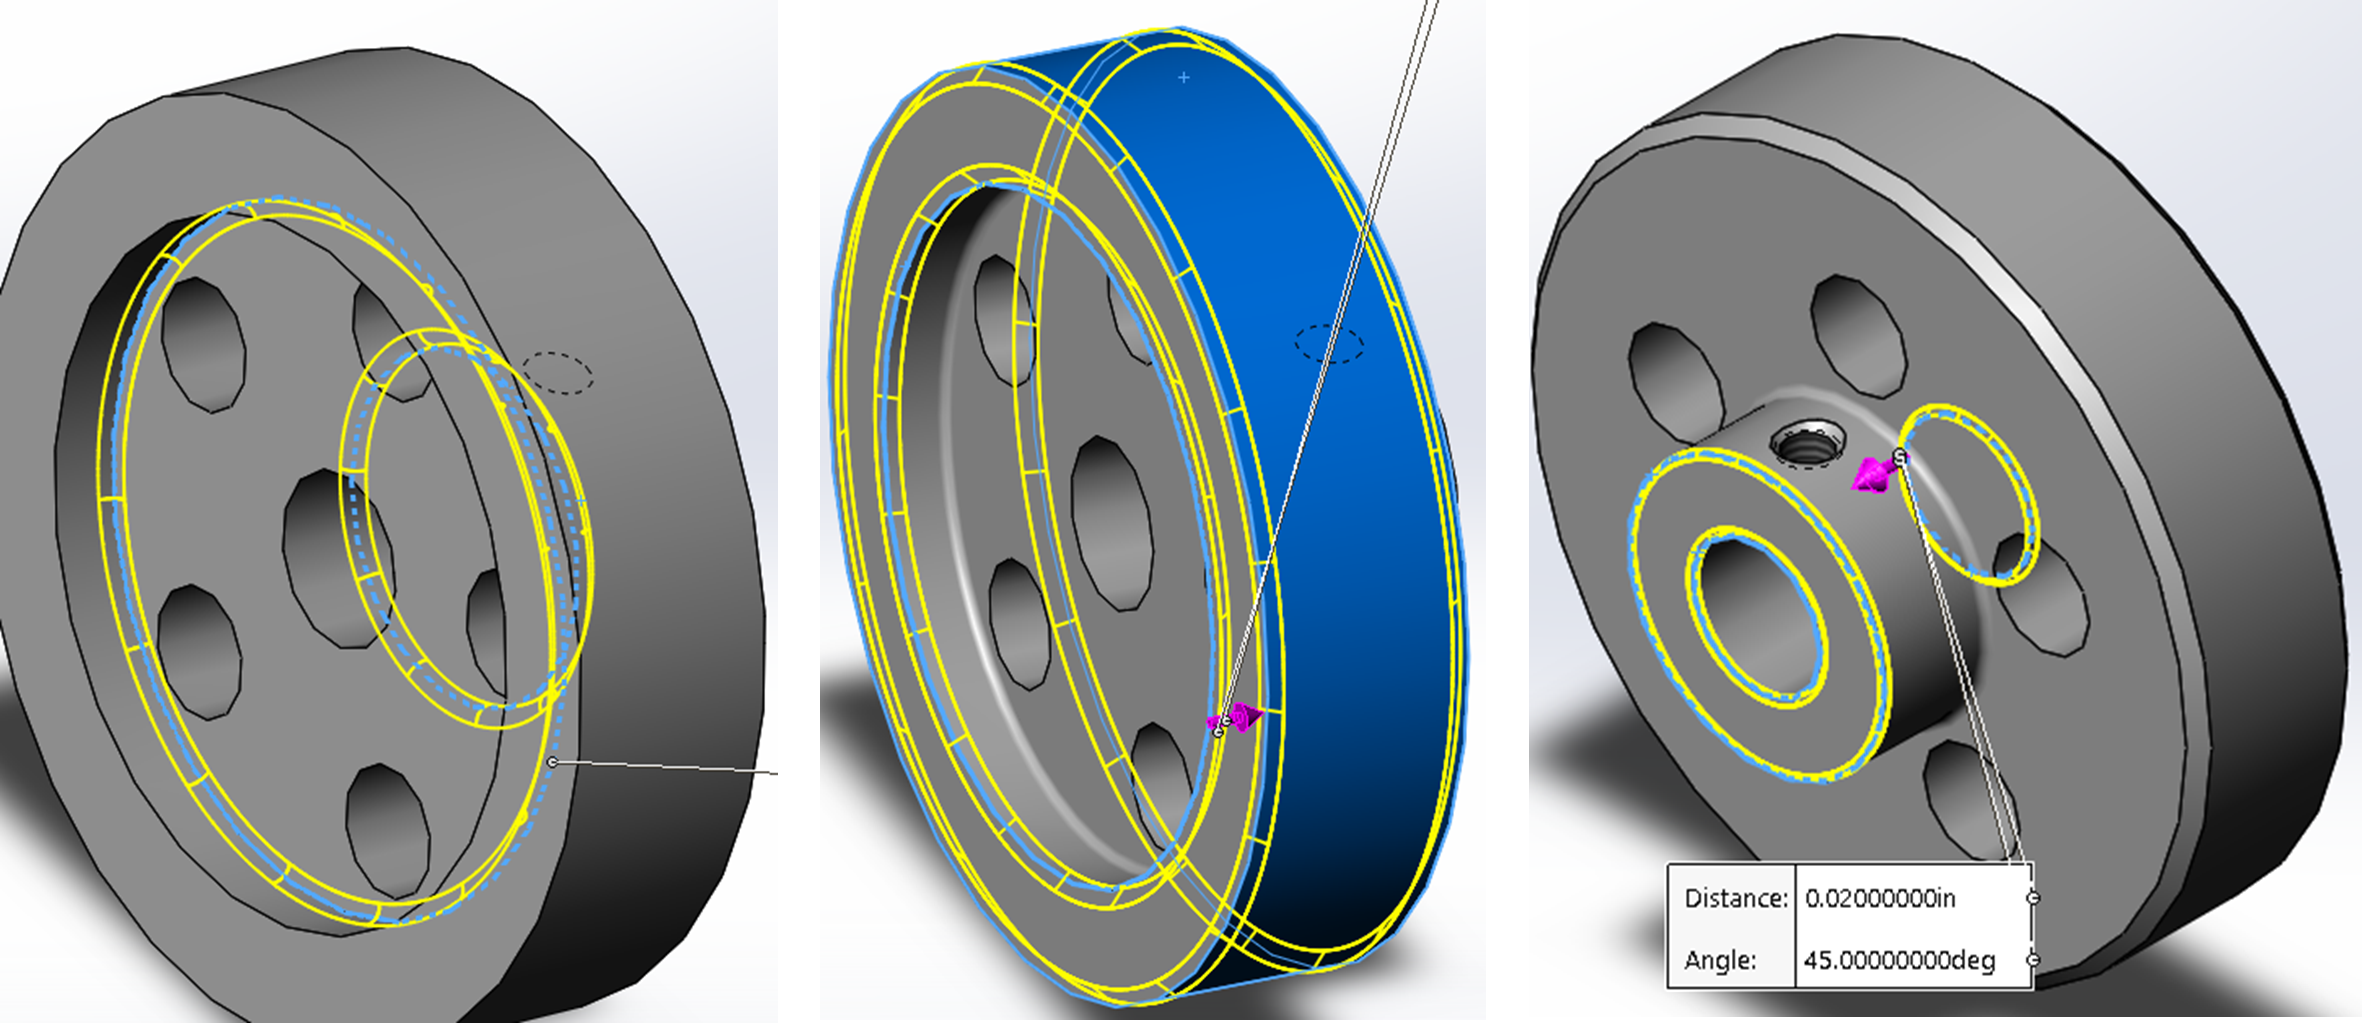
Exercise 5.8 Finishing Up CAE1004 with Fillets and Chamfers
Add the remaining fillets and chamfers to the specified edges of CAE1004

